


1.首先我们为什么使用springboot?
我们最开始时候使用的是本机的main程序,发现运行后就停止了运行只能写一些简单的逻辑,无法持续的运行。后面我们使用了servelt框架,我们发现使用了这个框架后可以持续的运行,因为tomcat是一个服务器,我们发现用了tomcat就可以访问到http请求,因为tomcat对于servelt进行了再次的封装,但是我们发现servelt很麻烦,不管是请求还是获取参数都很繁琐,后面我们使用了springmvc,springmvc依赖于spring我们发现很方便,但是还有一个问题,一些繁琐的配置让我们很是反感,这个时候springboot出现了。
2.springboot的简单介绍
Spring Boot是由Pivotal团队提供的基于Spring的框架,该框架使用了特定的方式来进行配置,从而使开发人员不再需要定义样板化的配置。Spring Boot集成了绝大部分目前流行的开发框架,就像Maven集成了所有的JAR包一样,Spring Boot集成了几乎所有的框架,使得开发者能快速搭建Spring项目。
3.springboot的核心思想
springboot核心思想就在于约定大于配置,或者说约定优于配置,我们使用springboot一定要知道这个思想,使用过springboot的同学发现了,我们写的配置文件要么就是application.yml或者applition.properties来进行配置我们的项目,明明我也没有告诉我的springboot我的配置文件叫什么,但是我就能在这里面书写我的配置,这就是springboot给我们的约定,而我们不用再配置告诉springboot我的配置文件在哪里,因为我们默认就会有个resources文件夹,而我们的配置文件就在这里。这个是springboot告诉我们的,而不是我们告诉springboot的,这就是约定优于配置体现,我们不用再写一些繁琐的代码,就是为了简化我们的开发。
4.springboot项目启动
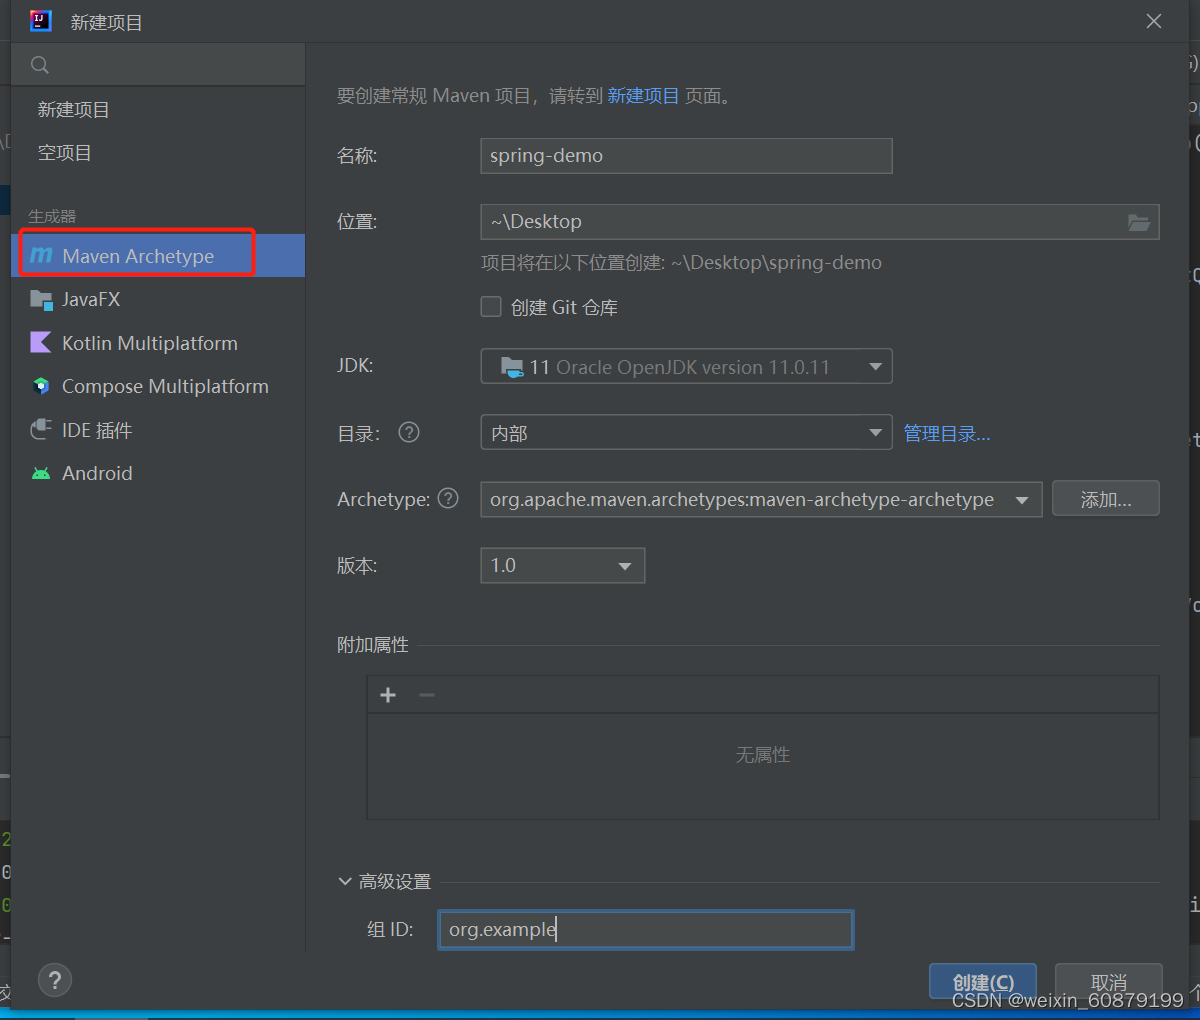
我们选择maven进行构建项目
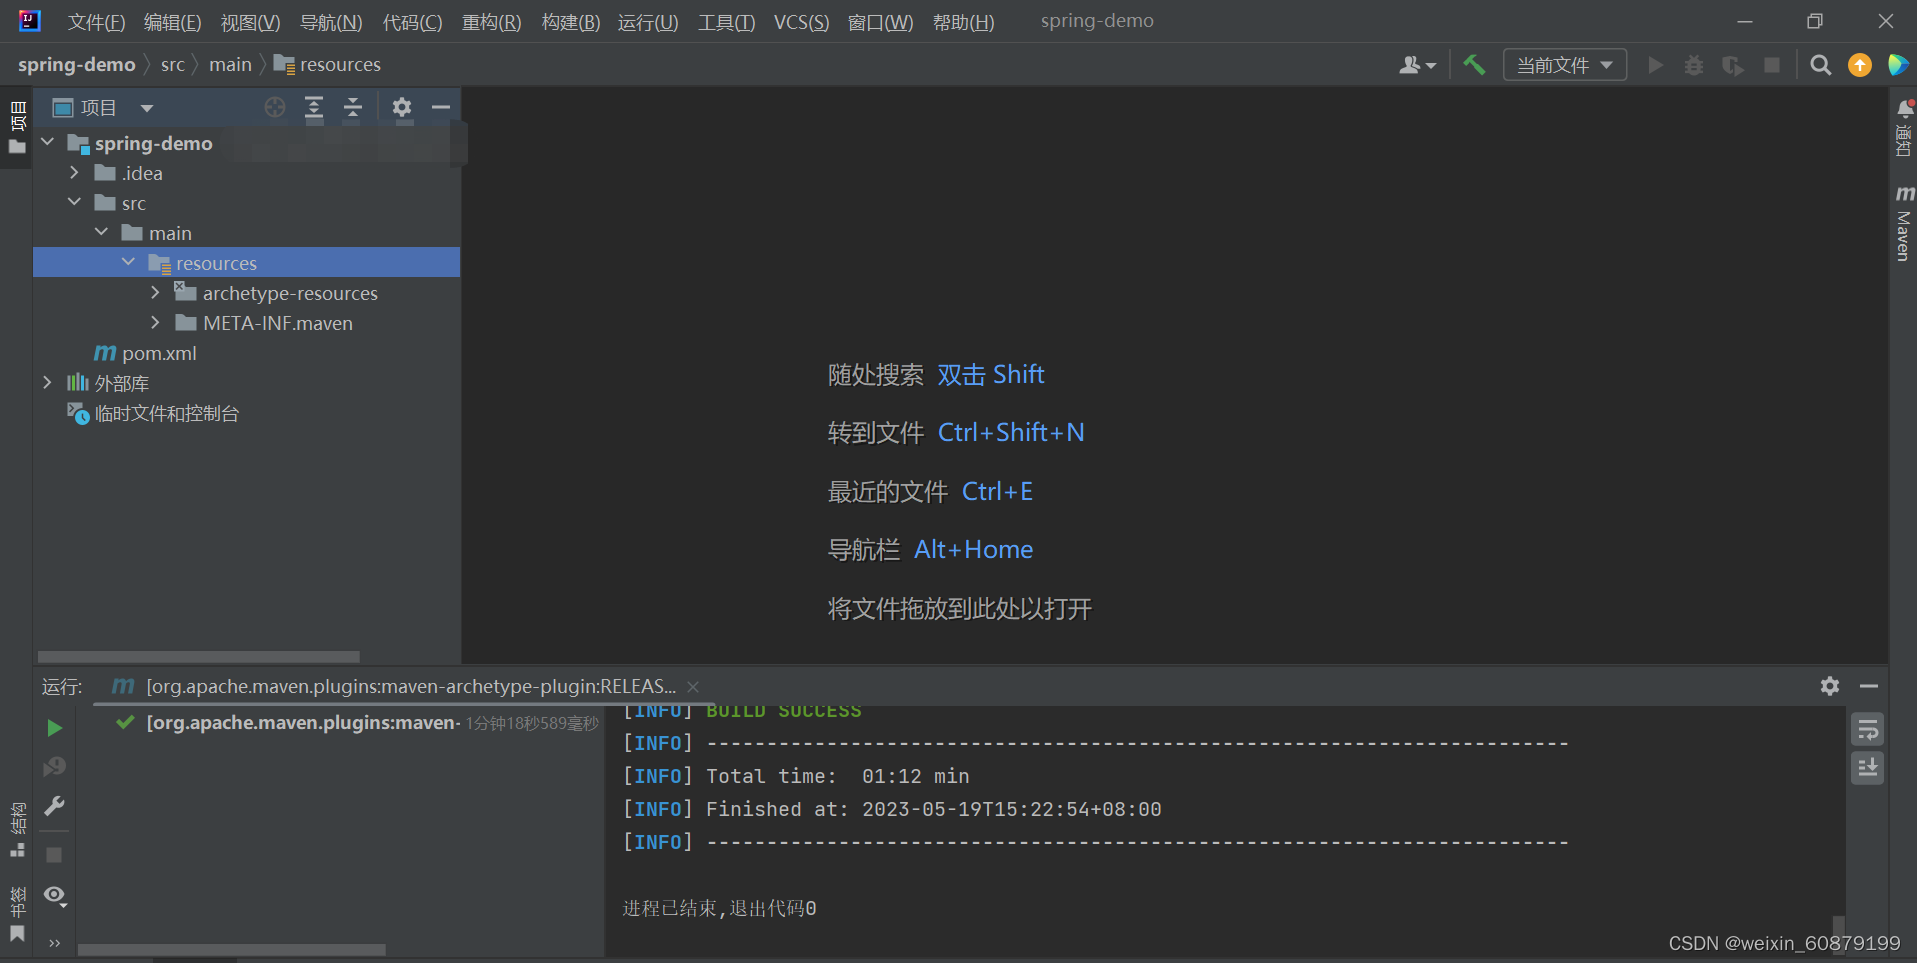
我们发现构建后大概成这个样子刚刚提到的resources就可以放我们的配置文件,等下我们导入springboot依赖,导入springboot依赖之前我们先做一些基础的配置。
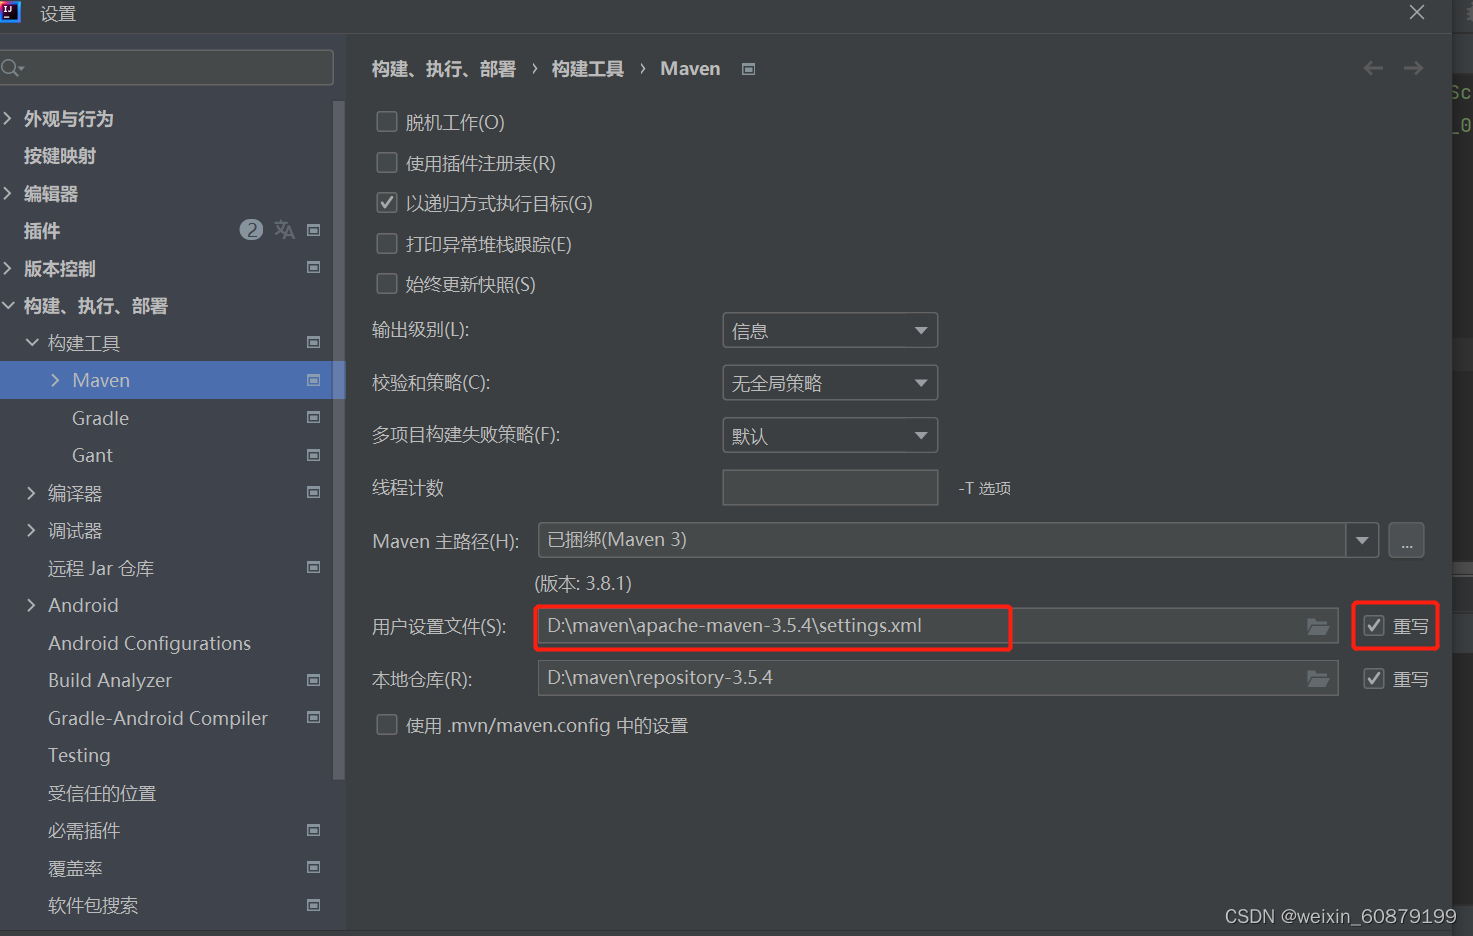
我们选择seeting然后搜索maven,点击重写设置我们的maven的seetting文件会自动映射我们的本地仓库,选择后我们等下导入的依赖就会导入到我们的本地仓库中。

我一般比较喜欢手动搭建spring项目,所以我会把其余的配置文件删掉,自己来搭建项目,我们也可以删除配置文件,然后重新搭建。
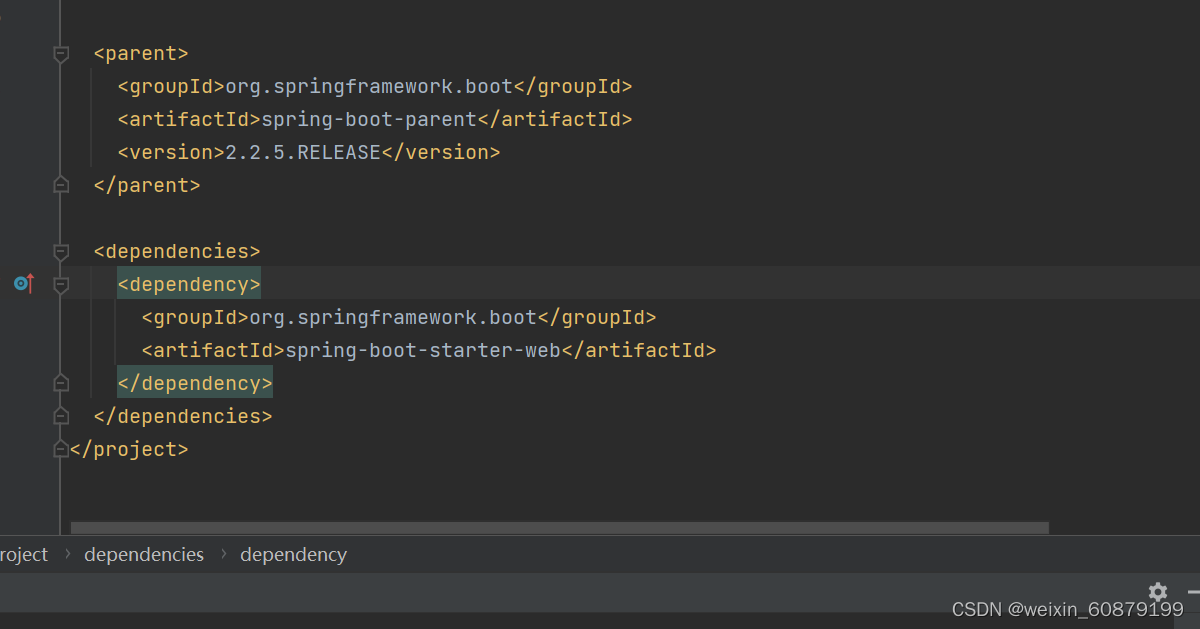
我们导入如下的依赖,我们发现我们的spring-boot-starter-web并没有导入版本号是为什么呢,等下我们继承的spring-boot-parent看一下。
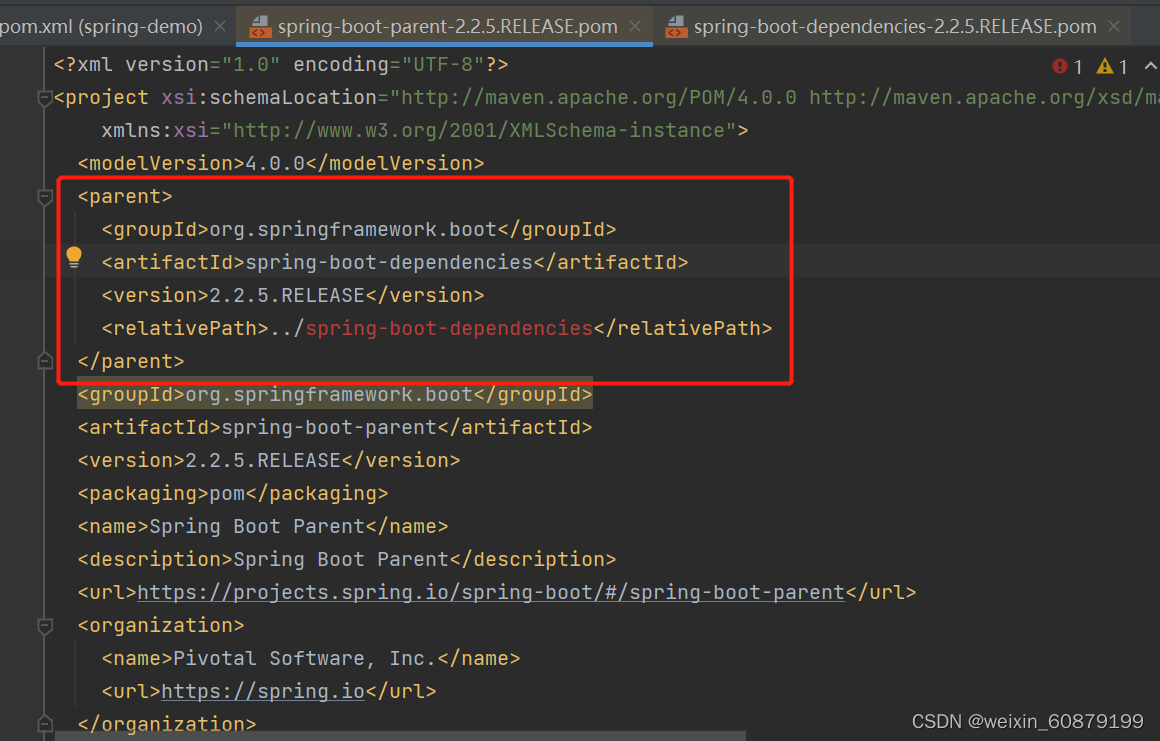
我们发现spring-boot-parent继承了spring-boot-dependencies,那我们再点进去看一下。
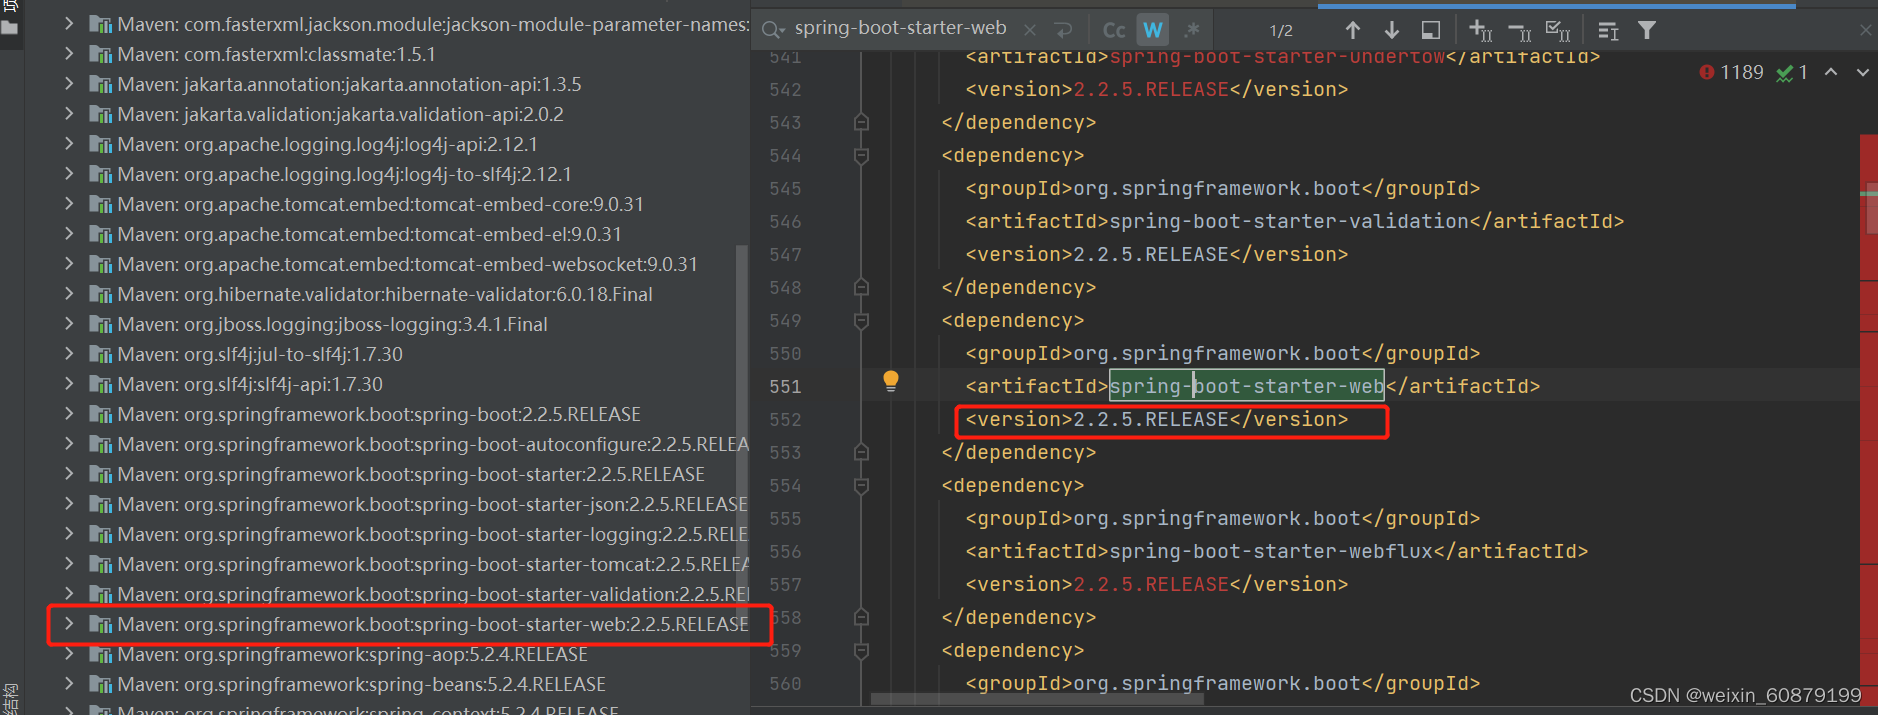
我们发现和依赖项导入的版本号一模一样,说明spring-boot-parent帮我们已经把版本依赖关系进行了管理,我们可以直接导入这个spring-boot-starter-web依赖,不用关心版本。

我们右键main,然后选择java,我们创建java目录然后写一个简单的启动类。
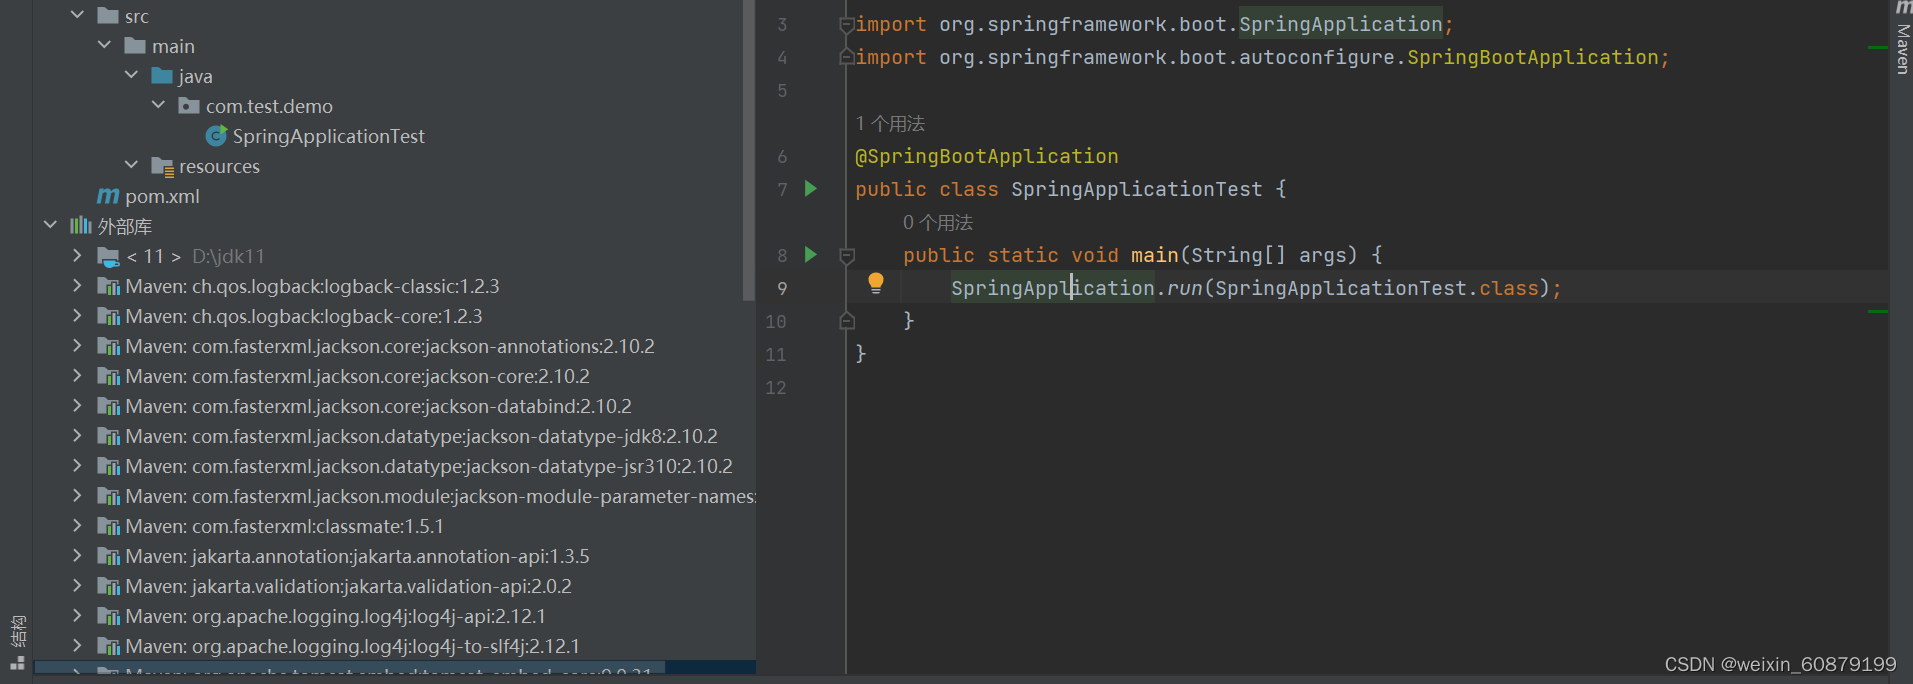
我们在启动类加上@springbootapplication注解
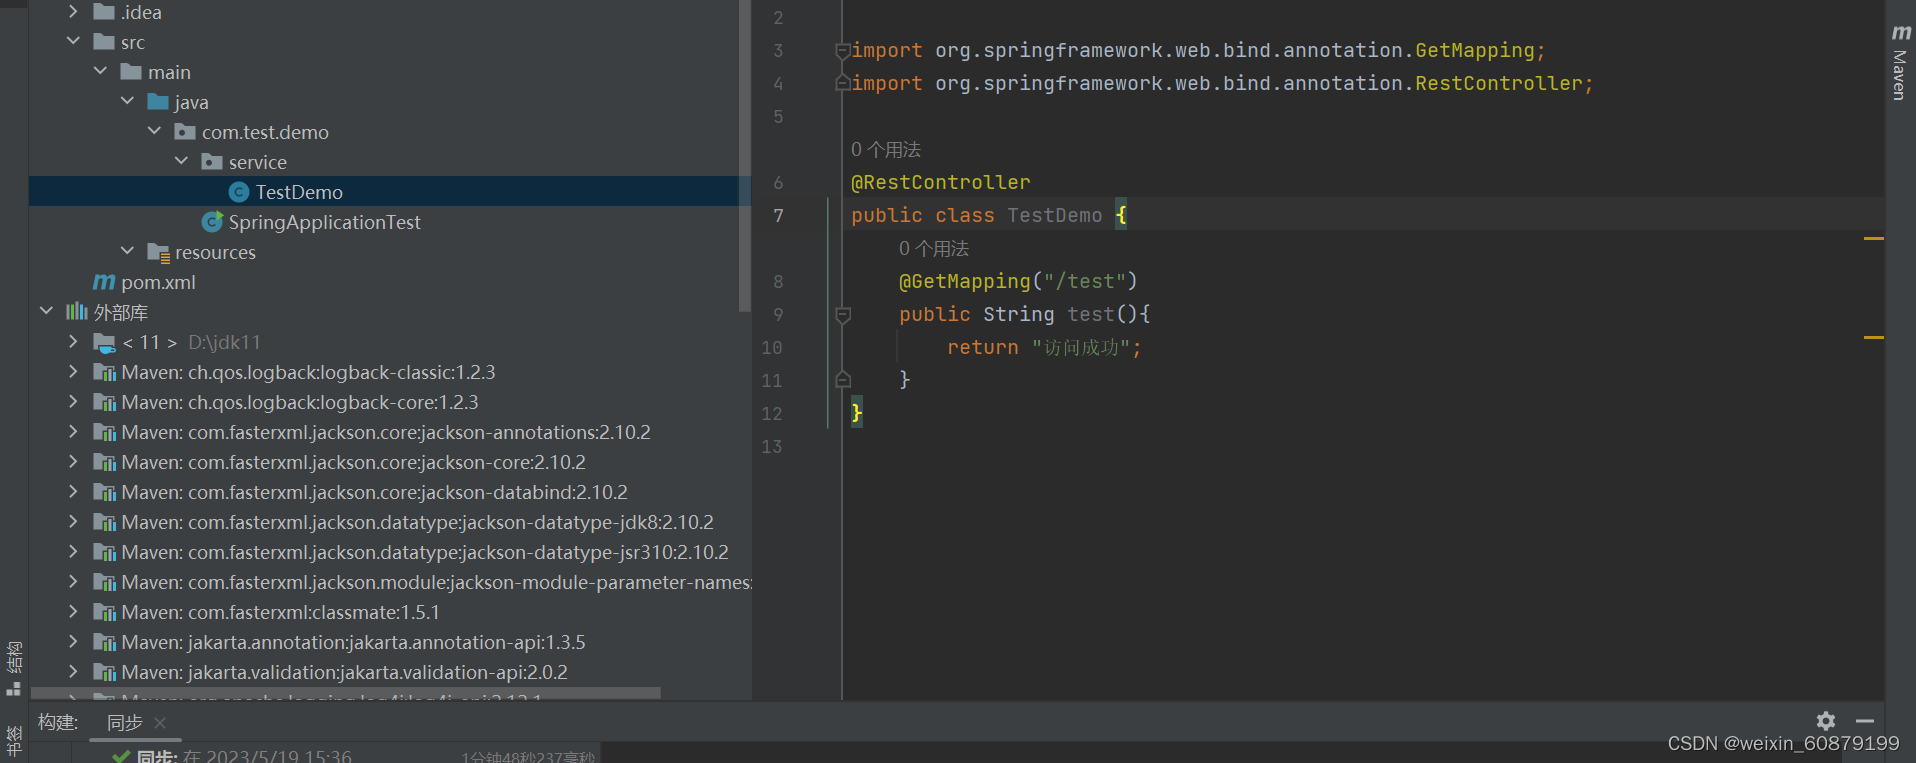
我们写一个简单的可访问的接口,然后启动看看是否能访问成功。
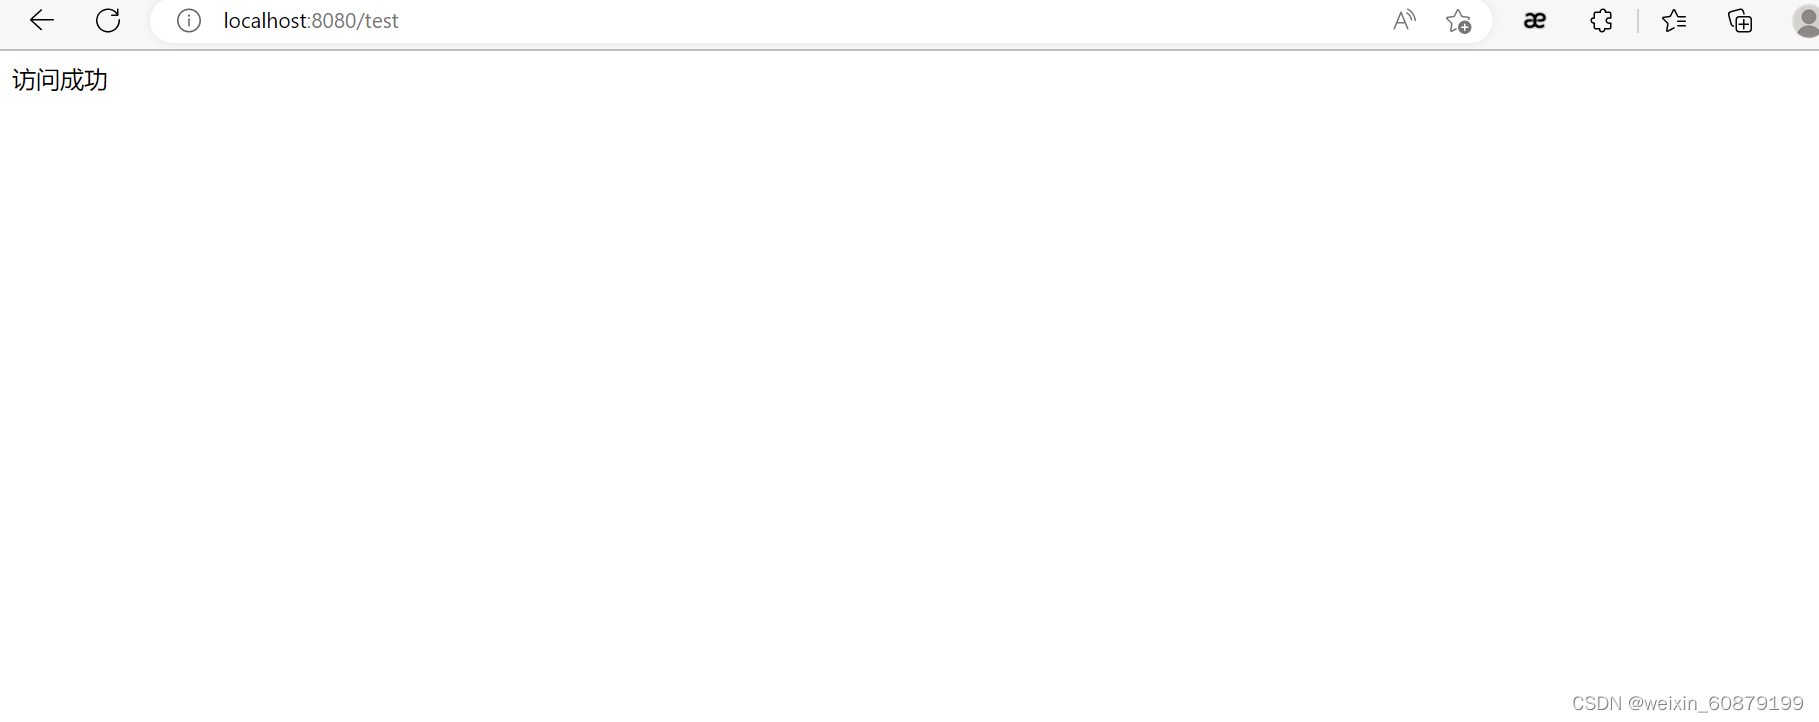
我们发现访问成功,但是有一个疑问我们为什么可以通过web来访问,我们明明没有用到tomcat,怎么会访问成功,但是我们发现端口就是tomcat的默认端口8080,那我们查看一下依赖项。

我们发现原来springboot内嵌了tomcat,我们不用在idea嵌入tomcat,也不用在启动tomcat了,是不是很方便呢,原来一些繁琐的东西springboot都帮我们进行了简化。


 2万+
2万+


 被折叠的 条评论
为什么被折叠?
被折叠的 条评论
为什么被折叠?
 到【灌水乐园】发言


