


1.搭建Web服务器,我们准备使用Apache服务器,所以需要在Window系统中下载并启动Apache服务器。
如果没有安装Apache,请看我的另一篇博客http://t.csdn.cn/36fIM,里面有下载安装Apache服务器的详细过程。
2.验证是否安装成功
打开浏览器,在地址栏输入127.0.0.1,如果出现了It works!就说明服务器已经启动成功。
3.创建JSON文件
我们要进入下载好的Apache文件夹里面的htdocs
![]()
在这里我们新建一个txt文本文档,在文档中加入JSON格式的内容

在文本文档中点击文件->另存为
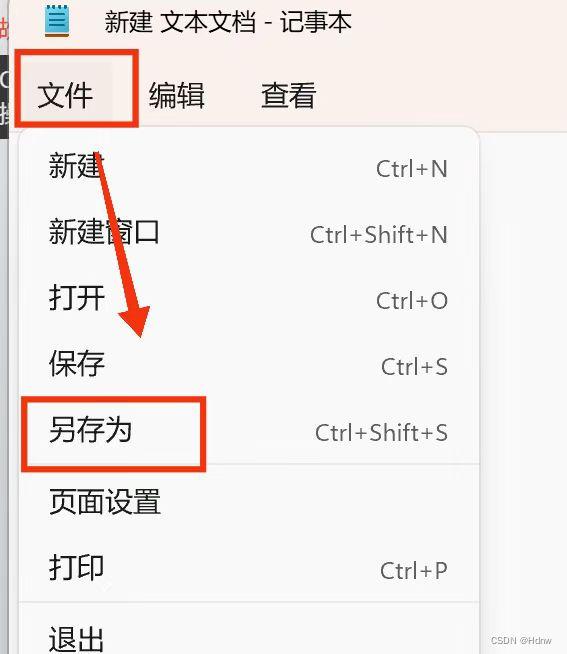
在文件名上加后缀.json,然后点击保存。
我们就可以在htdocs文件夹下面看见文本文档已经变成json文件了

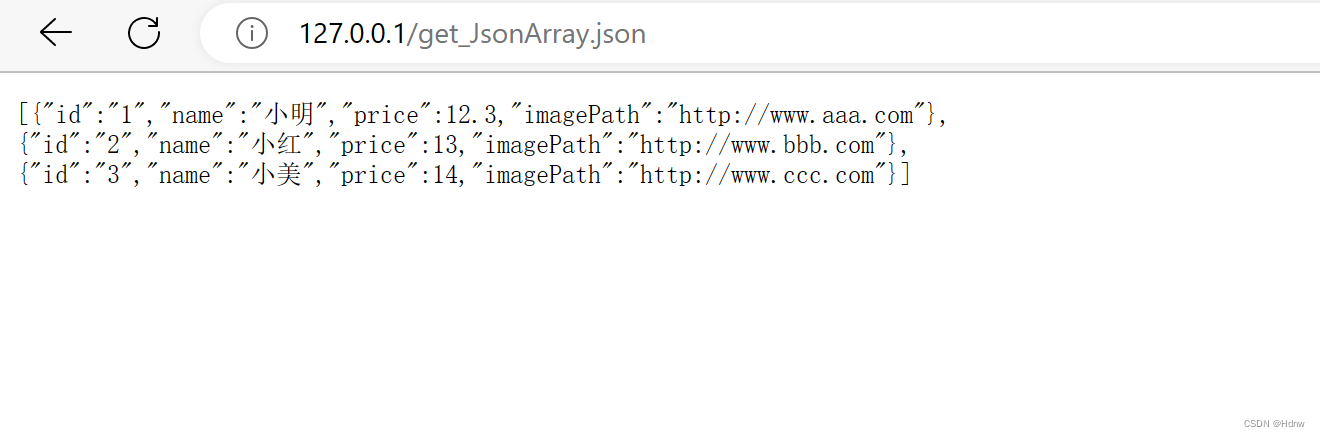
这时,在浏览器中访问http://127.0.0.1/get_JsonArray.json这个网址,就会出现如下内容
4.在Android Studio中,使用OkHttp给服务器发送请求来获得JSON数据。
10.0.2.2对于模拟器来说就是计算机本机的IP地址,所以HTTP的请求地址为http://10.0.2.2/get_JsonArray.json,
要在模拟器上发送请求需要模拟器是联网的。
由于这里服务器的接口是HTTP,从Android 9.0系统开始,应用程序默认允许使用HTTPS类型的网络请求,而我用的Apache服务器现在使用的是HTTP,所以要进行网络安全配置。
<application
    android:allowBackup="true"
    android:dataExtractionRules="@xml/data_extraction_rules"
    android:fullBackupContent="@xml/backup_rules"
    android:icon="@mipmap/ic_launcher"
    android:label="@string/app_name"
    android:roundIcon="@mipmap/ic_launcher_round"
    android:supportsRtl="true"
    android:theme="@style/Theme.OkhttpRetrofit"
    tools:targetApi="31"
    android:networkSecurityConfig="@xml/network_config">
新建network_config.xml文件
<?xml version="1.0" encoding="utf-8"?>
<network-security-config>
    <base-config cleartextTrafficPermitted="true">
        <trust-anchors>
            <certificates src="system" />
        </trust-anchors>
    </base-config>
</network-security-config>获取JSON数据的代码:
private fun sendRequestWithOkHttp(){
        thread {
            try {
                val client=OkHttpClient()
                val request=Request.Builder()
                    .url("http://10.0.2.2/data/get_JsonArray.json")
                    .build()
                val response=client.newCall(request).execute()
                val responseData=response.body?.string()
                if(responseData!=null){
                    //这里写上解析JSON数据的方法
                }
            }catch (e:Exception){
                e.printStackTrace()
            }
        }
    }


 493
493


 被折叠的 条评论
为什么被折叠?
被折叠的 条评论
为什么被折叠?
 到【灌水乐园】发言


