


日期参数
需要在控制类使用@DateTimeFormat注解
package com.ming.controller;
import org.springframework.format.annotation.DateTimeFormat;
import org.springframework.web.bind.annotation.RequestMapping;
import org.springframework.web.bind.annotation.RestController;
import java.time.LocalDateTime;
@RestController
public class Requsetcontroller {
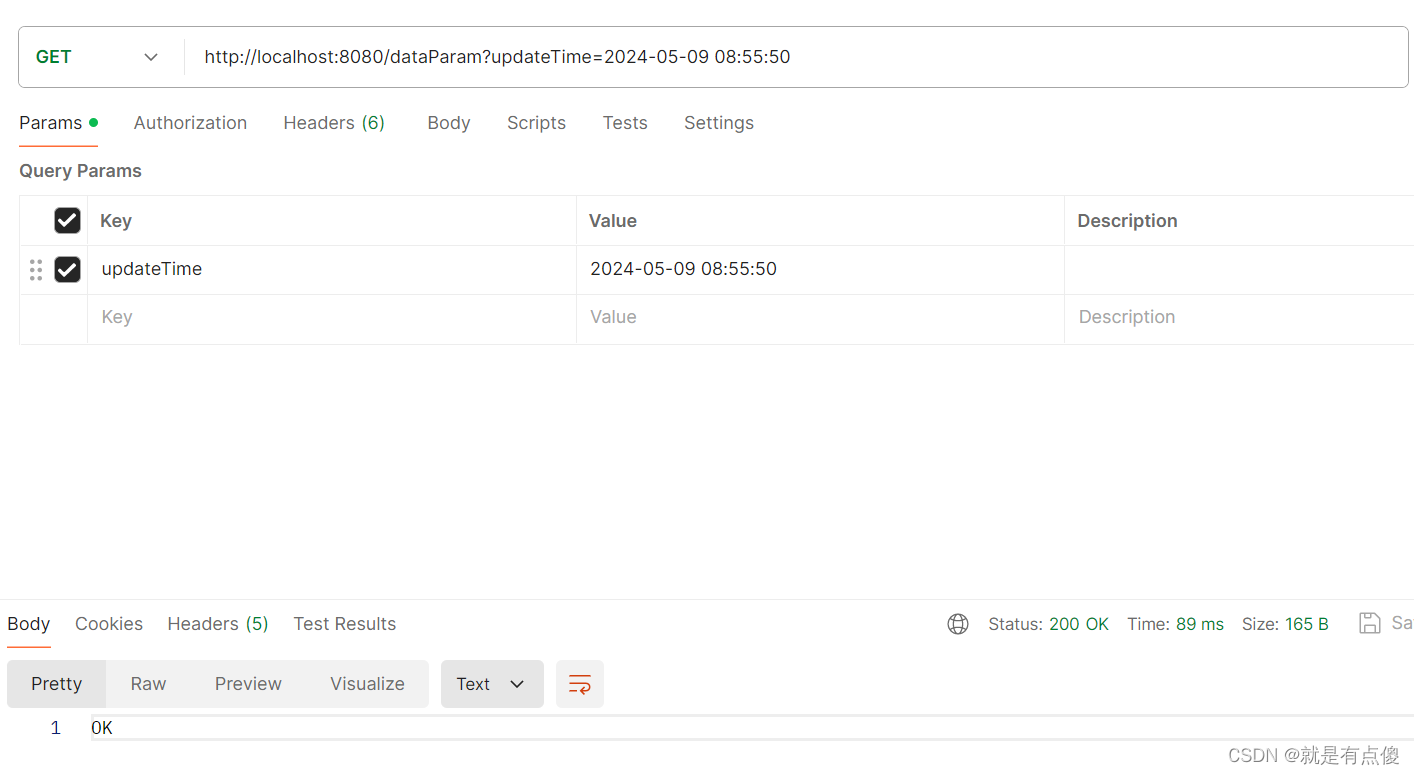
@RequestMapping("/dataParam")
public String dataParam(@DateTimeFormat(pattern = "yyyy-MM-dd HH:mm:ss")LocalDateTime updateTime){
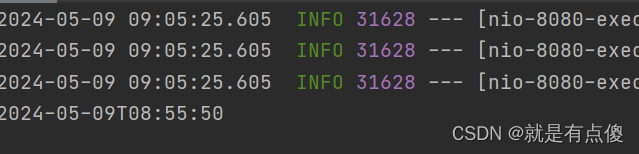
System.out.println(updateTime);
return "OK";
}
}
在postman中使用get请求 返回ok
在idea中我们可以看见返回的数据
注意 @DateTimeFormat中的pattern 必须使用yyyy-MM-dd HH:mm:ss 否则会报错
接受json格式的参数
json格式的数据要放在请求体当中的
json中所有的数据都要用双引号
json数据的键名与形参对象属性名相同,定义POJO类型形参即可接收参数,需要使用@RequestBody
@RequestBody这个注解将json格式的数据封装到实体对象当中
其中的user类
package com.ming.pojo;
public class User {
private String name;
private int age;
private Address address;
public String getName() {
return name;
}
public void setName(String name) {
this.name = name;
}
public int getAge() {
return age;
}
public void setAge(int age) {
this.age = age;
}
public Address getAddress() {
return address;
}
public void setAddress(Address address) {
this.address = address;
}
@Override
public String toString() {
return "User{" +
"name='" + name + '\'' +
", age=" + age +
", address=" + address +
'}';
}
}
其中的address类
package com.ming.pojo;
public class Address {
private String province;
private String city;
public String getProvince() {
return province;
}
public void setProvince(String province) {
this.province = province;
}
public String getCity() {
return city;
}
public void setCity(String city) {
this.city = city;
}
@Override
public String toString() {
return "Address{" +
"province='" + province + '\'' +
", city='" + city + '\'' +
'}';
}
}
然后是请求类
package com.ming.controller;
import com.ming.pojo.User;
import org.springframework.web.bind.annotation.RequestBody;
import org.springframework.web.bind.annotation.RequestMapping;
import org.springframework.web.bind.annotation.RestController;
@RestController
public class Requsetcontroller {
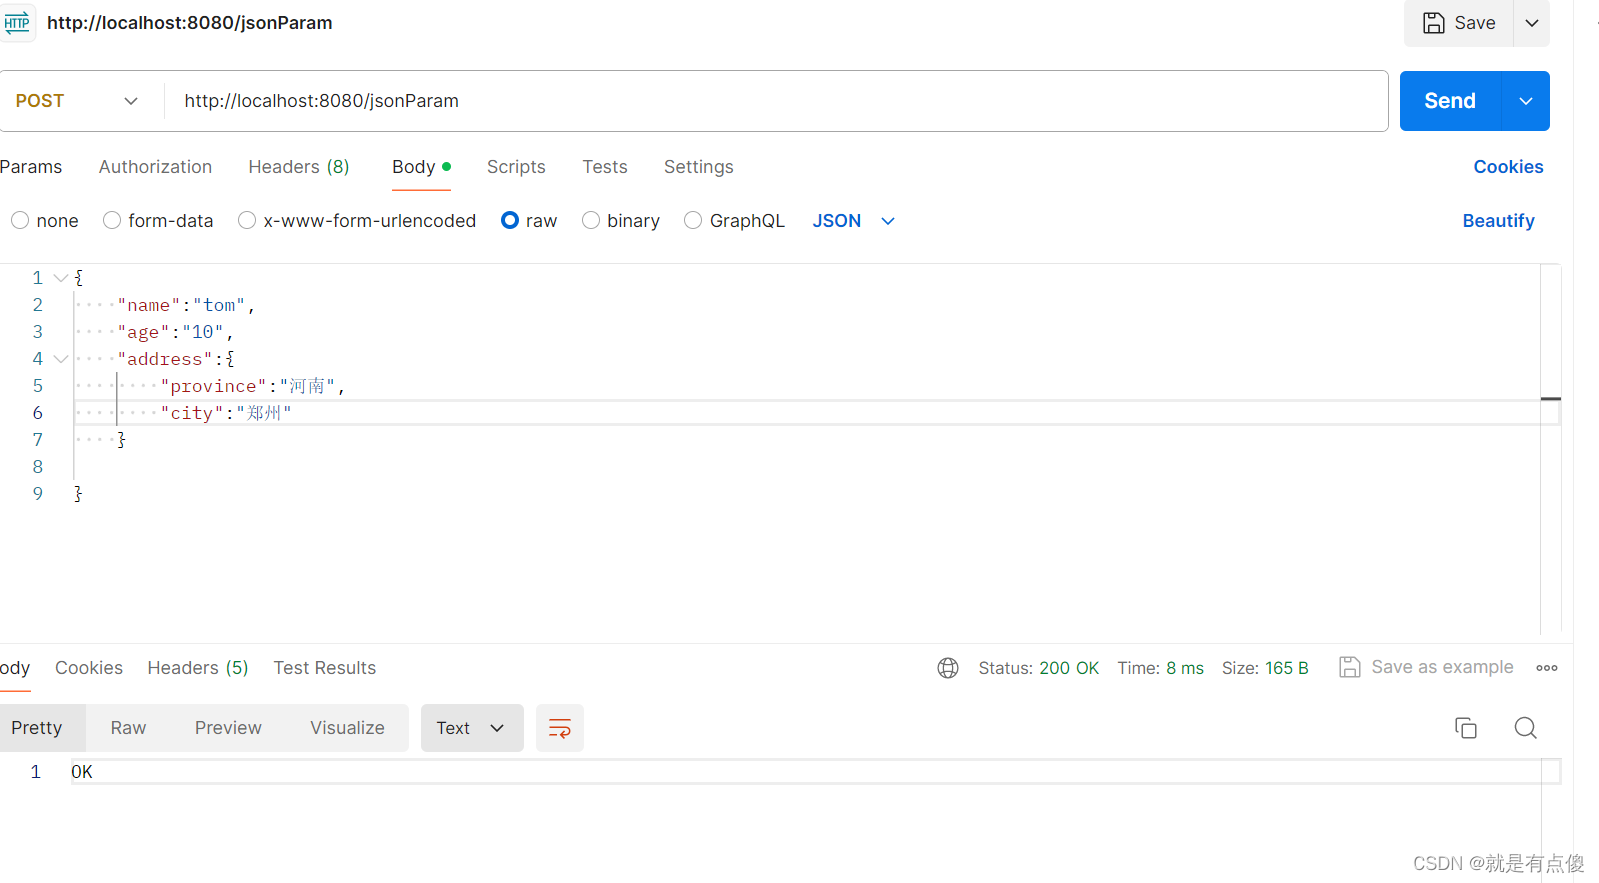
@RequestMapping("/jsonParam")
public String jsonParam(@RequestBody User user){
System.out.println(user);
return "OK";
}
}
运行以后在postman 将测试的json格式数据写到body里面的raw里面
在idea控制台我们可以看见数据

路径参数
路径参数:通过请求URL直接传递参数,使用{...}来标识,需要使用@PathVariable获取路径
package com.ming.controller;
import com.ming.pojo.User;
import org.springframework.web.bind.annotation.PathVariable;
import org.springframework.web.bind.annotation.RequestBody;
import org.springframework.web.bind.annotation.RequestMapping;
import org.springframework.web.bind.annotation.RestController;
@RestController
public class Requsetcontroller {
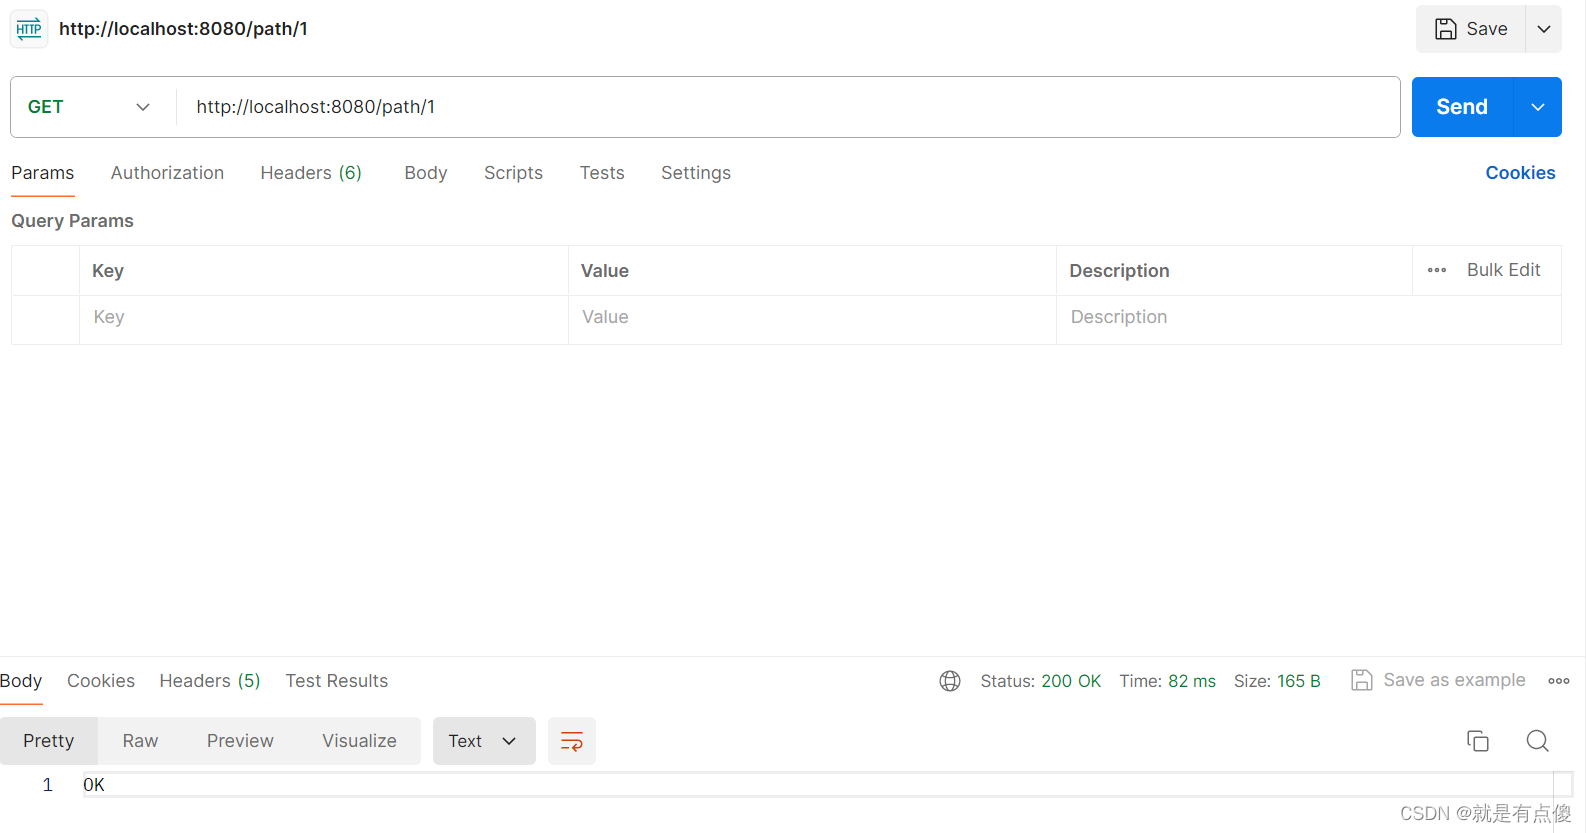
@RequestMapping("/path/{id}")
public String PathParam(@PathVariable Integer id){
System.out.println(id);
return "OK";
}
}
在postman中设置路径
然后路径id被打印到了Java控制台

那么如何传递多个参数呢?
我们在方法中加入多个变量即可并且在注解中加入该变量 例如 /path/{id}/{name}
注意 每一个方法变量前面都需要添加@PathVariable
package com.ming.controller;
import com.ming.pojo.User;
import org.springframework.web.bind.annotation.PathVariable;
import org.springframework.web.bind.annotation.RequestBody;
import org.springframework.web.bind.annotation.RequestMapping;
import org.springframework.web.bind.annotation.RestController;
@RestController
public class Requsetcontroller {
@RequestMapping("/path/{id}")
public String PathParam(@PathVariable Integer id){
System.out.println(id);
return "OK";
}
@RequestMapping("/path/{id}/{name}")
public String PathParam(@PathVariable Integer id,@PathVariable String name){
System.out.println(id+":"+name);
return "OK";
}
}
在get请求中输入 http://localhost:8080/path/1/张三

在Java控制台中的结果为


 7790
7790

 被折叠的 条评论
为什么被折叠?
被折叠的 条评论
为什么被折叠?
 到【灌水乐园】发言


