


准备三台机器:
server.example.com
node1.example.com
node2.example.com
首先就是克隆3台机器,最好是配置好yum源的,server机器需要有ansible,ssh,另外两台需要有ssh和python
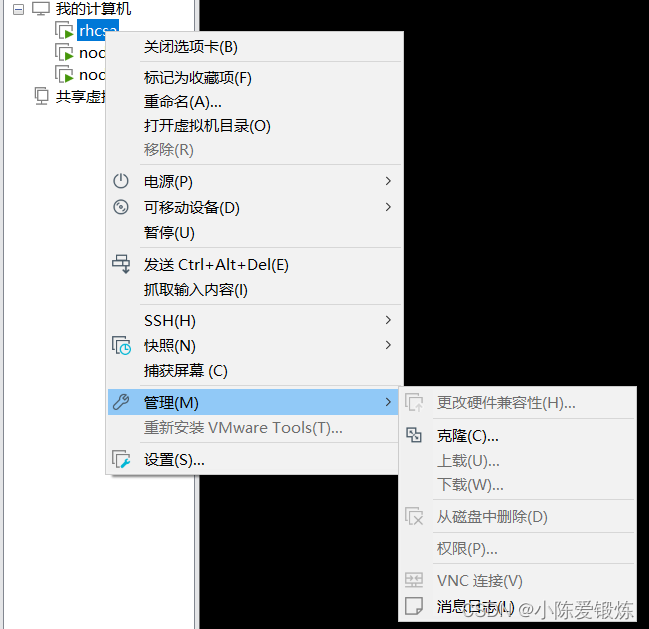
直接克隆就可以
配置IP,主机名,/etc/hosts
分别手动对三台机器配置ip,使其设置为method
nmcli connection add ipv4.addresses 192.168.38.128 ipv4.gateway 192.168.38.2 ipv4.dns 8.8.8.8 ipv4.method
nmcli connection add ipv4.addresses 192.168.38.130 ipv4.gateway 192.168.38.2 ipv4.dns 8.8.8.8 ipv4.method
nmcli connection add ipv4.addresses 192.168.38.132 ipv4.gateway 192.168.38.2 ipv4.dns 8.8.8.8 ipv4.method
分别对三台机器设置主机名
hostnamectl set-hostname server.example.com
hostnamectl set-hostname node1.example.com
hostnamectl set-hostname node2.example.com
配置主机名和IP地址的映射关系
在三台机器分别输入以下代码
[root@node2 ~]# echo "192.168.38.128 server.example.com" >> /etc/hosts
[root@node2 ~]# echo "192.168.38.130 node2.example.com" >> /etc/hosts
[root@node2 ~]# echo "192.168.38.132 node1.example.com" >> /etc/hosts
然后去配置免密登录
免密登录是让server这个机器免密登录其他机器
首先产生密钥
[root@server ~]# ssh-keygen -t rsa然后将公钥传给其余两台机器
ssh-copy-id root@node1.example.com

ssh-copy-id root@node2.example.com
此时即可免密登录,测试如下
[root@server ~]# ssh root@node1.example.com
Activate the web console with: systemctl enable --now cockpit.socket

This system is not registered to Red Hat Insights. See https://cloud.redhat.com/
To register this system, run: insights-client --register

Last login: Tue Aug  2 16:41:14 2022 from 192.168.38.128
[root@node1 ~]#
[root@server ~]# ssh root@node2.example.com
Activate the web console with: systemctl enable --now cockpit.socket

This system is not registered to Red Hat Insights. See https://cloud.redhat.com/
To register this system, run: insights-client --register

Last login: Tue Aug  2 16:41:14 2022 from 192.168.38.128
[root@node2 ~]#
配置yum源使用Centos-stream.repo
我们需要将Centos-stream.repo下载到/etc/yum.repos.d/上
首先将原有的Centos-vault-8.5.2111.repo加个后缀此时就不生效
mv Centos-vault-8.5.2111.repo Centos-vault-8.5.2111.repo.bak然后将windows上的传入linux
C:\Users\陈志行>sftp root@192.168.38.128
root@192.168.38.128's password:
Connected to 192.168.38.128.
sftp> put D:\CentOS-Stream.repo /etc/yum.repos.d/
Uploading D:/CentOS-Stream.repo to /etc/yum.repos.d/CentOS-Stream.repo
D:/CentOS-Stream.repo                                                                 100% 1215     1.2MB/s   00:00
sftp>
安装ansible
rpm -ivh https://mirrors.tuna.tsinghua.edu.cn/zabbix/zabbix/6.0/rhel/8/x86_64/zabbix-release-6.0-1.el8.noarch.rpm第二步安装
https://mirrors.tuna.tsinghua.edu.cn/epel/epel-release-latest-8.noarch.rpm
yum install https://mirrors.tuna.tsinghua.edu.cn/epel/epel-release-latest-8.noarch.rpm最后一步就是安装ansible
yum install ansible -y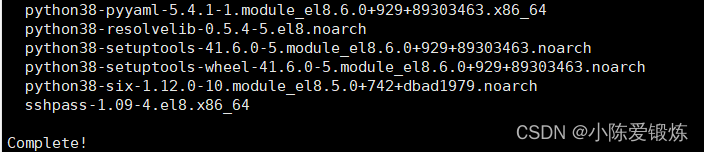
使用ansible --version去验证

配置清单:
[node]
node1.example.com
node2.example.com
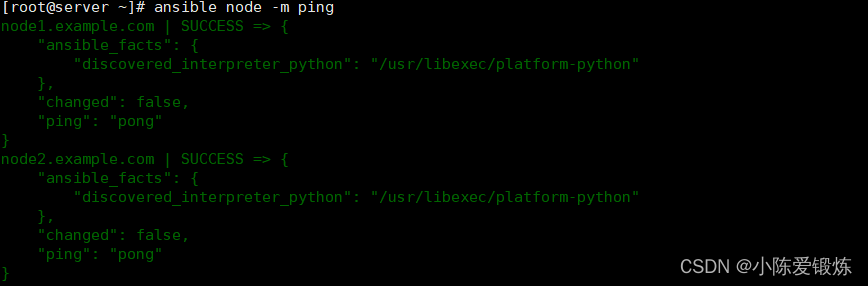
使用ansible node -m ping去验证
vim /etc/ansible/hosts
此时已完成即可验证


 659
659


 被折叠的 条评论
为什么被折叠?
被折叠的 条评论
为什么被折叠?
 到【灌水乐园】发言


