 SpringAI集成DeepSeek的实现步骤


1、利用spring-ai-openai集成DeepSeek
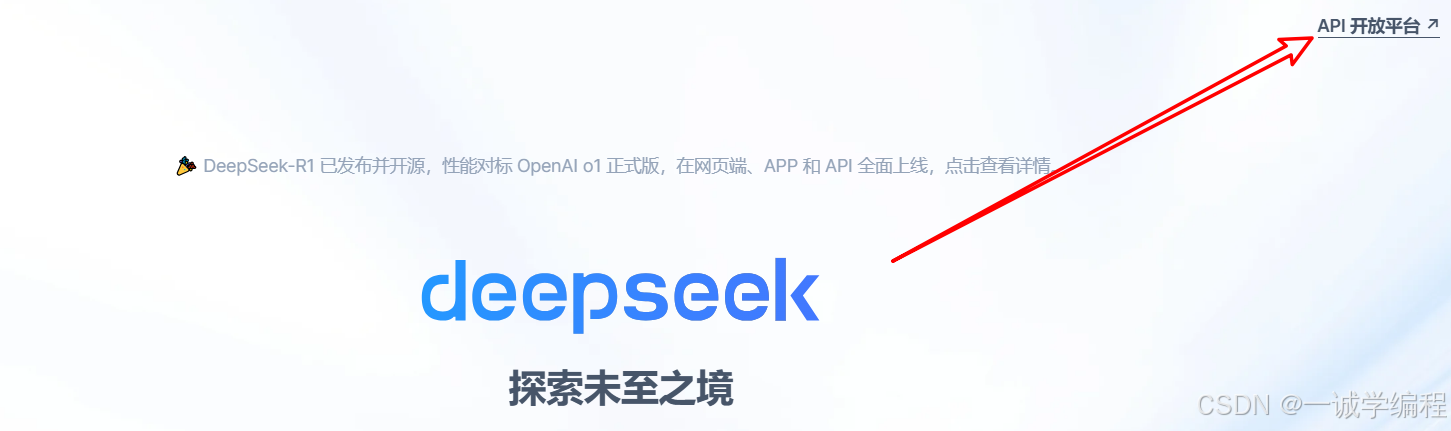
1.1、在 DeepSeek 开放平台创建API KEY
1.2、创建SpringBoot工程,引入依赖
<?xml version="1.0" encoding="UTF-8"?>
<project xmlns="http://maven.apache.org/POM/4.0.0"
         xmlns:xsi="http://www.w3.org/2001/XMLSchema-instance"
         xsi:schemaLocation="http://maven.apache.org/POM/4.0.0 http://maven.apache.org/xsd/maven-4.0.0.xsd">
    <modelVersion>4.0.0</modelVersion>

    <parent>
        <groupId>org.springframework.boot</groupId>
        <artifactId>spring-boot-starter-parent</artifactId>
        <version>3.3.8</version>
        <relativePath/> <!-- lookup parent from repository -->
    </parent>

    <groupId>org.example</groupId>
    <artifactId>springai-deepseek</artifactId>
    <version>1.0-SNAPSHOT</version>

    <properties>
        <maven.compiler.source>17</maven.compiler.source>
        <maven.compiler.target>17</maven.compiler.target>
        <spring-ai.version>1.0.0-M5</spring-ai.version>
    </properties>

    <dependencies>
        <dependency>
            <groupId>org.springframework.boot</groupId>
            <artifactId>spring-boot-starter-web</artifactId>
        </dependency>

        <dependency>
            <groupId>org.springframework.ai</groupId>
            <artifactId>spring-ai-openai-spring-boot-starter</artifactId>
        </dependency>

        <dependency>
            <groupId>org.springframework.boot</groupId>
            <artifactId>spring-boot-starter-test</artifactId>
            <scope>test</scope>
        </dependency>
    </dependencies>
    <dependencyManagement>
        <dependencies>
            <dependency>
                <groupId>org.springframework.ai</groupId>
                <artifactId>spring-ai-bom</artifactId>
                <version>${spring-ai.version}</version>
                <type>pom</type>
                <scope>import</scope>
            </dependency>
        </dependencies>
    </dependencyManagement>

</project>
1.3、创建配置文件
application.properties
server.port=8899
spring.application.name=spring-ai-deepseek-demo
spring.ai.openai.api-key=sk-136298bee728426280df86bd9****
spring.ai.openai.base-url=https://api.deepseek.com
spring.ai.openai.chat.options.model=deepseek-chat
spring.ai.openai.chat.options.temperature=0.7
#temperature参数用于控制生成文本的多样性。具体来说:
#值越高,生成的文本越多样化,但也可能包含更多的随机性和不可预测的内容。
#值越低,生成的文本越接近于确定性的结果,即生成的文本会更加一致和可预测。
1.4、创建启动类
@SpringBootApplication
public class SpringAiDemoApplication {

    public static void main(String[] args) {
        SpringApplication.run(SpringAiDemoApplication.class, args);
    }

}
1.5、创建Controller
@RestController
public class ChatDeepSeekController {

    @Autowired
    private OpenAiChatModel chatModel;

    @GetMapping("/ai/generate")
    public String generate(@RequestParam(value = "message", defaultValue = "hello")
                           String message) {
        String response = this.chatModel.call(message);
        System.out.println("response : "+response);
        return response;
    }
}


 2863
2863

 被折叠的 条评论
为什么被折叠?
被折叠的 条评论
为什么被折叠?
 到【灌水乐园】发言


