1.在idea中配置Tomcat的步骤:
![](https://img-blog.csdnimg.cn/img_convert/401999221503c945d147d3f2bceb0482.png)
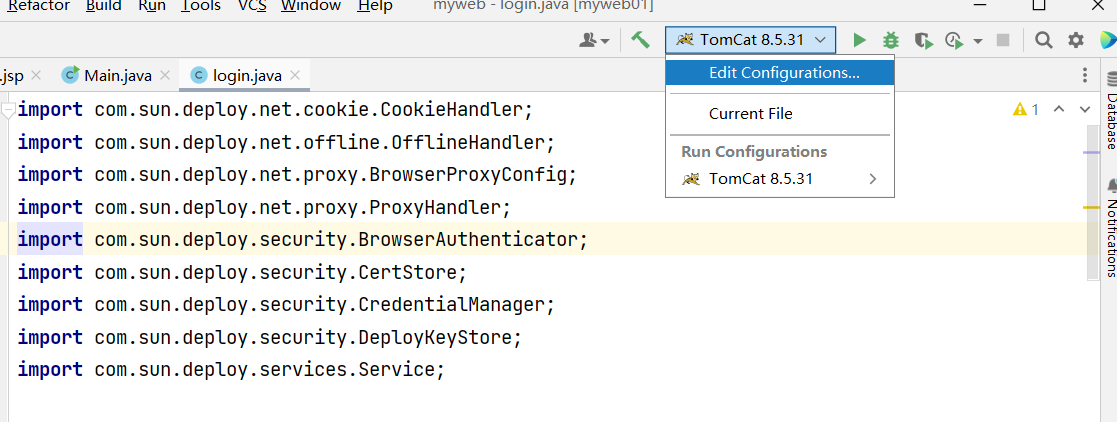
2.点击上边小锤子右边的小长方体,进入选项编辑配置文件。
![](https://img-blog.csdnimg.cn/img_convert/36c8af7d711515c6ff76e658da5ef2a6.png)
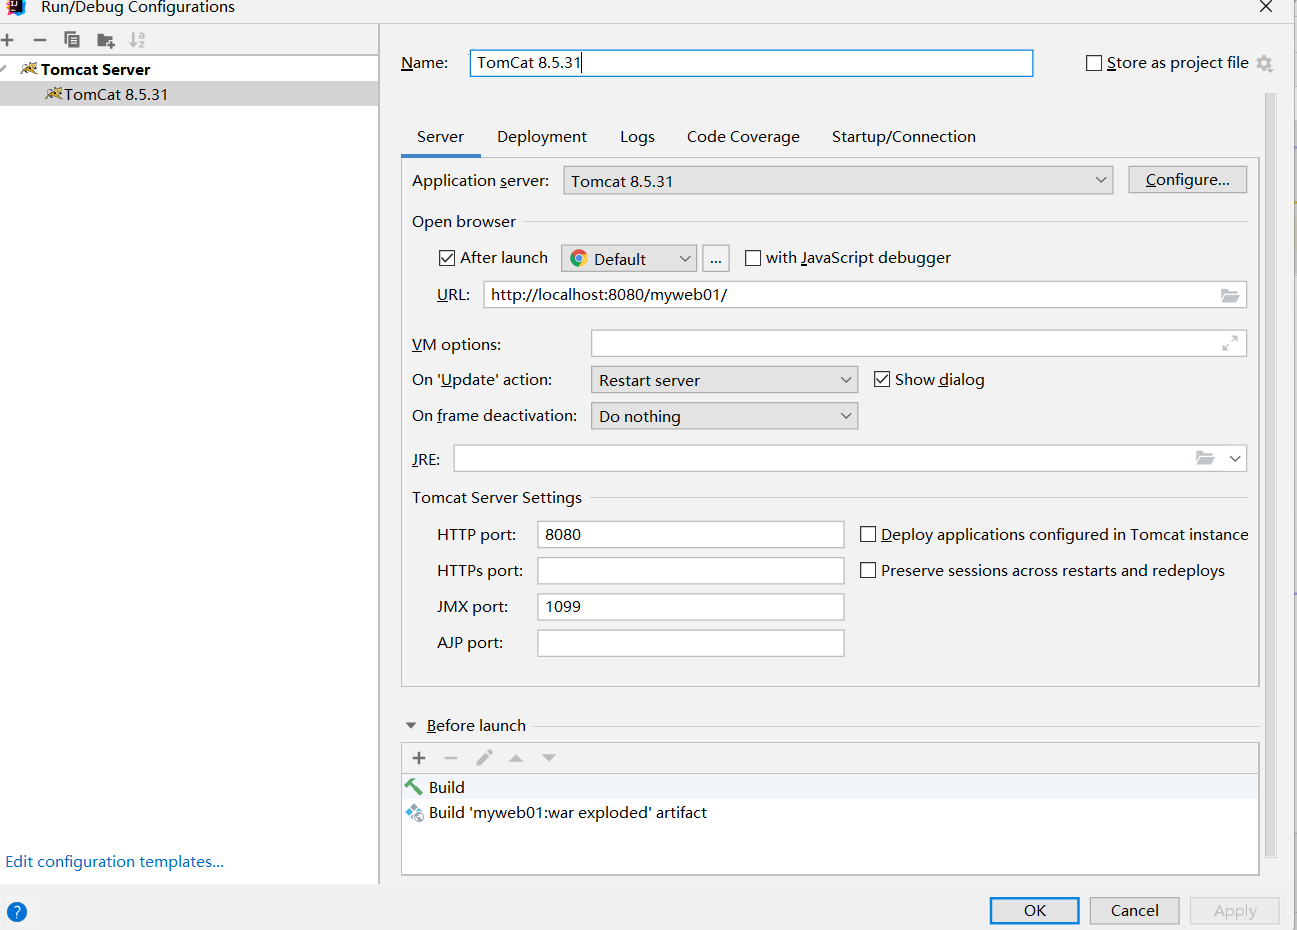
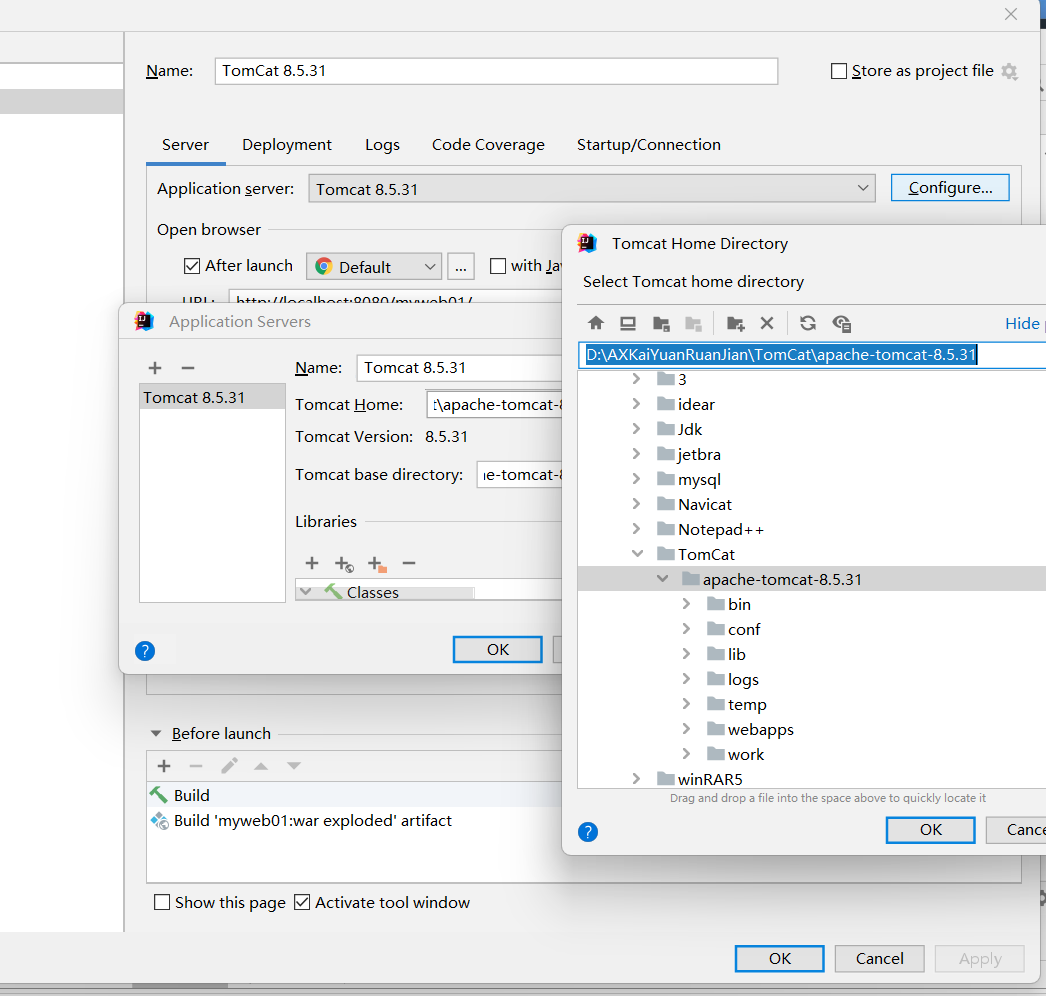
3.点击+号,选择Tomcat Serveer 目录下的local
![](https://img-blog.csdnimg.cn/img_convert/abfb8b26632eff9c3563016f06a41fb0.png)
4.设置里边的名字,这个名字需要和下边application server的名字相同,并且不可以复制粘贴。剩余的大致不需要改动,保持原状即可,当修改完成后,下边会红字提示你现在还没有创建一个项目。点击OK。
![](https://img-blog.csdnimg.cn/img_convert/d9aad283c010125f74ba89c7b093a527.png)
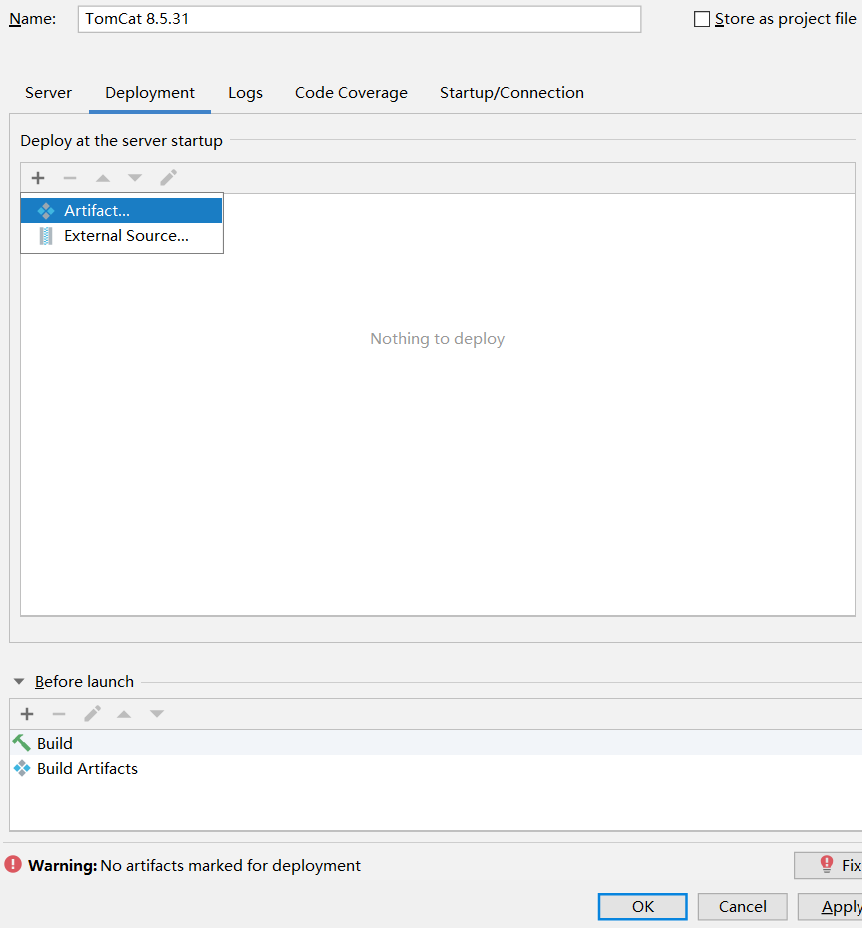
5.点击Deployment,点击+号创建artfaces,并且修改application context的后缀_war_exploded(方便记忆)
![](https://img-blog.csdnimg.cn/img_convert/fc78b7149edea3b5c962d6a9bbf88f42.png)
![](https://img-blog.csdnimg.cn/img_convert/5e8ddf11921a2a52fc15e80e77515935.png)
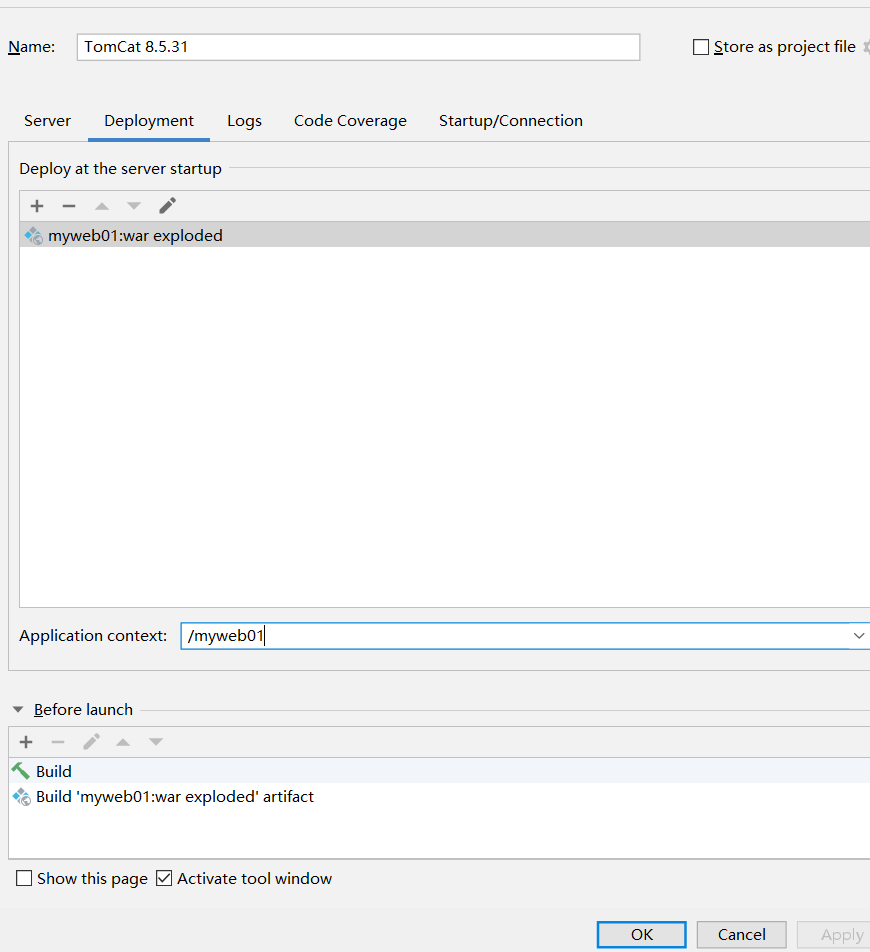
6.选择application server
![](https://img-blog.csdnimg.cn/img_convert/f68d9a8155d30a44f8676d5d2ca9181a.png)
![](https://img-blog.csdnimg.cn/img_convert/1c84bc0ef57fcb8ef9927bcdc964f649.png)
点击OK即可
编辑web,并发布
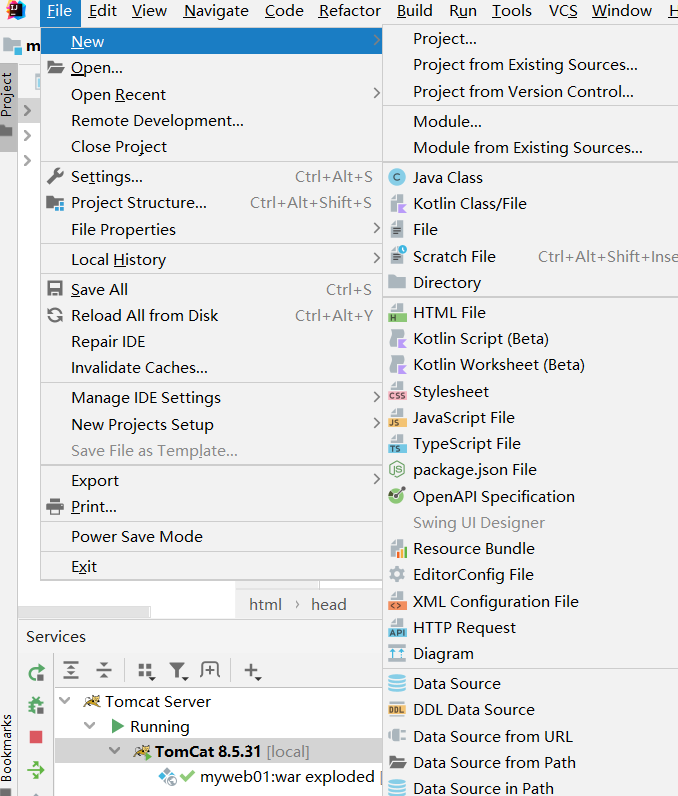
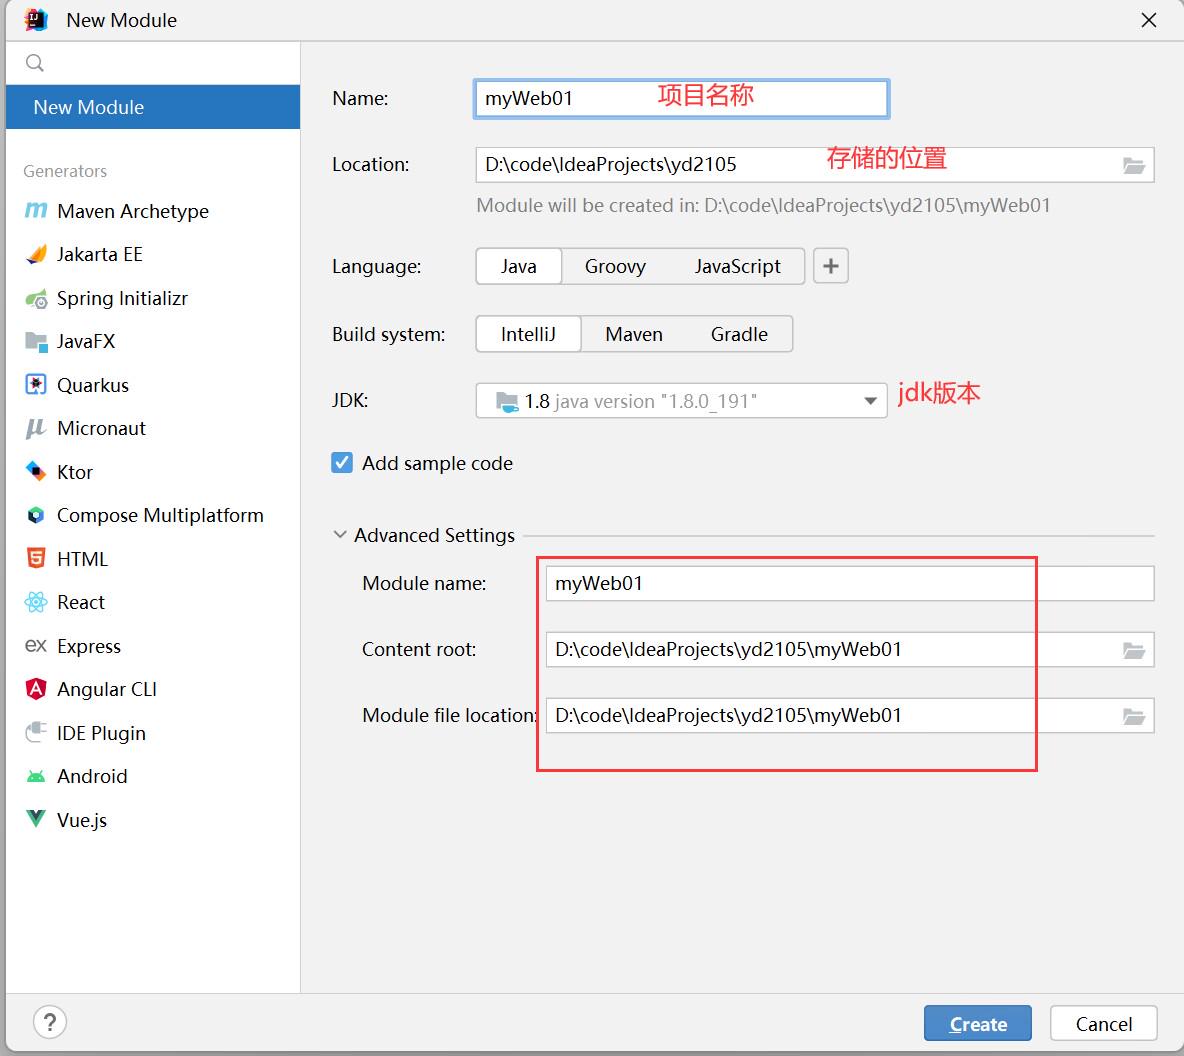
第一步,首先创建项目project(点击第一个)
![](https://img-blog.csdnimg.cn/img_convert/292348712be067f1568b53e4a6240e8e.png)
![](https://img-blog.csdnimg.cn/img_convert/0706bf205e0e23839548f93cd9bfcea4.png)
![](https://img-blog.csdnimg.cn/img_convert/f10a565ad101b077950019c3840692c7.jpeg)
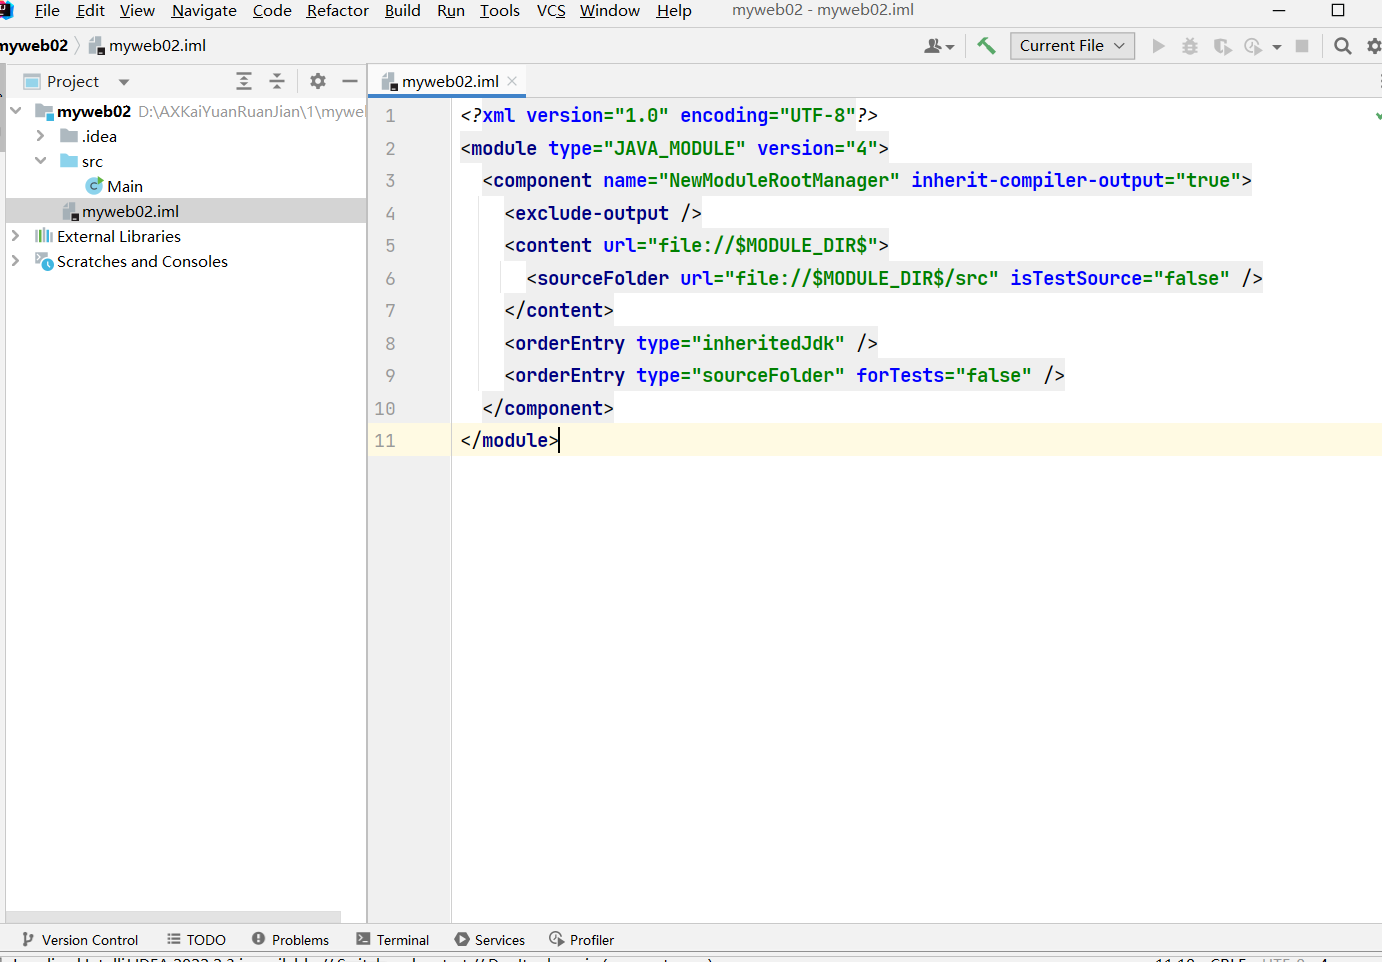
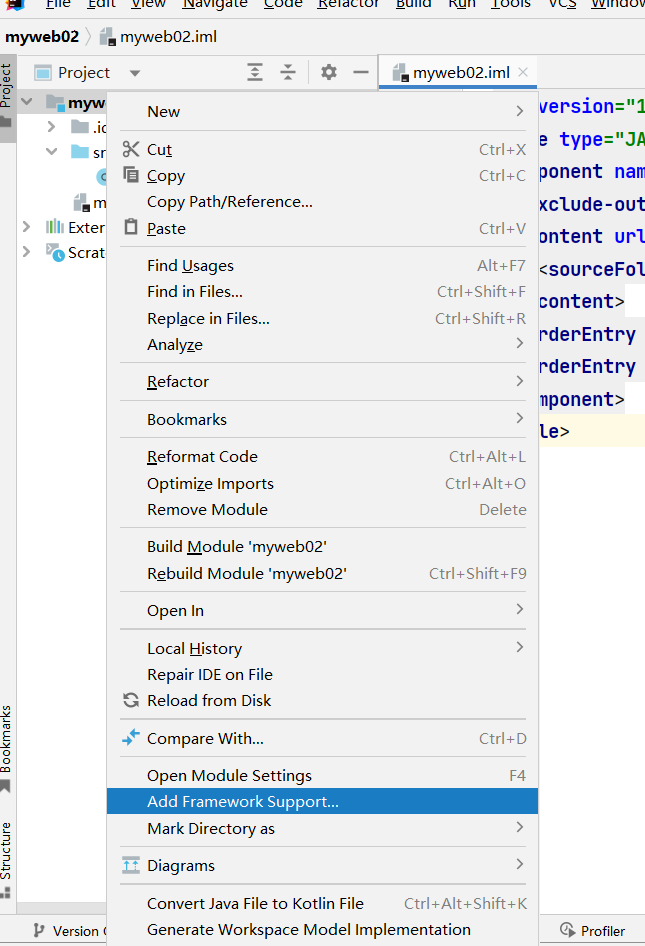
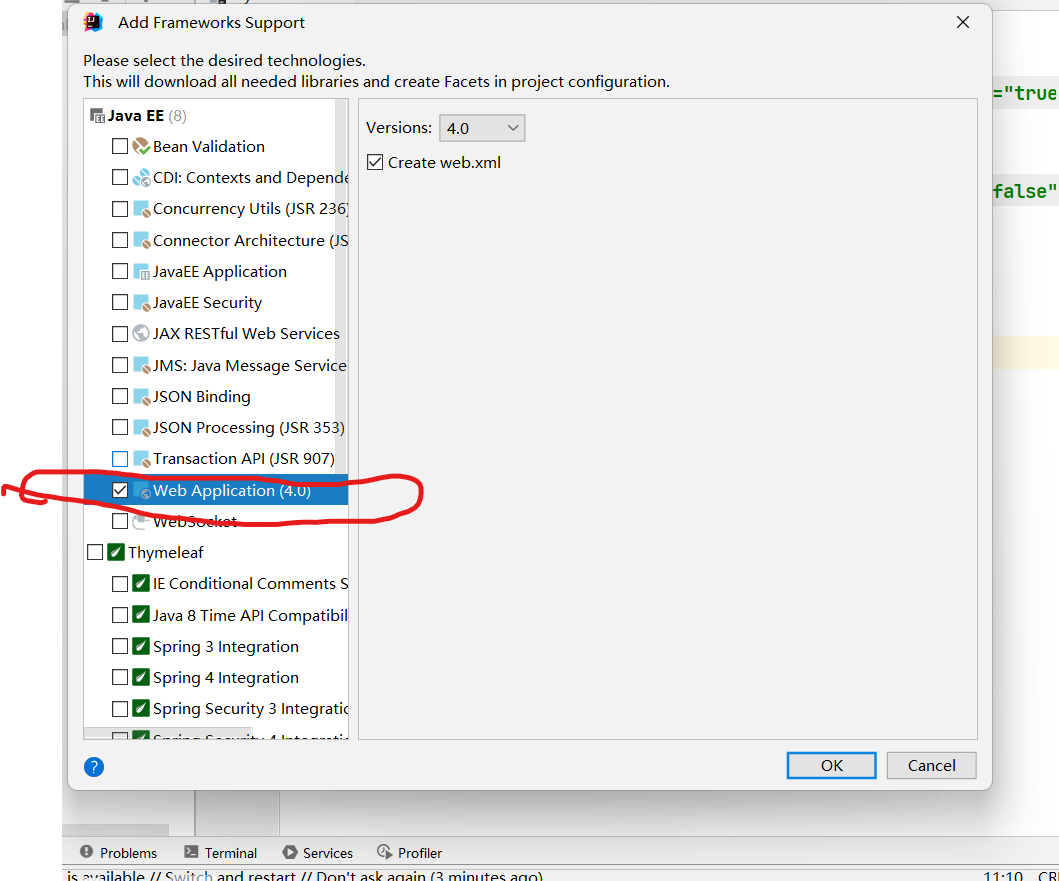
第二步,右键重新创建项目,把项目添加为web项目,并且勾选web application(4.0),点击OK。
![](https://img-blog.csdnimg.cn/img_convert/b8666eb6b34654e3a60b9b2ba999c9aa.png)
![](https://img-blog.csdnimg.cn/img_convert/1136a61b20c455fdf3aaa84bfb26e09f.png)
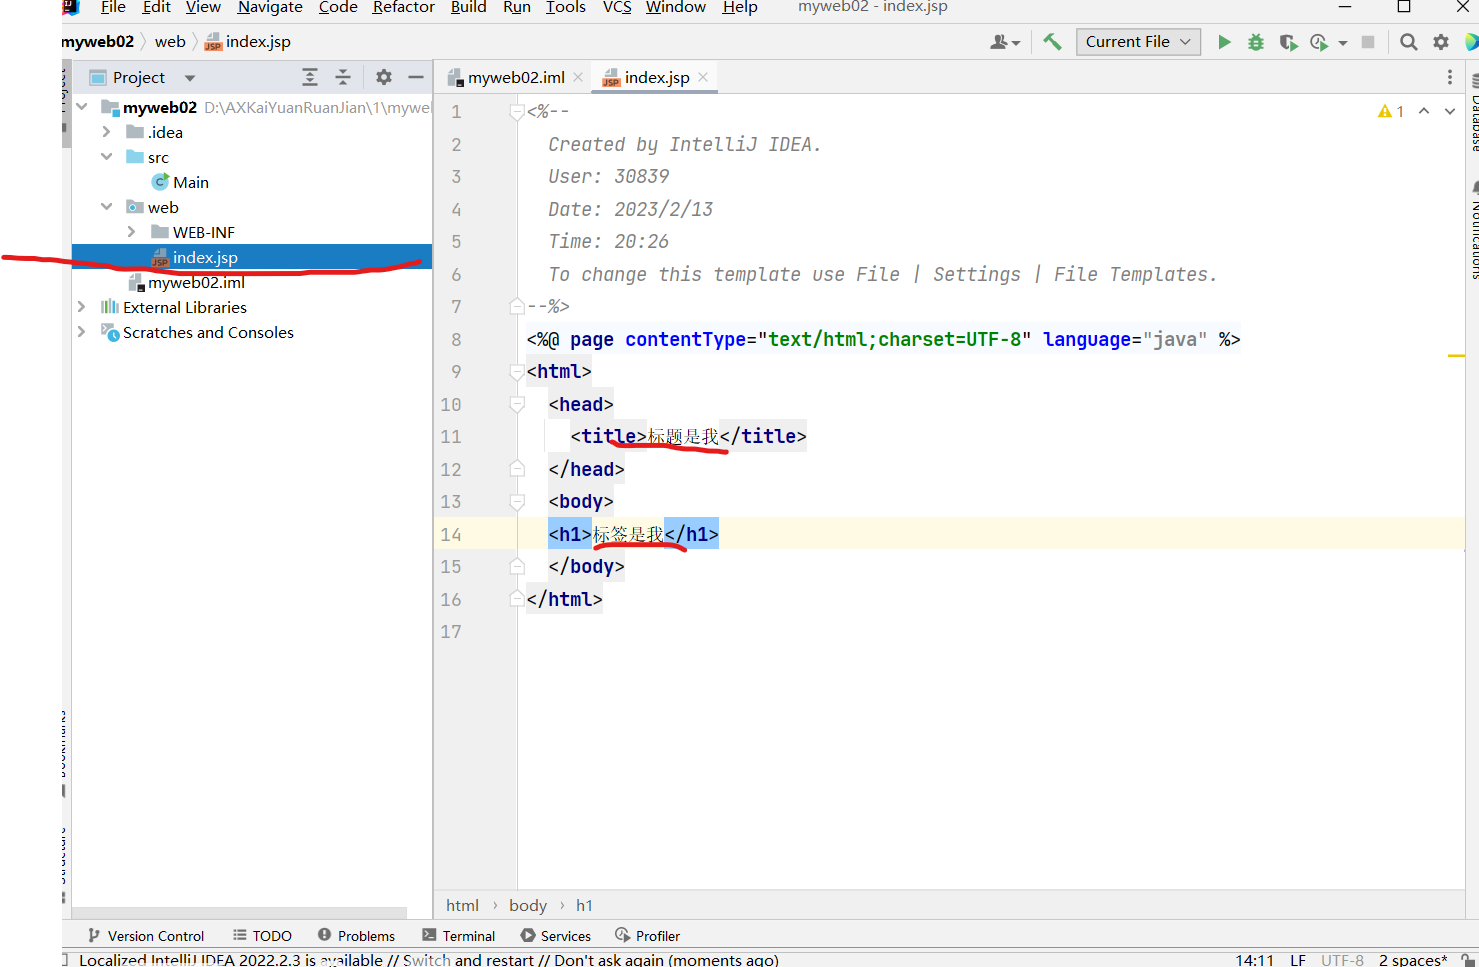
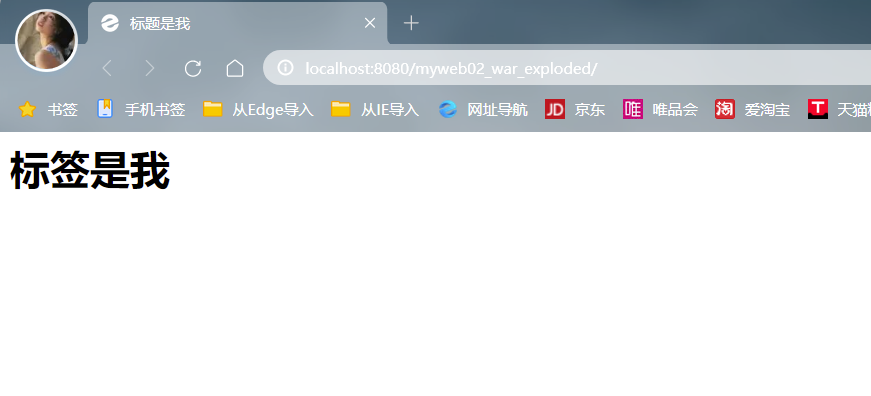
第三步在index.jsp中修改标题和标签,由于这个是没有配置Tomcat所以就不演示结果如何了
![](https://img-blog.csdnimg.cn/img_convert/387636b405fed6bdfb003161ec403582.png)
黑手
![](https://img-blog.csdnimg.cn/img_convert/578461e9f9b959e1f20f8fc30e6e6ade.png)