


Seata是一个比较成熟的分布式事务工具,非常好用,主流的的一套,网上大多都是1.4版本,以及不完整了,鄙人也是找了好久才找到有个1.7版本的详细教程(放在最后面了,毕竟是别人的技术,这里就当记录一下自己的解决方案)
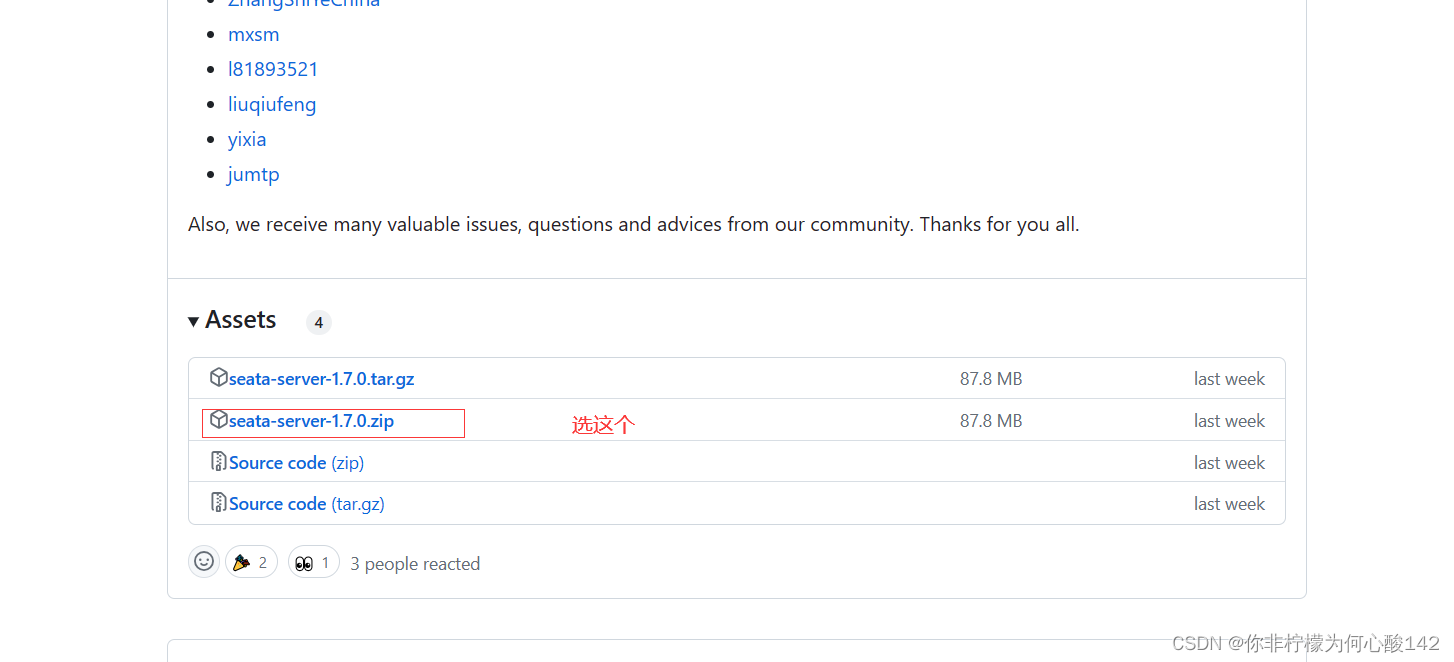
首先我没去github下载相对应的seata,网址放下面了
Releases · seata/seata (github.com)
选择相对应的版本进行下载
下载好解压结构如下,(最新版1.7版本)

config结构目录如下,(最新版只有两个配置文件)

接下来我们去修改配置文件让它走nacos的路线(默认走file路线),打开application.yml文件
我配置好的如下
server:
  port: 7091

spring:
  application:
    name: seata-server

logging:
  config: classpath:logback-spring.xml
  file:
    path: D:\img_CSDN\seata-server-1.7.0\seata\logs.
  extend:
    logstash-appender:
      destination: 127.0.0.1:4560
    kafka-appender:
      bootstrap-servers: 127.0.0.1:9092
      topic: logback_to_logstash

console:
  user:
    username: seata
    password: seata
seata:
  config:
    type: nacos
    nacos:
      server-addr: 127.0.0.1:8848
      namespace:
      group: SEATA_GROUP
      username:
      password:
      context-path:
      data-id: seataServer.properties
      ##if use MSE Nacos with auth, mutex with username/password attribute
      #access-key:
      #secret-key:
  registry:
    # support: nacos, eureka, redis, zk, consul, etcd3, sofa
    type: nacos
    nacos:
      application: seata-server
      server-addr: 127.0.0.1:8848
      group: SEATA_GROUP
      namespace:
      cluster: default
      username:
      password:
      context-path:
  store:
    # support: file 、 db 、 redis
    mode: file
#  server:
#    service-port: 8091 #If not configured, the default is '${server.port} + 1000'
  security:
    secretKey: SeataSecretKey0c382ef121d778043159209298fd40bf3850a017
    tokenValidityInMilliseconds: 1800000
    ignore:
      urls: /,/**/*.css,/**/*.js,/**/*.html,/**/*.map,/**/*.svg,/**/*.png,/**/*.jpeg,/**/*.ico,/api/v1/auth/login
application.example.yml不需要修改
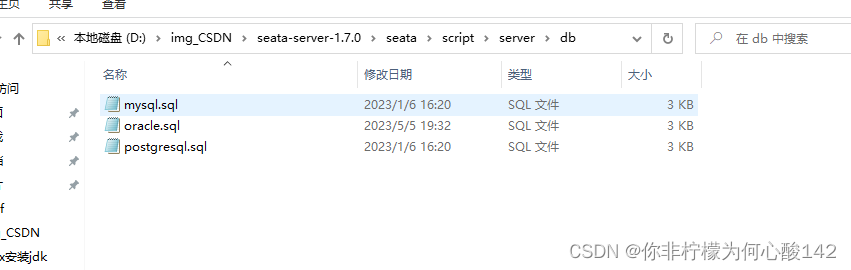
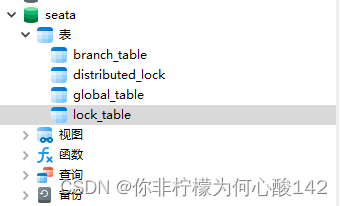
再将script下面的server下面的db文件夹里面的sql脚本运行添加数据库(有三个表)
运行完有如下几个表
接下来我们在nacos添加配置文件,mysql链接名和密码输入自己的,文件名与application.yml
的data-id一致,我这里取名seataServer.properties,group则是group设置的名字


我的配置也放下面了,
#Transaction storage configuration, only for the server.
store.mode=db
store.lock.mode=db
store.session.mode=db

#These configurations are required if the `store mode` is `db`.
store.db.datasource=druid
store.db.dbType=mysql
store.db.driverClassName=com.mysql.cj.jdbc.Driver
store.db.url=jdbc:mysql://localhost:3306/seata?useSSL=false&useUnicode=true&rewriteBatchedStatements=true
store.db.user=root
store.db.password=root
store.db.minConn=5
store.db.maxConn=30
store.db.globalTable=global_table
store.db.branchTable=branch_table
store.db.distributedLockTable=distributed_lock
store.db.queryLimit=100
store.db.lockTable=lock_table
store.db.maxWait=5000
到这里就已经配置好了,直接启动seata,出现如下就表示成功,

我们打开nacos,发现它以及注册上去了,就表示成功了

希望能帮到各位小伙伴,这篇文件引至别人的,并非自己想到的原创


 393
393


 被折叠的 条评论
为什么被折叠?
被折叠的 条评论
为什么被折叠?
 到【灌水乐园】发言


