


文章目录
- 一、项目准备
- 二、使用步骤
- 1:第一个页面
- 2:第二个页面
一、项目准备
先建一个空的android项目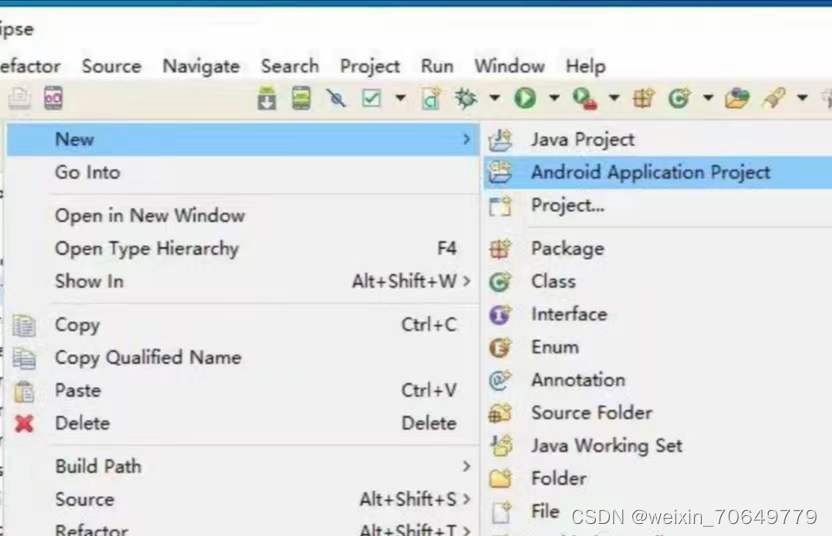
一、插入背景图片
代码如下(示例):
<LinearLayout xmlns:android="http://schemas.android.com/apk/res/android"
    xmlns:tools="http://schemas.android.com/tools"
    android:layout_width="match_parent"
    android:layout_height="match_parent"
    android:background="@drawable/ic_launcher"
    tools:context=".MainActivity" >
</LinearLayout>
2.实现自动跳转
代码如下(示例):
import android.os.Build;
import android.os.Bundle;
import android.annotation.TargetApi;
import android.app.Activity;
import android.content.Intent;
import android.view.Menu;
import android.view.WindowManager;

public class MainActivity extends Activity {

    @TargetApi(Build.VERSION_CODES.HONEYCOMB) @Override
    protected void onCreate(Bundle savedInstanceState) {
        super.onCreate(savedInstanceState);
        //隐藏状态栏
        getWindow().addFlags(WindowManager.LayoutParams.FLAG_FULLSCREEN);
        //隐藏标题栏
        getActionBar().hide();
        setContentView(R.layout.activity_main);

        //开启一个线程(3秒自动跳转)
        Thread t=new Thread(new Runnable() {
            @Override
            public void run() {
                // 等待3秒
                try {
                    Thread.sleep(3000);
                } catch (InterruptedException e) {
                    // TODO Auto-generated catch block
                    e.printStackTrace();
                }
3:实现可跳转内容
activity_text.xml
<LinearLayout xmlns:android="http://schemas.android.com/apk/res/android"
xmlns:tools="http://schemas.android.com/tools"
android:layout_width="match_parent"
android:layout_height="match_parent"
android:orientation="vertical"
tools:context=".MainActivity" >
<LinearLayout
android:layout_width="match_parent"
android:layout_height="50dp" >
<TextView
android:layout_width="match_parent"
android:layout_height="match_parent"
android:background="#3b4141"
android:gravity="center"
android:text="用户注册"
 最低0.47元/天 解锁文章


 1001
1001


 被折叠的 条评论
为什么被折叠?
被折叠的 条评论
为什么被折叠?
 到【灌水乐园】发言


