


一、下载并安装 pywin32-304
pywin32-304下载地址如下:
https://github.com/mhammond/pywin32/releases
注意选择与自己Python版本和位数相对应的版本。
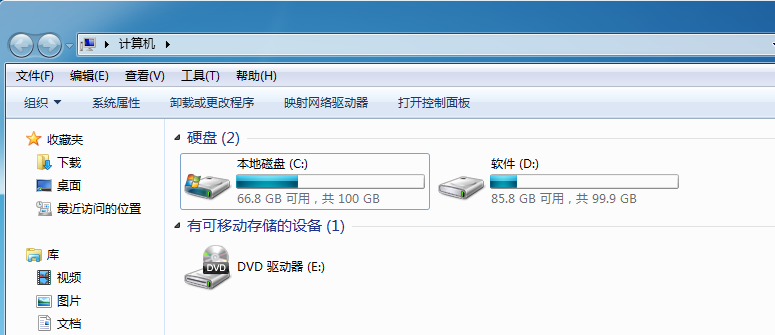
我的Python版本和位数如下图所示:
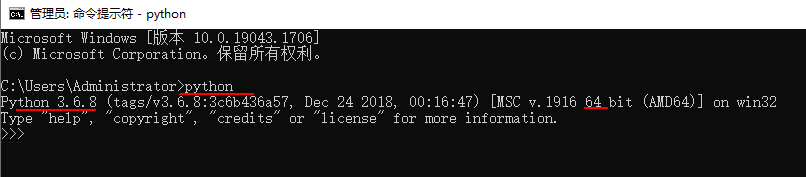
从上面的截图中可以看出,我的python的版本为3.6.8,位数为64位
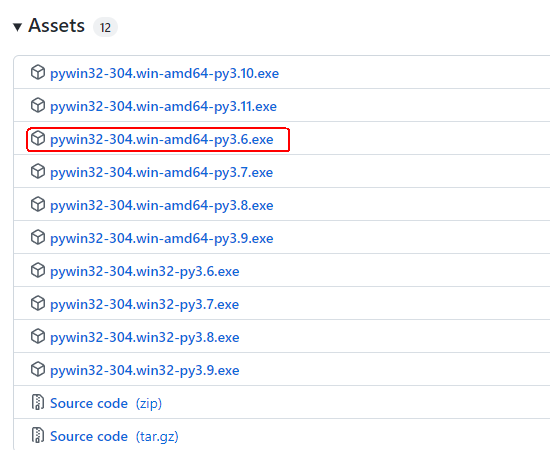
所以我选择下面这个版本:
pywin32-304.win-amd64-py3.6.exe
没有梯子的话有时候github打不开,所以我给一个 pywin32-304.win-amd64-py3.6.exe 的百度网盘下载链接:https://pan.baidu.com/s/1kamnHsU2vcCfPulHFY-14w?pwd=r259
博主2022-06-28注:后来把博主把自己的Python升级为了3.9的版本,所以这里再给一个pywin32-304.win-amd64-py3.9.exe 的百度网盘下载链接:https://pan.baidu.com/s/1B90dsjuS64TSUaxZXJZkXg?pwd=513i
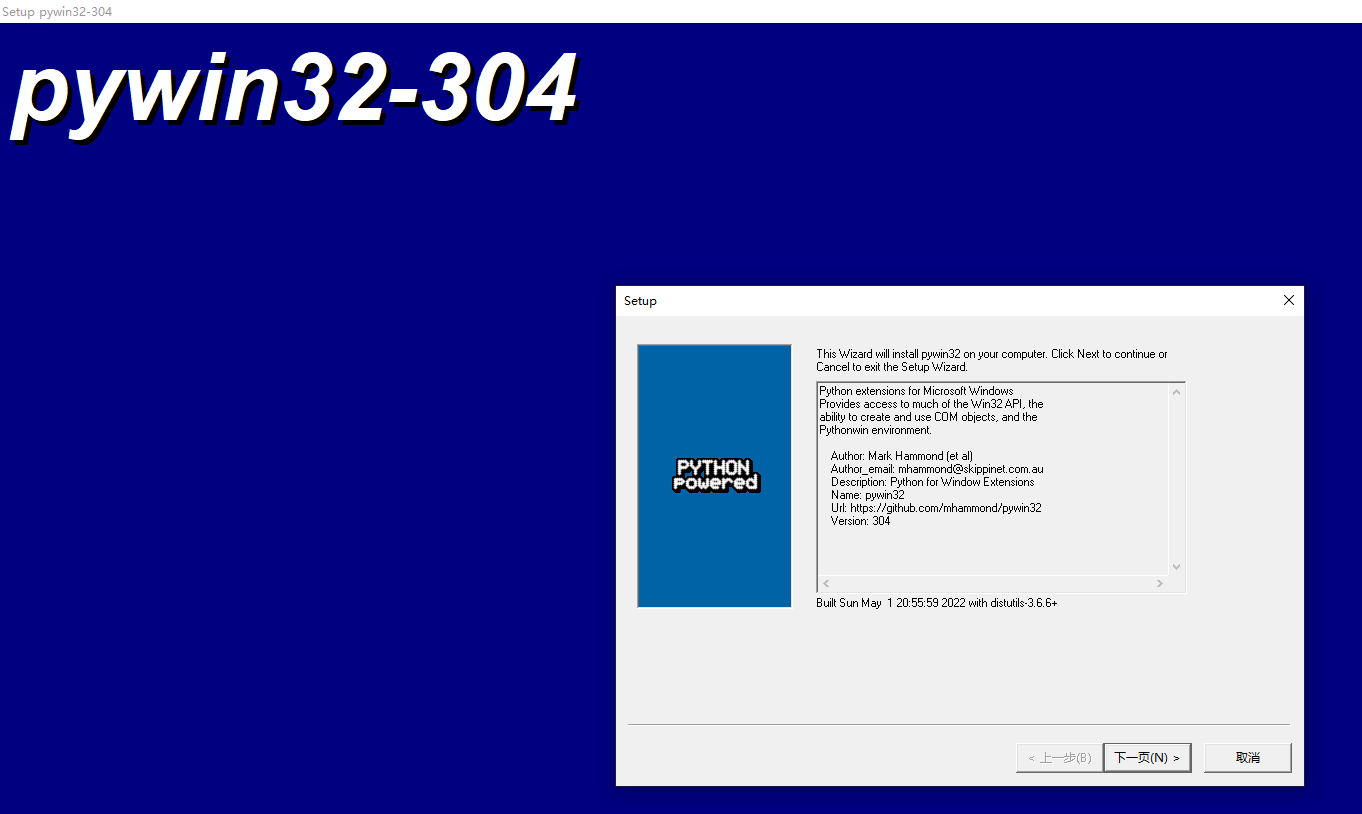
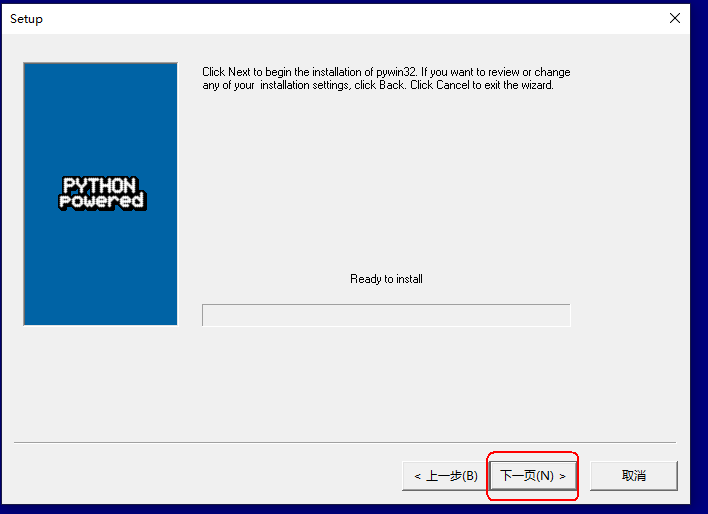
下载之后安装:
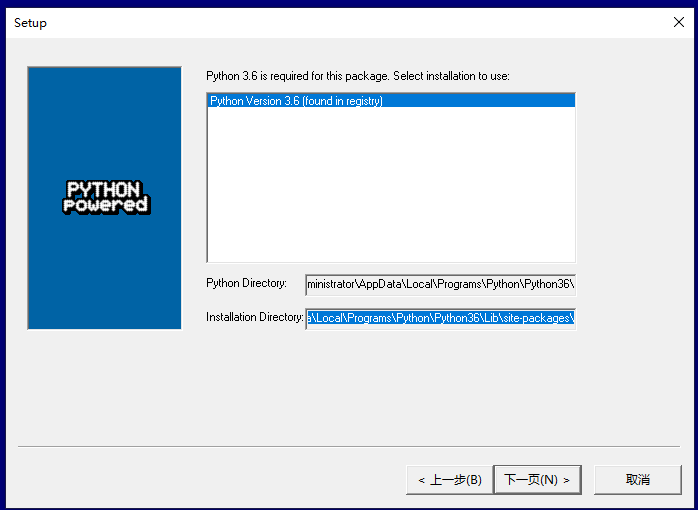
安装路径最好用默认路径,保持和Python的强关联,如下图所示:
二、安装pyinstaller
接下来安装pyinstaller,实际上我们就是用pyinstaller将Python脚本(代码)打包生成exe文件的,只是因为pyinstaller的运行需要pywin32-304的支持 所以我们先安装一个pywin32-304。
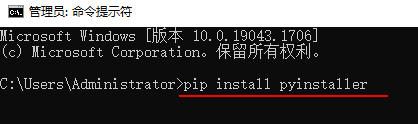
安装pyinstaller的方法如下:
打开cmd窗口用pip安装
pip install pyinstaller
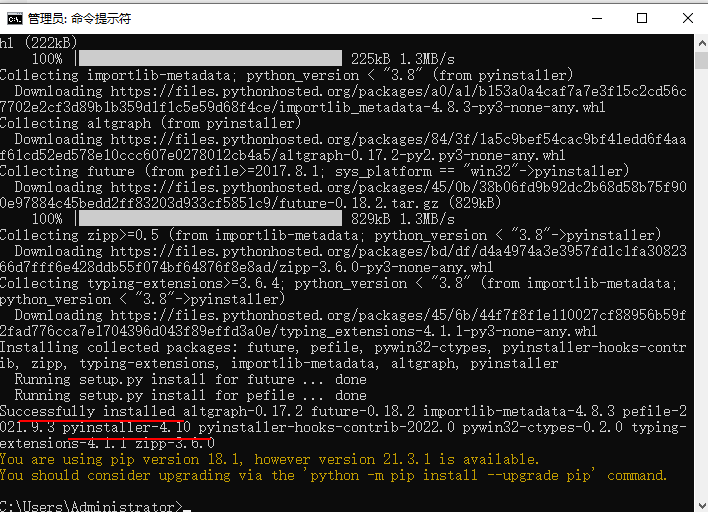
由上图可以看出,成功安装了pyinstaller的4.10版本。
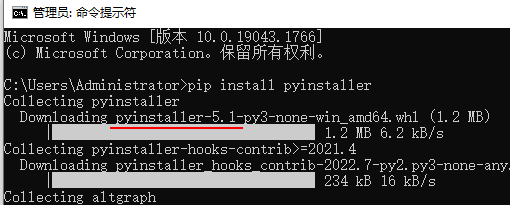
博主2022-06-28注:后来博主在Python3.9下安装的pyinstaller版本为pyinstaller-5.1,如下图所示:
三、用pyinstaller将Python脚本(代码)打包生成exe文件
接下来,我们就可以用pyinstaller来将Python脚本(代码)打包生成exe文件了。
相关命令及参数意义如下:
这里我就偷下懒了,直接用下面这条命令得到的帮助文档复制一部分过来。
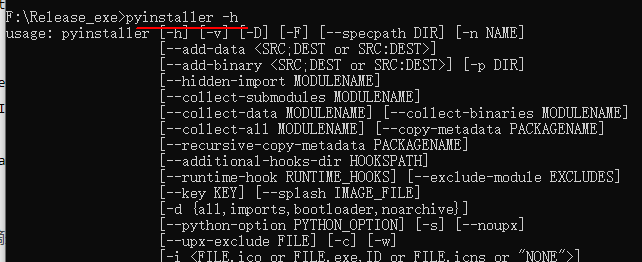
pyinstaller -h
F:\Release_exe>pyinstaller -h
usage: pyinstaller [-h] [-v] [-D] [-F] [--specpath DIR] [-n NAME]
optional arguments:
  -h, --help            show this help message and exit
  -v, --version         Show program version info and exit.
  --distpath DIR        Where to put the bundled app (default: ./dist)
  --workpath WORKPATH   Where to put all the temporary work files, .log, .pyz
                        and etc. (default: ./build)
  -y, --noconfirm       Replace output directory (default:
                        SPECPATH\dist\SPECNAME) without asking for
                        confirmation
  --upx-dir UPX_DIR     Path to UPX utility (default: search the execution
                        path)
  -a, --ascii           Do not include unicode encoding support (default:
                        included if available)
  --clean               Clean PyInstaller cache and remove temporary files
                        before building.
  --log-level LEVEL     Amount of detail in build-time console messages. LEVEL
                        may be one of TRACE, DEBUG, INFO, WARN, ERROR,
                        CRITICAL (default: INFO).

What to generate:
  -D, --onedir          Create a one-folder bundle containing an executable
                        (default)
  -F, --onefile         Create a one-file bundled executable.
  --specpath DIR        Folder to store the generated spec file (default:
                        current directory)
  -n NAME, --name NAME  Name to assign to the bundled app and spec file
                        (default: first script's basename)

Windows and Mac OS X specific options:
  -c, --console, --nowindowed
                        Open a console window for standard i/o (default). On
                        Windows this option has no effect if the first script
                        is a '.pyw' file.
  -w, --windowed, --noconsole
                        Windows and Mac OS X: do not provide a console window
                        for standard i/o. On Mac OS this also triggers
                        building a Mac OS .app bundle. On Windows this option
                        is automatically set if the first script is a '.pyw'
                        file. This option is ignored on *NIX systems.
  -i <FILE.ico or FILE.exe,ID or FILE.icns or "NONE">, --icon <FILE.ico or FILE.exe,ID or FILE.icns or "NONE">
                        FILE.ico: apply the icon to a Windows executable.
                        FILE.exe,ID: extract the icon with ID from an exe.
                        FILE.icns: apply the icon to the .app bundle on Mac
                        OS. Use "NONE" to not apply any icon, thereby making
                        the OS to show some default (default: apply
                        PyInstaller's icon)
  --disable-windowed-traceback
                        Disable traceback dump of unhandled exception in
                        windowed (noconsole) mode (Windows and macOS only),
                        and instead display a message that this feature is
                        disabled.
注意,我只是摘录了帮助文档的一部分,并不是全部,需要查看完整帮助文档的同学自己去用下面的这条命令查看吧。
pyinstaller -h
这里要说一下,-h等效于–help,所以写在一起的,只是一个是单一的字母,所以前而用一杠,而help是字符串,所以用两杠,如下图所示:
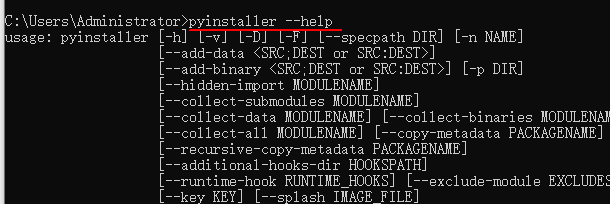
可见,效果是一样的,同理:
-v等效于–version
-D等效于–onedir
-F,等效于–onefile
接下来,上实例。
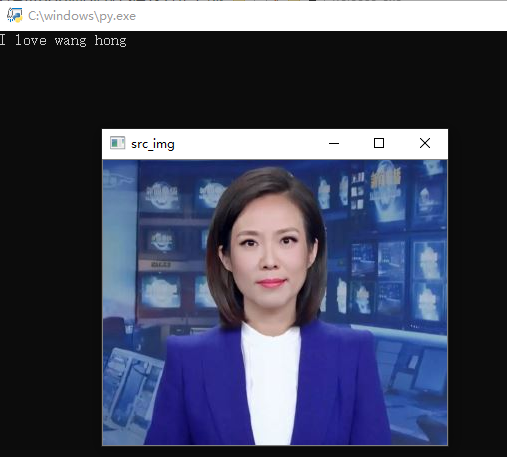
我们创建一个python脚本,脚本调用OpenCV库,实现读取图像并显示图像,同时在命令行窗口输出字符串“I love wang hong”。脚本代码如下:
代码中用到的图片下载链接:https://pan.baidu.com/s/13ujxLF9CpwZ__7-0V-rUkg?pwd=vzfx
# 博主微信/QQ 2487872782
# 有问题可以联系博主交流
# 有图像处理需求也可联系博主
# 图像处理技术交流QQ群 271891601

# !/usr/bin/env python
# -*- coding: utf-8 -*-
# OpenCV的版本为4.1

import cv2 as cv
import sys

src_img = cv.imread("P0005-BaoXiaofeng-02.jpg")
if src_img is None:
    print('Failed to read img.')
    sys.exit()
else:
    cv.imshow('src_img', src_img)
    print('I love wang hong')

# 关闭窗口
cv.waitKey(0)
cv.destroyAllWindows()
运行结果如下图所示:
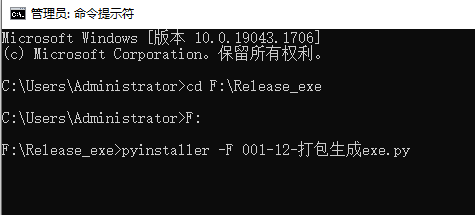
确认脚本没问题后,我们打开cmd窗口,切换到代码所在的文件夹,如下图所示:
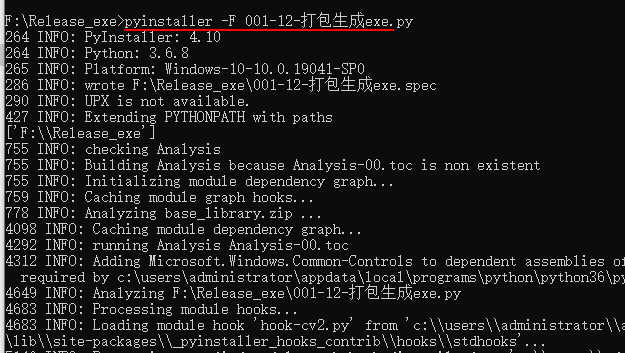
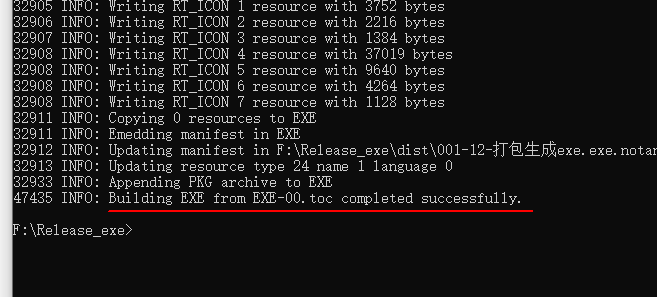
然后运行下面的“pyinstaller”命令即可生成exe文件,并且可以放到没有配置Python开发环境的系统中运行。
pyinstaller -F 001-12-打包生成exe.py
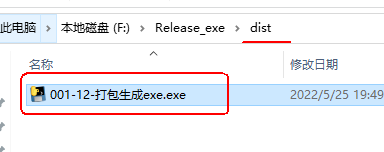
文件夹下现在有以下这些文件:
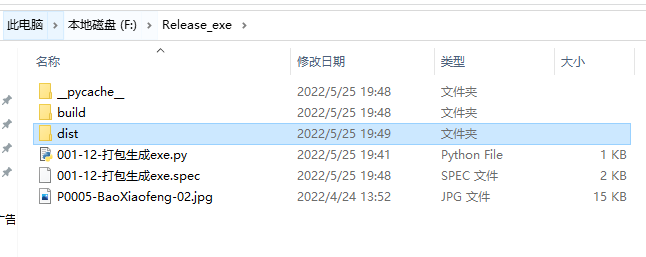
生成的exe文件就在dist中,如下图所示:
把图片也放到这个文件夹中:
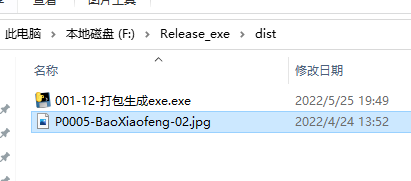
然后运行。

效果不错。
放到另一台没有装python环境的WIN7系统中去测试,如下图所示:


成功运行。整个过程还是比较简单地,由于参数-F已经满足了我们的要求,所以其它参数的意义就不举例,不去探究了,等有需要的时候再去研究和探究吧。
上面我复制到另一台系统中的dist文件夹的下载链接如下,大家可以下载下来试一下。
链接:https://pan.baidu.com/s/15O-SzgfMHfEouPkjCOc4XA?pwd=ovo4
提取码:ovo4
要特别注意:博主对上面的示例代码打包时用的是Python3.6,Python3.6可以运行在Win7系统上,所以打包生成的exe程序可以在Win7系统上运行。但是如果用的是Python3.9,则打包生成的exe程序便不能在Win7系统上运行了,因为Python3.9只能在Win8以上系统运行。
最后,感叹一下,Python真是比MATLAB灵活多了,MATLAB如果需要把MATLAB代码打包成exe文件,需要在MATLAB中安装Application Compiler,

安装装Application Compiler这自然没有什么,要命的是目标机要想运行Application Compiler生成的exe文件,得装一个据说有5个G的大小的MCR(matlab compiler runtime),这个太可怕了。咱们生成exe不就是为了方便部署和客户么,你这要求我在目标机上装个5个G大小的MCR(matlab compiler runtime),这真得很不友好啊。详情见博文https://blog.csdn.net/thlzzz/article/details/109697423


 236
236


 被折叠的 条评论
为什么被折叠?
被折叠的 条评论
为什么被折叠?
 到【灌水乐园】发言


