


文件服务器使用时间长了(几年),磁盘空间有可能不够用,就要将文件移动到其他盘.
利用 Microsoft File Server Migration Toolkit (FSMT)可以很好地将文件夹移动到其他地方,甚至其他服务器上,
操作如下:(以下文章来自http://thelazyadmin.com/blogs/thelazyadmin/archive/2005/09/26/Using-the-File-Server-Migration-Toolkit.aspx)
Using the File Server Migration Toolkit
As with all servers, hardware gets old, outdated and needs to be replaced every few years. File server migration can be a chore; moving all the data is simple enough but what about the permissions and sharing status? Well this is where the File Server Migration Toolkit (FSMT) saves the day!
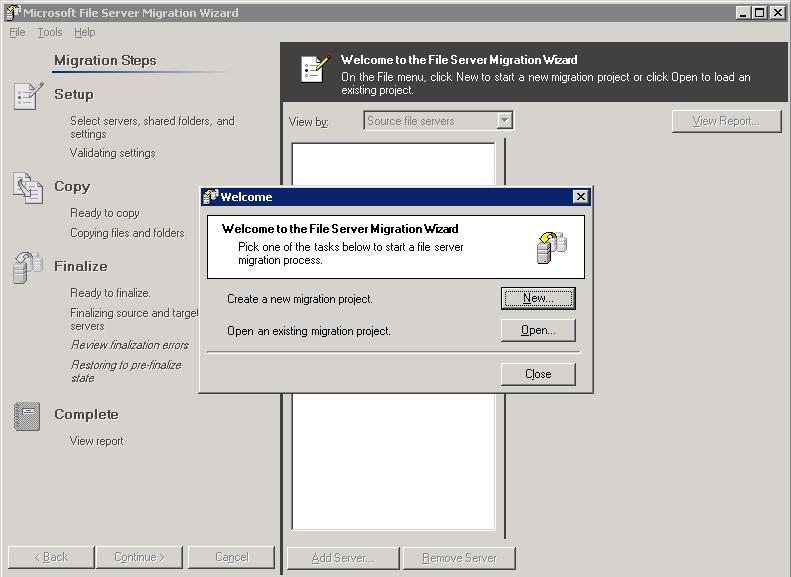
Administrators can use the FSMT to migrate all the data, along with the permissions and share status from one or more servers, to a server running Windows Server 2003. The tool is free, and simple to install. Once installed, open it up and you will be prompted to create a new project, or open an existing project. Select New and we are ready to proceed.
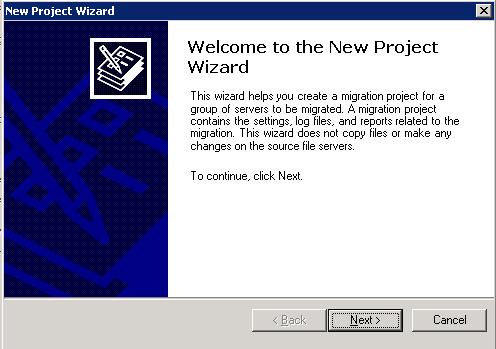
The New Project Wizard will start, click Next to proceed.
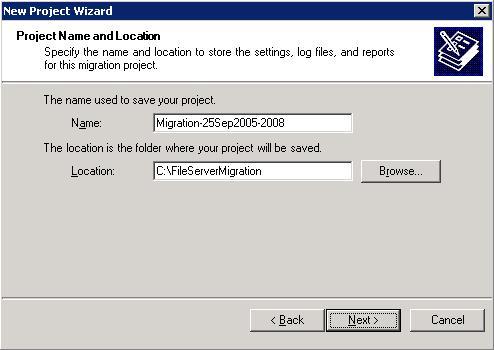
Give the project a name, and specify a location to save the log files too.
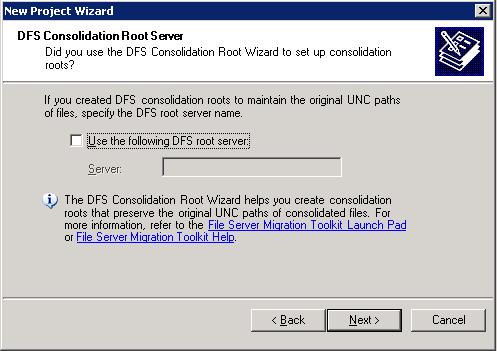
If you are using DFS, select the DFS root server, if not uncheck the box (more on DFS later). Click Next.
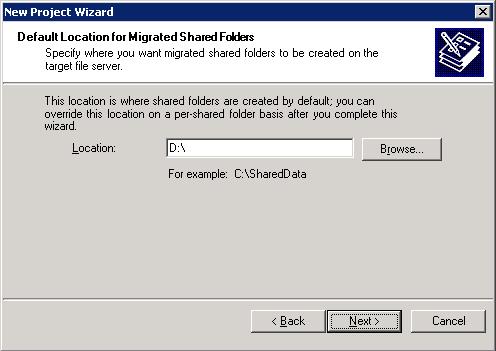
Select the location on the target server where the data is to be transfered to.
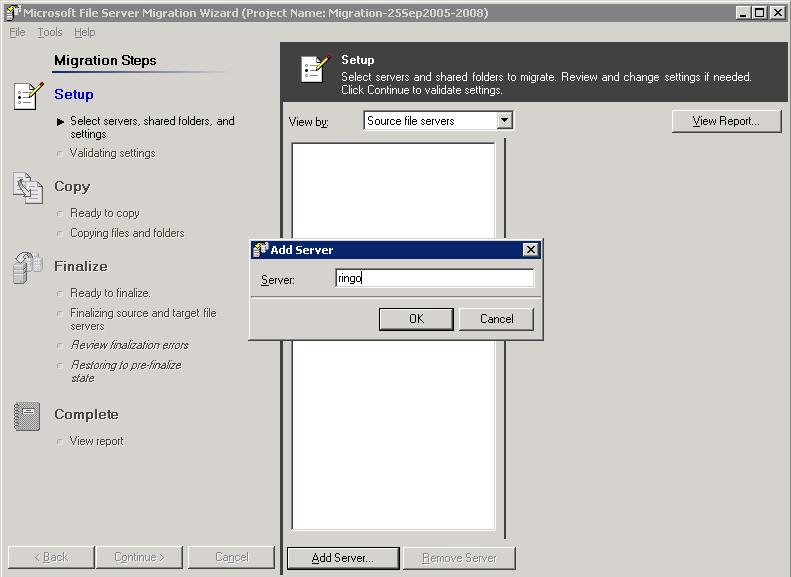
Click Finish to complete the wizard. We are now ready to add servers, click Add Server and enter the name of the source server. Repeat until you have all source servers listed.
On the right you will see three boxes. The first is pretty self explanitory, by ticking it, the shares on the source server(s) will become unshared once the migration is successful. The second box is also pretty straightforward, selecting it, copies all the security settings from the source server(s) to the target. The third box is a bit more indepth and I'll get to that in a bit.

Expand the server and you will see all the shares listed on the server. If it is a DC, you will not see the Netlogon or Sysvol folders. You can select or unselect the folders. The default target sharename is sharename_sourcename and the target location is [drive letter]:/sourcename. By selecting the source folder these options can be edited on the right hand side.
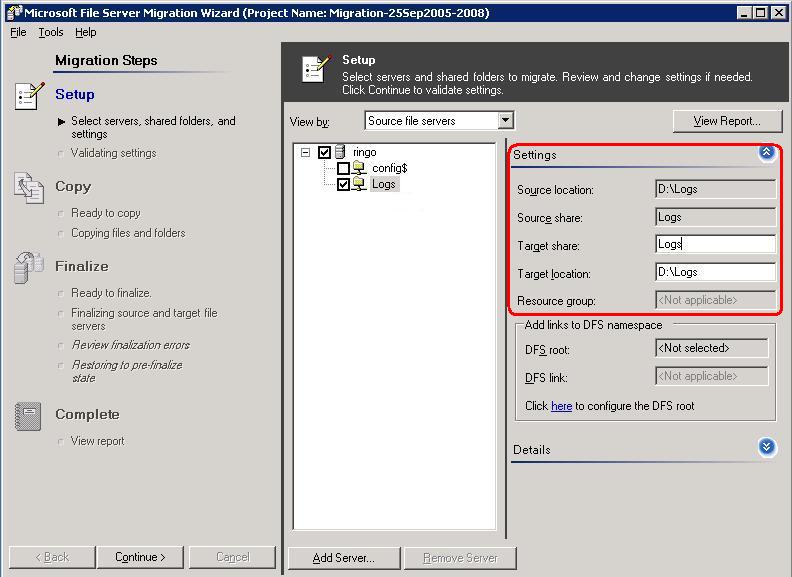
Click continue to proceed. The source server(s) will be analyzed and the details of the data migration will be detailed in the bottom right. Once you have verified the details, click Continue to proceed.

The files and folders will be copied from the source server(s) to the target.

Once complete, the next step is finalization. This is the process of copying any changed files since the project was created, as well as setting the security and share information. Another part of the process is the resolving of invalid SIDs. If you selected the Resolve invalid security descriptors check box when you set up the migration project, the wizard cleans up invalid security descriptors as follows:
- Deny ACEs with unresolvable SIDs, are replaced with the Everyone SID.
- Allow ACEs with unresolvable SIDs, the ACE is dropped.
- Audit ACEs with unresolvable SIDs, the ACE is dropped.
- An owner with an unresolvable SID, is set to the local Administrators group.
- A group with an unresolvable SID, is replaced with the local Administrators group.
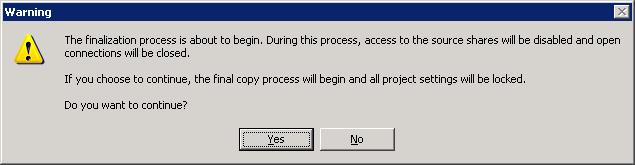
The purpose of this is to ensure that the permissions set on the target folders are the same or more restrictive than they were on the source folders. One thing to note, if you did not select to "Stop Sharing Source Folders" they will continue to be shared even thoug that message states they will not. Click Yes to continue. Once complete, you will be notified the process is complete.

If you are using DFS, the DFS Consolidation Root Wizard will lessen impact of file server consolidation on end users by keeping the original Universal Naming Convention (UNC) path of files after they are migrated to the target server. Because the original UNC paths are kept, you do not need to worry about new server names, shortcuts and OLE links in files. All these will remain functional after the files are moved.
For more information see:
ownload Details: Microsoft File Server Migration Toolkit 1.0


 2222
2222

 被折叠的 条评论
为什么被折叠?
被折叠的 条评论
为什么被折叠?
 到【灌水乐园】发言


