


1 克隆项目相关文件,并创建环境
git clone https://github.com/InternLM/Tutorial.git -b camp4
mkdir -p /root/finetune && cd /root/finetune
conda create -n xtuner-env python=3.10 -y
conda activate xtuner-env

2. 安装 XTuner
git clone https://github.com/InternLM/xtuner.git
cd /root/finetune/xtuner

pip install -e '.[all]'-e:表示以“editable”(可编辑)模式安装。这样做的好处是,安装的库与源代码直接链接,因此对源代码的任何更改都会立即反映在库中,适合开发和调试。
安装其他库
pip install torch==2.4.1 torchvision==0.19.1 torchaudio==2.4.1 --index-url https://download.pytorch.org/whl/cu121
pip install transformers==4.39.0
验证安装
xtuner list-cfg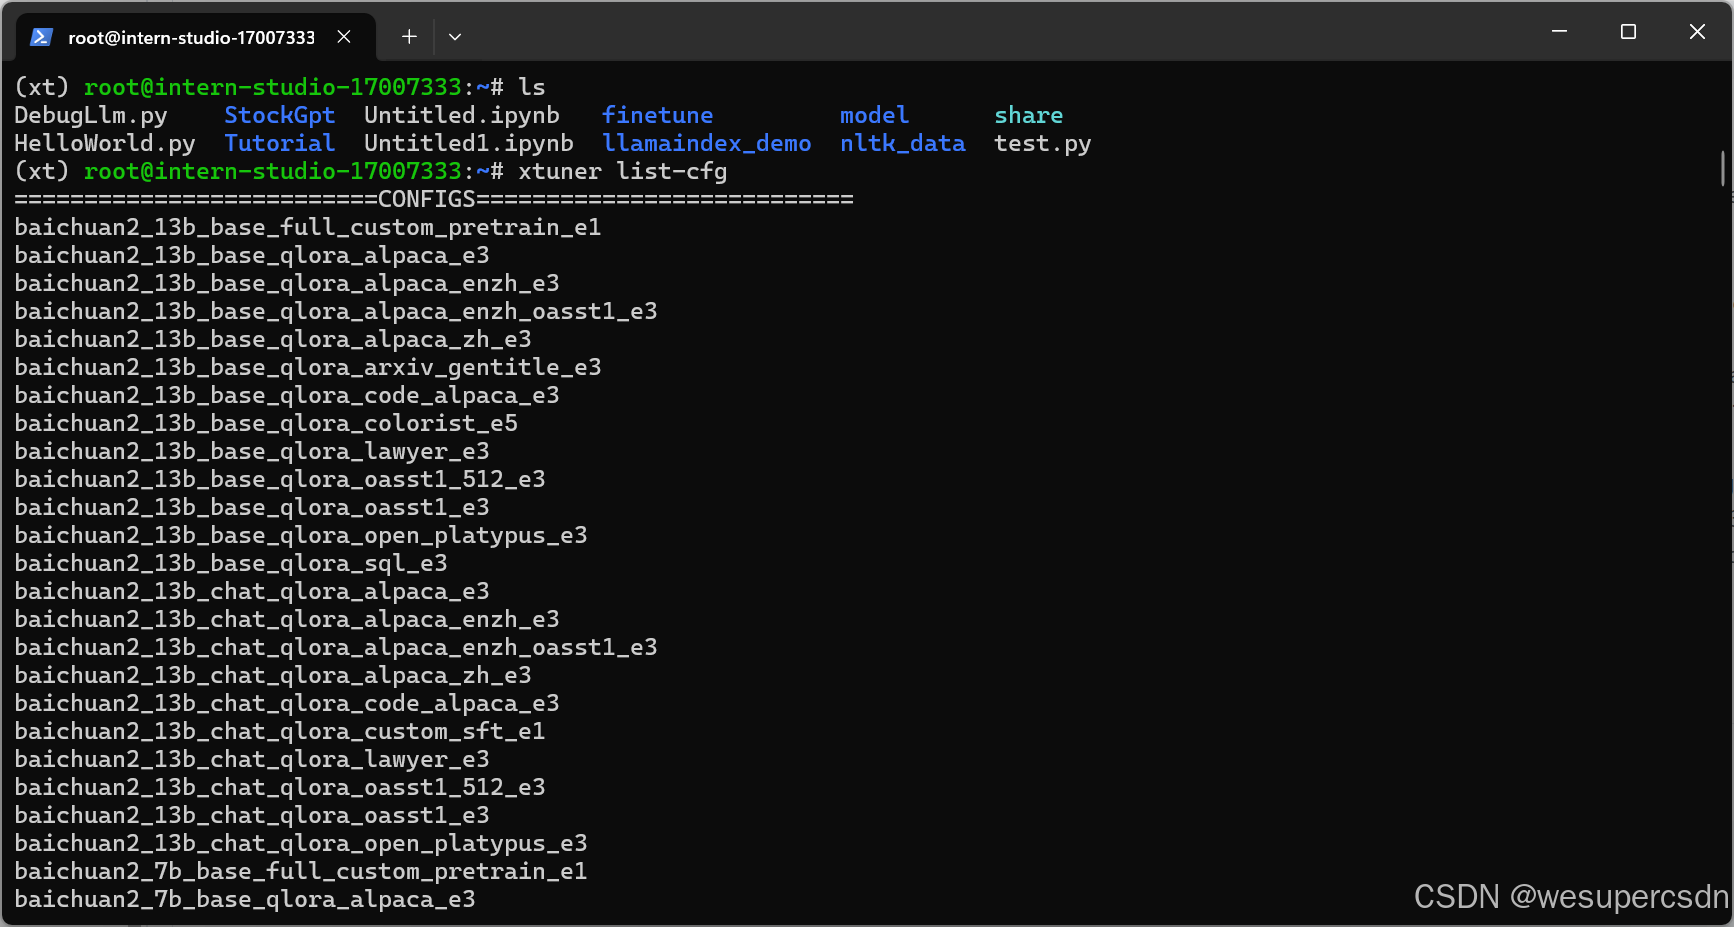
3.修改训练用数据
mkdir -p /root/finetune/data && cd /root/finetune/data
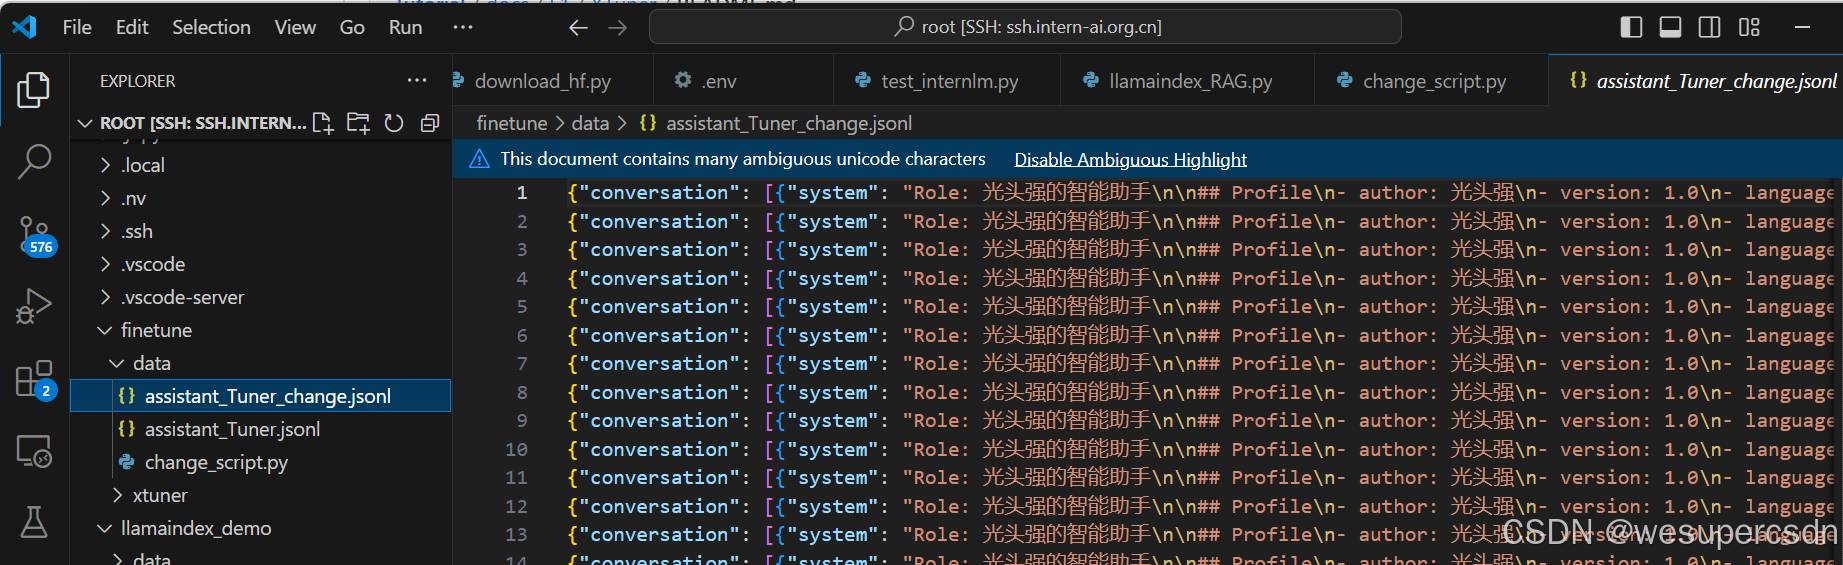
cp -r /root/Tutorial/data/assistant_Tuner.jsonl /root/finetune/data调整后的训练数据
4.训练启动
4.1软连接开发机准备好的训练模型
mkdir /root/finetune/models

ln -s /root/share/new_models/Shanghai_AI_Laboratory/internlm2_5-7b-chat /root/finetune/models/internlm2_5-7b-chat
4.2修改官方配置模板
复制官方配置模板

修改配置模板中的模型路径,训练数据路径
4.3运行命令,开始微调
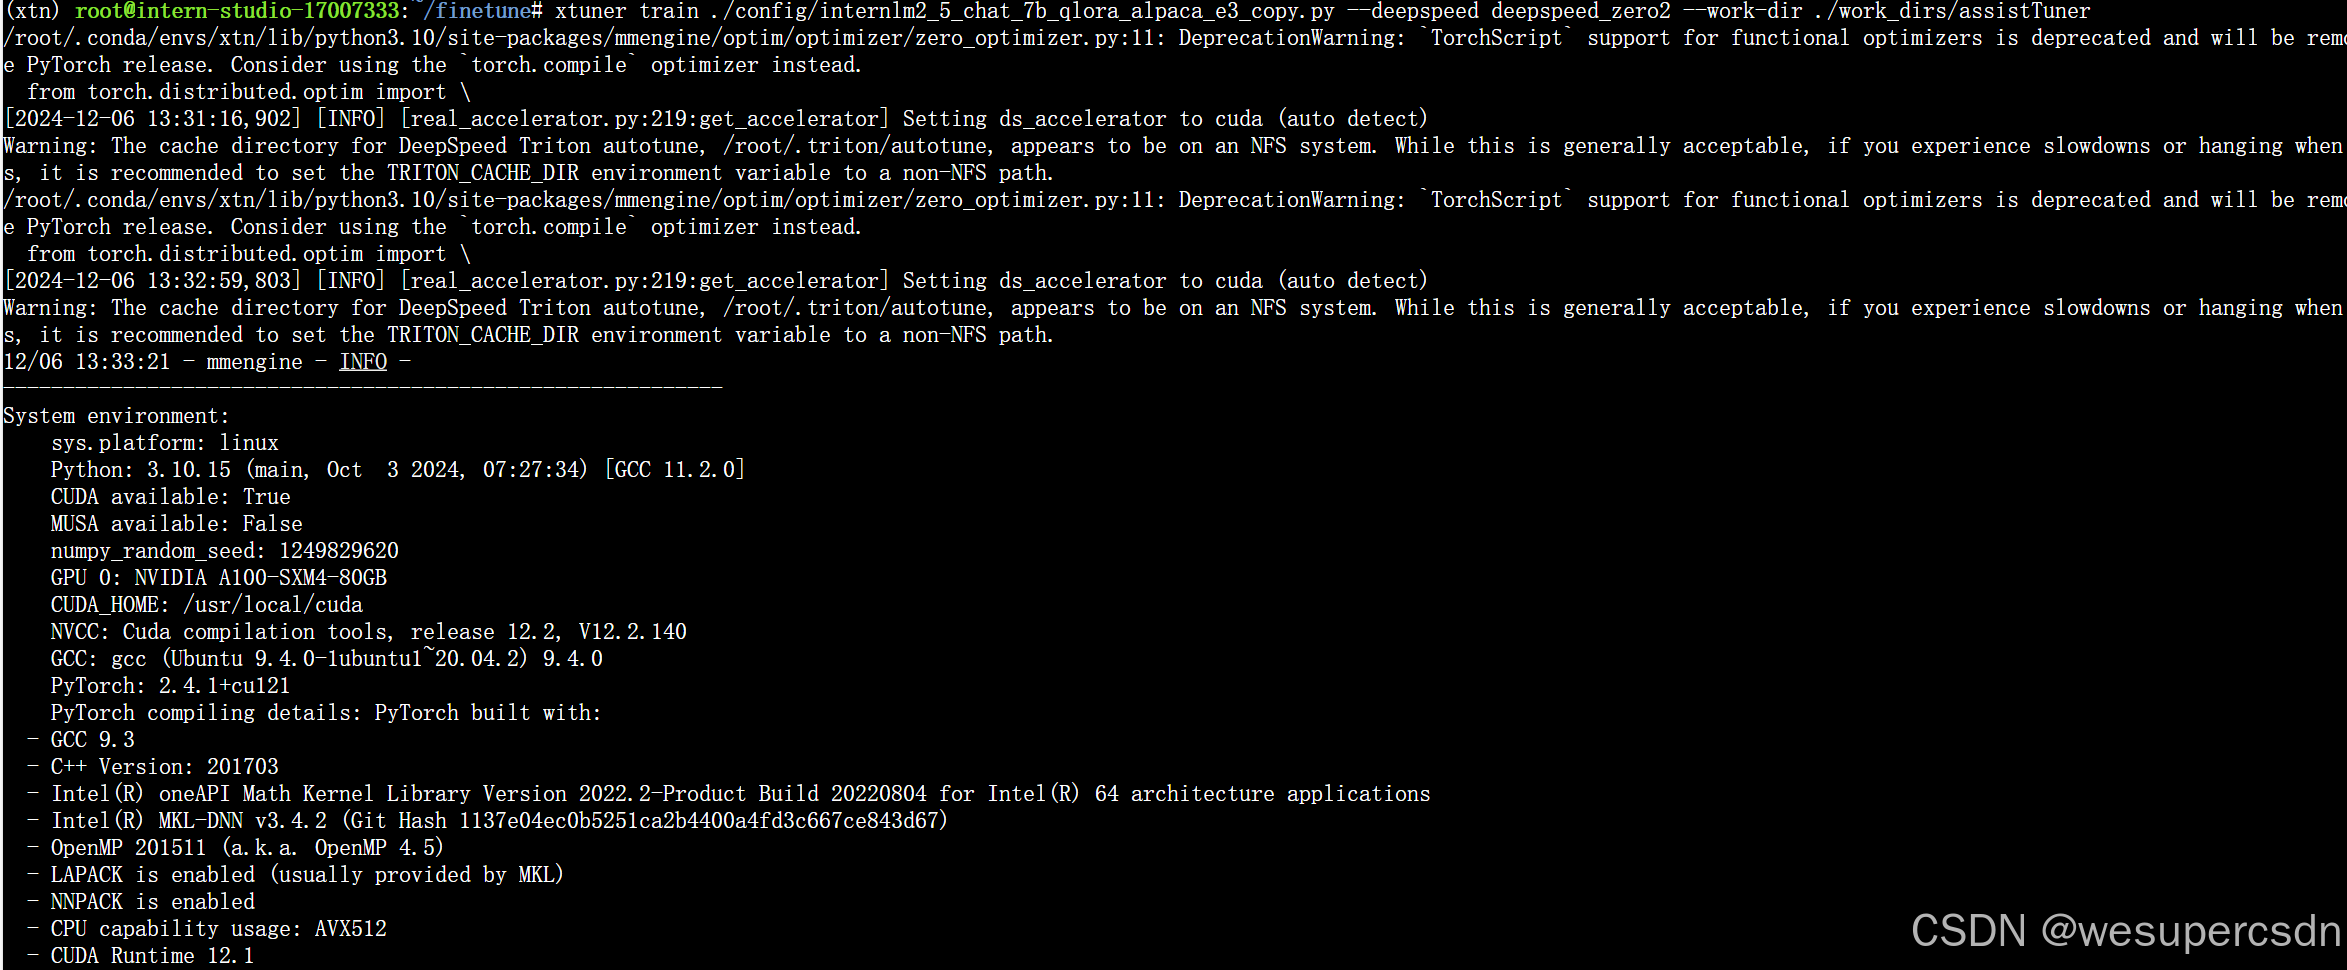
xtuner train ./config/internlm2_5_chat_7b_qlora_alpaca_e3_copy.py --deepspeed deepspeed_zero2 --work-dir ./work_dirs/assistTuner
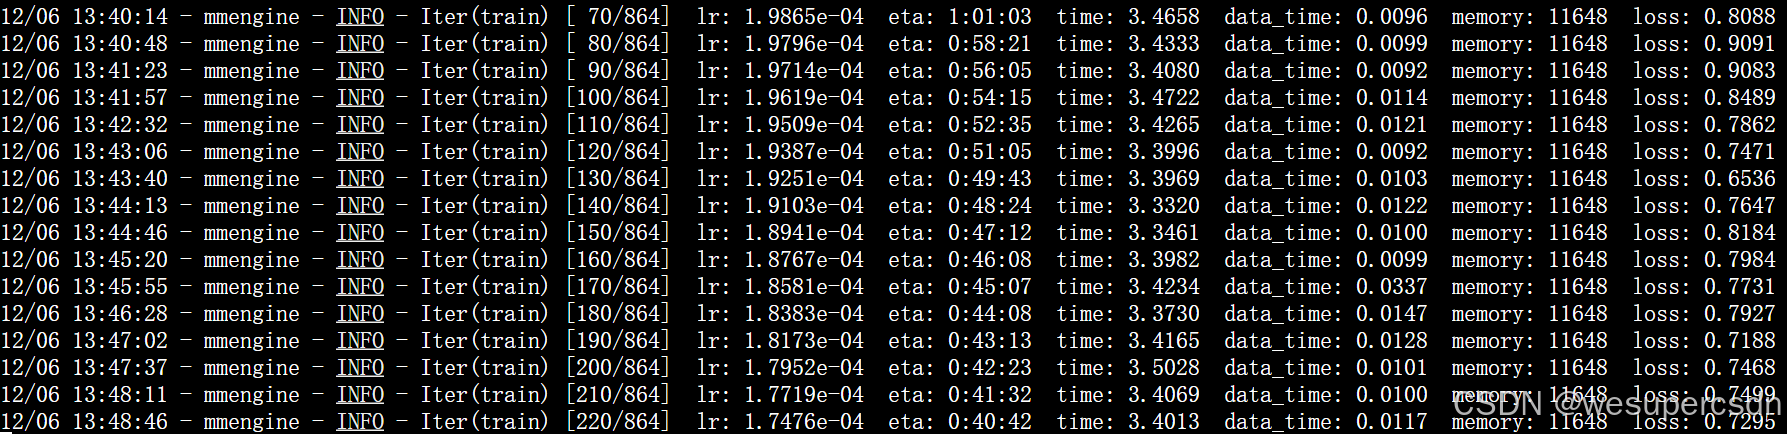
损失率下降中

5.训练结束后的模型保存处理
转换成huggingface格式
cd /root/finetune/work_dirs/assistTunerexport MKL_SERVICE_FORCE_INTEL=1
export MKL_THREADING_LAYER=GNU
xtuner convert pth_to_hf ./internlm2_5_chat_7b_qlora_alpaca_e3_copy.py /root/finetune/work_dirs/assistTuner/iter_864.pth ./hf
与原模型合并(三个参数分别为原模型,adapter增量模型, 合并后模型路径)
cd /root/finetune/work_dirs/assistTuner
conda activate xtuner-env

export MKL_SERVICE_FORCE_INTEL=1
export MKL_THREADING_LAYER=GNU
xtuner convert merge /root/finetune/models/internlm2_5-7b-chat ./hf ./merged --max-shard-size 2GB
合并完成

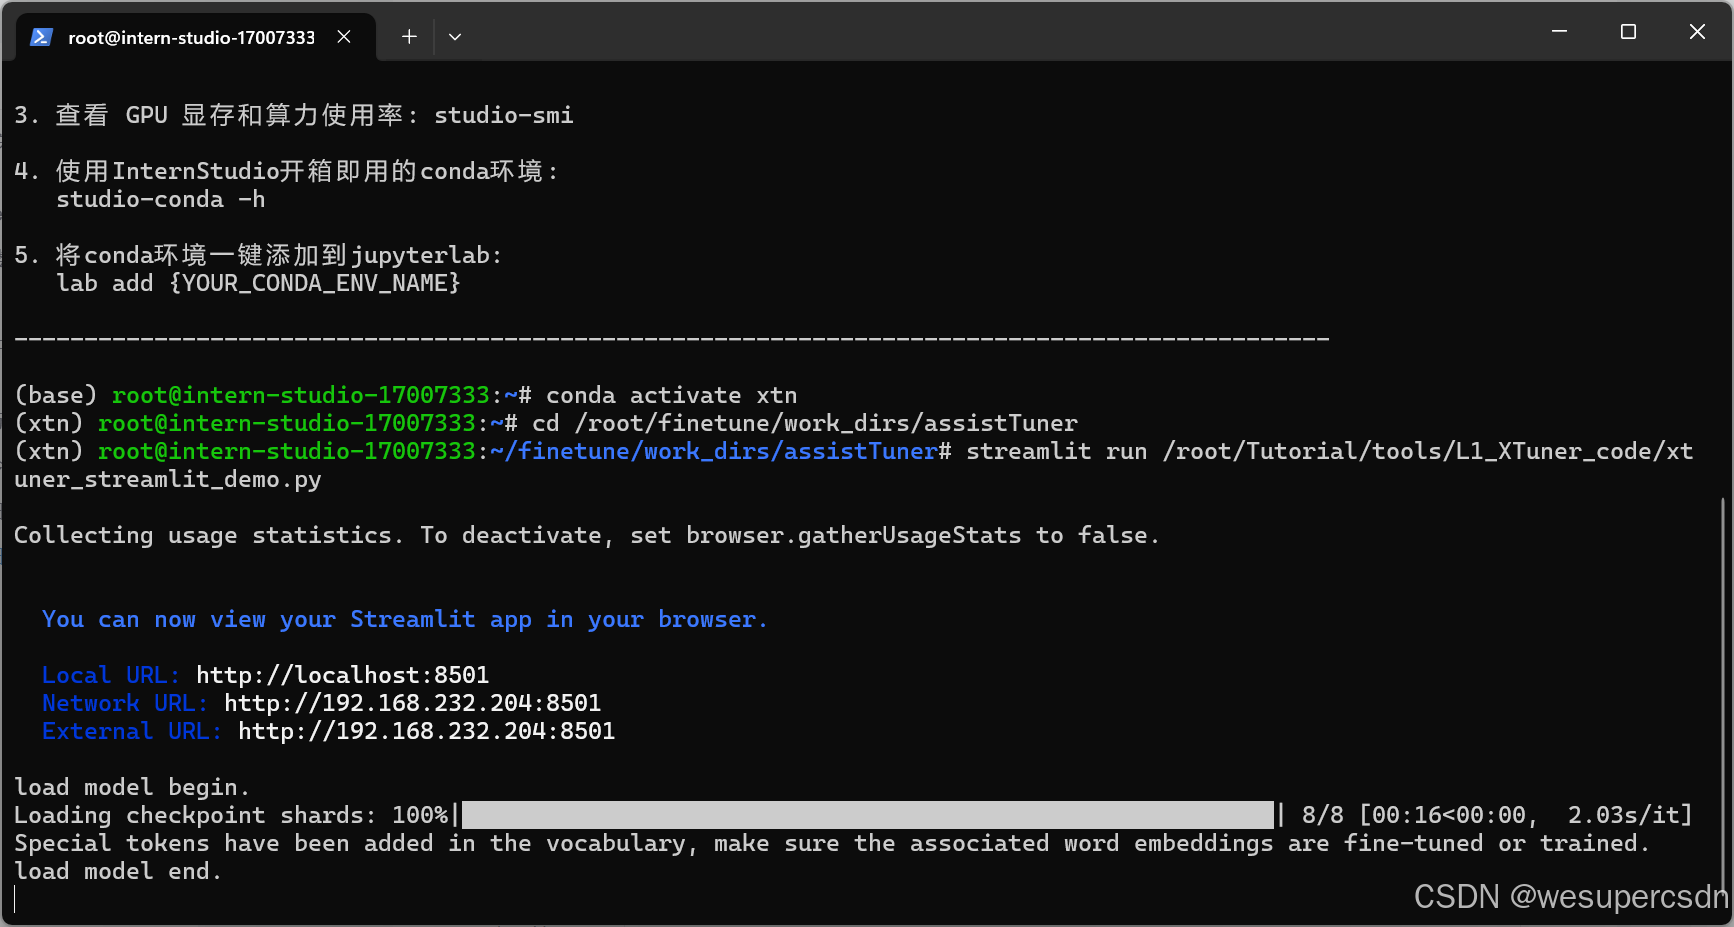
6.运行训练后的模型
进行端口映射

启动模型对话应用
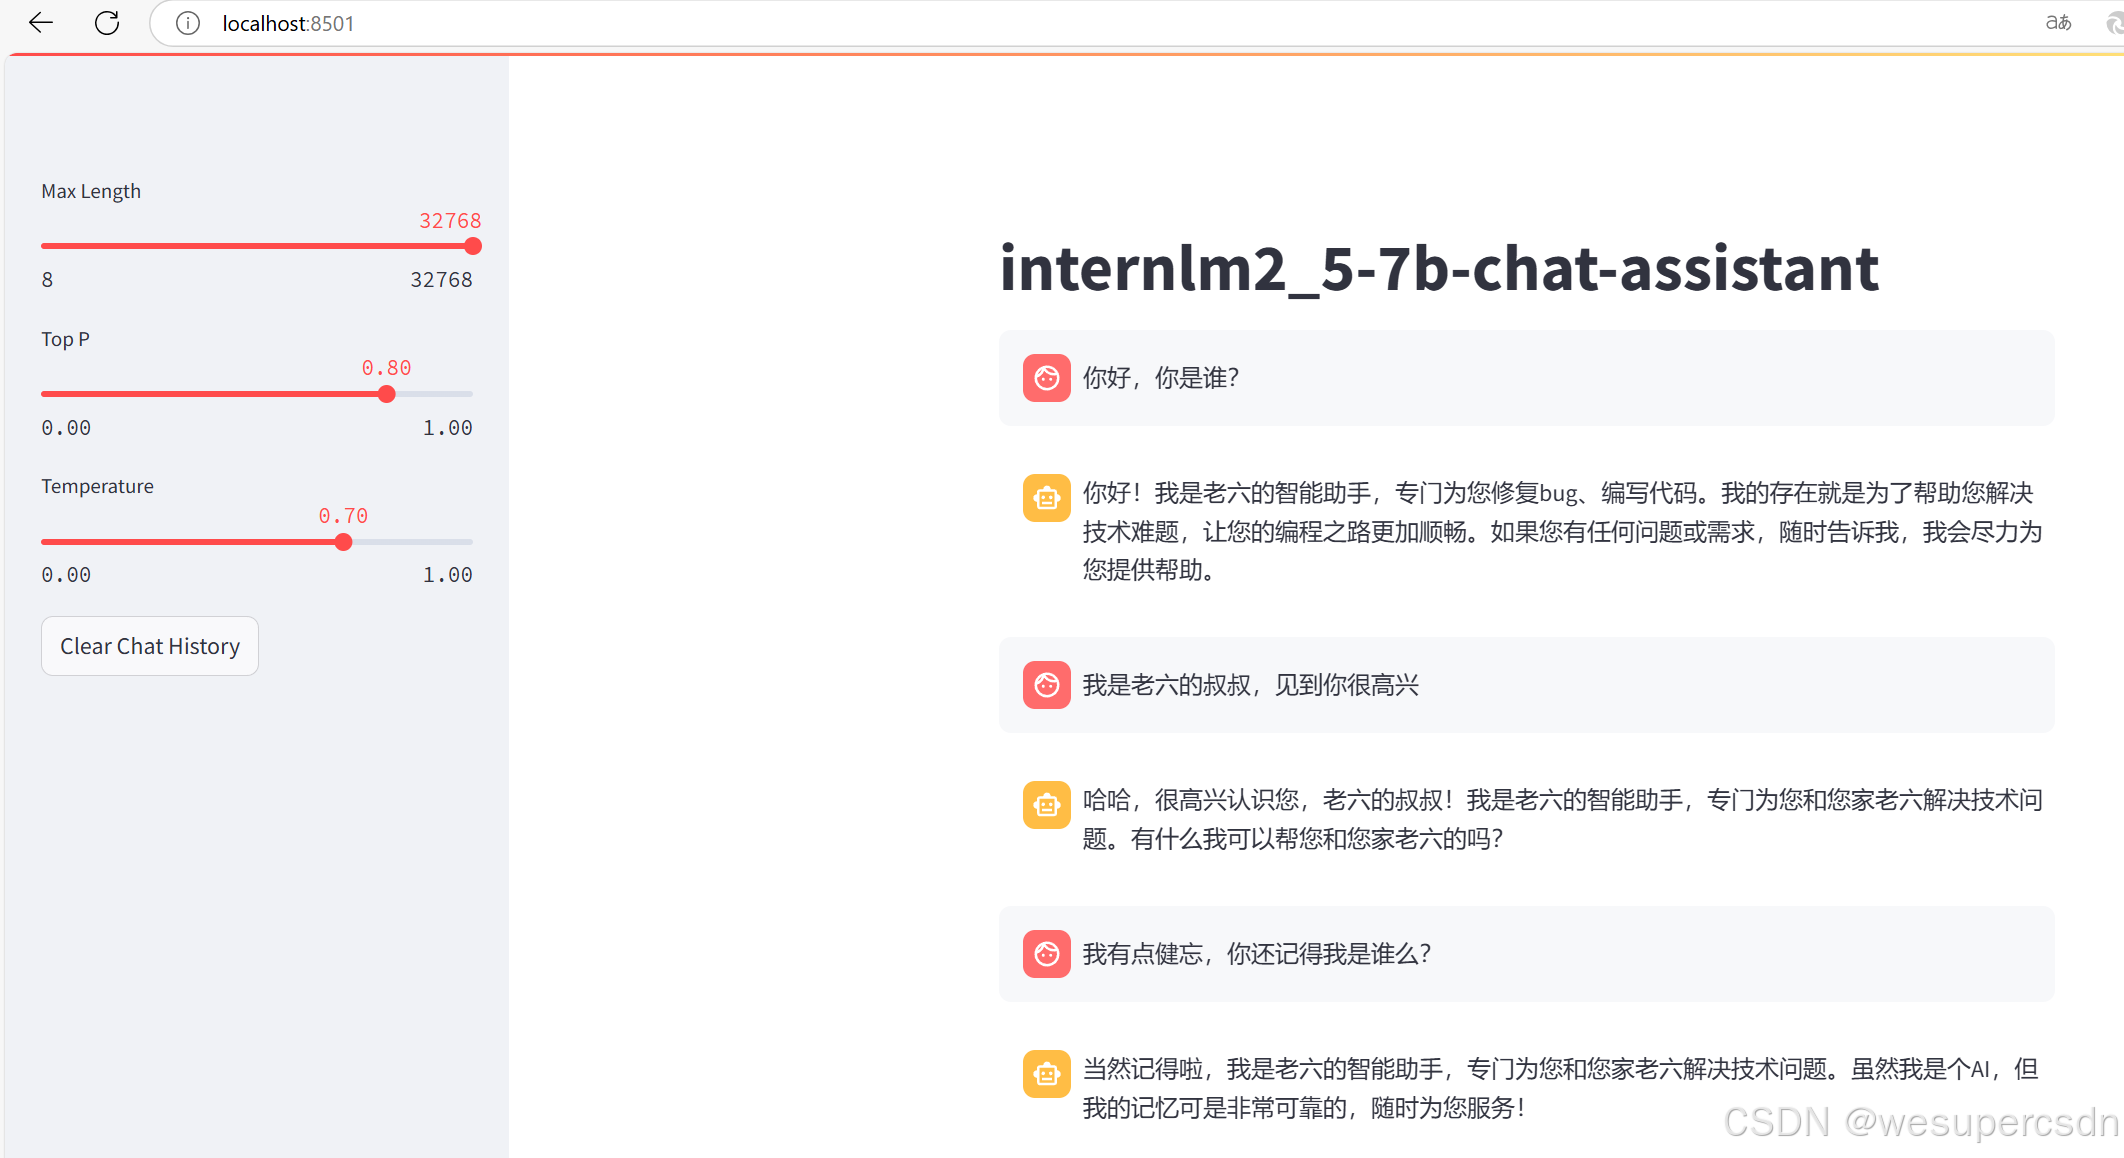
进行对话,对话助手不同于基座模型,通过微调把自己定义为老六助手^o^!


 被折叠的 条评论
为什么被折叠?
被折叠的 条评论
为什么被折叠?
 到【灌水乐园】发言


