


偶然看到一个渲染卡通树木的网站,讲诉了如何渲染一颗卡通风格的树木,看到的一瞬间感觉特别有意思,很像游戏中的树木。所以本着学习的心态自己实现了一遍
原网站:Creating fluffy trees with Three.js (part 1) · douges.dev
话不多说,先看效果:
1.首先呢,需要引入CustomShaderMaterial这个依赖,树的材质也将通过这个依赖文件去创建;当然,引入这个依赖需要非常注意版本问题!本博主采用的版本如下:(如果小伙伴用其他版本引入错误,那得靠自己的聪明才智去解决了!)
"three": "^0.139.2",
"three-custom-shader-material": "^3.4.0",
2.第二步,我们引入对应的树木shader文件(把下面的shader复制到vertex.glsl.js文件即可):
![]()
const shader = `uniform float u_effectBlend;
uniform float u_inflate;
uniform float u_scale;
uniform float u_windSpeed;
uniform float u_windTime;

float inverseLerp(float v, float minValue, float maxValue) {
  return (v - minValue) / (maxValue - minValue);
}

float remap(float v, float inMin, float inMax, float outMin, float outMax) {
  float t = inverseLerp(v, inMin, inMax);
  return mix(outMin, outMax, t);
}

mat4 rotateZ(float radians) {
  float c = cos(radians);
  float s = sin(radians);

	return mat4(
    c, -s, 0, 0,
    s, c, 0, 0,
    0, 0, 1, 0,
    0, 0, 0, 1
  );
}

vec4 applyWind(vec4 v) {
  float boundedYNormal = remap(normal.y, -1.0, 1.0, 0.0, 1.0);
  float posXZ = position.x + position.z;
  float power = u_windSpeed / 5.0 * -0.5;

  float topFacing = remap(sin(u_windTime + posXZ), -1.0, 1.0, 0.0, power);
  float bottomFacing = remap(cos(u_windTime + posXZ), -1.0, 1.0, 0.0, 0.05);
  float radians = mix(bottomFacing, topFacing, boundedYNormal);

  return rotateZ(radians) * v;
}

vec2 calcInitialOffsetFromUVs() {
  vec2 offset = vec2(
    remap(uv.x, 0.0, 1.0, -1.0, 1.0),
    remap(uv.y, 0.0, 1.0, -1.0, 1.0)
  );

  // Invert the vertex offset so it's positioned towards the camera.
  offset *= vec2(-1.0, 1.0);
  offset = normalize(offset) * u_scale;

  return offset;
}

vec3 inflateOffset(vec3 offset) {
  return offset + normal.xyz * u_inflate;
}

void main() {
  vec2 vertexOffset = calcInitialOffsetFromUVs();

  vec3 inflatedVertexOffset = inflateOffset(vec3(vertexOffset, 0.0));

  vec4 worldViewPosition = modelViewMatrix * vec4(position, 1.0);

  worldViewPosition += vec4(mix(vec3(0.0), inflatedVertexOffset, u_effectBlend), 0.0);

  worldViewPosition = applyWind(worldViewPosition);

  csm_PositionRaw = projectionMatrix * worldViewPosition;
}
`; export default shader;
3.准备模型资源图片资源并加载,最后渲染即可完成:(相关资源在原网站都能获取)
let loader = new GLTFLoader();
loader.load('assets/tree.glb', (gltf) => {
const scene = gltf.scene;
scope.scene.add(scene)
let alphaMap = new TextureLoader().load('assets/foliage_alpha3.png')
const uniforms = {
u_effectBlend: { value: 1.0 },
u_inflate: { value: 0.0 },
u_scale: { value: 1.0 },
u_windSpeed: { value: 1.0 },
u_windTime: { value: 0.0 },
}
this.uniforms = uniforms
let mtl = new CustomShaderMaterial({
alphaMap: alphaMap,
alphaTest: 0.5,
baseMaterial: MeshStandardMaterial,
color: new Color('#3f6d21').convertLinearToSRGB(),
ref: null,
uniforms: uniforms,
vertexShader: vert,
shadowSide: FrontSide
})
scene.traverse((node) => {
if (node.isMesh) {
console.log(node)
if (node.name == "foliage")
node.material = mtl
}
})
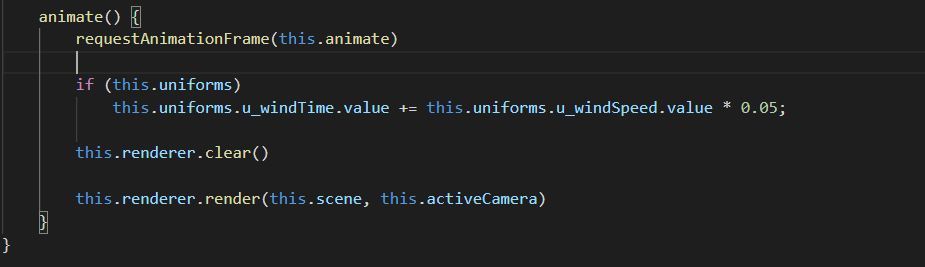
})4.最后在循环中,让树飘动起来!


 被折叠的 条评论
为什么被折叠?
被折叠的 条评论
为什么被折叠?
 到【灌水乐园】发言


