


CAS简介
CAS认证是Central Authentication Service的缩写,中央认证服务,一种独立开放指令协议。CAS是耶鲁大学发起的一个开源项目,旨在为Web应用系统提供一种可靠的SSO解决方案 。
搭建环境
jdk1.8 maven 3.6.3 CAS-Server5.3 tomcat8.5
cas5.3下载地址 :GitHub - apereo/cas-overlay-template at 5.3
目前这是支持jdk1.8的最后一个版本,6.0+的版本都是jdk11的了,而且不再是maven项目而是变成了gradle项目,部署方式也发生了改变,网上能查到的资料5.3版本居多,所以我选择了这个版本
下载项目
这里直接选择下载zip文件即可

编译
将下载后的代码解压后用IDEA打开,然后直接点击maven的pakage

新建java和sources文件夹

将这两个文件夹复制到sources文件夹下

设置https
修改host文件
host文件路径:C:\Windows\System32\drivers\etc\host
在文件底部增加这个配置
127.0.0.1 cas.example.org生成证书
本地测试我们使用jdk自带的工具生成一个证书即可
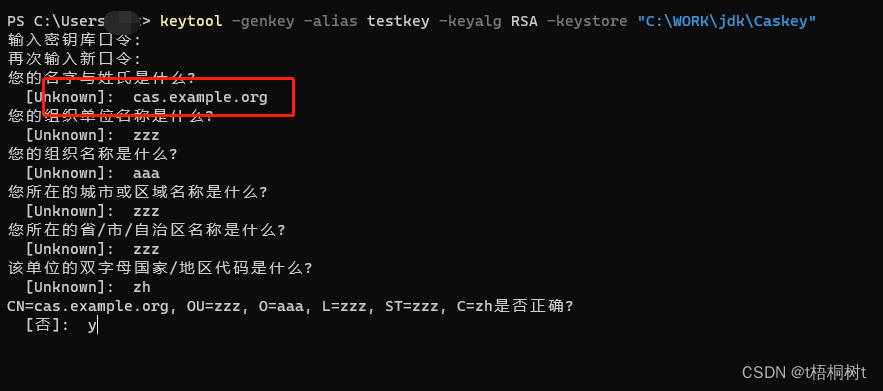
生成密钥库
keytool -genkey -alias testkey -keyalg RSA -keystore "D:\WORK\jdk\Caskey"红框出要写上自定义的域名
导出证书
keytool -export -file "D:\WORK\jdk\caskey.crt" -alias testkey -keystore "D:\WORK\jdk\Caskey"将整数导入到java库
默认密码(changeit)
keytool -import -keystore "D:\WORK\jdk\jre\lib\security\cacerts" -file "D:\WORK\jdk\caskey.crt" -alias caskey
tomcat中config文件夹下的server.xml 新增配置
      <Connector
           protocol="org.apache.coyote.http11.Http11NioProtocol"
           port="8443" maxThreads="200"
           scheme="https" secure="true" SSLEnabled="true"
           keystoreFile="D:\WORK\JDK\Caskey" keystorePass="123456"
           clientAuth="false" sslProtocol="TLS"/>
连接数据库
引入数据库依赖(要注意mysql版本)
    <dependency>
        <groupId>org.apereo.cas</groupId>
        <artifactId>cas-server-support-jdbc</artifactId>
        <version>${cas.version}</version>
    </dependency>
    <dependency>
        <groupId>mysql</groupId>
        <artifactId>mysql-connector-java</artifactId>
        <version>8.0.31</version>
    </dependency>
在复制出来的application.preporties文件中新增如下配置
#要查询用户的sql
cas.authn.jdbc.query[0].sql=select * from user where username = ?
#密码字段
cas.authn.jdbc.query[0].fieldPassword=password
#是否过期
#cas.authn.jdbc.query[0].fieldExpired=expired
#是否有效
#cas.authn.jdbc.query[0].fieldDisabled=disabled
cas.authn.jdbc.query[0].dialect=org.hibernate.dialect.MySQLDialect
cas.authn.jdbc.query[0].driverClass=com.mysql.cj.jdbc.Driver
cas.authn.jdbc.query[0].url=jdbc:mysql://localhost:3306/db_user?useUnicode=true&characterEncoding=UTF-8
cas.authn.jdbc.query[0].user=root
cas.authn.jdbc.query[0].password=123456
cas.authn.jdbc.query[0].passwordEncoder.type=DEFAULT
cas.authn.jdbc.query[0].passwordEncoder.characterEncoding=UTF-8
cas.authn.jdbc.query[0].passwordEncoder.encodingAlgorithm=MD5
在数据库中加入一个MD5加密的用户,使用如下方法就可以获得一个MD5加密后的字段

配置OAuth2.0协议
添加依赖
    <dependency>
        <groupId>org.apereo.cas</groupId>
        <artifactId>cas-server-support-oauth-webflow</artifactId>
        <version>${cas.version}</version>
    </dependency>
继续在配置中增加如下配置
cas.server.name=https://cas.example.org:${server.port}/cas
cas.server.prefix=${cas.server.name}
cas.tgc.secure=true
cas.serviceRegistry.initFromJson=true
#
cas.serviceRegistry.json.location=classpath:/services
cas.authn.oauth.refreshToken.timeToKillInSeconds=2592000
cas.authn.oauth.code.timeToKillInSeconds=30
cas.authn.oauth.code.numberOfUses=1
cas.authn.oauth.accessToken.releaseProtocolAttributes=true
cas.authn.oauth.accessToken.timeToKillInSeconds=7200
cas.authn.oauth.accessToken.maxTimeToLiveInSeconds=28800
cas.authn.oauth.grants.resourceOwner.requireServiceHeader=true
cas.authn.oauth.userProfileViewType=NESTED
增加接入servcie的注册文件:OAuthService-1001.json
{
  "@class" : "org.apereo.cas.support.oauth.services.OAuthRegisteredService",
  "clientId": "20210903",
  "clientSecret": "cas123456",
  "serviceId" : "^(https|http|imaps)://.*",
  "name" : "OAuthService",
  "id" : 1001
}
启动
直接使用idea连接tomcat启动即可

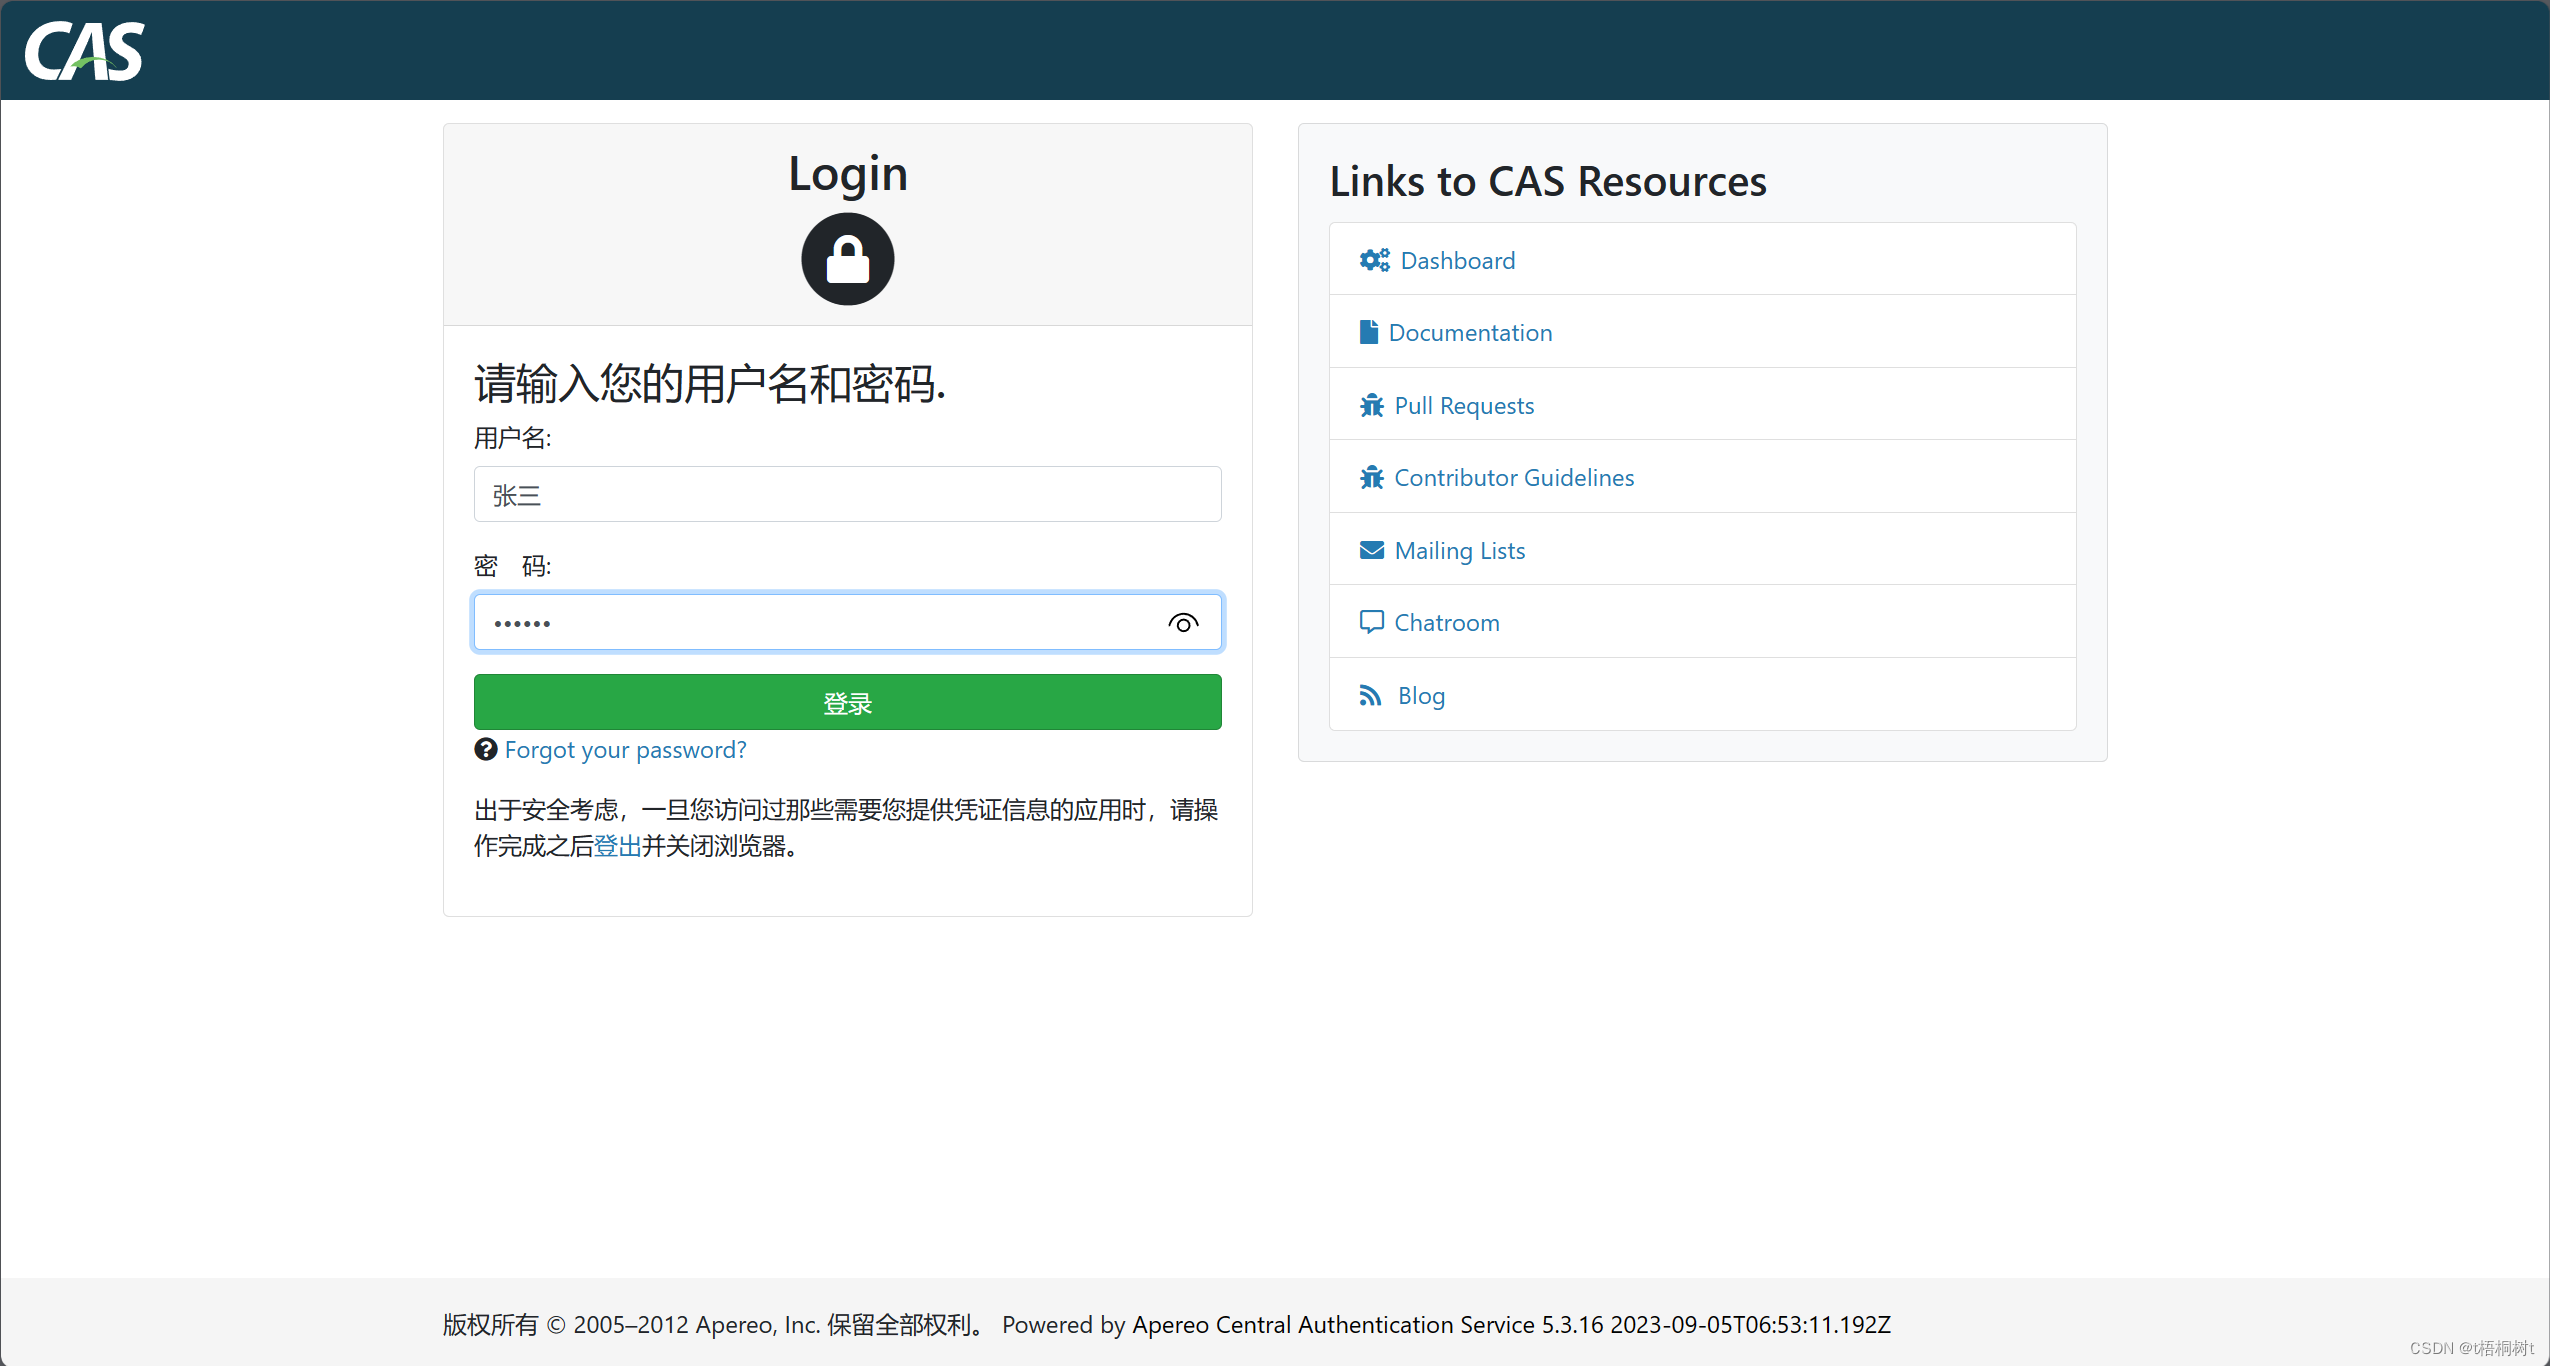
验证CAS
启动后访问:https://cas.test.com:8443/cashttps://cas.example.org:8443/cashttps://cas.test.com:8443/cas
输入在数据库中添加的账号

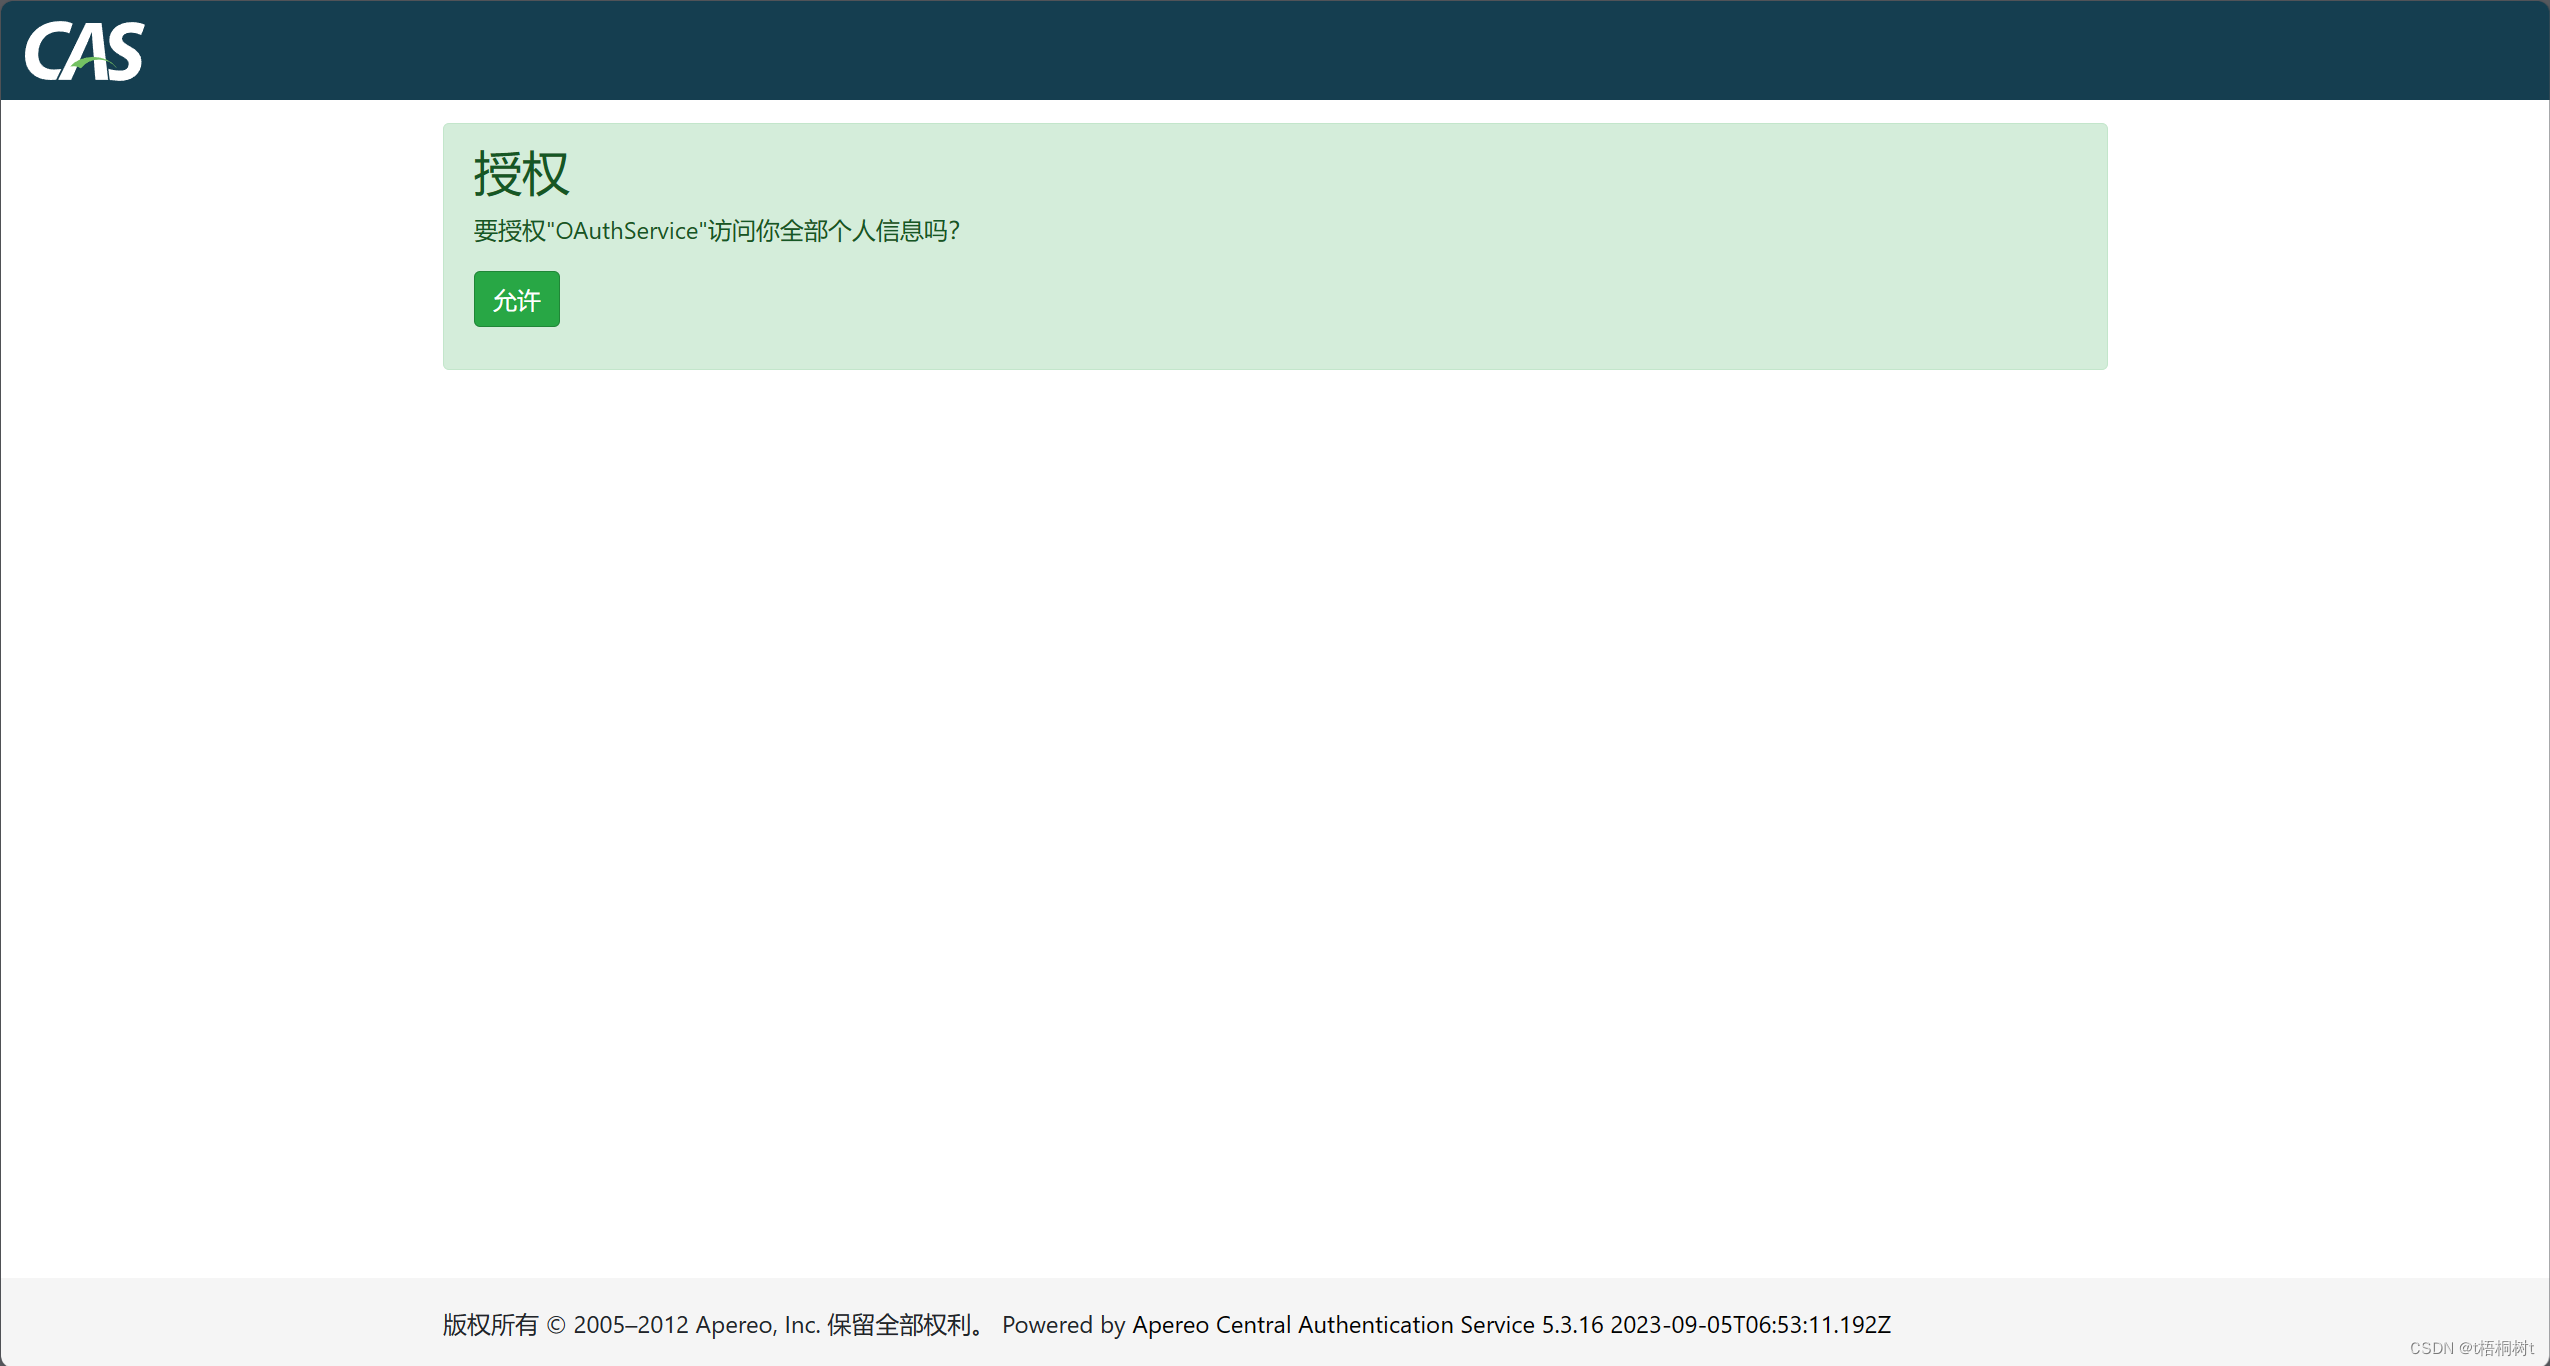
验证OAuth2.0
退出后访问这个地址
response_type: 按照code的方式接入
client: servcie注册的定义的,每个接入系统都分配一个值(就是前面定义的Apereo-10000002.json中的client_id)
redirevt_uri:登录成功后要跳转到的地址
出现这这个页面就表示成功了,然后点击"允许就会跳转到百度"


 825
825


 被折叠的 条评论
为什么被折叠?
被折叠的 条评论
为什么被折叠?
 到【灌水乐园】发言


