


一,对zabbix server端的操作
1,配置前对主机进行的准备工作
[root@localhost ~]# hostnamectl set-hostname zabbix-server (配置主机名)
[root@localhost ~]# su -l
[root@zabbix-server ~]# systemctl stop firewalld (关闭防火墙)
[root@zabbix-server ~]# systemctl disable firewalld (禁止开机自启动)
[root@zabbix-server ~]# setenforce 0 (关闭selinux防火墙)
[root@zabbix-server ~]# vim /etc/sysconfig/selinux (永久关闭selinux防火墙)
[root@zabbix-server ~]# yum install net-tools bash-completion wget vim ntpdate -y
[root@zabbix-server ~]# ntpdate cn.pool.ntp.org (时间同步)
2,准备LAMP环境
[root@zabbix-server ~]# yum install httpd mariadb mariadb-server php php-mysql php-gd -y3,配置zabbix yum源
添加源:
[root@zabbix-server ~]# cat /etc/yum.repos.d/zabbix.repo                                      [zabbix]
name=Zabbix Official Repository - \$basearch
baseurl=https://mirrors.aliyun.com/zabbix/zabbix/4.0/rhel/7/\$basearch/
enabled=1
gpgcheck=1
gpgkey=file:///etc/pki/rpm-gpg/RPM-GPG-KEY-ZABBIX-A14FE591
[zabbix-non-supported]
name=Zabbix Official Repository non-supported - \$basearch
baseurl=https://mirrors.aliyun.com/zabbix/non-supported/rhel/7/\$basearch/
enabled=1
gpgkey=file:///etc/pki/rpm-gpg/RPM-GPG-KEY-ZABBIX
gpgcheck=1
添加gpgkey
[root@zabbix-server ~]# curl https://mirrors.aliyun.com/zabbix/RPM-GPG-KEY-ZABBIX-A14FE591 -o /etc/pki/rpm-gpg/RPM-GPG-KEY-ZABBIX-A14FE591
% Total % Received % Xferd Average Speed Time Time Time Current
Dload Upload Total Spent Left Speed
100 1719 100 1719 0 0 3587 0 --:--:-- --:--:-- --:--:-- 3588
[root@zabbix-server ~]# curl https://mirrors.aliyun.com/zabbix/RPM-GPG-KEY-ZABBIX -o /etc/pki/rpm-gpg/RPM-GPG-KEY-ZABBIX
% Total % Received % Xferd Average Speed Time Time Time Current
Dload Upload Total Spent Left Speed
100 1333 100 1333 0 0 4422 0 --:--:-- --:--:-- --:--:-- 4428构造缓存
[root@zabbix-server ~]# yum makecache
4,安装zabbix server
(1)安装相关软件包
[root@zabbix-server ~]# yum install zabbix-server-mysql zabbix-web-mysql zabbix-agent -y注:若server端需要监控,则安装zabbix-agent
(2)修改时区
[root@zabbix-server ~]# vim /etc/httpd/conf.d/zabbix.conf

5,配置数据库
[root@zabbix-server ~]# systemctl start mariadb (启动数据库)
[root@zabbix-server ~]# systemctl enable mariadb (设置开机自启动)
创建zabbix数据库及用户
[root@zabbix-server ~]# mysql -e "create database zabbix character set utf8 collate utf8_bin;"
[root@zabbix-server ~]# mysql -e "grant all privileges on zabbix.* to zabbix@localhost identified by 'zabbix';"
[root@zabbix-server ~]# mysqladmin flush-privileges
导入数据库
[root@zabbix-server ~]# cd /usr/share/doc/zabbix-server-mysql-4.0.19/
[root@zabbix-server zabbix-server-mysql-4.0.19]# zcat create.sql.gz |mysql -uzabbix -p zabbix
Enter password:
[root@zabbix-server ~]# mysql -uzabbix -p -e 'use zabbix;show tables'
6,修改配置文件
[root@zabbix-server ~]# grep ^DB /etc/zabbix/zabbix_server.conf
DBName=zabbix
DBUser=zabbix
DBPassword=zabbix
7,启动zabbix和httpd
[root@zabbix-server ~]# systemctl start zabbix-server
[root@zabbix-server ~]# systemctl start httpd
[root@zabbix-server ~]# systemctl enable httpd
[root@zabbix-server ~]# systemctl enable zabbix-server
查看端口:
[root@zabbix-server ~]# netstat -nltup |egrep '80|10051'
tcp 0 0 0.0.0.0:10051 0.0.0.0:* LISTEN 20039/zabbix_server
tcp6 0 0 :::80 :::* LISTEN 20107/httpd
tcp6 0 0 :::10051 :::* LISTEN 20039/zabbix_server在web界面安装zabbix master

如果最右边没有no则继续点击next step

账号,密码,数据库都是刚才在配置文件中设置的都为zabbix

为zabbix页面起个名字,将会在右上角显示

展示配置信息

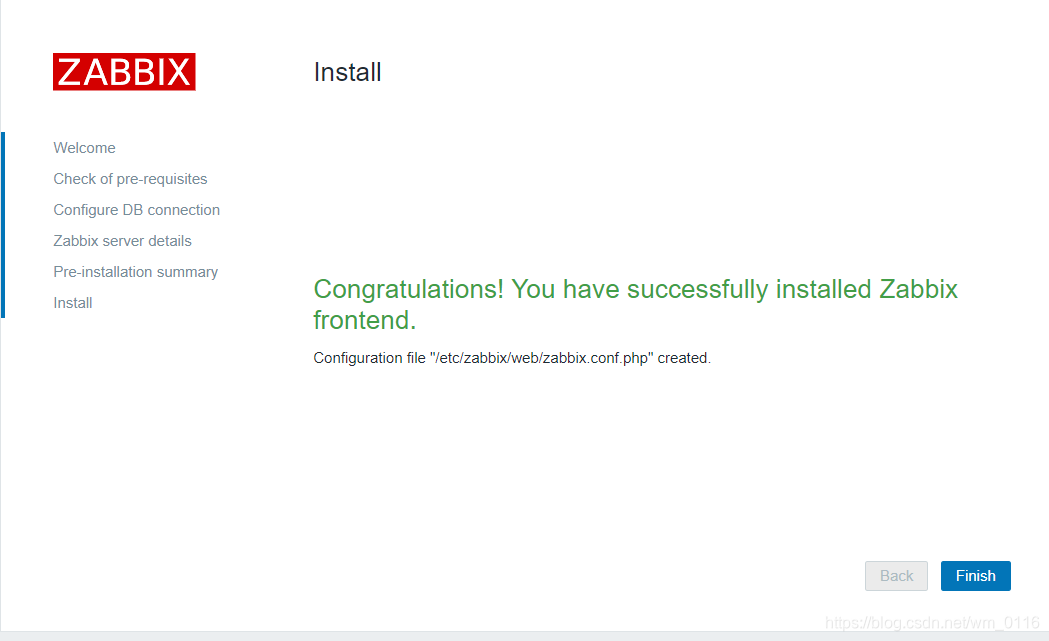
点击finish则完成安装
登录zabbix,账号为Admin,密码为zabbix


二,配置zabbix agent端
1,对主机环境进行准备工作
[root@node1 ~]# systemctl stop firewalld
[root@node1 ~]# systemctl disable firewalld
[root@node1 ~]# setenforce 0
[root@zabbix-server ~]# vim /etc/sysconfig/selinux
[root@node1 ~]# yum install net-tools bash-completion wget vim ntpdate -y
[root@node1 ~]# ntpdate cn.pool.ntp.org
[root@node1 ~]# hwclock -w
2,配置zabbix yum源
[zabbix]
name=Zabbix Official Repository - \$basearch
baseurl=https://mirrors.aliyun.com/zabbix/zabbix/4.0/rhel/7/\$basearch/
enabled=1
gpgcheck=1
gpgkey=file:///etc/pki/rpm-gpg/RPM-GPG-KEY-ZABBIX-A14FE591
[zabbix-non-supported]
name=Zabbix Official Repository non-supported - \$basearch
baseurl=https://mirrors.aliyun.com/zabbix/non-supported/rhel/7/\$basearch/
enabled=1
gpgkey=file:///etc/pki/rpm-gpg/RPM-GPG-KEY-ZABBIX
gpgcheck=1[root@node1 ~]# curl https://mirrors.aliyun.com/zabbix/RPM-GPG-KEY-ZABBIX-A14FE591 -o /etc/pki/rpm-gpg/RPM-GPG-KEY-ZABBIX-A14FE591
% Total % Received % Xferd Average Speed Time Time Time Current
Dload Upload Total Spent Left Speed
100 1719 100 1719 0 0 2910 0 --:--:-- --:--:-- --:--:-- 2913
[root@node1 ~]# curl https://mirrors.aliyun.com/zabbix/RPM-GPG-KEY-ZABBIX -o /etc/pki/rpm-gpg/RPM-GPG-KEY-ZABBIX
% Total % Received % Xferd Average Speed Time Time Time Current
Dload Upload Total Spent Left Speed
100 1333 100 1333 0 0 2926 0 --:--:-- --:--:-- --:--:-- 2923
[root@node1 ~]# yum makecache3,下载zabbix-agent端
[root@node1 ~]# yum install zabbix-agent -y4,修改配置文件
[root@node1 ~]# vim /etc/zabbix/zabbix_agentd.conf
Server=192.168.4.100 被动
ServerActive=192.168.4.100 主动
Hostname=node1
5,启动zabbix-agent端并查看端口
[root@node1 ~]# systemctl start zabbix-agent
[root@node1 ~]# systemctl enable zabbix-agent
[root@node1 ~]# netstat -nltup |grep 10050
6,在zabbix-server端测试与agent端的通信
[root@zabbix-server ~]# yum install zabbix-get.x86_64 -y
[root@zabbix-server ~]# zabbix_get -s 192.168.4.44 -k system.uptime
1588  (有数据代表通信正常)


 1199
1199

 被折叠的 条评论
为什么被折叠?
被折叠的 条评论
为什么被折叠?
 到【灌水乐园】发言


