


Servlet + JSP+JSTL +MySQL+Bootstrap 等技术实现分页查询功能。
所用工具:IDEA 2022.3.3 + Navicat +Tomcat 等。
本文目录
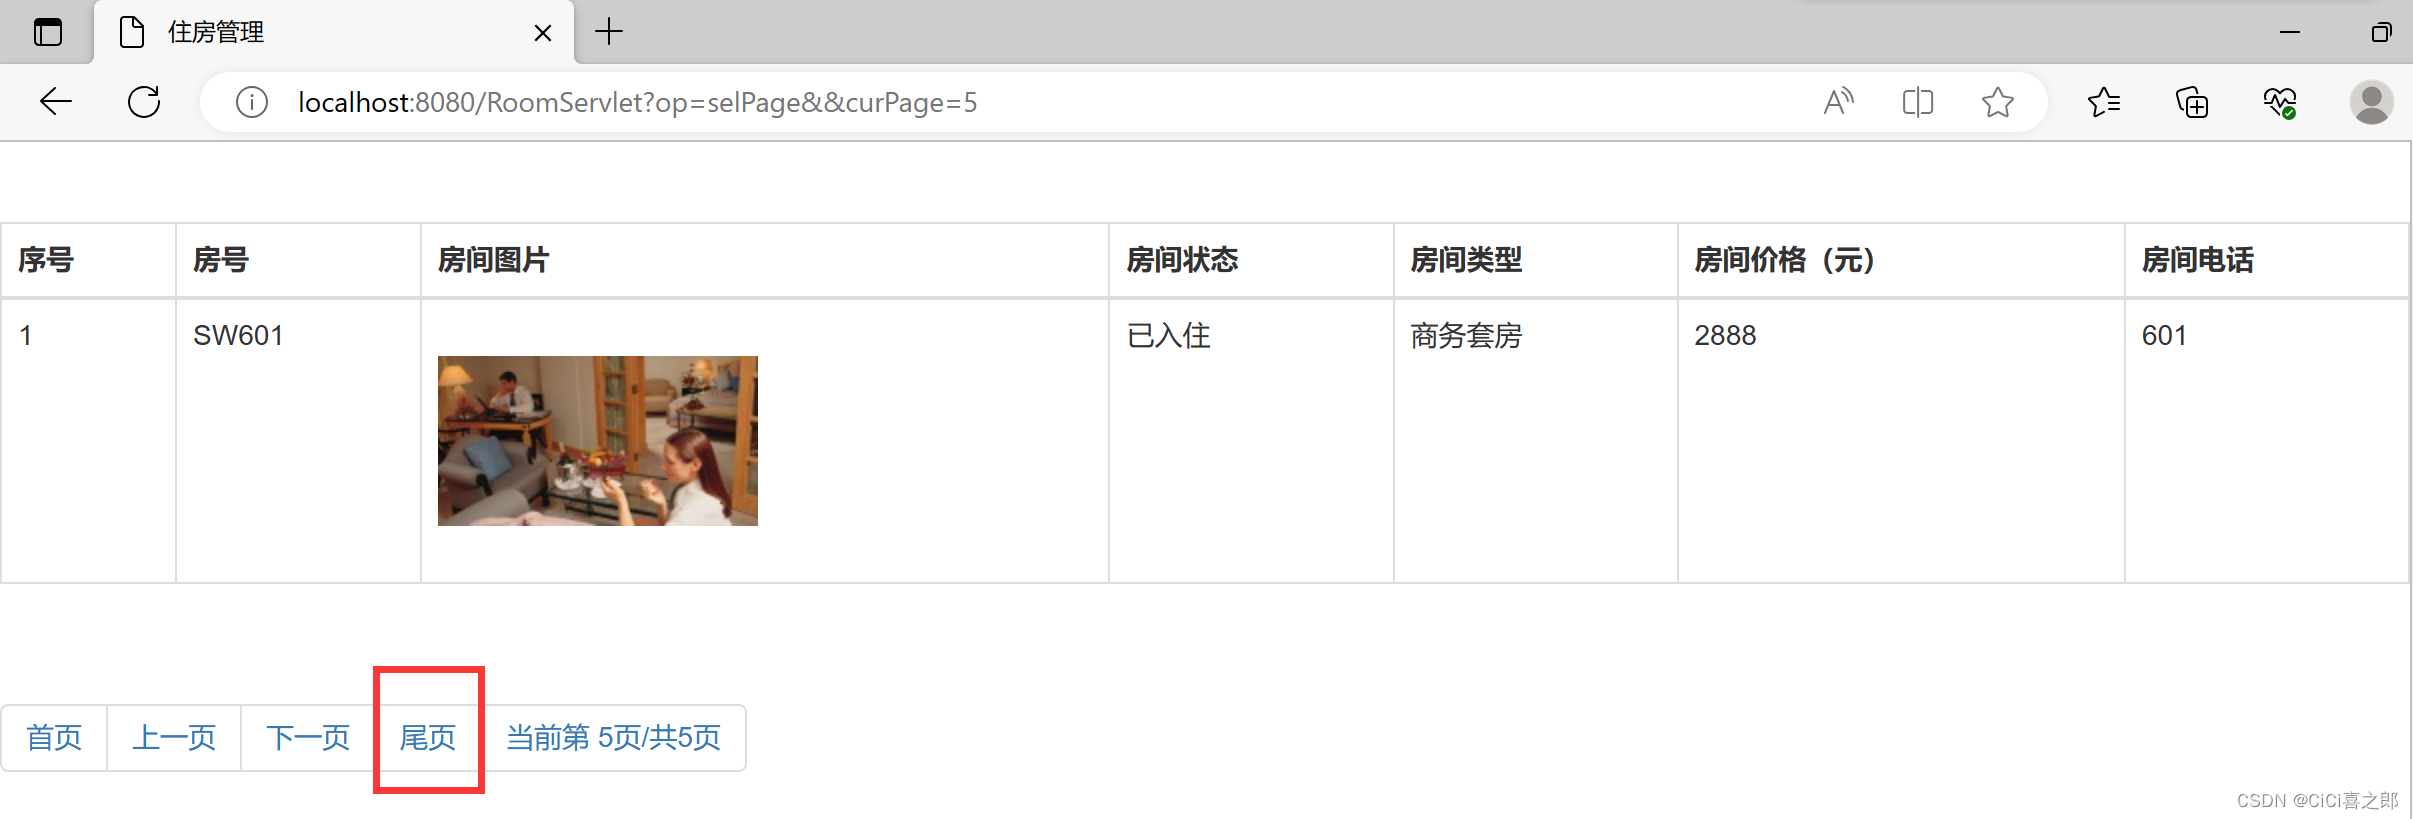
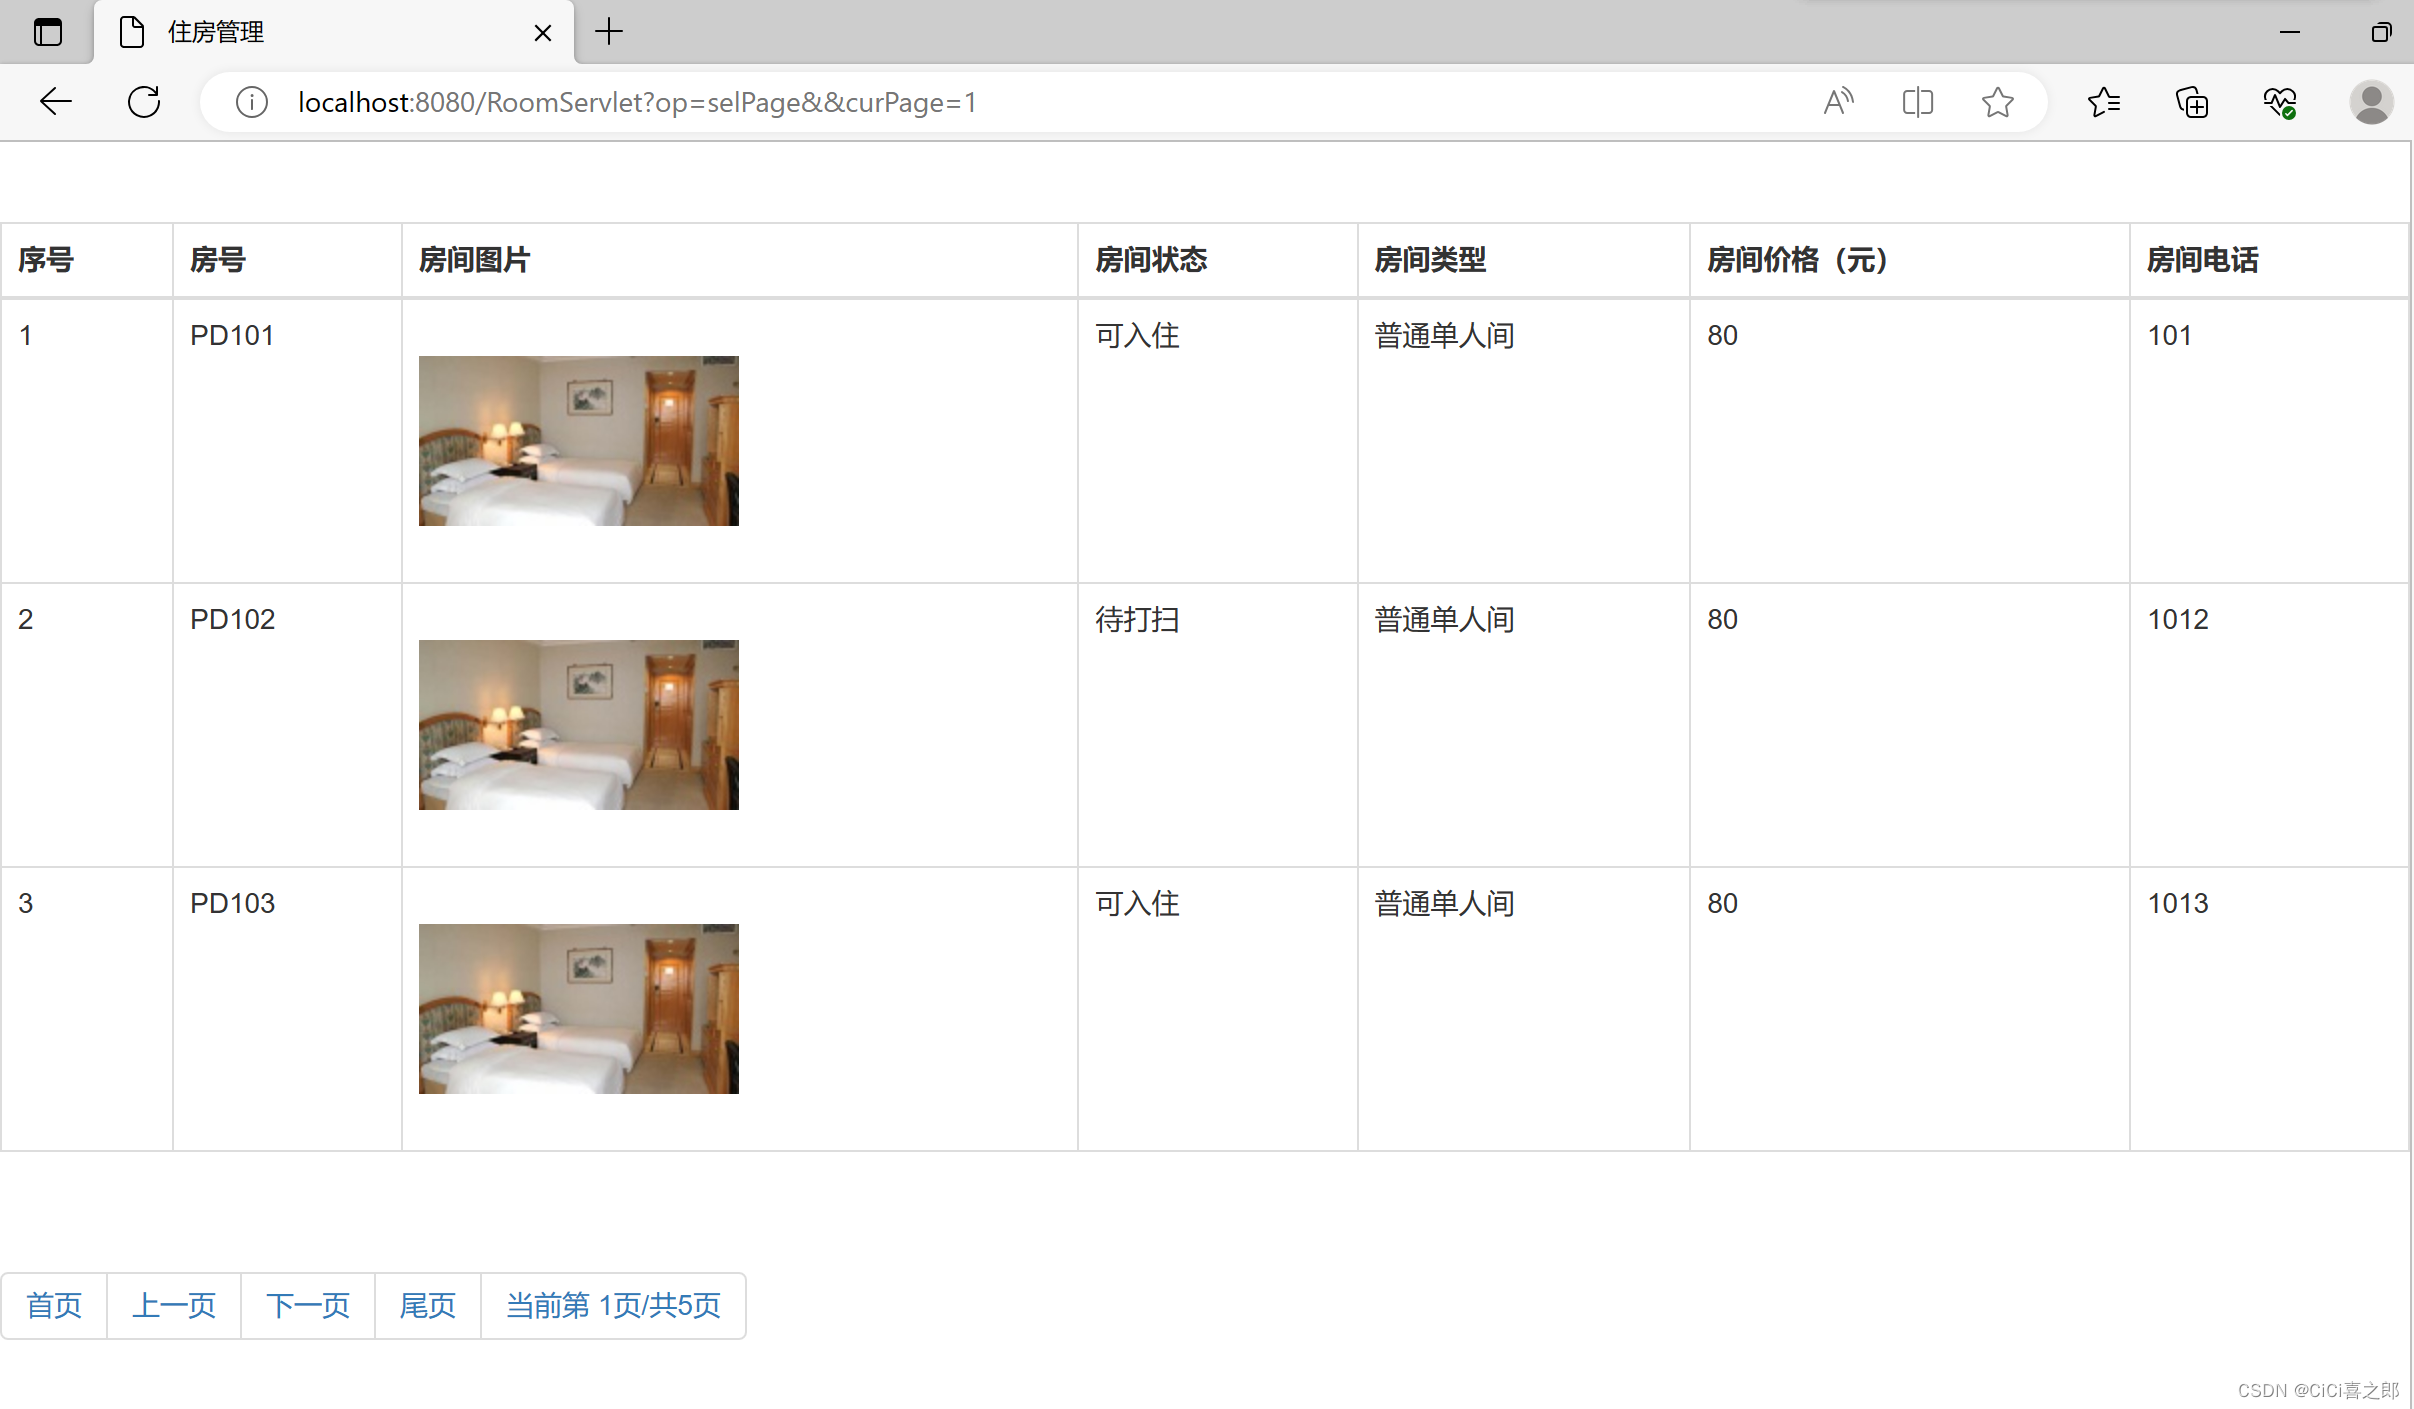
一:运行效果

运行之后如上图👆所示。
所包含的功能有: 首页、尾页、上一页、下一页、当前的页码和总页码统计等。
至于关于分页的其他功能,如控制每一页显示几条数据、跳转到第几页等,有待后续更新...
二:代码详解
(1)index.jsp
首页发起请求。侧重功能实现,没做样式(可自行设计)。
<%--
  Created by IntelliJ IDEA.
  User: AdminSun
  Date: 2023/6/12
  Time: 15:44
  To change this template use File | Settings | File Templates.
--%>
<%@ page contentType="text/html;charset=UTF-8" language="java" %>
<html>
  <head>
    <title>首页</title>
  </head>
  <body>
      <h1>欢迎使用</h1>
      <a href="/RoomServlet">分页查询展示</a>
  </body>
</html>
(2)PageBean
分页工具类:
package cn.shq.util;

import java.util.List;

public class PageBean {
    private Integer curPage;//当前页码
    private Integer pageSize;//每一页显示的条数
    private List datas; //每一页要显示的数据
    private Integer firstPage;//首页
    private Integer prevPage;//上一页
    private Integer nextPage;//下一页
    private Integer lastPage;//尾页
    private  Integer totalCount;//数据总条数
    private  Integer totalPages; //总页码

    public PageBean() {
    }

    /*   构造方法*/
    public PageBean(Integer curPage, Integer pageSize, List datas, Integer totalCount) {
        //初始化各个属性
        this.curPage = curPage;
        this.pageSize = pageSize;
        this.datas = datas;
        this.totalCount = totalCount;
        //计算出来其他的属性=====也算作初始化
        //计算总页码
        /*
         *    总页码  = 总条数 %  pageSize  ? 整除   则 总条数/pageSize
         *                                   有余数   总条数/pageSize+1
         * */
        this.totalPages=this.totalCount%this.pageSize==0?this.totalCount/this.pageSize:this.totalCount/this.pageSize+1;
        //   意思:   ↓↓↓↓
       /* if(totalCount%pageSize==0){
            this.totalPages=totalCount/pageSize;
        }else{
            this.totalPages=totalCount/pageSize+1;
        }*/
        this.firstPage=1;
        this.prevPage=this.curPage-1;
        this.nextPage=this.curPage+1;
        this.lastPage=this.totalPages;
        //对于超出范围的,加以限定
        //如果第一次访问的时候,
        if(curPage==null||curPage<1) curPage=1;
        //总页码
        if(this.totalPages==0) this.totalPages=1;
        //对于 上一页   当显示的页面为第一页的时候,不再递减
        if(prevPage<=0) this.prevPage=1;
        //对于下一页  最后一页的时候,下一页 停留在最后一页
        if(nextPage>=this.totalPages) this.nextPage=this.totalPages;
    }

    public Integer getCurPage() {
        return curPage;
    }

    public void setCurPage(Integer curPage) {
        this.curPage = curPage;
    }

    public Integer getPageSize() {
        return pageSize;
    }

    public void setPageSize(Integer pageSize) {
        this.pageSize = pageSize;
    }

    public List getDatas() {
        return datas;
    }

    public void setDatas(List datas) {
        this.datas = datas;
    }

    public Integer getFirstPage() {
        return firstPage;
    }

    public void setFirstPage(Integer firstPage) {
        this.firstPage = firstPage;
    }

    public Integer getPrevPage() {
        return prevPage;
    }

    public void setPrevPage(Integer prevPage) {
        this.prevPage = prevPage;
    }

    public Integer getNextPage() {
        return nextPage;
    }

    public void setNextPage(Integer nextPage) {
        this.nextPage = nextPage;
    }

    public Integer getLastPage() {
        return lastPage;
    }

    public void setLastPage(Integer lastPage) {
        this.lastPage = lastPage;
    }

    public Integer getTotalCount() {
        return totalCount;
    }

    public void setTotalCount(Integer totalCount) {
        this.totalCount = totalCount;
    }

    public Integer getTotalPages() {
        return totalPages;
    }

    public void setTotalPages(Integer totalPages) {
        this.totalPages = totalPages;
    }


}
(3)Servlet
控制器类:
package cn.shq.controller;

import cn.shq.dao.RoomDao;
import cn.shq.dao.impl.RoomDaoImp;
import cn.shq.util.PageBean;

import javax.servlet.*;
import javax.servlet.http.*;
import javax.servlet.annotation.*;
import java.io.IOException;

@WebServlet(name = "RoomServlet", value = "/RoomServlet")
public class RoomServlet extends HttpServlet {
    @Override
    protected void doGet(HttpServletRequest request, HttpServletResponse response) throws ServletException, IOException {
        doPost(request,response);
    }

    @Override
    protected void doPost(HttpServletRequest req, HttpServletResponse response) throws ServletException, IOException {
        RoomDao rm=new RoomDaoImp();
        String pageParam = req.getParameter("curPage");
        if (pageParam == null) pageParam = "1";
        if (pageParam == "") pageParam = "1";
        int curPage = Integer.parseInt(pageParam);
        //每一页显示的条数, 从页面下拉框获取
        String psize=req.getParameter("pageSize");
        if (psize == null) psize = "3";
        int pageSize = Integer.parseInt(psize);
        //调用dao,执行查询
        PageBean pageBean = rm.selByPage(curPage, pageSize);
        req.setAttribute("pager", pageBean);
        req.getRequestDispatcher("/admin/showRoom.jsp").forward(req, response);
    }

}
(4)DAO层
本案例中Servlet直接访问DAO层调用方法。
package cn.shq.dao.impl;

import cn.shq.dao.RoomDao;
import cn.shq.util.BaseDao;
import cn.shq.util.PageBean;

import java.util.List;
import java.util.Map;

public class RoomDaoImp implements RoomDao {
    @Override
    public PageBean selByPage(int curPage, int pageSize) {
        String sql="select r.rNum,r.rStatus,rs.roomstatus,rt.typeName,r.rPrice,r.rPhone,r.rPic \n" +
                "from room r,roomstatus rs,roomtype rt\n" +
                "where r.rType=rt.tid and r.rStatus=rs.sid\n" +
                "LIMIT ?,?";
        int startIndex=pageSize	* (curPage-1);
        List<Map<String, Object>> list = BaseDao.executeQuery(sql, startIndex, pageSize);
        sql="select count(*) pageNum from room";
        Long pageNum = (Long) BaseDao.executeQuery(sql).get(0).get("pageNum");
        PageBean pageBean = new PageBean(curPage,pageSize,list,pageNum.intValue());
        pageBean.setDatas(list);
        pageBean.setTotalCount(pageNum.intValue());
        return pageBean;
    }
}
(5)BaseDao
访问数据库所用的工具类
package cn.shq.util;

import javax.naming.InitialContext;
import javax.naming.NamingException;
import javax.sql.DataSource;
import java.sql.*;
import java.util.ArrayList;
import java.util.HashMap;
import java.util.List;
import java.util.Map;

public class BaseDao {
    protected static Connection conn = null;
    protected static PreparedStatement pstm = null;
    protected static ResultSet rs = null;

    private static String driver="com.mysql.jdbc.Driver";
    private static String url="jdbc:mysql://localhost:3306/bbs_xdy?useSSL=true";
    private static String username="root";
    private static String password="123456";

    private static Connection getConn(){
        try {
            Class.forName(driver);
            Connection connection = DriverManager.getConnection(url,username,password);
            return connection;
        } catch (Exception e) {
            e.printStackTrace();
        }
        return null;
    }
    /*
     * 通用关闭
     * */
    public static void closeAll(Connection conn,PreparedStatement pstm,ResultSet rs) {
        try {
            if (rs != null) {
                rs.close();
            }
            if (pstm != null) {
                pstm.close();
            }
            if (conn != null) {
                conn.close();
            }
        } catch (Exception e) {
            e.printStackTrace();
        }
    }
    /*
     * 增删改
     * */
    public static int executeUpdate(String sql, Object... obj) {
        try {
            conn = getConn();
            pstm = conn.prepareStatement(sql);
            setParam(obj);
            int num = pstm.executeUpdate();
            return num;
        } catch (Exception e) {
            e.printStackTrace();
        } finally {
            closeAll(conn,pstm,rs);
        }
        return 0;
    }

    /*
     * 解决占位符参数的问题
     * */
    private static void setParam(Object... obj) {
        if (obj != null) {
            for (int i = 0; i < obj.length; i++) {
                try {
                    pstm.setObject(i + 1, obj[i]);
                } catch (Exception e) {
                    e.printStackTrace();
                }
            }
        }
    }
    /*
     * 通用查询
     * */
    public static List<Map<String, Object>> executeQuery(String sql, Object... obj) {
        List<Map<String, Object>> list = new ArrayList();
        try {
            conn = getConn();
            pstm = conn.prepareStatement(sql);
            setParam(obj);
            rs = pstm.executeQuery();
            ResultSetMetaData rd = rs.getMetaData();
            int count = rd.getColumnCount();
            while (rs.next()) {
                Map<String, Object> map = new HashMap();
                for (int i = 0; i < count; i++) {
                    map.put(rd.getColumnName(i + 1), rs.getObject(i + 1));
                }
                list.add(map);
            }
        } catch (SQLException e) {
            e.printStackTrace();
        } finally {
            closeAll(conn,pstm,rs);
        }
        return list;
    }
}
(6)JSP
展示数据的页面。
<%--
  Created by IntelliJ IDEA.
  User: AdminSun
  Date: 2020/12/08
  Time: 10:49
  To change this template use File | Settings | File Templates.
--%>
<%@ page contentType="text/html;charset=UTF-8" language="java" %>
<%@ taglib prefix="c" uri="http://java.sun.com/jsp/jstl/core" %>
<!DOCTYPE html>
<head>
    <title>住房管理</title>
    <link rel="stylesheet" href="../bootstrap/bootstrap-3.3.7-dist/css/bootstrap.css">
    <script src="../js/jquery-3.4.1.min.js"></script>
    <script src="../bootstrap/bootstrap-3.3.7-dist/js/bootstrap.js"></script>
    <style>
        *{
            margin: 20px auto;
        }
    </style>
</head>
<body>
            <%--显示数据的表格--%>
            <table class="table table-hover table-bordered">
                <thead>
                <tr>
                    <th>序号</th>
                    <th>房号</th>
                    <th>房间图片</th>
                    <th>房间状态</th>
                    <th>房间类型</th>
                    <th>房间价格(元)</th>
                    <th>房间电话</th>
                </tr>
                </thead>
                <tbody>

                <c:if test="${empty pager.datas}">
                    <script>
                        alert("没有数据");
                    </script>
                </c:if>
                <c:if test="${ not empty pager.datas}">
                    <c:forEach items="${pager.datas}" var="room" varStatus="s">
                        <tr>
                            <td>${s.count}</td>
                            <td>${room.rNum}</td>
                            <td><img src="${room.rPic}" /></td>
                            <td>${room.roomstatus}</td>
                            <td>${room.typeName}</td>
                            <td>${room.rPrice}</td>
                            <td>${room.rPhone}</td>
                        </tr>
                    </c:forEach>
                </c:if>
                </tbody>
            </table>
        <%--分页控制--%>
            <ul class="pagination">
                <li>
                    <a href="/RoomServlet?op=selPage&&curPage=${pager.firstPage}">首页</a>
                </li>
                <li>
                    <a href="/RoomServlet?op=selPage&&curPage=${pager.prevPage}">上一页</a>
                </li>
                <li>
                    <a href="/RoomServlet?op=selPage&&curPage=${pager.nextPage}">下一页</a>
                </li>
                <li>
                    <a href="/RoomServlet?op=selPage&&curPage=${pager.lastPage}">尾页</a>
                </li>
                <li>
                    <a href="#">当前第 ${pager.curPage}页/共${pager.totalPages}页</a>
                </li>
            </ul>
</body>
</html>
该页面显示数据使用了JSTL标签库。
所以需要注意的是:
<%@ taglib prefix="c" uri="http://java.sun.com/jsp/jstl/core" %>
(7)所需数据表
仅展示主要表。其他表需自行创建。

(8)案例项目结构
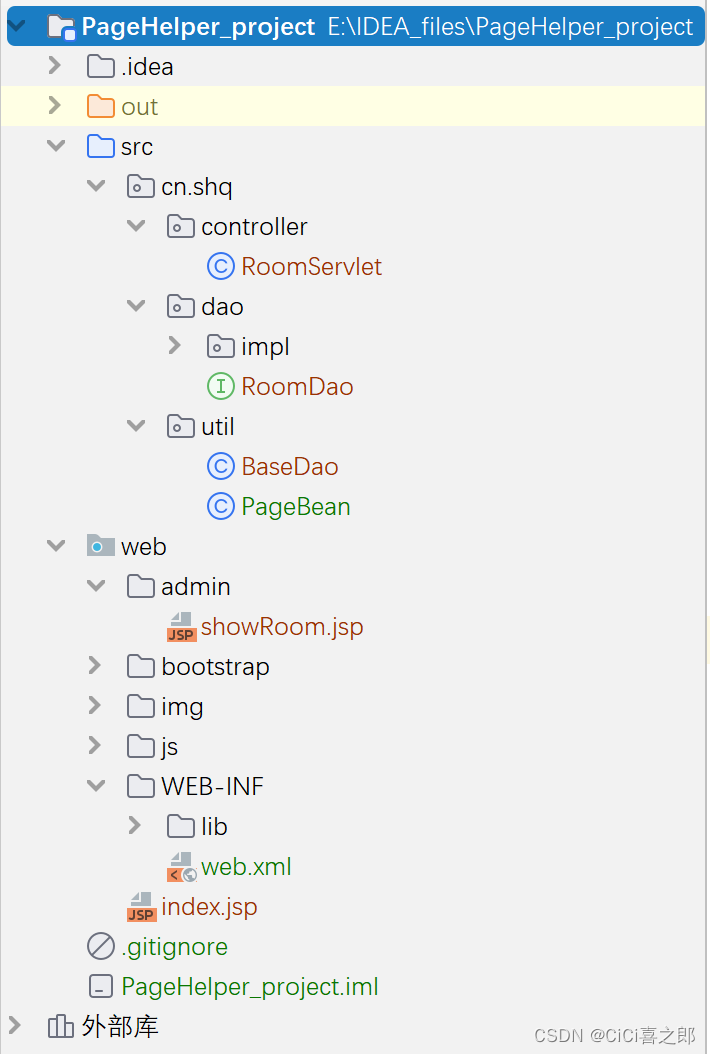
| src | 写Java源代码的根目录。 |
|---|---|
| web/admin | 展示数据的JSP页面 |
| web/bootstrap: | 案例中所需要的Bootstrap样式表和脚本库 |
| web/img | 存放案例所需图片 |
| web/js | 案例中jQuery所用库 |
| web/WEB-INF/lib | 案例所用jar包(连接MySQL数据库和JSTL标签库) |
三:功能展示
点击下一页

点击尾页
点击上一页

点击首页
首页或尾页的时候,点击上一页或下一页不会进行跳转,停留在首页或尾页。


 467
467


 被折叠的 条评论
为什么被折叠?
被折叠的 条评论
为什么被折叠?
 到【灌水乐园】发言


