


环境说明:next.js 官方文档要求node版本在16.8以上。笔者使用的 node版本是16.20.1,不要使用16.13.0,笔者在使用 node16.13.0环境时创建的 react 项目点击事件无效
next.js官网截图
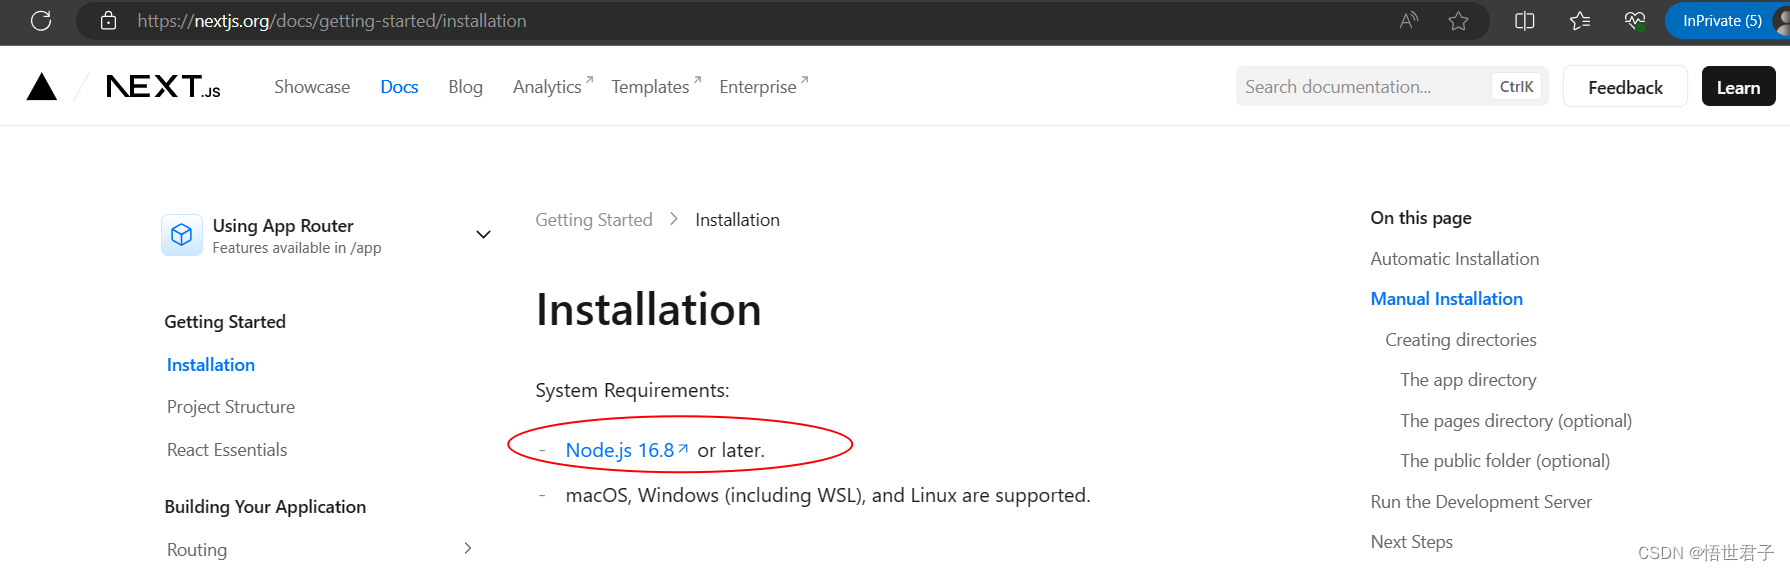
next.js 官网:https://nextjs.org/
react 官网:https://react.dev/
Ant Design 官网:https://ant.design/index-cn
目录
1、创建项目
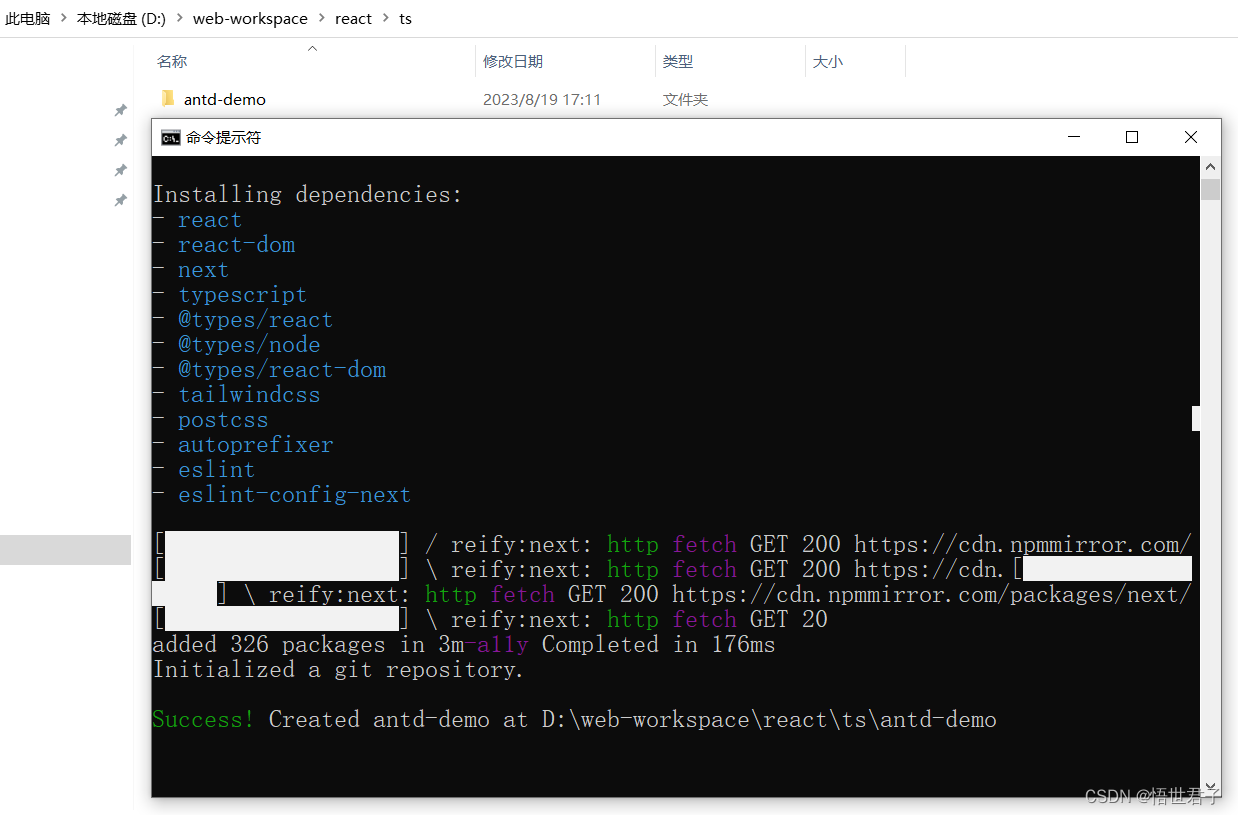
在电脑存放项目的文件夹下打开cmd窗口
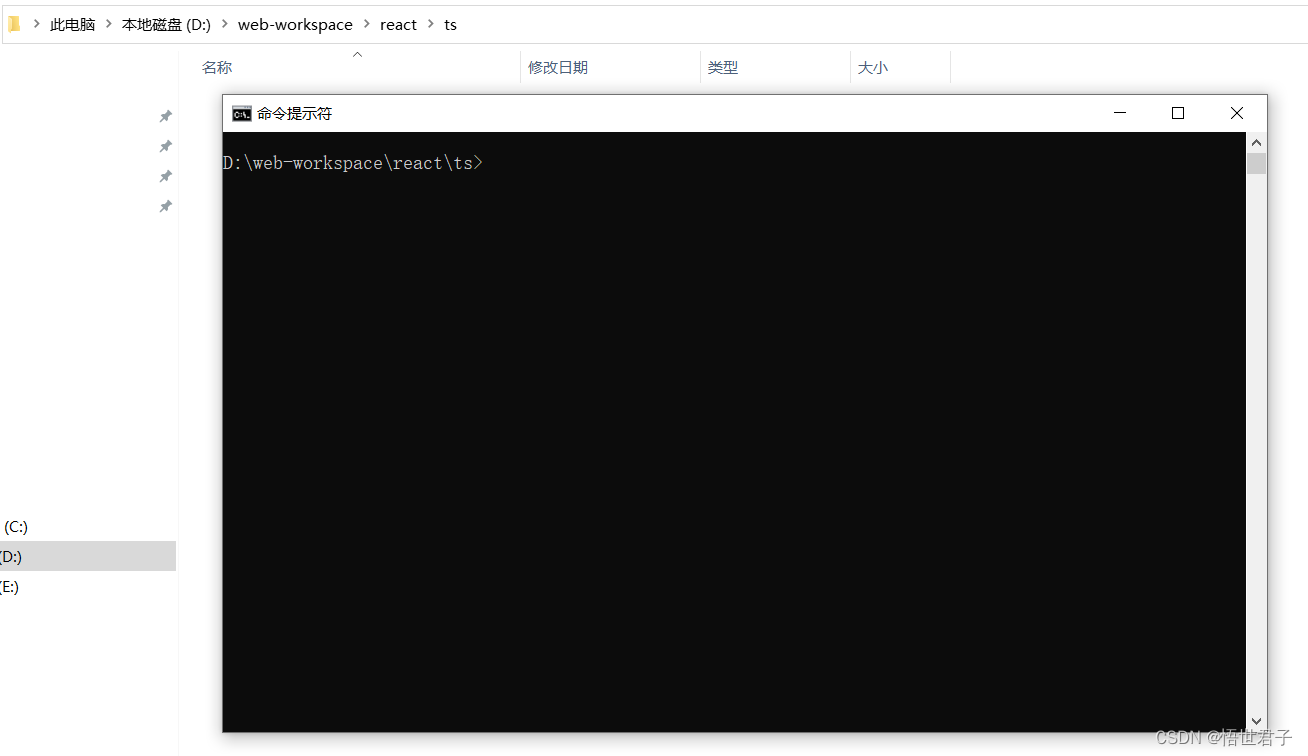
执行命令创建项目 npx create-next-app antd-demo
npx create-next-app antd-demo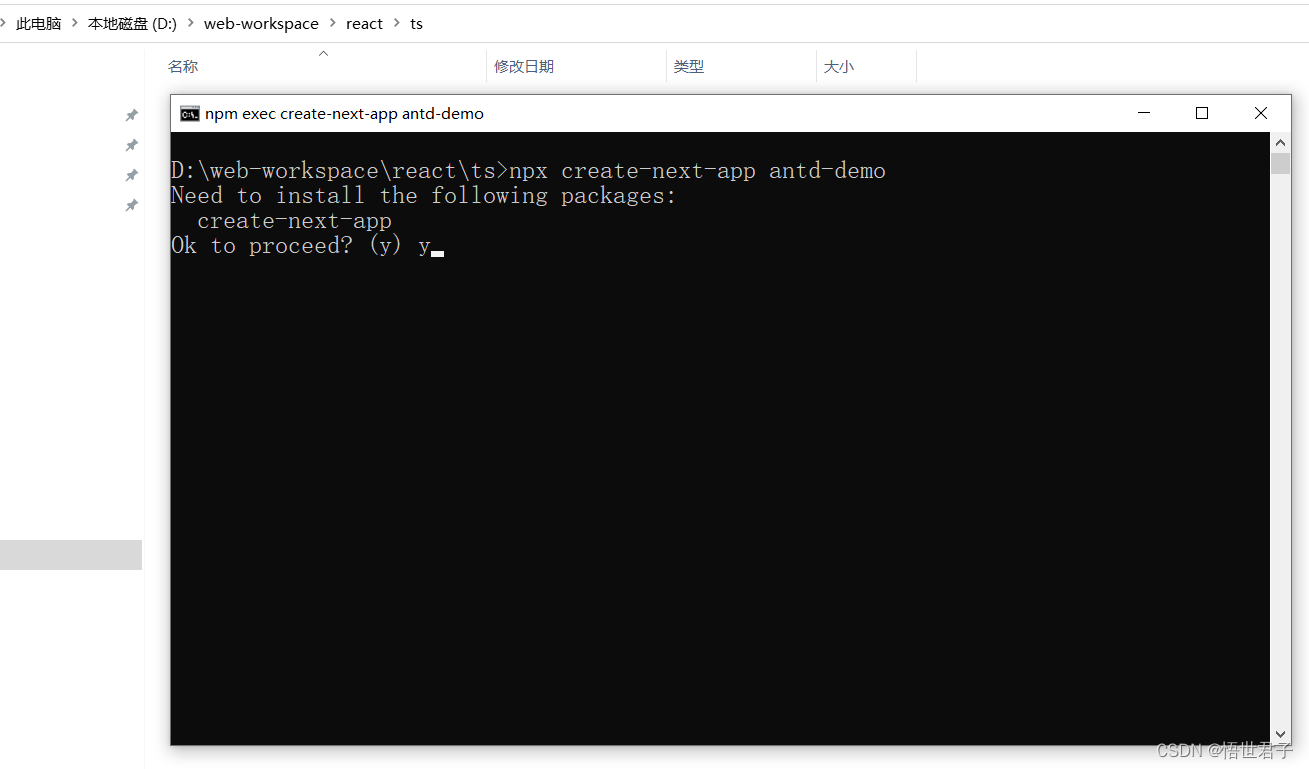
第一次创建会先安装 create-next-app
接下来会让你选择创建项目需要的内容,这里可以根据自己的喜好决定,或者直接使用默认
笔者选择的是使用 ts 和 app router
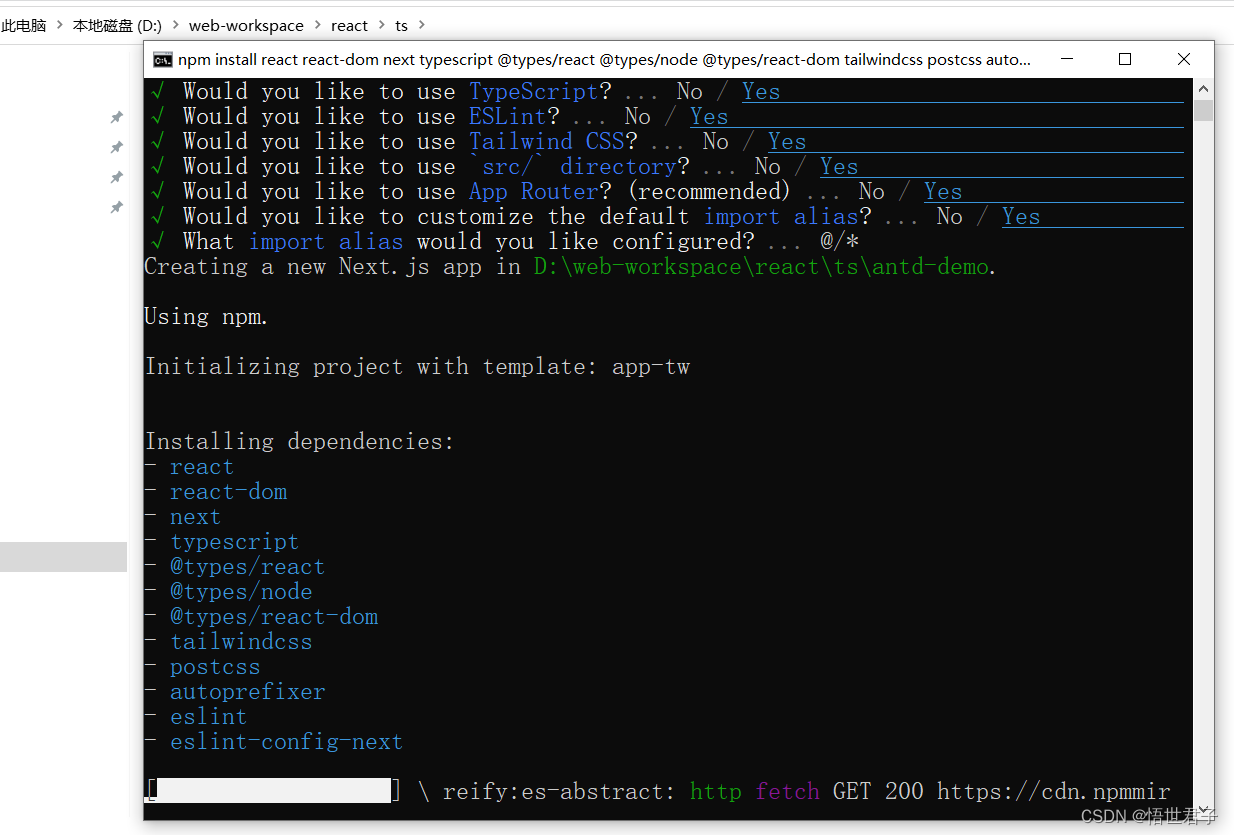
创建完成
2、安装 ant design
进入项目目录 ,使用 vscode编辑器打开项目
cd antd-democode ./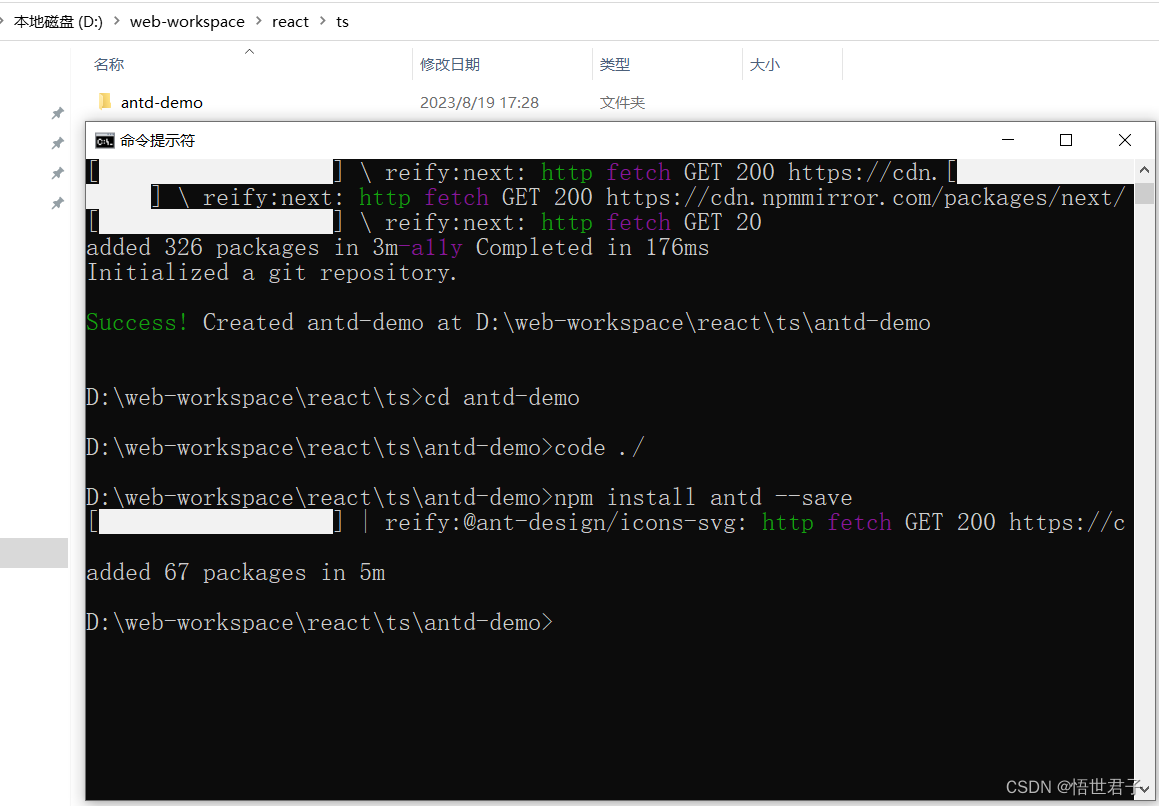
安装 ant design react
npm install antd --savenpm install @ant-design/cssinjs --save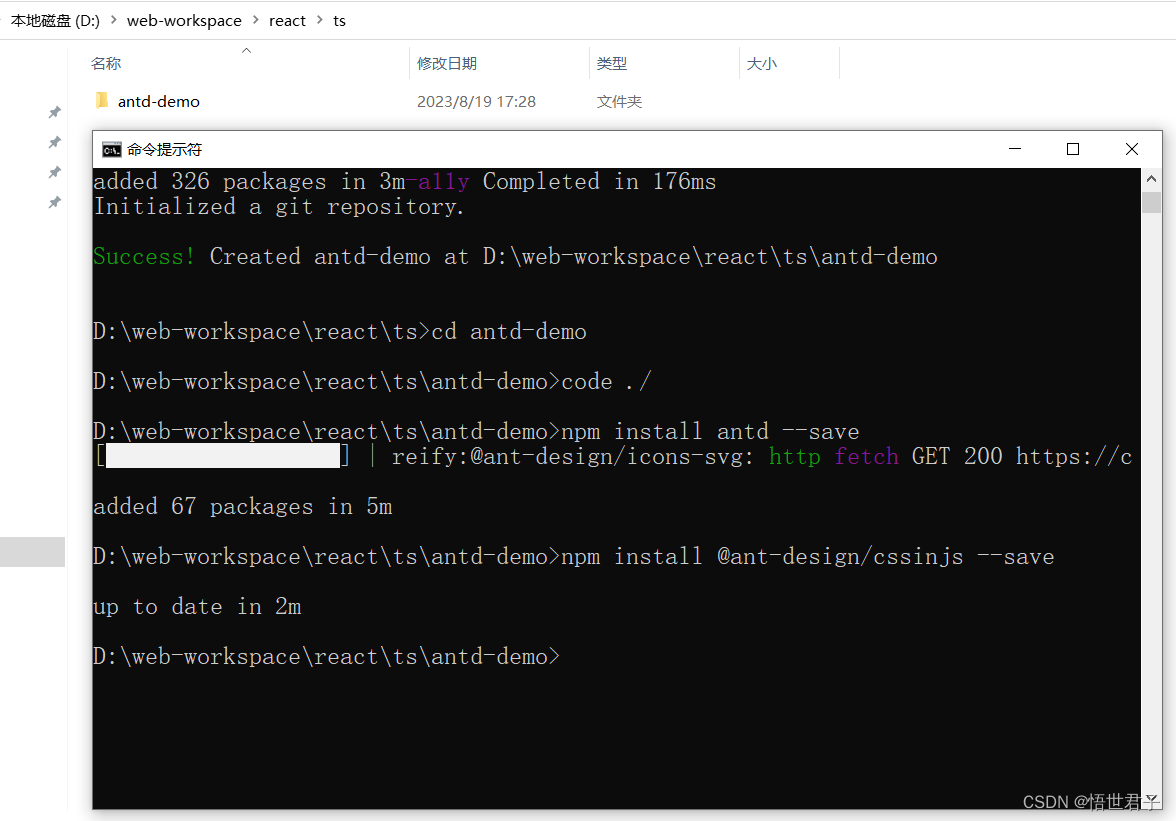
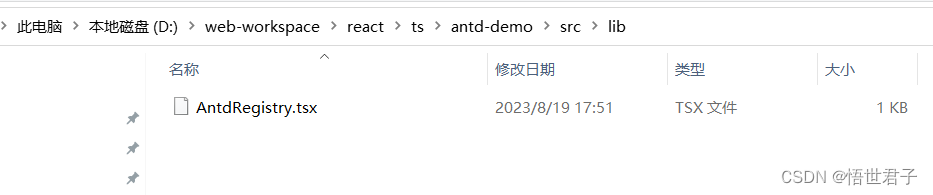
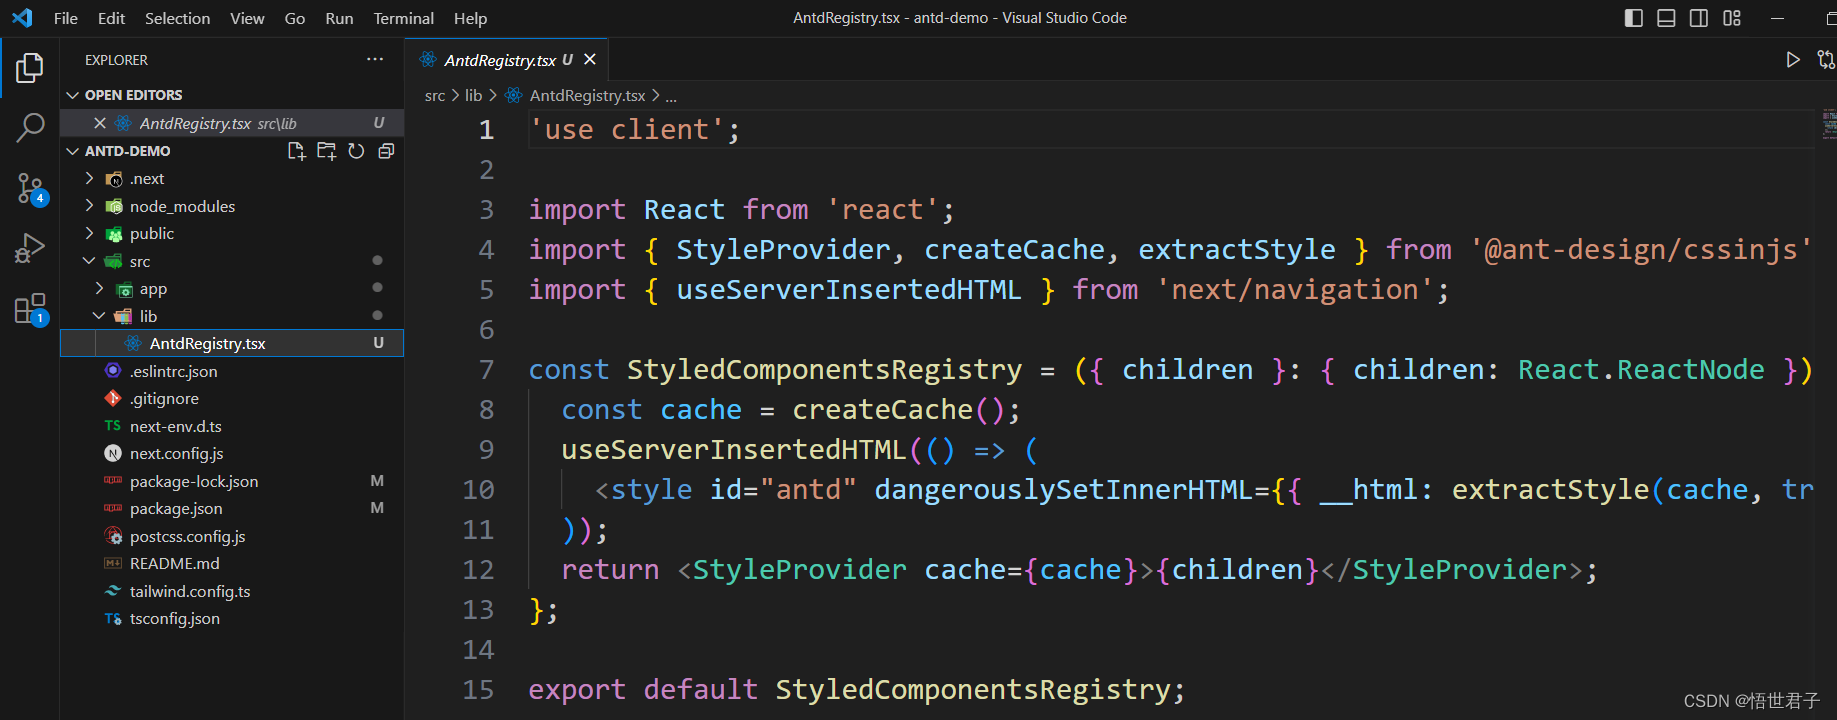
安装完成后,在项目src目录下新建 lib 目录,在新建的 lib 目录下新建 AntdRegistry.tsx
AntdRegistry.tsx内容
'use client';

import React from 'react';
import { StyleProvider, createCache, extractStyle } from '@ant-design/cssinjs';
import { useServerInsertedHTML } from 'next/navigation';

const StyledComponentsRegistry = ({ children }: { children: React.ReactNode }) => {
  const cache = createCache();
  useServerInsertedHTML(() => (
    <style id="antd" dangerouslySetInnerHTML={{ __html: extractStyle(cache, true) }} />
  ));
  return <StyleProvider cache={cache}>{children}</StyleProvider>;
};

export default StyledComponentsRegistry;
vscode 截图
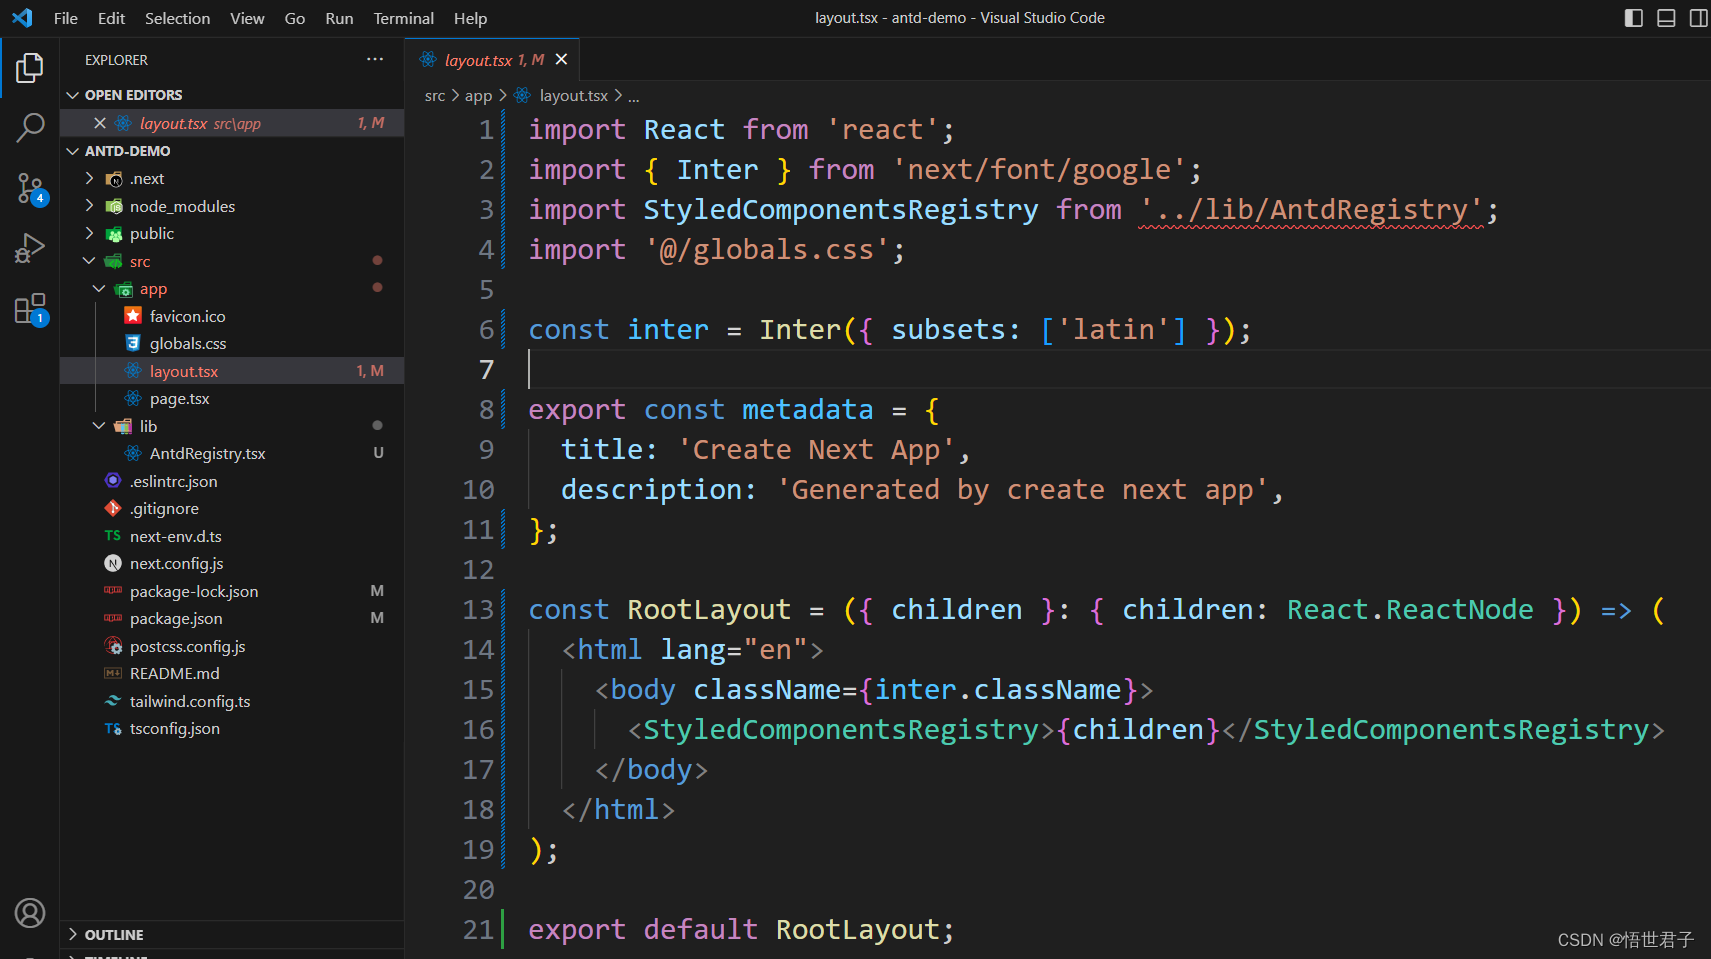
修改src/app/layout.tsx 内容为下面内容
import React from 'react';
import { Inter } from 'next/font/google';
import StyledComponentsRegistry from '../lib/AntdRegistry';
import '@/app/globals.css';

const inter = Inter({ subsets: ['latin'] });

export const metadata = {
  title: 'Create Next App',
  description: 'Generated by create next app',
};

const RootLayout = ({ children }: { children: React.ReactNode }) => (
  <html lang="en">
    <body className={inter.className}>
      <StyledComponentsRegistry>{children}</StyledComponentsRegistry>
    </body>
  </html>
);

export default RootLayout;
vscode 截图
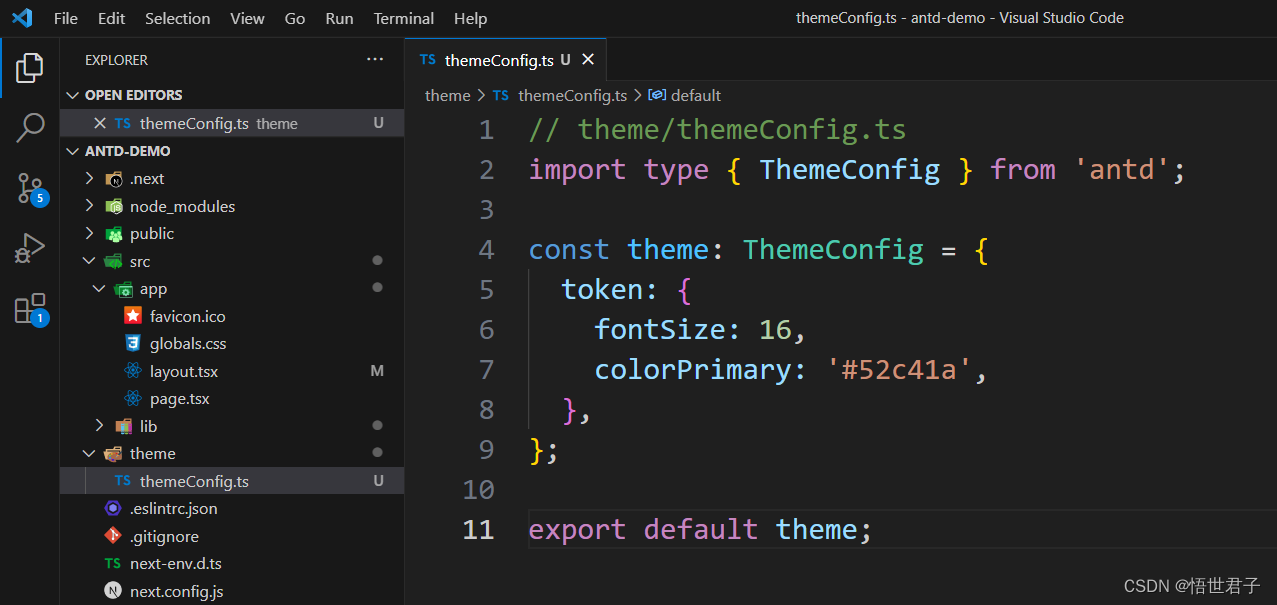
添加主题配置
在项目根目录下新建 theme 文件夹,新建 themeConfig.ts

themeConfig.ts 内容
// theme/themeConfig.ts
import type { ThemeConfig } from 'antd';

const theme: ThemeConfig = {
  token: {
    fontSize: 16,
    colorPrimary: '#52c41a',
  },
};

export default theme;
vscode 截图
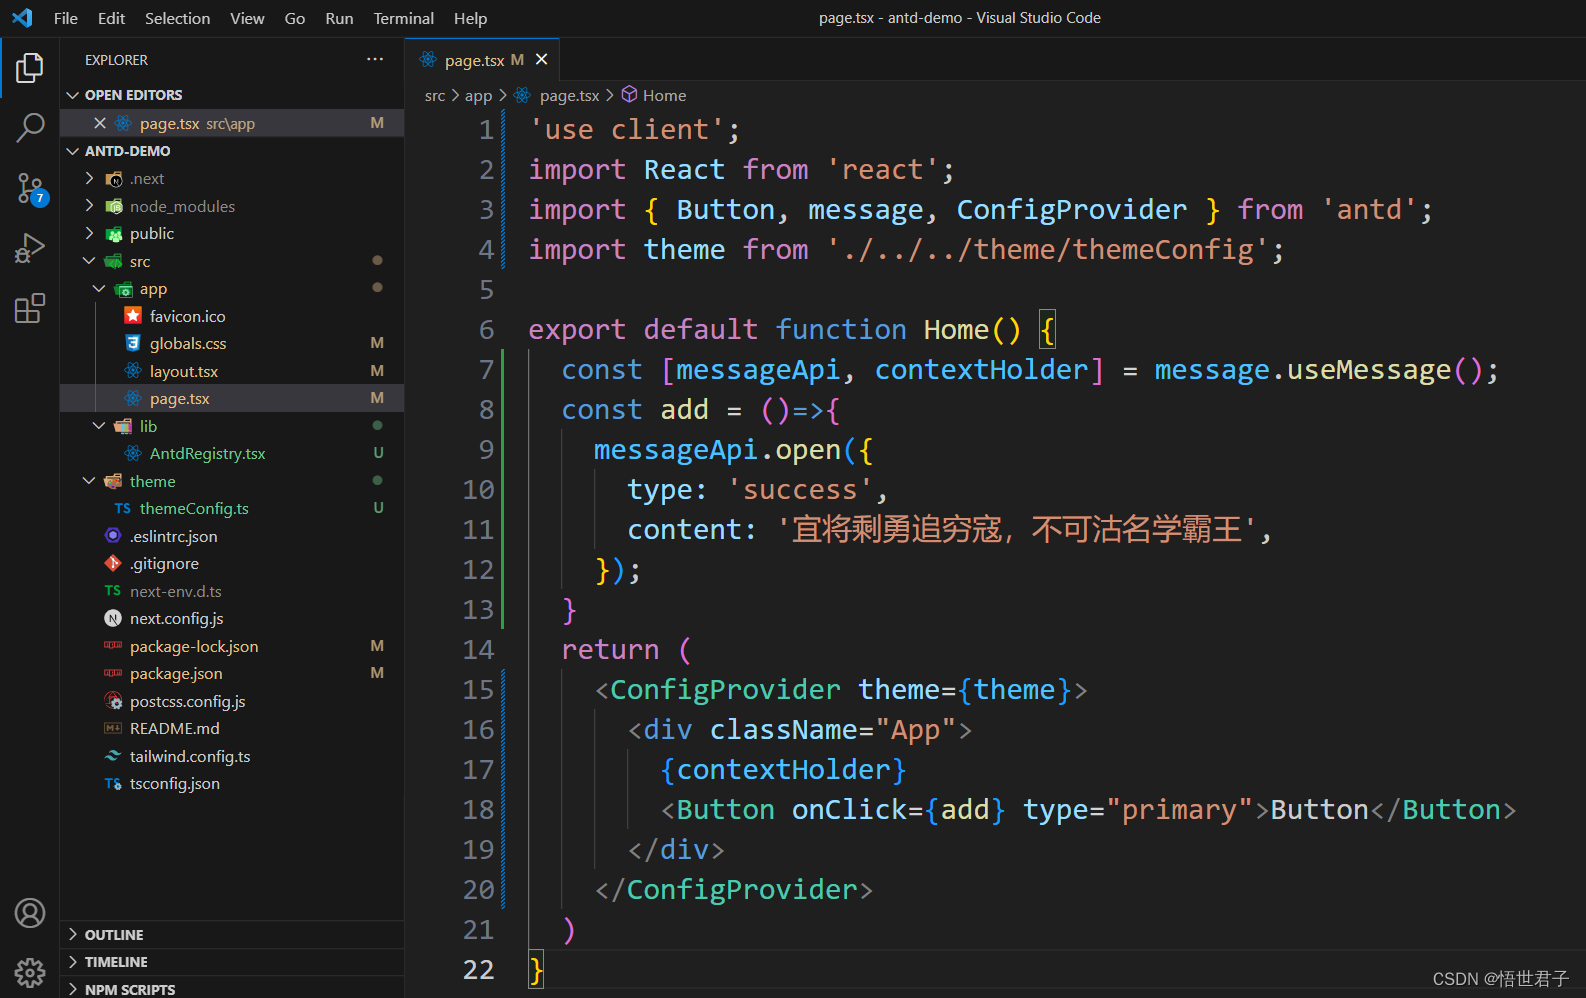
修改app下page.tsx 内容为下面内容
'use client';
import React from 'react';
import { Button, message, ConfigProvider } from 'antd';
import theme from './../../theme/themeConfig';

export default function Home() {
  const [messageApi, contextHolder] = message.useMessage();
  const add = ()=>{
    messageApi.open({
      type: 'success',
      content: '宜将剩勇追穷寇,不可沽名学霸王',
    });
  }
  return (
    <ConfigProvider theme={theme}>
      <div className="App">
        {contextHolder}
        <Button onClick={add} type="primary">Button</Button>
      </div>
    </ConfigProvider>
  )
}
vscode 截图
3、运行测试
在项目根目录下打开cmd,也可使用vscode自带的终端运行命令,npm run dev
npm run dev 
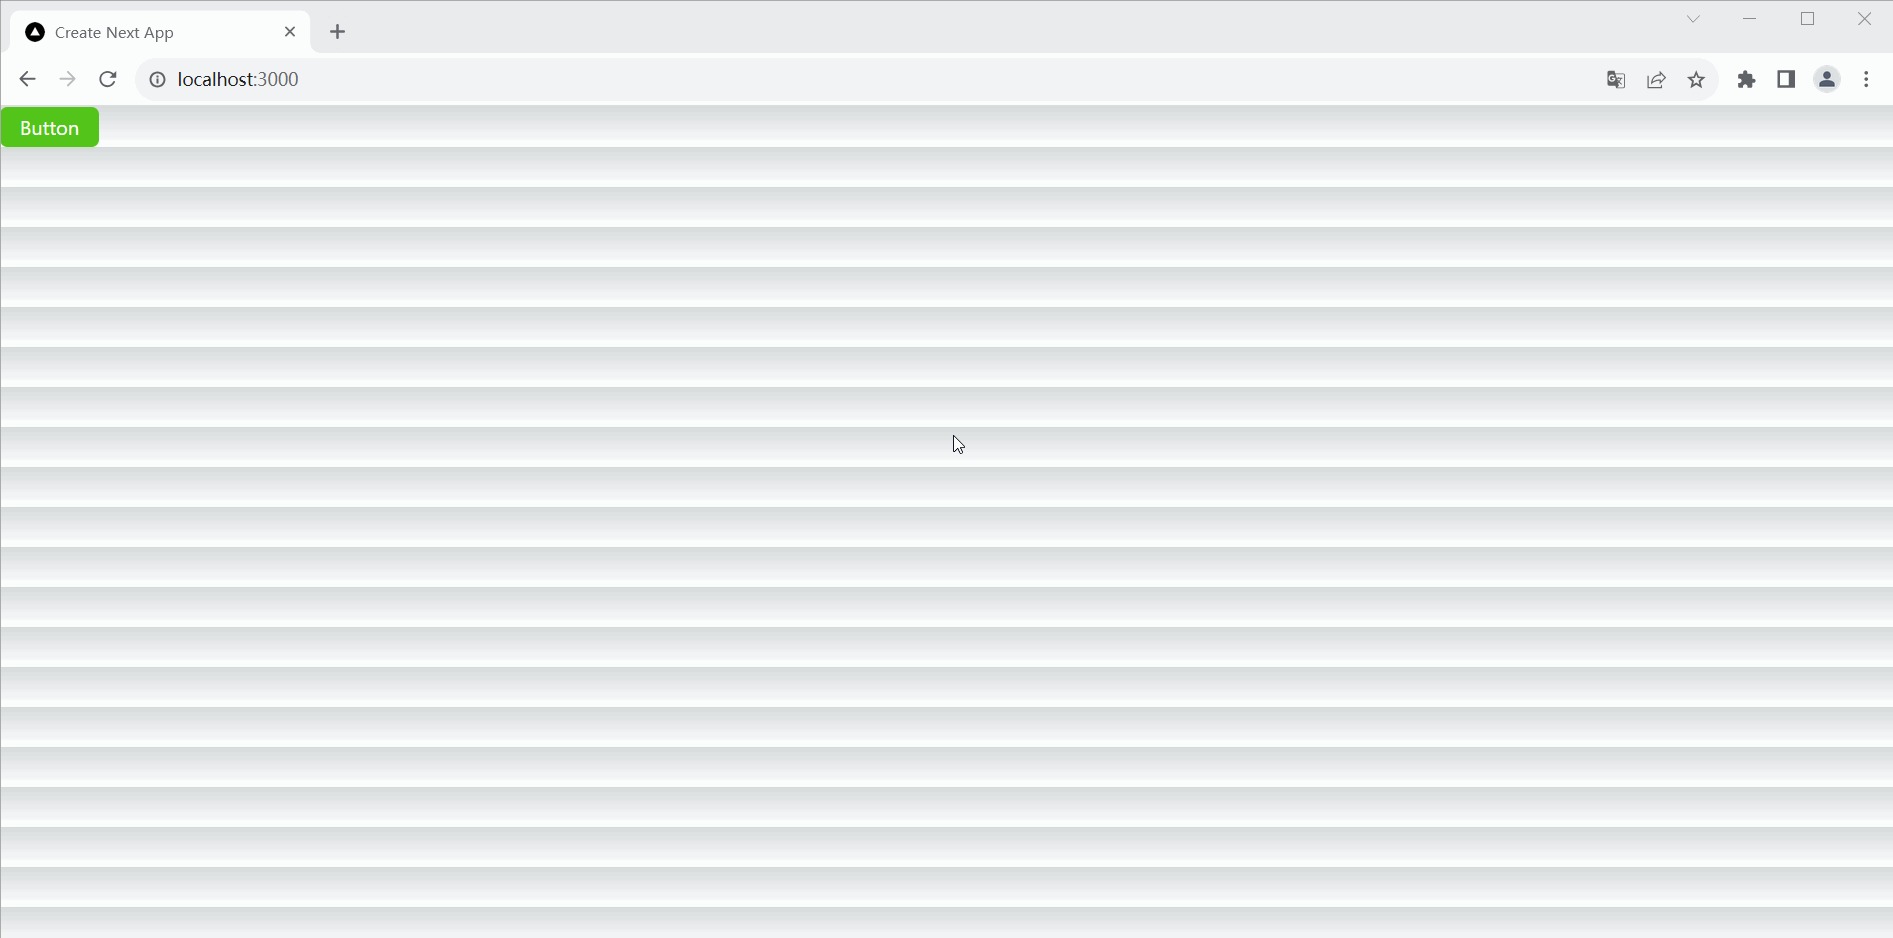
浏览器访问:http://localhost:3000
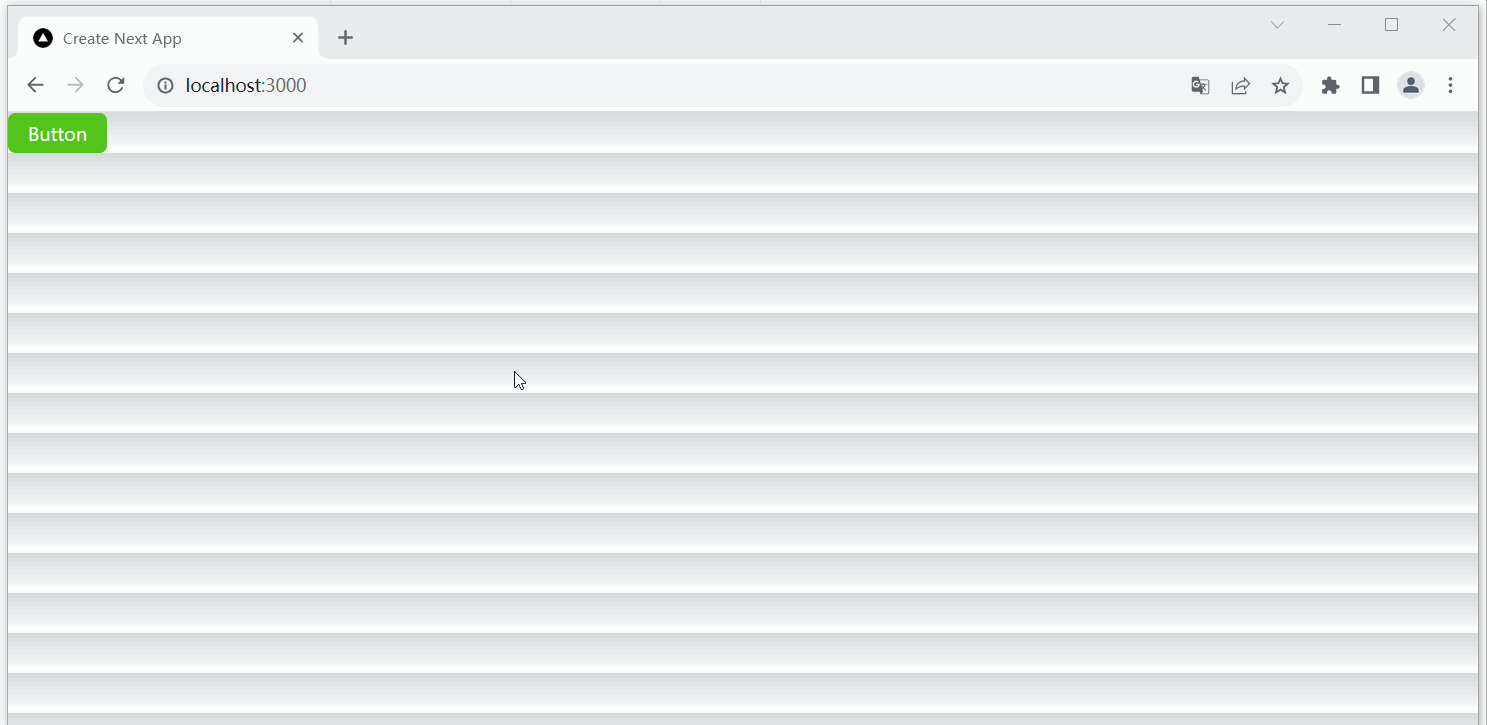
这个背景的条纹是next.js自带的样式,如果想去掉它,可以将 app/globals.css 的 body 标签的背景background 样式去掉
body {
  margin: 0;
  color: rgb(var(--foreground-rgb));
  /* background: linear-gradient(
      to bottom,
      transparent,
      rgb(var(--background-end-rgb))
    )
    rgb(var(--background-start-rgb)); */
}
运行效果
至此完


 22
22

 被折叠的 条评论
为什么被折叠?
被折叠的 条评论
为什么被折叠?
 到【灌水乐园】发言


