


 本文详细介绍了如何在Windows上下载并安装MySQL社区版,包括选择合适的版本,执行安装过程,设置密码,以及通过服务管理和命令行工具来启动、停止MySQL服务。同时,还提到了通过配置环境变量来方便使用命令行客户端进行连接。
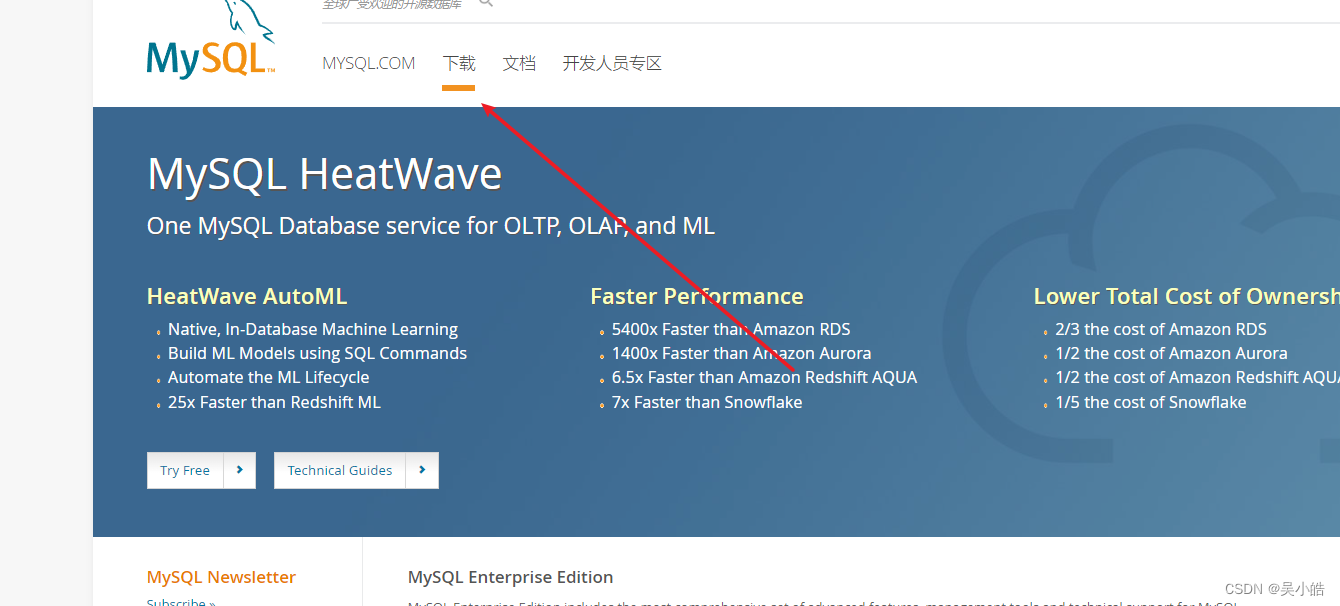
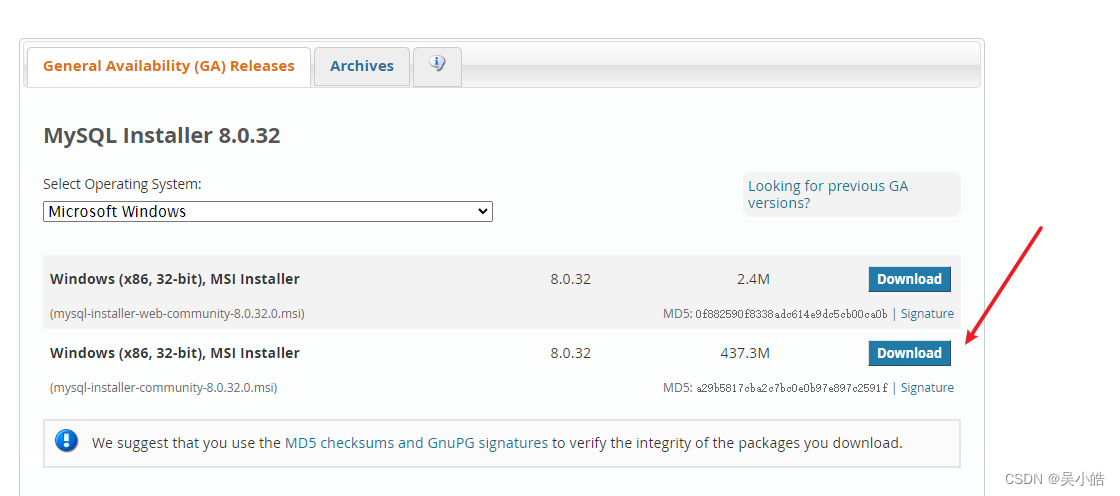
1、下载MySQL
点击下载
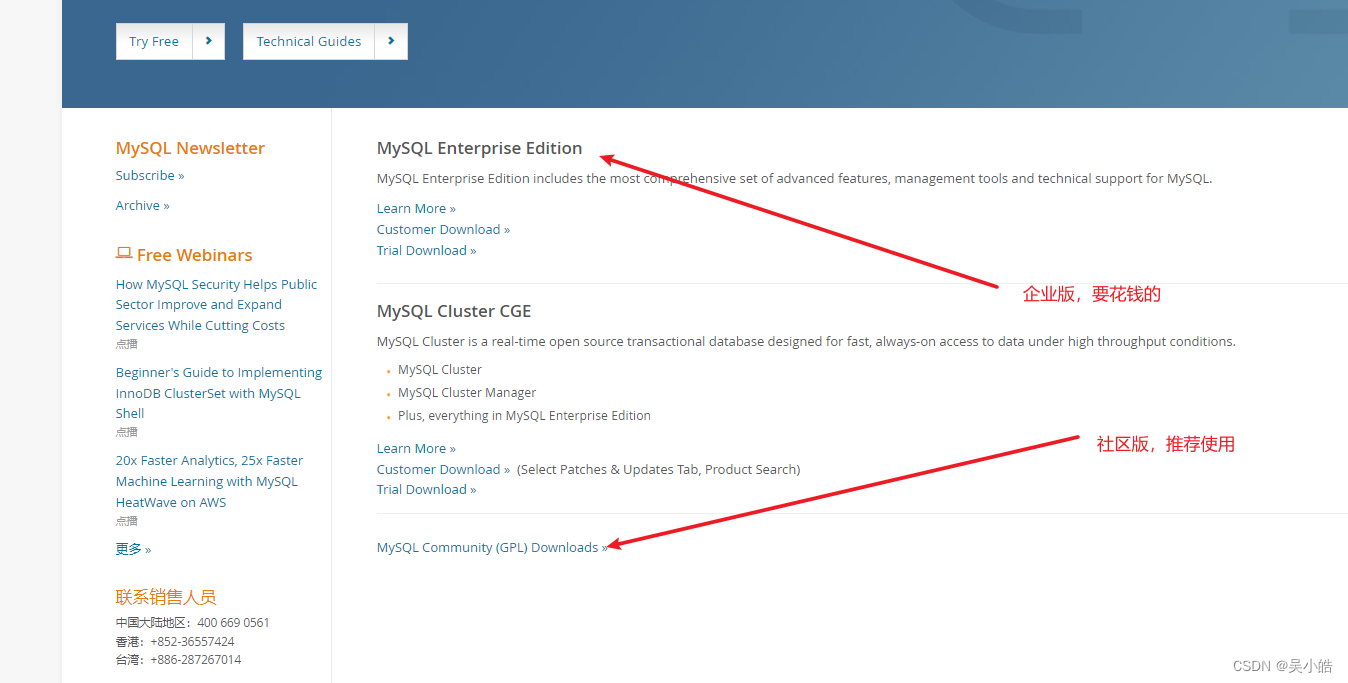
选择社区版
选择对应下载的操作系统类型,这里博主选择windows
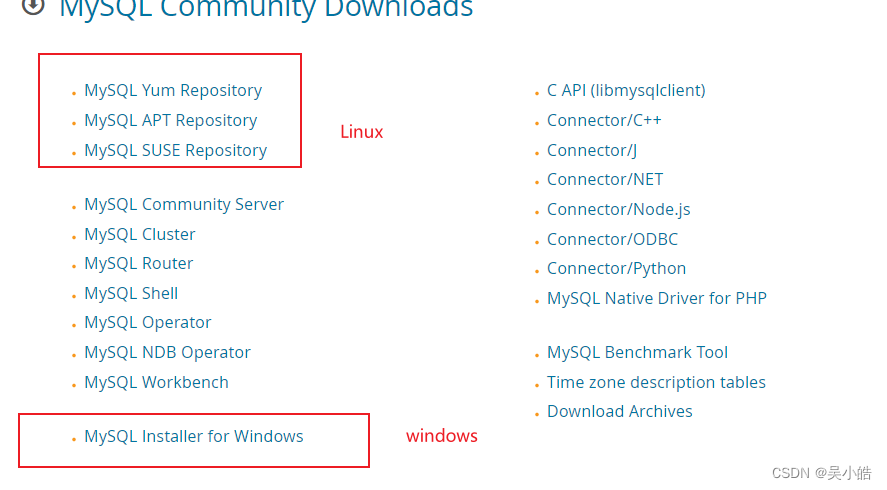
下载

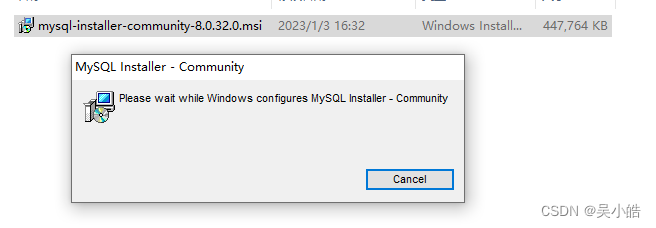
2、安装
双击msi文件,等待环境
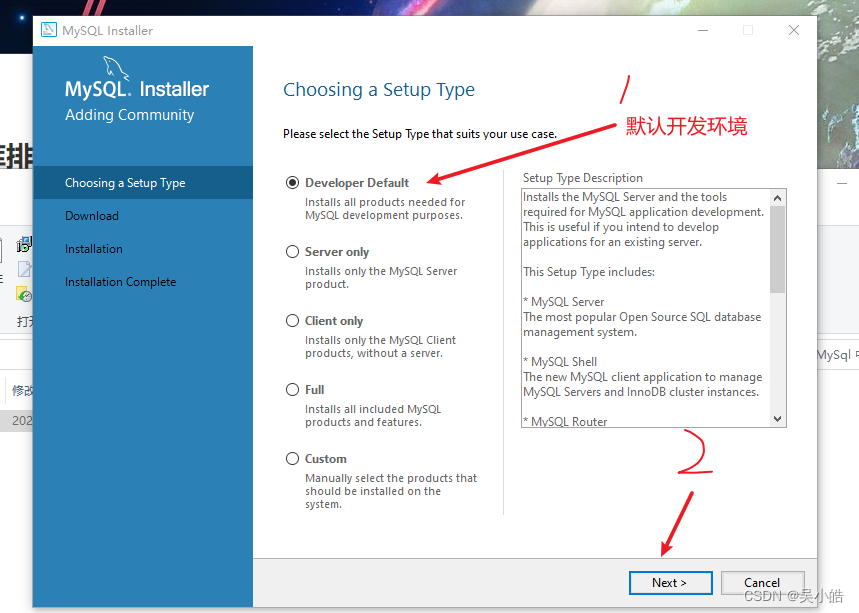
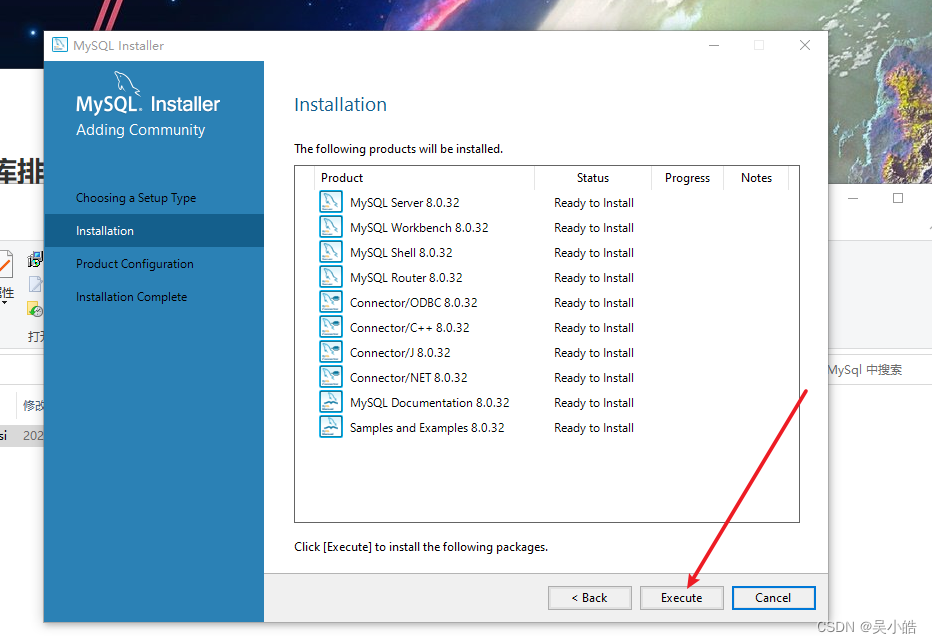
默认开发环境

点击execute,等待五分钟左右安装时间


设置密码,点击Next


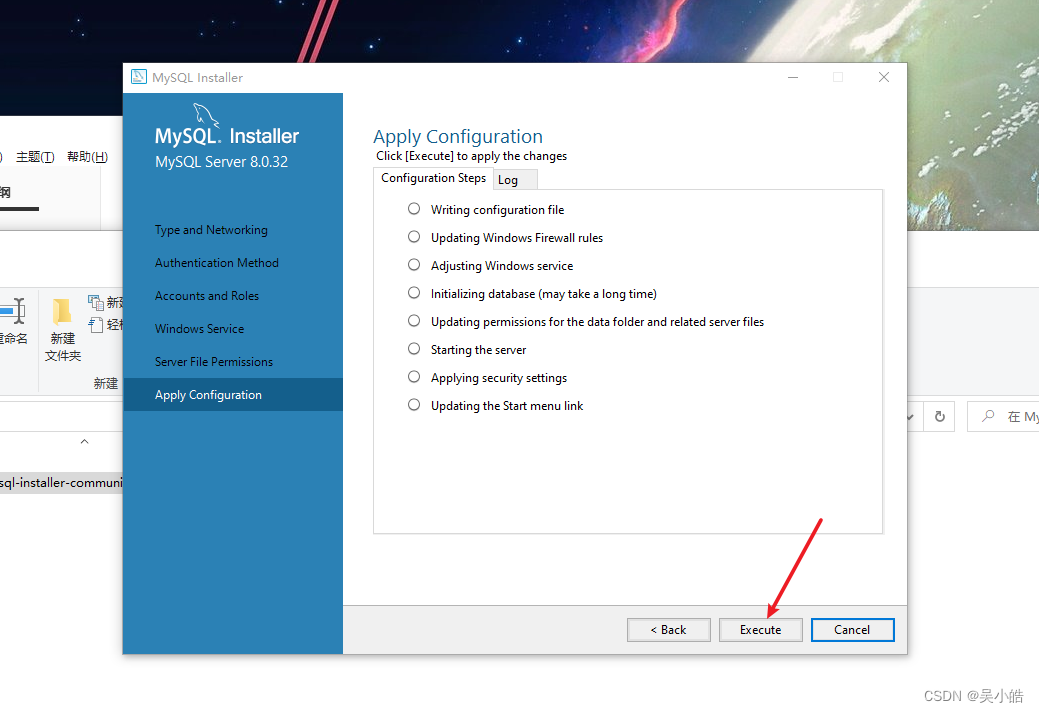
等待execute
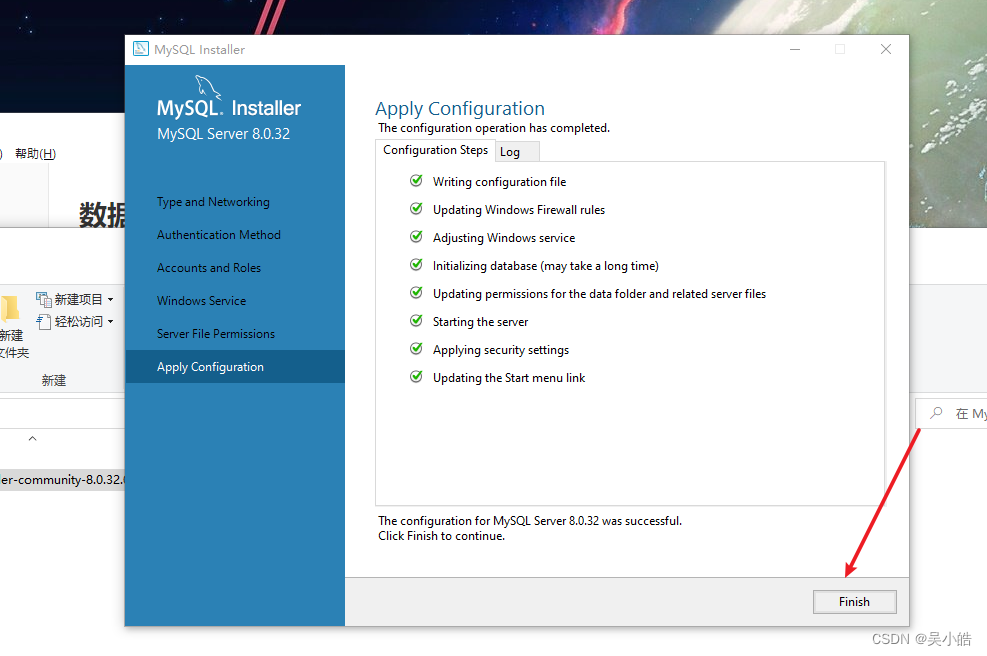
安装完成!
3、启动与停止
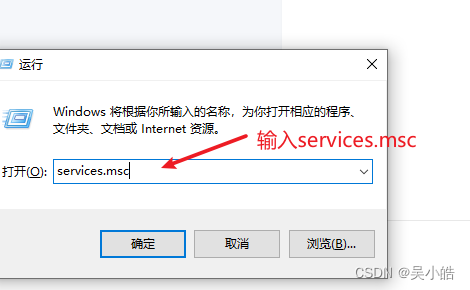
方式1:
Win+R打开运行,输入services.msc
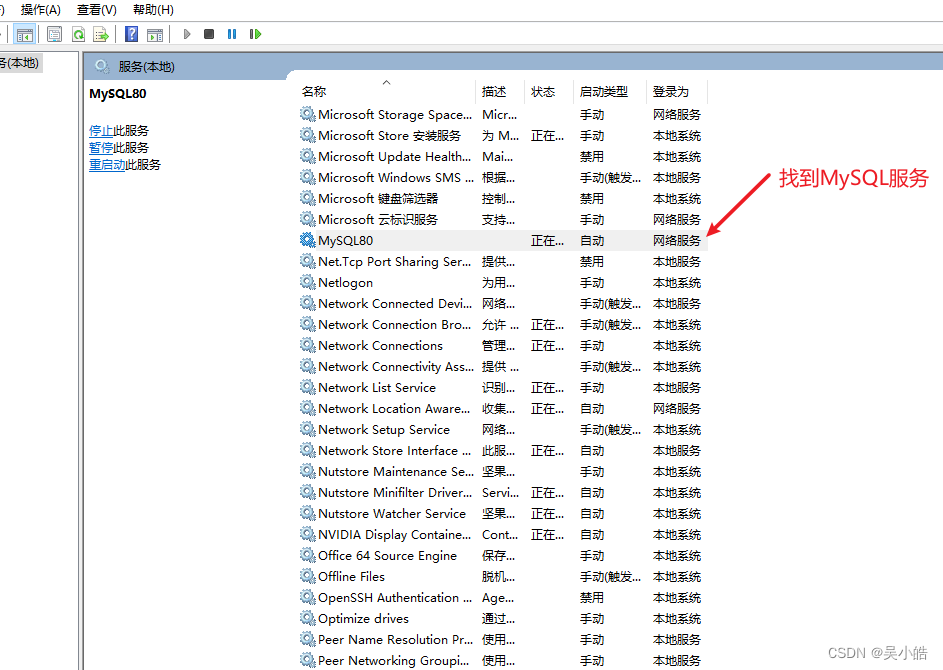
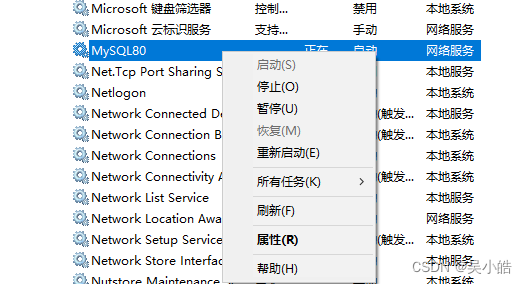
默认自动启动,右键可开启或关闭
方法2:
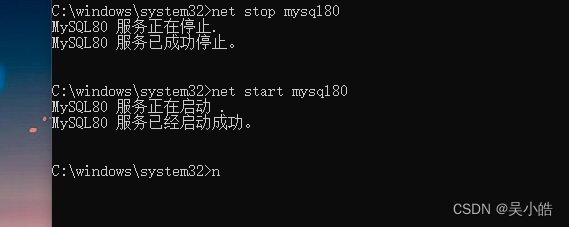
命令式启动:
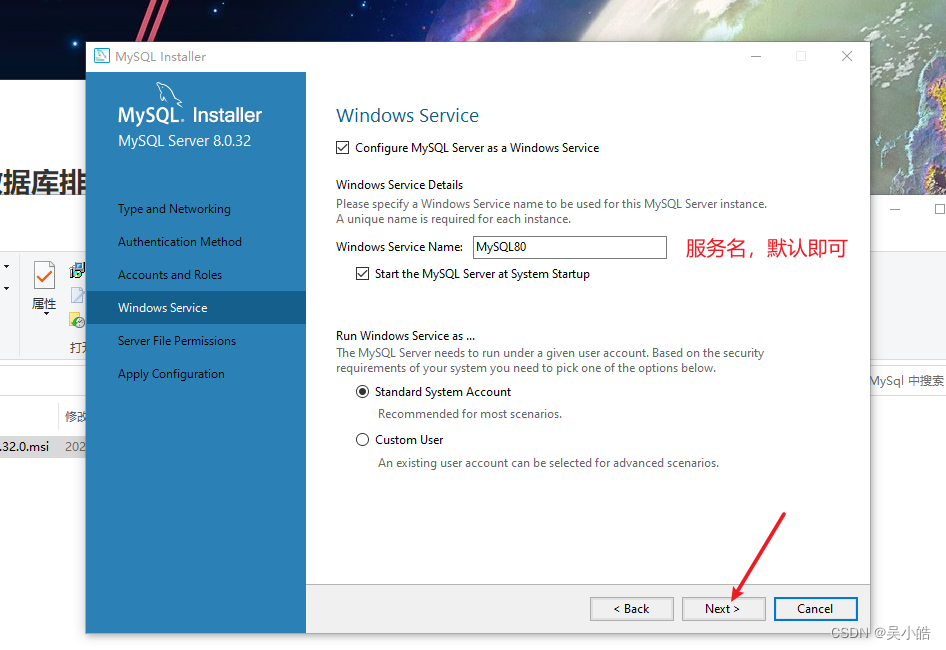
启动:net start mysql80;//mysql80是对应着安装过程中windows的服务名
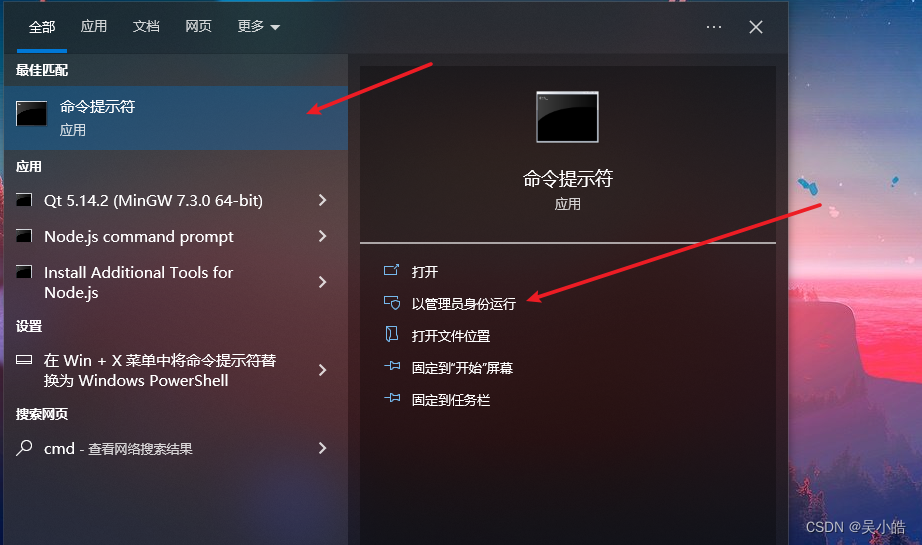
停止:net stop mysql80;使用管理员身份运行
4、MySQL操作链接
方式1:
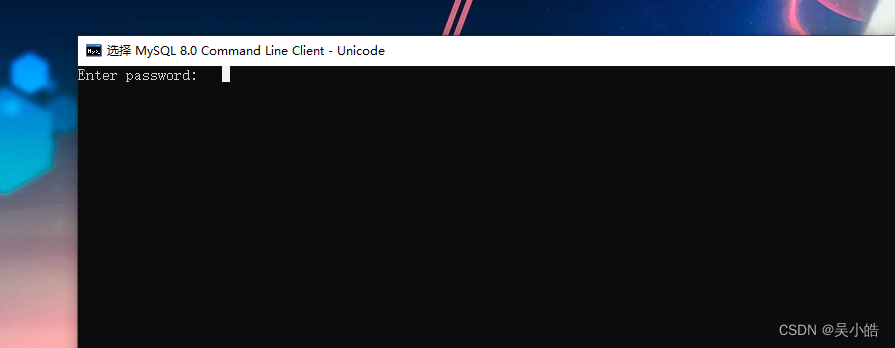
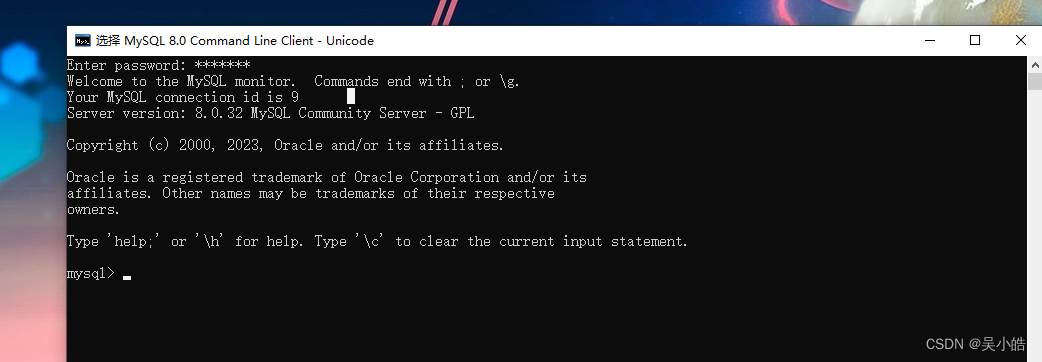
选择MySQL命令行客户端

输入密码
方式2:
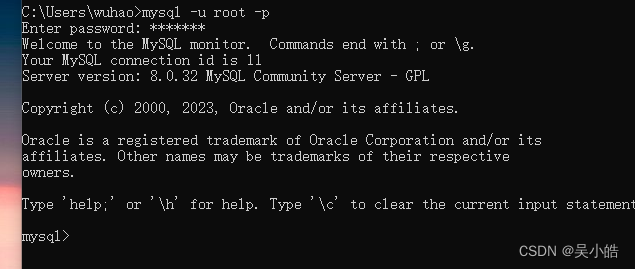
使用windows自带的命令行工具执行(任意目录路径下执行命令,需要配置mysql的PATH环境变量)
命令:mysql [-h 127.0.0.1] [-P 3306] -u root -p配置MySQL的PATH环境
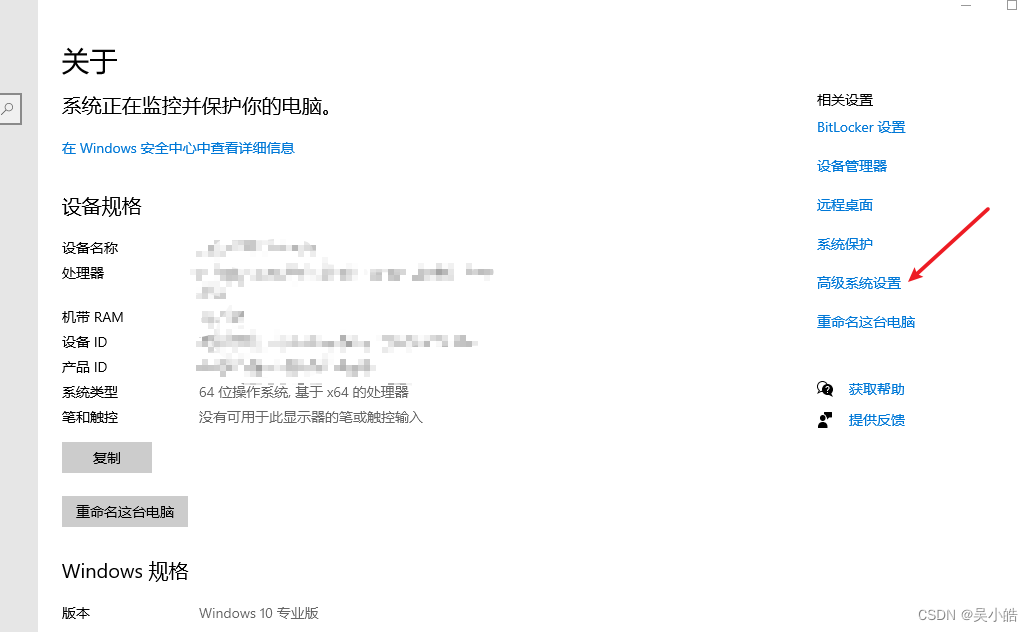
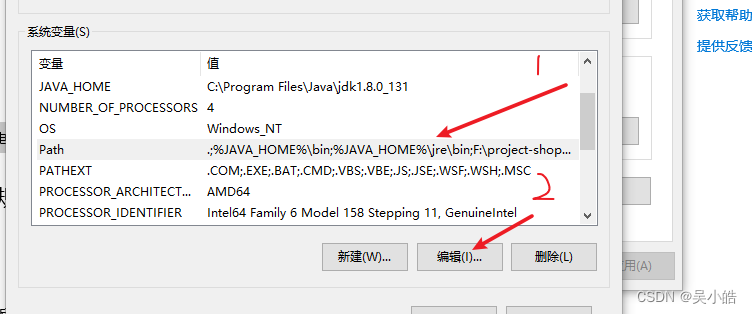
找到环境变量
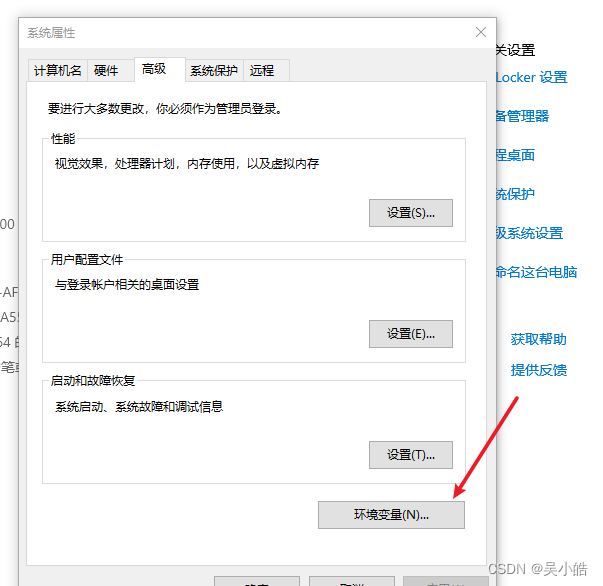
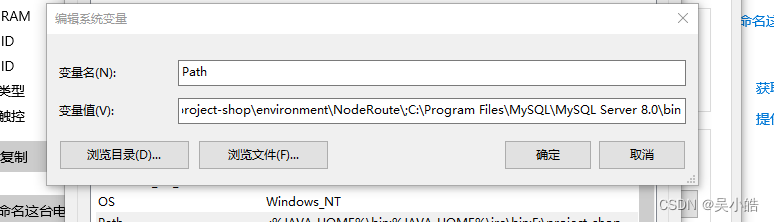
添加path环境变量
Mysql默认安装路径的:C:\Program Files\MySQL\MySQL Server 8.0\bin
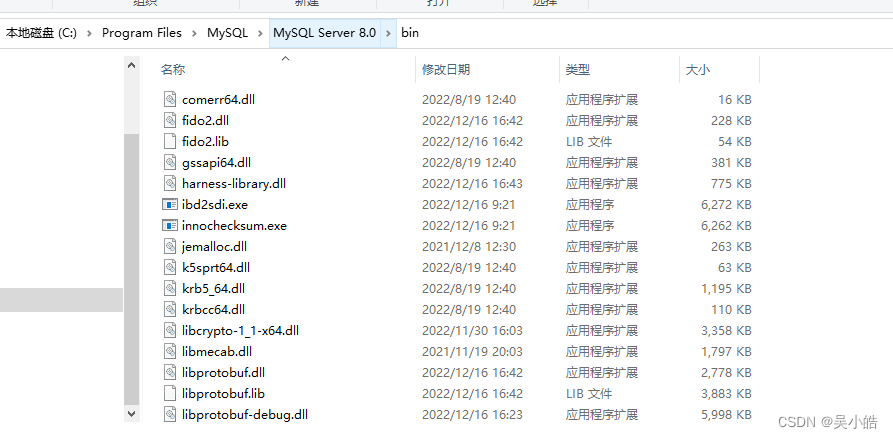
确定即可
命令执行


 766
766


 被折叠的 条评论
为什么被折叠?
被折叠的 条评论
为什么被折叠?
 到【灌水乐园】发言


