参考文献:
http://blog.csdn.net/baiyanning/article/details/6191682
1 概述
大家都知道在Android下的IPC机制是Binder,它可以实现两个进程之间的通信。有关Binder的介绍网上太多,这里就不费话,OK,还是进入这篇文章的主题,即教你如何创建一个连接到Binder上的服务.并且这个示例中的源代码是保证可以原样编译通过的.
在开始之前,我们首先来简单介绍一下我们即将制作的服务ExampleServer, 这个示例服务由主程序加上一个libExample.so文件组成,libExample.so用来实现对Client端实现的接口,而主程序就是用来启动这个服务的.费话不说了,下面进入正题.
2 步骤
第1步:生成ExampleService.so文件
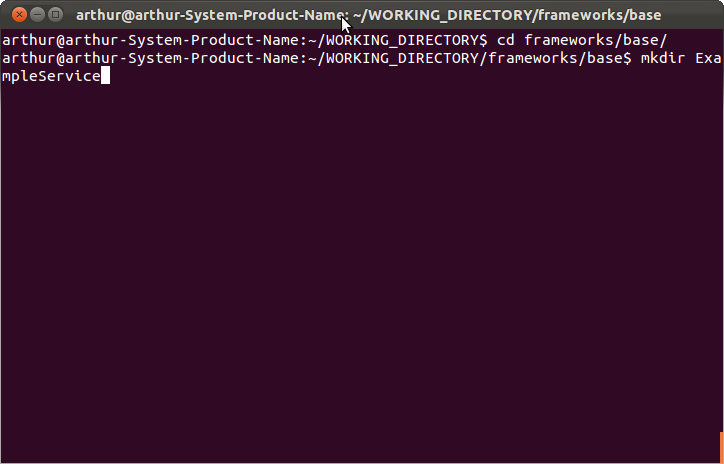
1: 在framework/base目录下新建一个目录,用来保存libExample.so的源码
- $cd framework/base/
- $mkdir ExampleService

进入此目录:
- $cd ExampleService
其中ExampleService.h文件的内容如下:
- // File: ExampleService.h
- #ifndef ANDROID_EXAMPLE_SERVICE_H
- #define ANDROID_EXAMPLE_SERVICE_H
- #include <utils/threads.h>
- #include <utils/RefBase.h>
- #include <binder/IInterface.h>
- #include <binder/BpBinder.h>
- #include <binder/Parcel.h>
- namespace android {
- class ExampleService : public BBinder
- {
- mutable Mutex mLock;
- int32_t mNextConnId;
- public:
- static int instantiate();
- ExampleService();
- virtual ~ExampleService();
- virtual status_t onTransact(uint32_t, const Parcel&, Parcel*, uint32_t);
- };
- }; //namespace
- #endif
ExampleService.cpp文件的内容如下:
- // File: ExampleService.cpp
- #include "ExampleService.h"
- #include <binder/IServiceManager.h>
- #include <binder/IPCThreadState.h>
- namespace android {
- static struct sigaction oldact;
- static pthread_key_t sigbuskey;
- int ExampleService::instantiate()
- {
- LOGE("ExampleService instantiate");
- // 调用ServiceManager的addService方法进行系统服务注册,这样客户端程序就可以通过ServiceManager获得此服务的代理对象,从而请求其提供的服务
- int r = defaultServiceManager()->addService(String16("byn.example"), new ExampleService());
- LOGE("ExampleService r = %d/n", r);
- return r;
- }
- ExampleService::ExampleService()
- {
- LOGV("ExampleService created");
- mNextConnId = 1;
- pthread_key_create(&sigbuskey, NULL);
- }
- ExampleService::~ExampleService()
- {
- pthread_key_delete(sigbuskey);
- LOGV("ExampleService destroyed");
- }
- // 每个系统服务都继承自BBinder类,都应重写BBinder的onTransact虚函数。当用户发送请求到达Service时,系统框架会调用Service的onTransact函数
- status_t ExampleService::onTransact(uint32_t code, const Parcel& data, Parcel* reply, uint32_t flags)
- {
- switch(code)
- {
- case 0: {
- pid_t pid = data.readInt32();
- int num = data.readInt32();
- num = num + 100;
- reply->writeInt32(num);
- return NO_ERROR;
- }
- break;
- default:
- return BBinder::onTransact(code, data, reply, flags);
- }
- }
- }; //namespace
- # File: Android.mk
- LOCAL_PATH:= $(call my-dir)
- include $(CLEAR_VARS)
- LOCAL_SRC_FILES:= \
- ExampleService.cpp
- LOCAL_C_INCLUDES := $(JNI_H_INCLUDE)
- LOCAL_SHARED_LIBRARIES :=\
- libutils libbinder
- LOCAL_MODULE_TAGS := optional
- LOCAL_PRELINK_MODULE := false
- LOCAL_MODULE := libExample
- include $(BUILD_SHARED_LIBRARY)
- $ cd ~/WORKING_DIRECTORY/
- $ source build/envsetup.sh
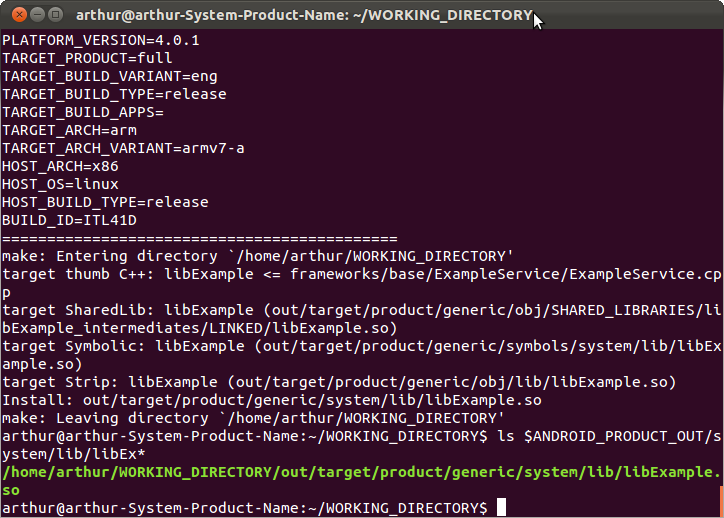
- mmm frameworks/base/ExampleService/

这样ExampleService.so文件就编译完了,完了可以在out/target/product/generic/symbols/system/lib/目录下看到libExample.so文件.如下图:

第2步:生成ExampleServer可执行程序
首先在frame/base目录下新建一个ExampleServer目录,用来保存ExampleServer可执行程序的源代码文件:
- $cd ~/WORKING_DIRECTORY/framework/base/
- $mkdir ExampleServer
- $cd ExampleServer
其中ExampleServer.cpp文件的内容如下:
- // File: ExampleServer.cpp
- #include <sys/types.h>
- #include <unistd.h>
- #include <grp.h>
- #include <binder/IPCThreadState.h>
- #include <binder/ProcessState.h>
- #include <binder/IServiceManager.h>
- #include <utils/Log.h>
- #include <private/android_filesystem_config.h>
- #include "../ExampleService/ExampleService.h"
- using namespace android;
- int main(int argc, char** argv)
- {
- sp<ProcessState> proc(ProcessState::self()); // 要想使用Binder机制,必须要创建一个ProcessState对象
- sp<IServiceManager> sm = defaultServiceManager();
- LOGI("ServiceManager: %p", sm.get());
- ExampleService::instantiate();
- ProcessState::self()->startThreadPool();
- IPCThreadState::self()->joinThreadPool();
- return 0;
- }
- # File: Android.mk
- LOCAL_PATH:= $(call my-dir)
- include $(CLEAR_VARS)
- LOCAL_SRC_FILES:= \
- ExampleServer.cpp
- LOCAL_C_INCLUDES := $(JNI_H_INCLUDE)
- LOCAL_SHARED_LIBRARIES := \
- libutils libbinder libExample
- LOCAL_MODULE_TAGS := optional
- LOCAL_PRELINK_MODULE := false
- LOCAL_MODULE := ExampleServer
- include $(BUILD_EXECUTABLE)
这样ExampleServer的两个源文件全了,返回到Android根目录下:
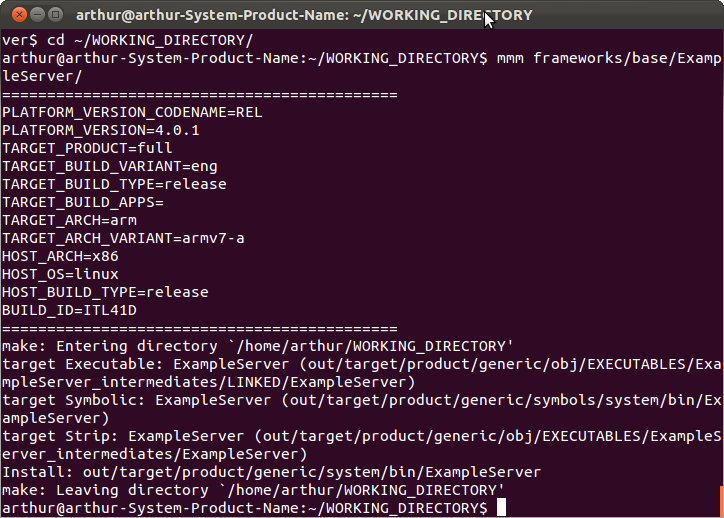
- $cd ~/WORKING_DIRECTORY/
- $mmm framework/base/ExampleServer/

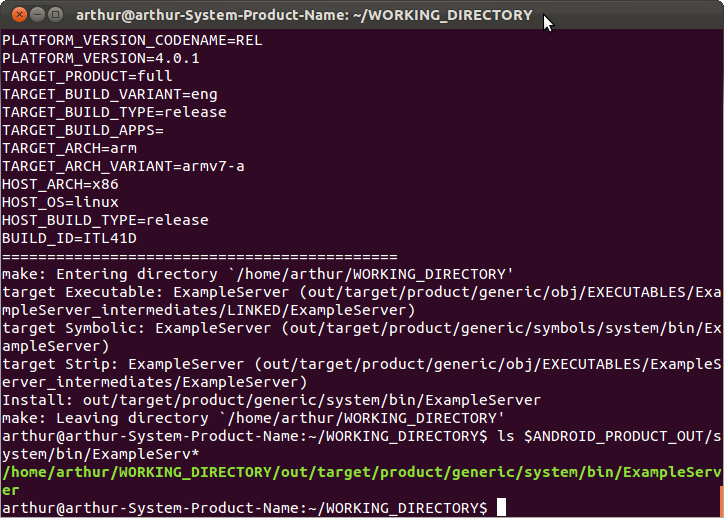
这样就编译完了可执行程序ExampleServer了.可以在out/target/product/generic/system/bin/目录下看到可执行程序ExampleServer:

OK,就这样binder的服务器端程序就完成了。
有关如何完成binder客户端的介绍请看我博客内下一篇文章.
http://blog.csdn.net/flydream0/article/details/7165308
完!


 7358
7358

 被折叠的 条评论
为什么被折叠?


