


Windows10中安装与配置Nginx(图片服务器)
一、使用环境:
Windows 10 家庭版
nginx-1.2.9
二、安装与配置:
1.下载链接:http://nginx.org/en/download.html
最好是下载稳定版本(Stable version)的
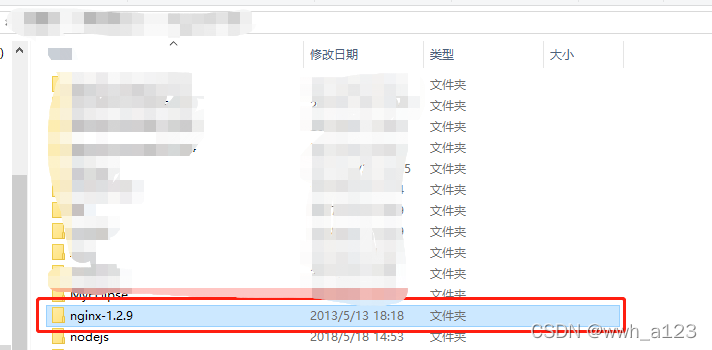
2.拷贝下载好的压缩包,并放到你想安装的目录,我这里拷贝并解压到 D:\Program Files
解压即用
3.Nginx端口默认配置为80,需通过cmd命令查看80端口是否被占用
检查80端口是否被占用的命令是:
netstat -ano | findstr 0.0.0.0:80
或 netstat -ano | findstr "80"
4.如果被占用需修改nginx-1.2.9\conf\nginx.conf文件
可参考以下配置
server {
        listen       9090;#端口号
        server_name  localhost;

        #charset koi8-r;

        #access_log  logs/host.access.log  main;

        location / {
            root   html;
            index  index.html index.htm;
        }

		location ~ \.(gif|jpg|jpeg|png|bmp|swf)$ {
			root   C:/test/image;#指定图片映射的路径
        }

        #error_page  404              /404.html;

        # redirect server error pages to the static page /50x.html
        #
        error_page   500 502 503 504  /50x.html;
        location = /50x.html {
            root   html;
        }

        # proxy the PHP scripts to Apache listening on 127.0.0.1:80
        #
        #location ~ \.php$ {
        #    proxy_pass   http://127.0.0.1;
        #}

        # pass the PHP scripts to FastCGI server listening on 127.0.0.1:9000
        #
        #location ~ \.php$ {
        #    root           html;
        #    fastcgi_pass   127.0.0.1:9000;
        #    fastcgi_index  index.php;
        #    fastcgi_param  SCRIPT_FILENAME  /scripts$fastcgi_script_name;
        #    include        fastcgi_params;
        #}

        # deny access to .htaccess files, if Apache's document root
        # concurs with nginx's one
        #
        #location ~ /\.ht {
        #    deny  all;
        #}
    }
5.通过cmd开启Nginx
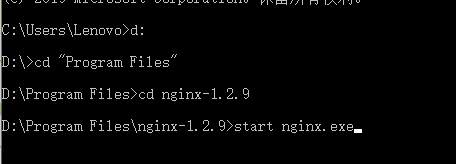
查看Nginx的版本号:nginx -V
启动Nginx:start nginx
快速停止或关闭Nginx:nginx -s stop
正常停止或关闭Nginx:nginx -s quit
配置文件修改重装载命令:nginx -s reload
三、测试
1.在nginx图片映射的路径(nginx.conf配置)下放入图片/带有图片的文件夹
2.访问路径:
	http://ip:9090/图片名称
	或 http://ip:9090/文件夹名称/图片名称


 303
303


 被折叠的 条评论
为什么被折叠?
被折叠的 条评论
为什么被折叠?
 到【灌水乐园】发言


