


在Java IDE世界里,Eclipse和NetBeans是平台主导者。无论是CodeGear的JBuilder 2007,BEA 的Workshop Studio,还是IBM 的Websphere Studio,因为都是建立的在Eclipse平台基础上的,所以缺省的构建(Build)方式都是Eclipse Native的。同时,Eclipse支持External Tools方式,其中有Ant Build方式。这样为采用其它IDE建立的项目搭建了一个沟通的桥梁。
在一个开发小组中,本应该要统一开发环境。但是有时候,采用NetBeans 平台加上EnterPack和Visual Web Pack之后,可以简化SOA的Web Services和BPEL以及JSF 2.0的开发。NetBeans本身完全采用ant 方式管理工程。这样我们可以建立一个在NetBeans和Eclipse共享的项目。
步骤如下:
1.在NetBeans下建立项目
首先在NetBeans下建立一个叫HelloWorld的示例项目。在NetBeans的项目视图和文件视图如图1和图所示。
在NetBeans的项目中一般至少包含了Source Packages,Test Packages,Libraries和Test Libraries四个目录。其结构图如如图1。
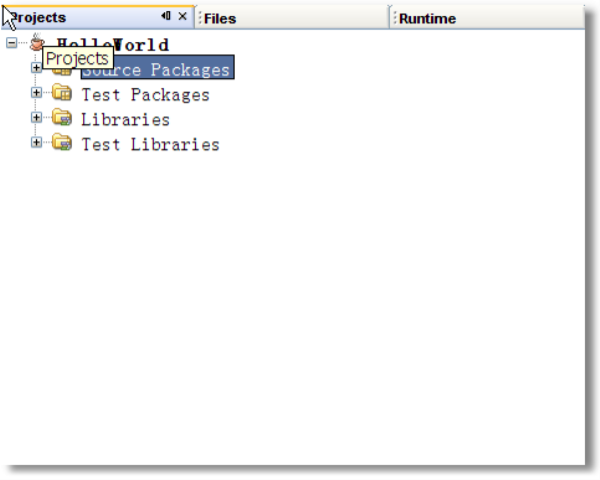
图1 NetBeans项目结构图
在NetBeans的文件结构至少包含nbproject, src和test三个子目录。文件结构图如图2所示。
在项目的文件夹下面有ant的标准构建文件build.xml,其内容如表所示。
<? xml version="1.0" encoding="UTF-8" ?>
<!-- You may freely edit this file. See commented blocks below for -->
<!-- some examples of how to customize the build. -->
<!-- (If you delete it and reopen the project it will be recreated.) -->
< project name ="HelloWorld" default ="default" basedir ="." >
< description > Builds, tests, and runs the project HelloWorld. </ description >
< import file ="nbproject/build-impl.xml" />
<!--
There exist several targets which are by default empty and which can be
used for execution of your tasks. These targets are usually executed
before and after some main targets. They are:
-pre-init: called before initialization of project properties
-post-init: called after initialization of project properties
-pre-compile: called before javac compilation
-post-compile: called after javac compilation
-pre-compile-single: called before javac compilation of single file
-post-compile-single: called after javac compilation of single file
-pre-compile-test: called before javac compilation of JUnit tests
-post-compile-test: called after javac compilation of JUnit tests
-pre-compile-test-single: called before javac compilation of single JUnit test
-post-compile-test-single: called after javac compilation of single JUunit test
-pre-jar: called before JAR building
-post-jar: called after JAR building
-post-clean: called after cleaning build products
(Targets beginning with '-' are not intended to be called on their own.)
Example of inserting an obfuscator after compilation could look like this:
<target name="-post-compile">
<obfuscate>
<fileset dir="${build.classes.dir}"/>
</obfuscate>
</target>
For list of available properties check the imported
nbproject/build-impl.xml file.
Another way to customize the build is by overriding existing main targets.
The targets of interest are:
-init-macrodef-javac: defines macro for javac compilation
-init-macrodef-junit: defines macro for junit execution
-init-macrodef-debug: defines macro for class debugging
-init-macrodef-java: defines macro for class execution
-do-jar-with-manifest: JAR building (if you are using a manifest)
-do-jar-without-manifest: JAR building (if you are not using a manifest)
run: execution of project
-javadoc-build: Javadoc generation
test-report: JUnit report generation
An example of overriding the target for project execution could look like this:
<target name="run" depends="HelloWorld-impl.jar">
<exec dir="bin" executable="launcher.exe">
<arg file="${dist.jar}"/>
</exec>
</target>
Notice that the overridden target depends on the jar target and not only on
the compile target as the regular run target does. Again, for a list of available
properties which you can use, check the target you are overriding in the
nbproject/build-impl.xml file.
-->
</ project >
在列表中可以看出,有这样的描述
 import file="nbproject/build-impl.xml"/
主要的内容实际上在nbproject/build-impl.xml里。

图2 NetBeans文件结构图
那么构建过后的class文件和jar到底放置在什么地方。
切换到project视图,点击右键,在弹出菜单选择“Build Project”(如图3所示),对项目进行构建。

图3
再切换到File视图,将会发现多出了build和dist及其子文件夹。如图4所示。
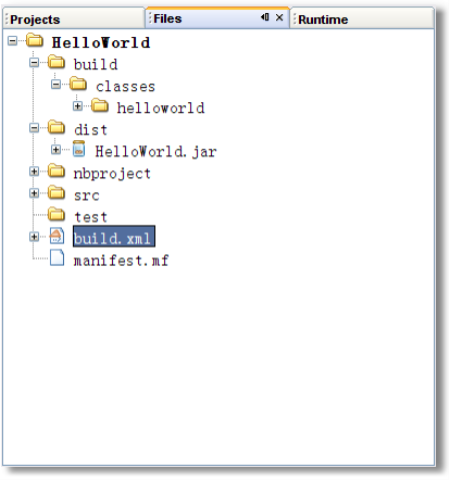
图4
原来,NetBeans构建过后,将产生的类放置到了build文件夹的classes下面,将生成的jar包放置到了dist下面。
通过搜索,build.classes.dir属性和dist.dir是在project.properties文件里定义的。为了将项目引入到eclipse作准备,修改为:
build.classes.dir=${build.dir}/dist.dir=bin
自此,在HelloWorld项目在NetBeans下已经完工。
2.将HelloWorld Project 引入到Eclipse
打开Eclipse,从菜单"File->New"选择,将弹出项目向导。在向导中选择"Java 项目"。如图5所示。
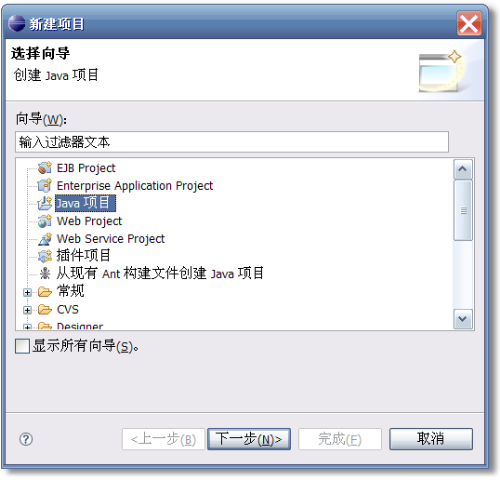
图5
点击下一步,在新的向导页中,选择"从现有资源创建项目"选项,然后再点击“下一步”。如图6所示。

图6
这时,调整缺省输出目录,然后点击“完成”按钮。

图7


 4125
4125

 被折叠的 条评论
为什么被折叠?
被折叠的 条评论
为什么被折叠?
 到【灌水乐园】发言


