


Drawable的Tint变色(让Android也能有iOS那么方便的图片色调转换)
安卓着色器(tint)使用实践。
学习tint的目的:
1.一张矢量图适配所有颜色(妈妈再也不要担心我找图了)。
2.更优雅的selector实现方式。

小试牛刀,一张矢量图适配所有颜色。
如何在代码中实现下图效果

方法一:xml
方法很简单直接看代码
    <ImageView
        android:layout_width="wrap_content"
        android:layout_height="wrap_content"
        android:id="@+id/image"
        android:src="@mipmap/icon"
        android:clickable="true"
        />
    <ImageView
        android:layout_width="wrap_content"
        android:layout_height="wrap_content"
        android:id="@+id/image2"
        android:src="@mipmap/icon"
        android:tint="#FFCDD2"
        android:clickable="true"
        />
用到的属性android:tint="@color"
至于原理不做过多说明,有兴趣看看源码比较简单,也可以参考一下官网。
方法二:代码实现
        Drawable drawable = ContextCompat.getDrawable(this,R.mipmap.icon);
        Drawable.ConstantState state = drawable.getConstantState();
        Drawable drawable1 = DrawableCompat.wrap(state == null ? drawable : state.newDrawable()).mutate();
        drawable1.setBounds(0, 0, drawable.getIntrinsicWidth(), drawable.getIntrinsicHeight());
        DrawableCompat.setTint(drawable,ContextCompat.getColor(this,R.color.pink));
        imageView.setImageDrawable(drawable);
        imageView1.setImageDrawable(drawable1);
DrawableCompat类:是Drawable的向下兼容类,我们为了在6.0一下兼容tint属性而使用的,有兴趣的看看源码哦,也是很简单的一个兼容类。
wrap方法:使用tint就必须调用该方法对Drawable进行一次包装。
mutate方法:(个人简单的理解就是类似于对象的深拷贝与浅拷贝),如果不调用该方法,我们进行操作的就是原drawable,着色之后原drawable也改变的,所有两个ImageView都会显示着色之后的drawable。调用mutate后会对ConstantState进行一次拷贝,详情可看源码,以及参考。
恩,目的一基本完成了,我们来看目的二。
更加优雅的使用selector
第一次尝试
为了更加优雅的使用selector可谓是踩了很多坑啊,但是实践才是检验真理的唯一标准,遇到坑就多去看看源码。
以前使用selector是这样的。
<?xml version="1.0" encoding="utf-8"?>
<selector xmlns:android="http://schemas.android.com/apk/res/android">
    <item android:state_pressed="true" android:drawable="@mipmap/icon_pressed"></item>
    <item android:drawable="@mipmap/icon_normal"></item>
</selector>
所以咯,我们需要在mipmap中放置两张图片,但是目的一中我们知道一张矢量图是能适配出所有颜色的。所以我们开始踩坑。
我们可以在color中定义一个selector,然后设置tint属性。
//color/icon.xml
<?xml version="1.0" encoding="utf-8"?>
<selector xmlns:android="http://schemas.android.com/apk/res/android">
    <item android:state_pressed="true" android:color="@color/pink" ></item>
    <item android:color="@color/pink1"></item>
</selector>

<ImageView
        android:layout_width="wrap_content"
        android:layout_height="wrap_content"
        android:id="@+id/image"
        android:src="@mipmap/icon"
        android:tint="@color/icon"
        android:clickable="true"
        />
设置后你会发现,并没有效果啊!这是为什么呢,我们看看BitmapDrawable源码吧。
    @Override
    protected boolean onStateChange(int[] stateSet) {
        final BitmapState state = mBitmapState;
        if (state.mTint != null && state.mTintMode != null) {
            mTintFilter = updateTintFilter(mTintFilter, state.mTint, state.mTintMode);
            return true;
        }
        return false;
    }
DEBUG发现updateTintFilter()方法已经执行,为什么没有效果呢?
进一步DEBUG发现界面未刷新,invalidateSelf()方法未调用,ImageView的onDraw()方法未执行,所以Drawable的draw()方法也未执行。所以暂时这种方法是行不通的。(但是在java逻辑代码中设置了在6.0以下是可以实现的,具体为什么我也有点纳闷…可以去看看我的demo)
第二次尝试
于是我们使用StateListDrawable,那么先在xml中试试可行性吧。
//drawable/icon.xml
<?xml version="1.0" encoding="utf-8"?>
<selector xmlns:android="http://schemas.android.com/apk/res/android">
    <item android:state_pressed="true" android:color="@drawable/icon" ></item>
    <item android:color="@color/pink1"></item>
</selector>

<ImageView
        android:layout_width="wrap_content"
        android:layout_height="wrap_content"
        android:id="@+id/image"
        android:src="@drawable/icon"
        android:tint="@color/icon"
        android:clickable="true"
        />
我们在drawable目录下icon.xml中两种状态都设置的同一张图。(为什么要设置同一张图是有根据的,因为DrawableStateList源码中,如果你当然状态未单独设置drawable,将不会触发刷新,具体看源码,本篇侧重于实践。)
恩,到这里你就会惊人的发现,效果出来了!(点击后变色)

但是很遗憾6.0以下会直接crash的,因为不兼容,所以我们必须在java代码中设置。按照这个思路撸出代码。
    Drawable drawable = ContextCompat.getDrawable(this,R.mipmap.icon);
    int[] colors = new int[] { ContextCompat.getColor(this,R.color.pink),ContextCompat.getColor(this,R.color.pink1)};
    int[][] states = new int[2][];
    states[0] = new int[] { android.R.attr.state_pressed};
    states[1] = new int[] {};
    ColorStateList colorList = new ColorStateList(states, colors);
    StateListDrawable stateListDrawable = new StateListDrawable();
    stateListDrawable.addState(states[0],drawable);//注意顺序
    stateListDrawable.addState(states[1],drawable);
    Drawable.ConstantState state = stateListDrawable.getConstantState();
    drawable = DrawableCompat.wrap(state == null ? stateListDrawable : state.newDrawable()).mutate();
    DrawableCompat.setTintList(drawable,colorList);
    imageView.setImageDrawable(drawable);
(代码有点多,但是这样做是很值得的。其实这样做感觉更符合逻辑一点,不过期间踩了很多坑,特别是在做6.0和6.0以下适配的时候)
恩,效果出来了,具体原因可以去看看StateListDrawable源码,然后自己DEBUG一下。
到这里踩坑完成了。更优雅的实现selector,既减少了apk大小又节约了内存。
Drawable的Tint变色(让Android也能有iOS那么方便的图片色调转换)
开发iOS应用的时候,图片很多时候只要一张,改变不同的色调就能变化出“正常、点击、选中、不能编辑”等不同的效果。而Android以前是通过多张图片(很多时候是一张基础图然后美工修改出几种不同颜色对应不同效果,对比iOS的Tint效果简直是low爆了有木有),以前在想,如果Android也能有这么方便的效果就好了。嗯嗯,今天就来介绍下Android的Drawable方法。
其实关键的类就是 Android Support v4 的包中提供了 DrawableCompat 。
我们可以封装一个静态函数方便使用,如下:
public static Drawable tintDrawable(Drawable drawable, ColorStateList colors) {
    final Drawable wrappedDrawable = DrawableCompat.wrap(drawable);
    DrawableCompat.setTintList(wrappedDrawable, colors);
    return wrappedDrawable;
}
新建一个Activity,并在layout加入ImageButton作为演示效果的控件。
<?xml version="1.0" encoding="utf-8"?>
<RelativeLayout xmlns:android="http://schemas.android.com/apk/res/android"
    xmlns:tools="http://schemas.android.com/tools"
    android:layout_width="match_parent"
    android:layout_height="match_parent">
    <ImageButton
        android:id="@+id/ivButton"
        android:src="@drawable/batman"
        android:layout_width="wrap_content"
        android:layout_height="wrap_content" />
</RelativeLayout> 好了,网上找一个图片取名batman,就是上面ImageButton的src
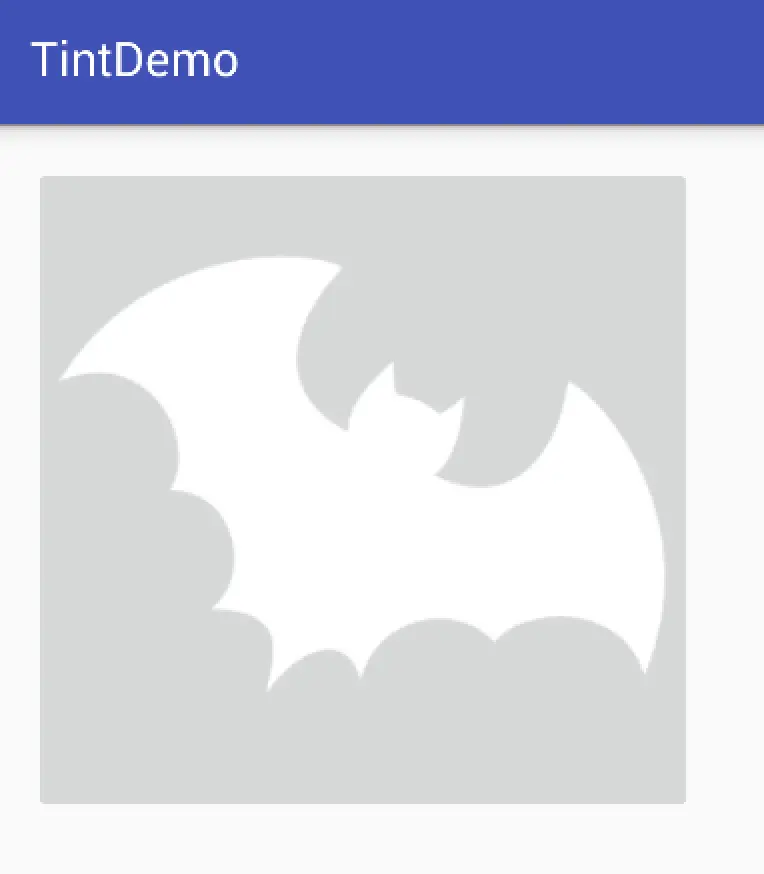
接下来我们在Activity代码中把src由黑色改为白色。
ImageButton ivButton = (ImageButton) findViewById(R.id.ivButton);
Drawable src = ivButton.getDrawable();
ivButton.setImageDrawable(tintDrawable(src,ColorStateList.valueOf(Color.WHITE)));
运行一下,ImageButton的图片batman就神奇的变成白色了~
那么我们平时是通过selector来设置不同状态图片的,我们需要点击来改变图片颜色怎么办呢?
不用担心,同样支持selector来改变颜色。接下来我们要创建这个控制状态颜色的selector。
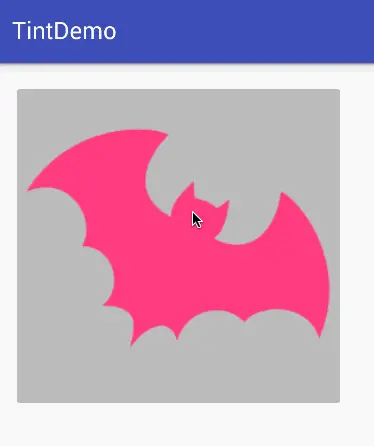
在color目录下new 一个 xml取名为“selector_imagebutton_batman.xml”作为我们的控制颜色selector,点击变为粉红色,正常状态为蓝色。
<?xml version="1.0" encoding="utf-8"?>
<selector xmlns:android="http://schemas.android.com/apk/res/android">
    <item android:color="#FF4081" android:state_pressed="true" />
    <item android:color="#3F51B5" />
</selector>
然后我们把刚刚传给tintDrawable函数的参数改为selector即可
ivButton = (ImageButton) findViewById(R.id.ivButton);
Drawable src = ivButton.getDrawable();
//        ivButton.setImageDrawable(tintDrawable(src,ColorStateList.valueOf(Color.WHITE)));
ivButton.setImageDrawable(tintDrawable(src,getResources().getColorStateList(R.color.selector_imagebutton_batman)));
我们来看看效果吧~~


 2208
2208

 被折叠的 条评论
为什么被折叠?
被折叠的 条评论
为什么被折叠?
 到【灌水乐园】发言


