


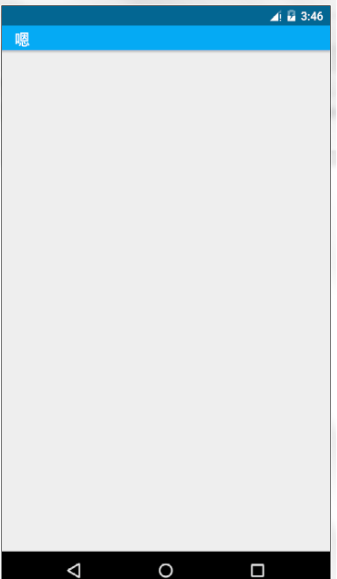
这是一种在android4.4及以上版本中使用的,很漂亮的状态栏效果,很流行。效果图:

今天先记录下他的简单实现方法。
首先,在color文件中添加:
<color name="colorPrimary">#05aaf4</color>
<color name="colorPrimaryDark">#0283c9</color>
<color name="colorAccent">#FF4081</color>
然后,设置style:
<style name="BaseAppTheme" parent="Theme.AppCompat.Light.NoActionBar">
        <item name="colorPrimary">@color/colorPrimary</item>
        <item name="colorPrimaryDark">@color/colorPrimaryDark</item>
        <item name="colorAccent">@color/colorAccent</item>
    </style>
    <style name="MyAppTheme" parent="@style/BaseAppTheme">
    </style>
其中需要一个属性:android:windowTranslucentStatus只有在sdk19及以上才能用,因此,建立文件夹values-v19,在里面创建style.xml文件,添加:
<style name="MyAppTheme" parent="@style/BaseAppTheme">
        <item name="android:windowTranslucentStatus">true</item>
    </style>
ok,接着修改menifest文件里的application的属性,换成:
android:theme="@style/MyAppTheme"之后就是正式创建activity以及布局文件了。
activity_main.xml
<?xml version="1.0" encoding="utf-8"?>
<android.support.v4.widget.DrawerLayout
    xmlns:android="http://schemas.android.com/apk/res/android"
    xmlns:app="http://schemas.android.com/apk/res-auto"
    android:layout_width="match_parent"
    android:layout_height="match_parent"
    >
    <LinearLayout
        android:orientation="vertical"
        android:layout_width="match_parent"
        android:layout_height="match_parent"
        >
        <android.support.v7.widget.Toolbar
            android:id="@+id/tbMain"
            android:layout_width="match_parent"
            android:layout_height="wrap_content"
            android:background="?attr/colorPrimary"
         app:popupTheme="@style/AppBaseTheme.PopupOverlay"
            app:title="@string/app_name"
            android:fitsSystemWindows="true"
            />
         <!--主界面内容-->
        <include layout="@layout/content_main" />
    </LinearLayout>-->

    <android.support.design.widget.NavigationView
        android:id="@+id/nvMain"
        android:layout_width="match_parent"
        android:layout_height="match_parent"
        android:layout_gravity="start"
        android:fitsSystemWindows="true"
        app:headerLayout="@layout/layout_userhead"
        app:menu="@menu/menu_left_item" />
</android.support.v4.widget.DrawerLayout>
MainActivity:
  @Override
    protected void onCreate(Bundle savedInstanceState) {
        super.onCreate(savedInstanceState);
        setContentView(R.layout.activity_main);
        ButterKnife.bind(this);
        setSupportActionBar(tbMain);
    }
完成,就这么简单。看效果图:
注意:其中有一个属性很重要:
android:fitsSystemWindows="true"主要是通过调整当前设置这个属性的View的padding去为状态栏留下空间。不设置的话,当前View会个状态栏挤在一块,如果设置错位置的话,比如设置在本例Toolbar的父布局LinearLayout中时,在4.4中状态栏会是一个白色背景。(我在没搞懂时,因为这个属性设置错位置了,4.4真机上一直是个白色状态栏,花了我很多时间才找到原因···)
最后,我在网上找到一张图:
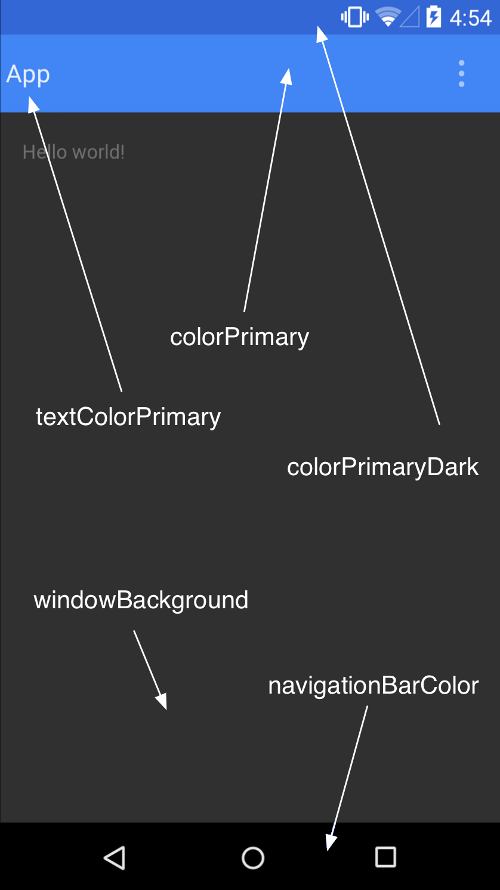
今天就这么多了,以后有时间再加深下。


 361
361


 被折叠的 条评论
为什么被折叠?
被折叠的 条评论
为什么被折叠?
 到【灌水乐园】发言


