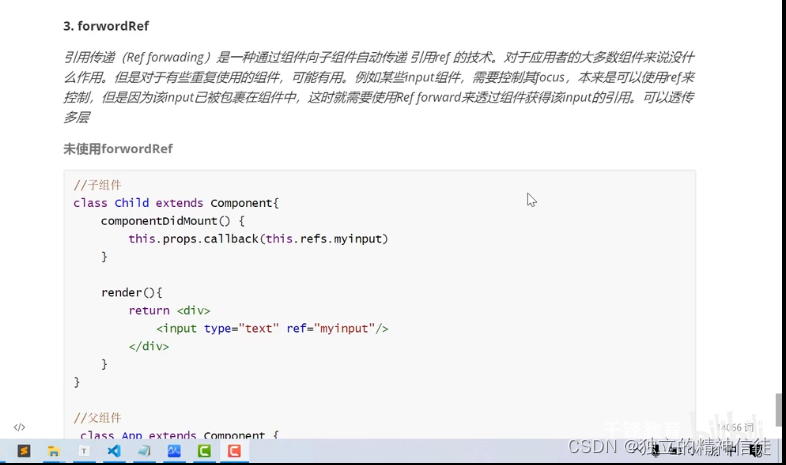
一 普通用法:
import React, { Component } from 'react'
export default class App extends Component {
mytext=null
render() {
return (
<div>
<button type="button" onClick={()=>{
console.log(this.mytext);
this.mytext.current.focus()
this.mytext.current.value="2222"
}}>获取焦点</button>
<Child callback={(el)=>{
console.log(el);、
this.mytext=el
}}/>
</div>
)
}
}
class Child extends Component {
mytext = React.createRef();
componentDidMount() {
this.props.callback(this.mytext);
}
render() {
return (
<div style={{background:"yellow"}}>
<input defaultValue="1111" ref={this.mytext}></input>
</div>
);
}
}
二 使用forwardRef
import React, { Component,forwardRef } from 'react'
export default class App_forwardRef extends Component {
mytext=React.createRef()
render() {
return (
<div>
<button type="button" onClick={()=>{
console.log(this.mytext);
this.mytext.current.value="2222"
}}>获取焦点</button>
<Child ref={this.mytext}/>
</div>
)
}
}
const Child=forwardRef((props,ref)=>{
return (
<div>
<input defaultValue="11111" ref={ref}></input>
</div>
);
})


 本文介绍了在React中如何通过回调函数和`React.forwardRef`进行父子组件间的通信,以及`forwardRef`在函数式组件中的使用方法。示例代码详细展示了在父组件中获取子组件输入框的引用并操作其焦点和值的过程。


 1075
1075

 被折叠的 条评论
为什么被折叠?


