


一、核心架构设计
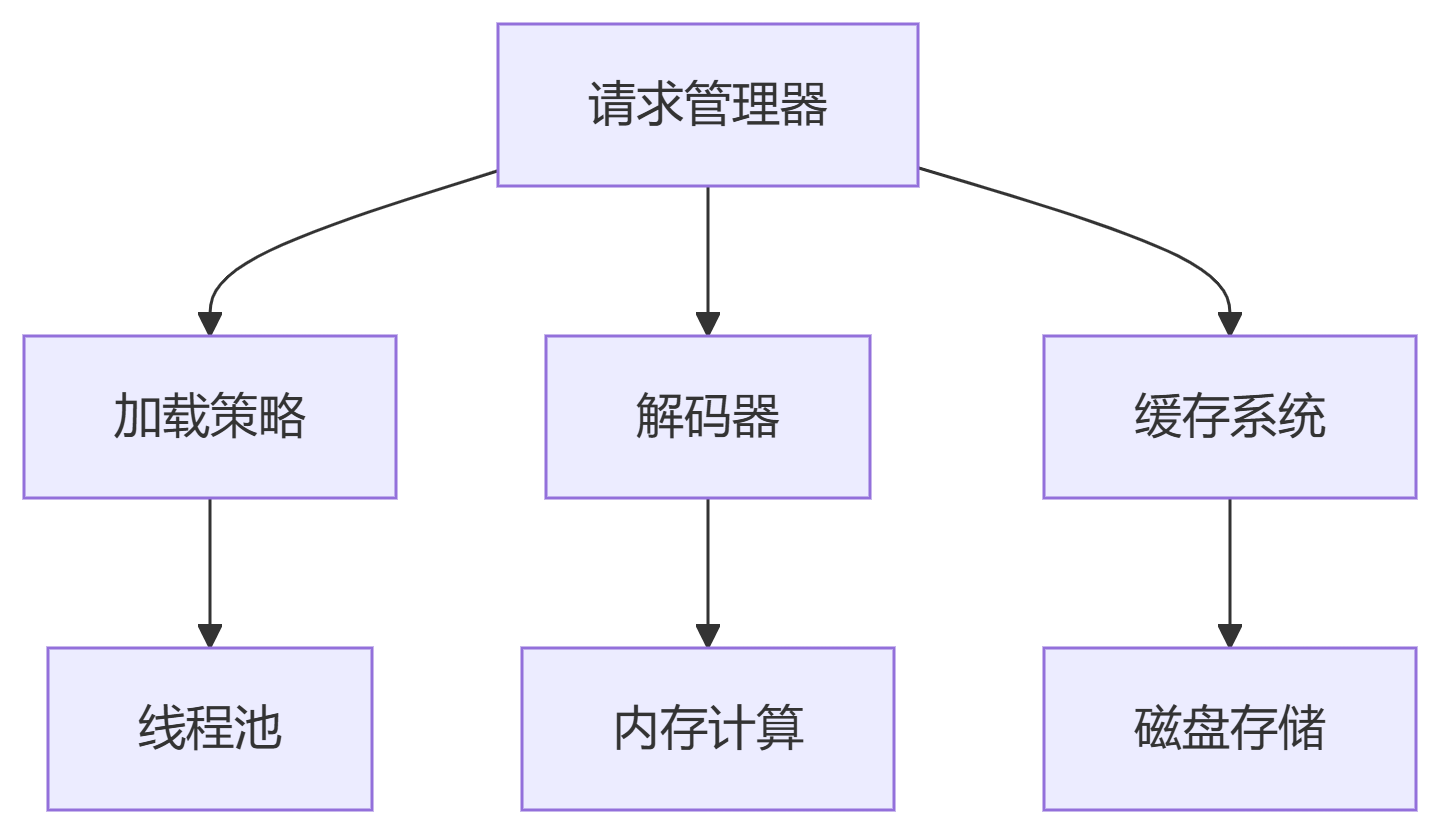
1. 模块化组件设计
2. 关键性能指标
| 指标 | 目标值 | 测量方法 |
|---|---|---|
| 内存占用 | <应用内存的1/8 | ActivityManager.getMemoryClass() |
| 加载延迟 | <100ms(本地) | System.currentTimeMillis()差值 |
| 缓存命中率 | >90% | (内存命中+磁盘命中)/总请求 |
| 解码速度 | 1080P图<50ms | BitmapFactory.decode耗时 |
二、多级缓存实现
1. 内存缓存(LruCache)
// 计算缓存大小
val maxMemory = (Runtime.getRuntime().maxMemory() / 1024).toInt()
val cacheSize = maxMemory / 8 // 使用1/8可用内存

val memoryCache = object : LruCache<String, Bitmap>(cacheSize) {
    override fun sizeOf(key: String, bitmap: Bitmap): Int {
        return bitmap.byteCount / 1024 // KB单位
    }

    override fun entryRemoved(evicted: Boolean, key: String,
                            oldValue: Bitmap, newValue: Bitmap?) {
        // 可选的回收处理
    }
}
2. 磁盘缓存(DiskLruCache)
// 初始化磁盘缓存
val diskCache = DiskLruCache.open(
    File(context.cacheDir, "image_cache"),
    1,  // 应用版本
    2,  // 每个key对应value数
    50 * 1024 * 1024 // 50MB上限
)

// 写入缓存
diskCache.edit(key).apply {
    newOutputStream(0).use { out ->
        bitmap.compress(Bitmap.CompressFormat.WEBP, 80, out)
    }
    commit()
}
3. 活动资源缓存
val activeResources = mutableMapOf<String, WeakReference<Bitmap>>()

fun get(key: String): Bitmap? {
    memoryCache.get(key)?.let { return it }

    activeResources[key]?.get()?.let {
        memoryCache.put(key, it) // 提升到LRU
        return it
    }

    return null
}
三、线程调度优化
1. 智能线程池配置
val cpuCount = Runtime.getRuntime().availableProcessors()
val ioThreadPool = Executors.newFixedThreadPool(
    max(2, min(cpuCount - 1, 4)) // IO密集型

val decodeThreadPool = Executors.newFixedThreadPool(
    cpuCount, // CPU密集型
    PriorityThreadFactory()) // 优先级队列
2. 请求优先级管理
enum class LoadPriority {
    IMMEDIATE, // 界面可见项
    HIGH,      // 预加载
    LOW        // 不可见区域
}

class LoadTask(
    val url: String,
    val priority: LoadPriority,
    val callback: (Bitmap) -> Unit
) : Runnable, Comparable<LoadTask> {

    override fun compareTo(other: LoadTask): Int {
        return other.priority.ordinal - this.priority.ordinal
    }

    override fun run() {
        // 执行加载逻辑
    }
}
四、图片解码优化
1. 高效采样方案
fun calculateInSampleSize(
    options: BitmapFactory.Options,
    reqWidth: Int,
    reqHeight: Int
): Int {
    val (height, width) = options.run { outHeight to outWidth }
    var inSampleSize = 1

    if (height > reqHeight || width > reqWidth) {
        val halfHeight = height / 2
        val halfWidth = width / 2

        while (halfHeight / inSampleSize >= reqHeight &&
               halfWidth / inSampleSize >= reqWidth) {
            inSampleSize *= 2
        }
    }

    return inSampleSize
}
2. 硬件加速解码
val options = BitmapFactory.Options().apply {
    inPreferredConfig = Bitmap.Config.HARDWARE // Android 8.0+
    inMutable = false
    inSampleSize = calculateInSampleSize(this, targetWidth, targetHeight)
}
val bitmap = BitmapFactory.decodeFile(filePath, options)
五、内存管理策略
1. Bitmap复用池
object BitmapPool {
    private val pool = Stack<Bitmap>()
    private val lock = ReentrantLock()

    fun get(width: Int, height: Int, config: Bitmap.Config): Bitmap {
        lock.lock()
        try {
            pool.find { it.width == width && it.height == height && it.config == config }
                ?.let { return it.apply { eraseColor(Color.TRANSPARENT) } }
        } finally {
            lock.unlock()
        }
        return Bitmap.createBitmap(width, height, config)
    }

    fun put(bitmap: Bitmap) {
        if (bitmap.isMutable) {
            lock.lock()
            try { pool.push(bitmap) }
            finally { lock.unlock() }
        }
    }
}
2. 自动回收机制
fun loadImage(imageView: ImageView, url: String) {
    val previousTask = imageView.getTag(R.id.load_task) as? LoadTask
    previousTask?.cancel()

    val newTask = LoadTask(url).apply {
        imageView.setTag(R.id.load_task, this)
        onSuccess { bitmap ->
            if (!isCancelled) {
                imageView.setImageBitmap(bitmap)
            }
        }
    }
    executor.submit(newTask)
}
六、高级功能实现
1. 渐进式加载
// 使用OkHttp拦截器实现
class ProgressiveInterceptor : Interceptor {
    override fun intercept(chain: Interceptor.Chain): Response {
        val response = chain.proceed(chain.request())
        val body = response.body ?: return response

        return response.newBuilder()
            .body(ProgressiveResponseBody(body))
            .build()
    }
}

class ProgressiveResponseBody(
    private val innerBody: ResponseBody
) : ResponseBody() {

    override fun source(): BufferedSource {
        return innerBody.source().buffer().apply {
            // 分块回调解码
        }
    }
}
2. 动图支持
// 使用Android原生Movie类
fun decodeGif(inputStream: InputStream): Drawable {
    return if (Build.VERSION.SDK_INT >= Build.VERSION_CODES.P) {
        ImageDecoder.decodeDrawable(ImageDecoder.createSource(inputStream))
    } else {
        Movie.decodeStream(inputStream)?.let { GifDrawable(it) }
            ?: throw IOException("Gif decode failed")
    }
}
七、性能监控体系
1. 关键指标埋点
class ImageLoaderStats {
    fun recordLoadStart() { /* ... */ }

    fun recordCacheHit(type: CacheType) { /* ... */ }

    fun recordDecodeTime(uri: String, duration: Long) {
        // 分分辨率统计解码耗时
    }

    fun recordError(error: Exception) {
        // 分类统计网络/解码/IO错误
    }
}
2. 质量评估矩阵
| 维度 | 评估方法 | 优化目标 |
|---|---|---|
| 内存效率 | Bitmap内存总和/应用内存 | <30% |
| CPU效率 | 解码线程CPU占用率 | <15% |
| 流畅度 | 主线程阻塞时间 | <16ms/帧 |
| 网络效率 | 重复下载率 | <5% |
八、主流方案对比参考
| 特性 | Glide | Picasso | Coil | 自研实现 |
|---|---|---|---|---|
| 内存优化 | ✅三级缓存 | ✅两级缓存 | ✅自动释放 | 需自定义 |
| 动图支持 | ✅高效 | ❌ | ✅ | 需集成 |
| 生命周期 | ✅自动 | ❌ | ✅协程 | 需绑定 |
| 扩展性 | ⭐⭐⭐⭐ | ⭐⭐ | ⭐⭐⭐ | ⭐⭐⭐⭐⭐ |
| 包体积 | 1.2MB | 500KB | 800KB | 可定制 |
实现高效图片加载库的关键在于平衡内存使用、CPU效率和用户体验。建议:
-
优先使用硬件加速解码
-
实现智能的内存回收策略
-
根据设备性能动态调整缓存大小
-
建立完善的监控体系持续优化


 被折叠的 条评论
为什么被折叠?
被折叠的 条评论
为什么被折叠?
 到【灌水乐园】发言


