


- 1、安装nginx
-
linux环境下安装nginx教程
先获取包wget http://nginx.org/download/nginx-1.8.0.tar.gz 或者http://nginx.org/download/下载最新版
cp nginx-1.8.0.tar.gz /usr/local
cd /usr/local
tar -zxvf nginx-1.8.0.tar.gz
linux环境下安装nginx教程
解压完毕,进去,安装。
cd nginx-1.8.0
./configure --prefix=/usr/local/nginx-1.8.0 \--with-http_ssl_module \--with-http_spdy_module \--with-http_stub_status_module \--with-pcre
执行这个命令
make && make install
之后进入安装目录
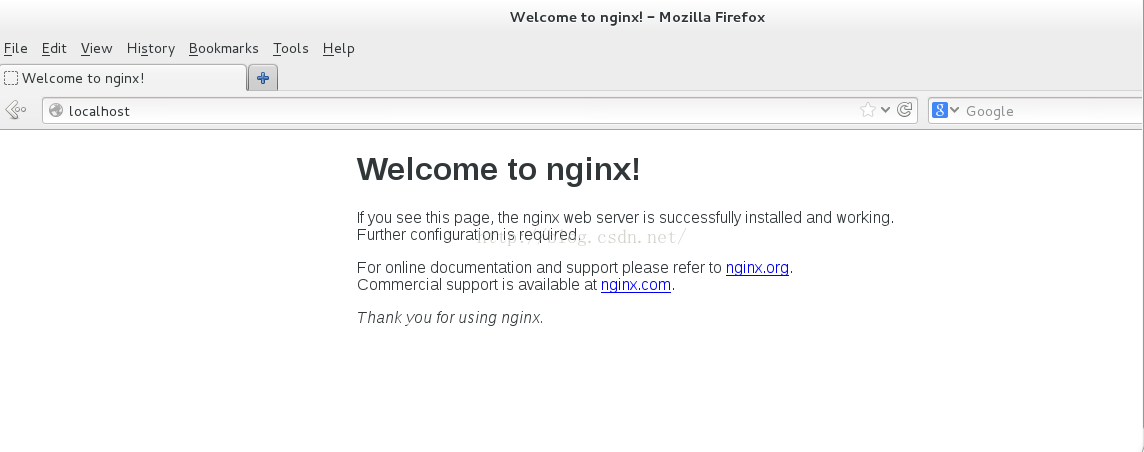
然后 启动 ./sbin/nginx
至此 安装完毕了。
修改conf/nginx.conf 来完成配置
启动nginx 服务
./sbin/nginx
重启nginx 服务
./sbin/nginx -s reload/quit
停止nginx 服务
./sbin/nginx -s stop
重新编译文件
./sbin/nginx -t
注: - -t 即为 : test
-
安装软件包:
./configure --help 查看需要安装的文件
注意:
安装过程过常出现问题:
1、 cc错误: ./configure:error:c compiler cc is not found ---- yum -y install gcc
2、 pcre错误: ./configure:error:the http rewrite module requires the PCRE librery ---- yum -y instanll pcre-decel
3、 openssl错误: ./configure:error:SSL module requires the OPENSSL librery ---- yum -y install openssl-devel -
- 查看状态以及常用命令:
- 查看运行的状态:ps anx | grep nginx
-
-?, -hPrint help. -vPrint version. -VPrint NGINX version, compiler version and configure parameters. -tDon’t run, just test the configuration file. NGINX checks configuration for correct syntax and then try to open files referred in configuration. -qSuppress non-error messages during configuration testing. -s signalSend signal to a master process: stop, quit, reopen, reload. (version >= 0.7.53) -p prefixSet prefix path (default: /usr/local/nginx/). (version >= 0.7.53)-c filenameSpecify which configuration file NGINX should use instead of the default. -g directivesSet global directives. (version >= 0.7.4)
ngnix的信号控制:kill -hup 进程号
TERM, INT Quick shutdown QUIT Graceful shutdown KILL Halts a stubborn process HUP Configuration reload
Start the new worker processes with a new configuration
Gracefully shutdown the old worker processes
USR1 Reopen the log files USR2 Upgrade Executable on the fly WINCH Gracefully shutdown the worker processes
- 详细参数:https://www.nginx.com/resources/wiki/start/topics/tutorials/commandline/#stopping-or-restarting-nginx
- 使用自己的域名解析:
- vi vi /etc/hosts 增加需要临时映射的域名
-
- 2、access_by_lua 的安装
- yum -y install gcc perl pcre-devel openssl openssl-devel
上传LuaJIT-2.0.4.tar.gz并安装LuaJIT
tar -zxvf LuaJIT-2.0.4.tar.gz -C /usr/local/src/
cd /usr/local/src/LuaJIT-2.0.4/
make && make install PREFIX=/usr/local/luajit
#设置环境变量
export LUAJIT_LIB=/usr/local/luajit/lib
export LUAJIT_INC=/usr/local/luajit/include/luajit-2.0
#创建modules保存nginx的模块
mkdir -p /usr/local/nginx/modules
#上传openresty-1.9.7.3.tar.gz和依赖的模块lua-nginx-module-0.10.0.tar、
ngx_devel_kit-0.2.19.tar、ngx_devel_kit-0.2.19.tar、echo-nginx-module-0.58.tar.gz
#将依赖的模块直接解压到/usr/local/nginx/modules目录即可,不需要编译安装
tar -zxvf lua-nginx-module-0.10.0.tar.gz -C /usr/local/nginx/modules/
tar -zxvf set-misc-nginx-module-0.29.tar.gz -C /usr/local/nginx/modules/
tar -zxvf ngx_devel_kit-0.2.19.tar.gz -C /usr/local/nginx/modules/
tar -zxvf echo-nginx-module-0.58.tar.gz -C /usr/local/nginx/modules/
#解压openresty-1.9.7.3.tar.gz
tar -zxvf openresty-1.9.7.3.tar.gz -C /usr/local/src/
cd /usr/local/src/openresty-1.9.7.3/
#编译安装
./configure --prefix=/usr/local/openresty --with-luajit && make && make install
#上传nginx
tar -zxvf nginx-1.8.1.tar.gz -C /usr/local/src/
cd /usr/local/src/nginx-1.8.1/
#编译nginx并支持其他模块
./configure --prefix=/usr/local/nginx \
--with-ld-opt="-Wl,-rpath,/usr/local/luajit/lib" \
--add-module=/usr/local/nginx/modules/ngx_devel_kit-0.2.19 \
--add-module=/usr/local/nginx/modules/lua-nginx-module-0.10.0 \
--add-module=/usr/local/nginx/modules/set-misc-nginx-module-0.29 \
--add-module=/usr/local/nginx/modules/echo-nginx-module-0.58
make -j2
make install
- 安装完之后便可以access_by_lua模块了
- 3、 nginx.conf 的配置详解
- #身份的信息,用什么身份启动NGINX
#user nobody;
#-- 开启多少个进程
worker_processes 1;
#error_log logs/error.log;
#error_log logs/error.log notice;
#error_log logs/error.log info;
#pid logs/nginx.pid;
events {
#-- 表示一个进程可运行1024,配置是worker_processes的个数*1024
worker_connections 1024;
}
http {
#文件的类型,doc/text/html
include mime.types;
default_type application/octet-stream;
# 定义Lo的格式
#log_format main '$remote_addr - $remote_user [$time_local] "$request" '
# '$status $body_bytes_sent "$http_referer" '
# '"$http_user_agent" "$http_x_forwarded_for"';
# 开始使用main
#access_log logs/access.log main;
sendfile on;
#tcp_nopush on;
#keepalive_timeout 0;
keepalive_timeout 65;
#gzip on;
# 主配置,可有多个
server {
# 提供外网的端口
listen 80;
# 提供的域名
server_name localhost;
# 字符集
#charset koi8-r;
#access_log logs/host.access.log main;
# 访问的界面,如:www.baidu.com/,及访问的是/
location / {
root html;
index index.html index.htm;
}
#error_page 404 /404.html;
# redirect server error pages to the static page /50x.html
# 错误界面处理
error_page 500 502 503 504 /50x.html;
location = /50x.html {
root html;
}
# proxy the PHP scripts to Apache listening on 127.0.0.1:80
#
#location ~ \.php$ {
# proxy_pass http://127.0.0.1;
#}
# pass the PHP scripts to FastCGI server listening on 127.0.0.1:9000
#
#location ~ \.php$ {
# root html;
# fastcgi_pass 127.0.0.1:9000;
# fastcgi_index index.php;
# fastcgi_param SCRIPT_FILENAME /scripts$fastcgi_script_name;
# include fastcgi_params;
#}
# deny access to .htaccess files, if Apache's document root
# concurs with nginx's one
#
#location ~ /\.ht {
# deny all;
#}
}
# another virtual host using mix of IP-, name-, and port-based configuration
#
#server {
# listen 8000;
# listen somename:8080;
# server_name somename alias another.alias;
# location / {
# root html;
# index index.html index.htm;
# }
#}
# HTTPS 的配置
# HTTPS server
#
#server {
# listen 443 ssl;
# server_name localhost;
# ssl_certificate cert.pem;
# ssl_certificate_key cert.key;
# ssl_session_cache shared:SSL:1m;
# ssl_session_timeout 5m;
# ssl_ciphers HIGH:!aNULL:!MD5;
# ssl_prefer_server_ciphers on;
# location / {
# root html;
# index index.html index.htm;
# }
#}
}
3、负载均衡 - HttpProxyModule 代理模块
HttpUpstreamModule 负载均衡模块
整体思路框架:
nginx.cinf
全局配置
http{
# 服务器的概念
#max_fails=3 fail_timeout=30s weight=2 选填
#max_fail:转换的次数,超出次数则表示服务器挂了
#fail_timeou:超出的时间
#weight:优先级1位最大
#weight
upstream test{
server 192.168.31.187 max_fails=3 fail_timeout=30s weight=2;
server 192.168.31.188;
...
}
server{
listen 80;
server_name www.baidu.com;
location / {
proxy_pass http://test;
# 设置调度日志的信息,包括ip时间以及访问的地址
proxy_set_head X-Fowarded_for $remote_addr
}
}
}
- 参数详解如下:
- http://www.cnblogs.com/sunxucool/p/3225818.html
- http://blog.sina.com.cn/s/blog_59d226590101c9y6.html
- http://www.cnblogs.com/xiaogangqq123/archive/2011/03/02/1969006.html
- 4、链接服务器的Apache的服务器,tomcat、、、、、


04-15
 517
517
517

 被折叠的 条评论
为什么被折叠?
被折叠的 条评论
为什么被折叠?
 到【灌水乐园】发言


