noVNC是一个 HTML5 VNC 客户端,采用 HTML 5 WebSockets, Canvas 和 JavaScript 实现,这篇文章主要介绍了NoVNC以Web方式交付VNC远程连接的方法,感兴趣的朋友一起看看吧
GitHub - novnc/noVNC: VNC client web application

一、noVNC是什么
noVNC是一个 HTML5 VNC 客户端,采用 HTML 5 WebSockets, Canvas 和 JavaScript 实现,noVNC 被普遍用在各大云计算、虚拟机控制面板中,比如 OpenStack Dashboard 和 OpenNebula Sunstone 都用的是 noVNC。
noVNC采用WebSockets实现,但是目前大多数VNC服务器都不支持 WebSockets,所以noVNC是不能直接连接 VNC 服务器的,需要一个代理来做WebSockets和TCP sockets 之间的转换。这个代理在noVNC的目录里,叫做websockify 。
**目标:**通过浏览器远程访问Windows桌面。
**原理:**浏览器不支持VNC,所以不能直接连接VNC,但是可以使用代理,使用noVNC通过WebSocket建立连接,而VNC Server不支持WebSocket,所以需要开启Websockify代理来做WebSocket和TCP Socket之间的转换。
二、CentOS 7 安装novnc
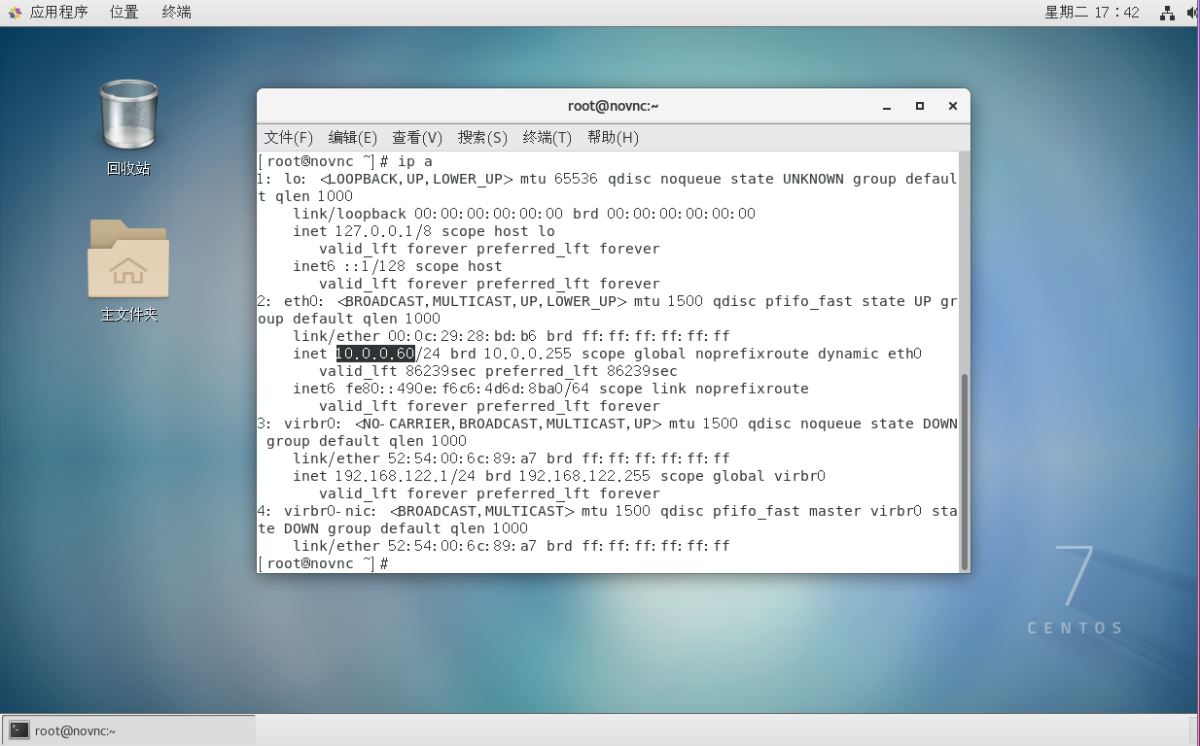
1. 环境
| 1 2 3 4 5 6 7 |
[root@novnc ~]# cat /etc/redhat-release
CentOS Linux release 7.6.1810 (Core)
[root@novnc ~]# ifconfig eth0|awk 'NR==2{print $2}'
10.0.0.60
setenforce 0
systemctl stop firewalld
systemctl disable firewalld
|
2. 安装配置
安装桌面环境
如何在CentOS7上安装桌面环境
安装tigervnc
| 1 2 3 4 |
#安装依赖软件包
wget -O /etc/yum.repos.d/epel.repo http://mirrors.aliyun.com/repo/epel-7.repo
curl -o /etc/yum.repos.d/CentOS-Base.repo http://mirrors.aliyun.com/repo/Centos-7.repo
yum install -y git tigervnc-server -y
|
启动VNC服务并输入密码
| 1 2 3 4 5 6 7 8 9 10 11 12 13 14 15 16 17 18 19 20 21 22 |
[root@novnc ~]# vncserver :1
You will require a password to access your desktops.
Password:
Verify:
Would you like to enter a view-only password (y/n)? y
Password:
Verify:
New 'novnc:1 (root)' desktop is novnc:1
Creating default startup script /root/.vnc/xstartup
Creating default config /root/.vnc/config
Starting applications specified in /root/.vnc/xstartup
Log file is /root/.vnc/novnc:1.log
#当执行vncserver :1设置为1时,下面要运行VNC是的端口号应该是5900+1,那就是5901,VNC的默认端口是5900。
#写入开机自启动
chmod +x /etc/rc.d/rc.local
echo '/usr/bin/vncserver :1' >>/etc/rc.d/rc.local
|
查看日志
cat /root/.vnc/novnc:1.log
查看端口
| 1 2 3 |
[root@novnc utils]# netstat -lntup|grep 59
tcp 0 0 0.0.0.0:5901 0.0.0.0:* LISTEN 8380/Xvnc
tcp6 0 0 :::5901 :::* LISTEN 8380/Xvnc
|


 最低0.47元/天 解锁文章


 被折叠的 条评论
为什么被折叠?
被折叠的 条评论
为什么被折叠?
 到【灌水乐园】发言


