


web网址:http://zhengtu.siid.com.cn/
git地址:https://github.com/xif3681/job2-2-ionic3-zhengtu
-
开发坏境
Angular+Ionic+Cordova
开始步骤网站: http://ionicframework.com/getting-started/
官网css组件: http://ionicframework.com/docs/components/#header
1 安装Ionic和Cordova
命令行安装ionic
$ npm install -g cordova ionic
2 新建一个Ionic项目
$ ionic start myApp sidemenu
3 运行我们刚才创建的Ionic项目
$ cd myApp
$ionic cordova build browser
$ ionic platform add android
$ ionic build android
4 在浏览器预览并实时刷新
$ ionic serve

-
路由
默认
https://ionicframework.com/docs/api/navigation/IonicPage/
Dynamic Links
The segment property is useful for creating dynamic links. Sometimes the URL isn't known ahead of time, so it can be passed as a variable.
Since passing data around is common practice in an app, it can be reflected in the app's URL by using the :param syntax. For example, set the segment in the @IonicPage decorator:
@IonicPage({
name: 'detail-page',
segment: 'detail/:id'
})
In this case, when we push to a new instance of 'detail-page', the value of id will in the detailInfo data being passed to push will replace :id in the URL.
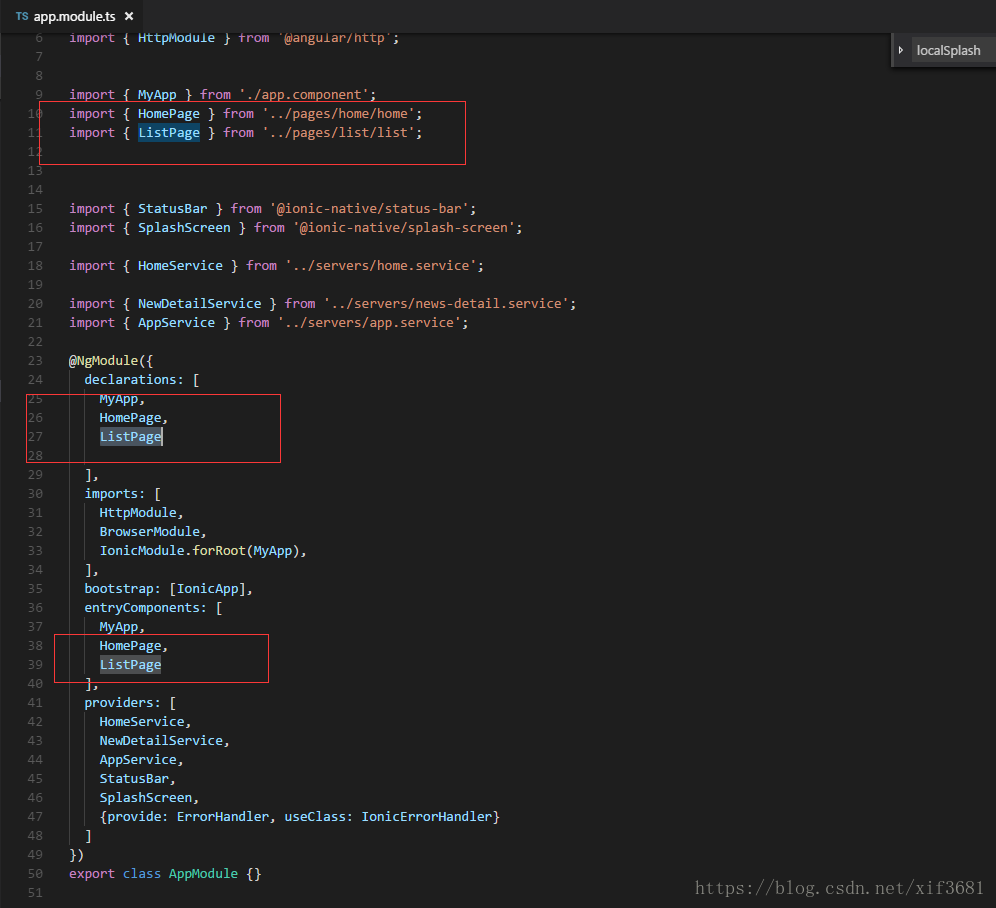
For example, to push the 'detail-page' in the ListPage component, the following code could be used:
@IonicPage({
name: 'list'
})
export class ListPage {
constructor(public navCtrl: NavController) {}
pushPage(detailInfo) {
// Push an `id` to the `'detail-page'`
this.navCtrl.push('detail-page', {
'id': detailInfo.id
})
}
}
If the value of detailInfo.id is 12, for example, the URL would end up looking like this:
http://localhost:8101/#/list/detail/12
-
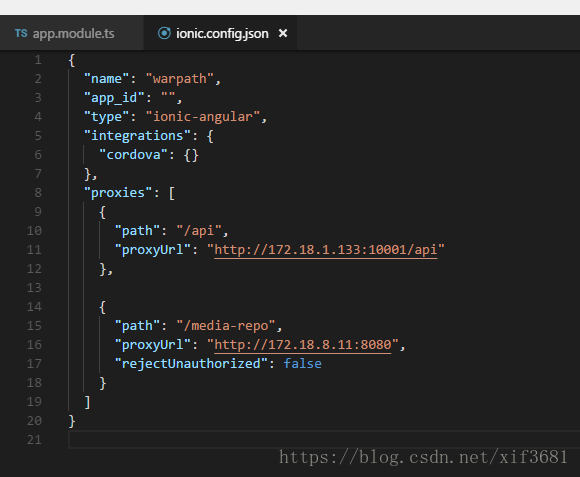
ionic3代理设置
Ionic-Cli代理设置:
打开ionic.config.json文件,添加proxies代理配置字段:

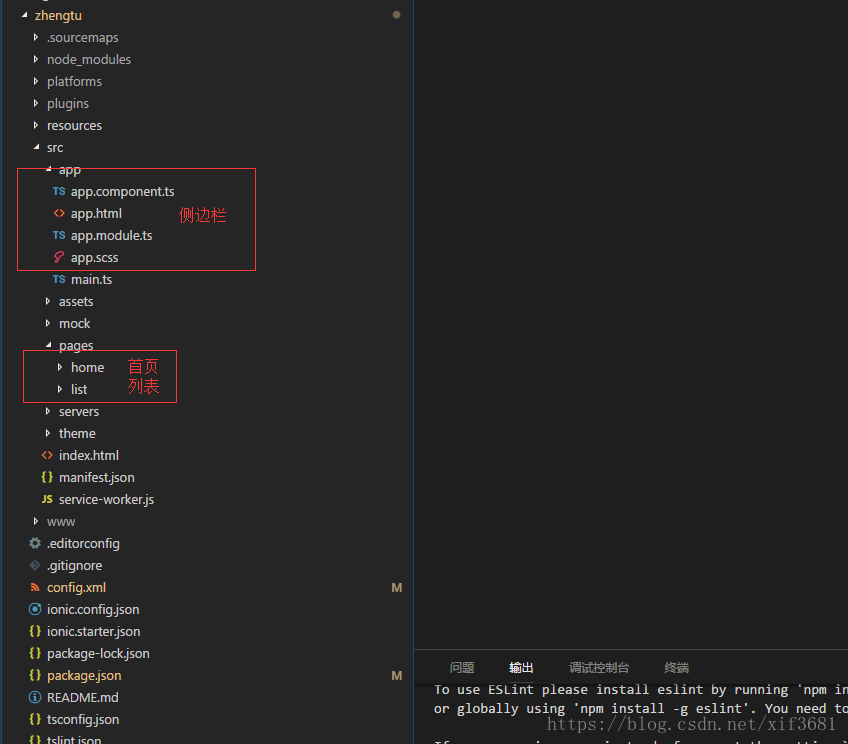
四.手势
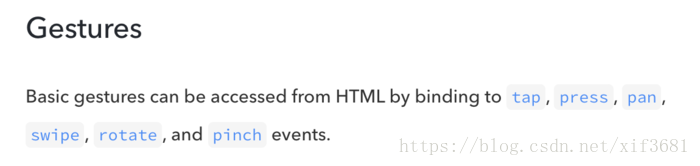
https://ionicframework.com/docs/components/#gestures
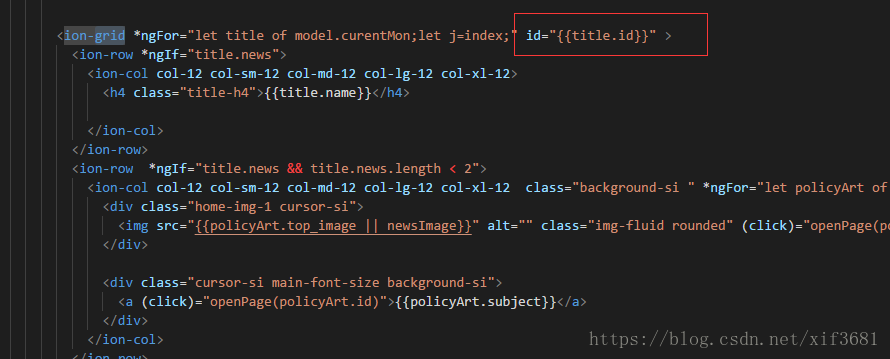
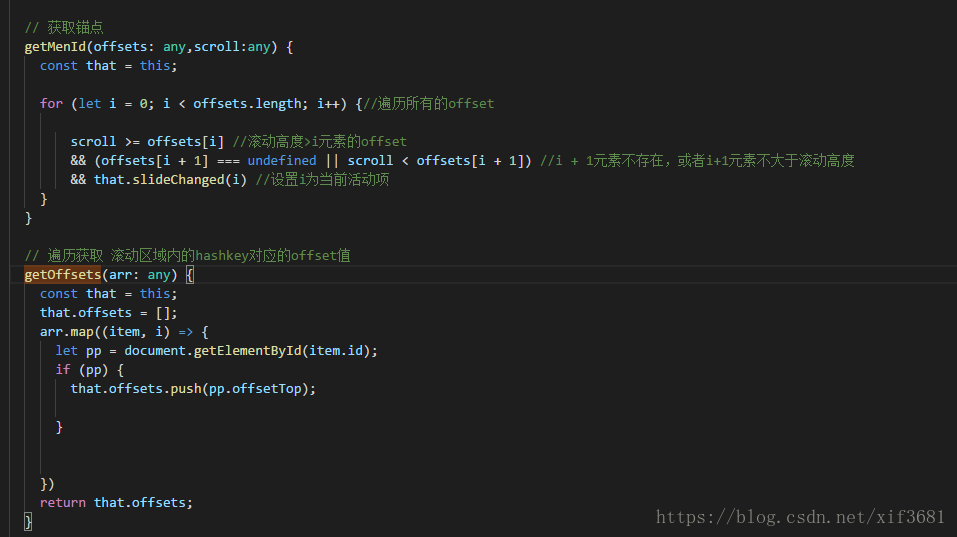
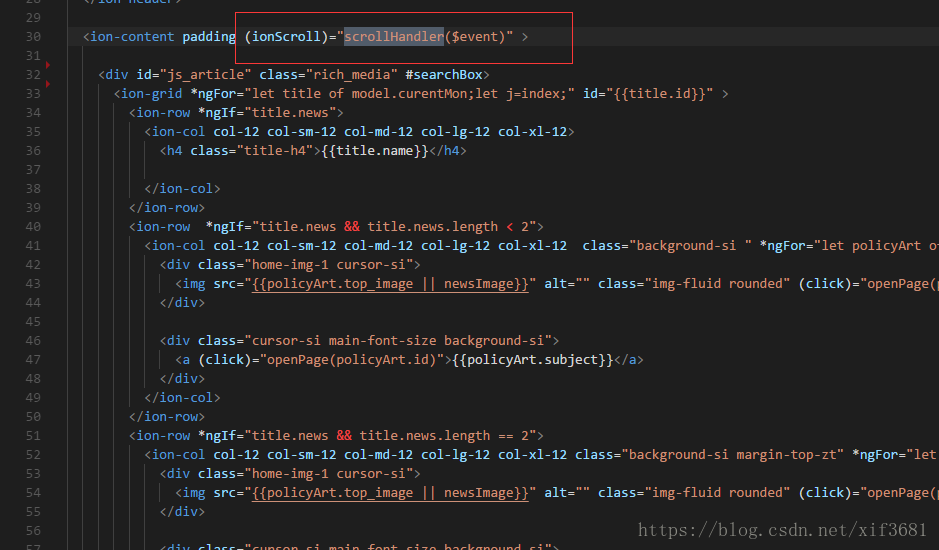
五.锚点
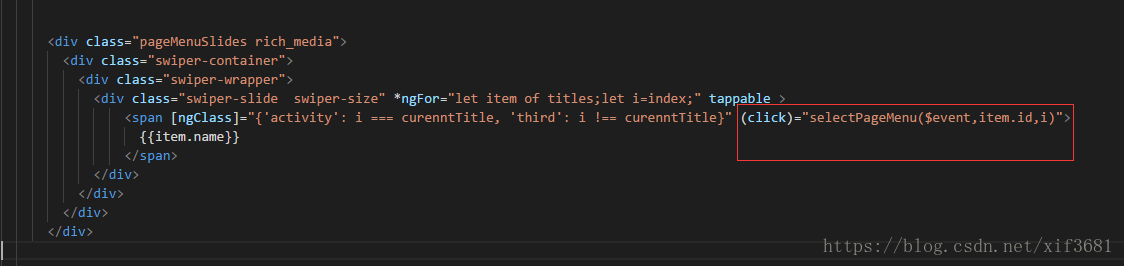
1 点击导航到相应的锚点
Home.ts
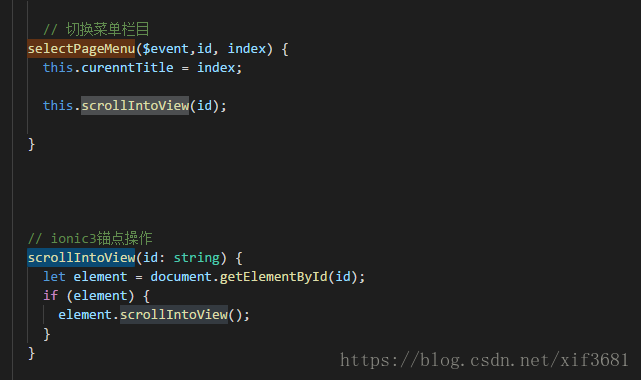
Home.html
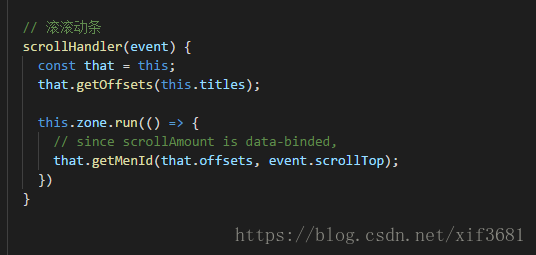
2 根据滚动条的位置自动更新对应的导航
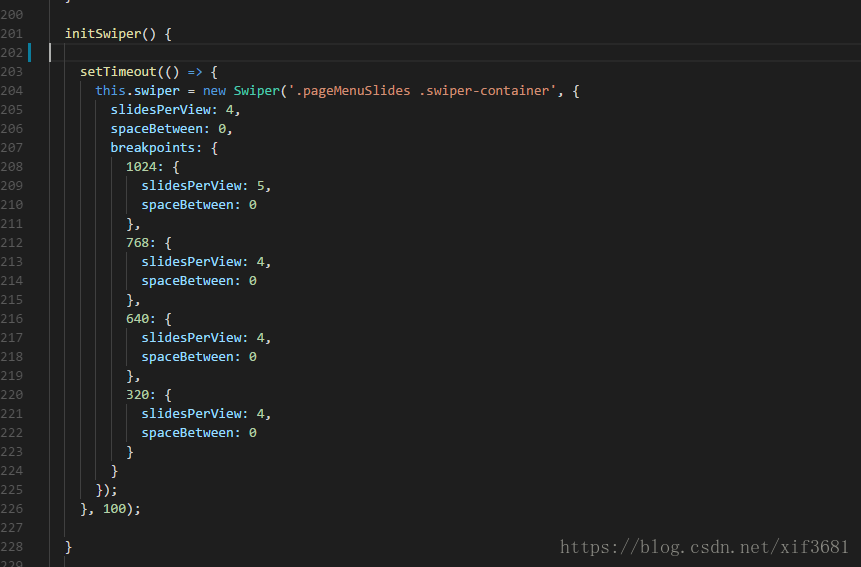
六.滑动导航
1 引入插件swiper
Index.html

2 初始配置
Home.ts
Home.html

Home.sass

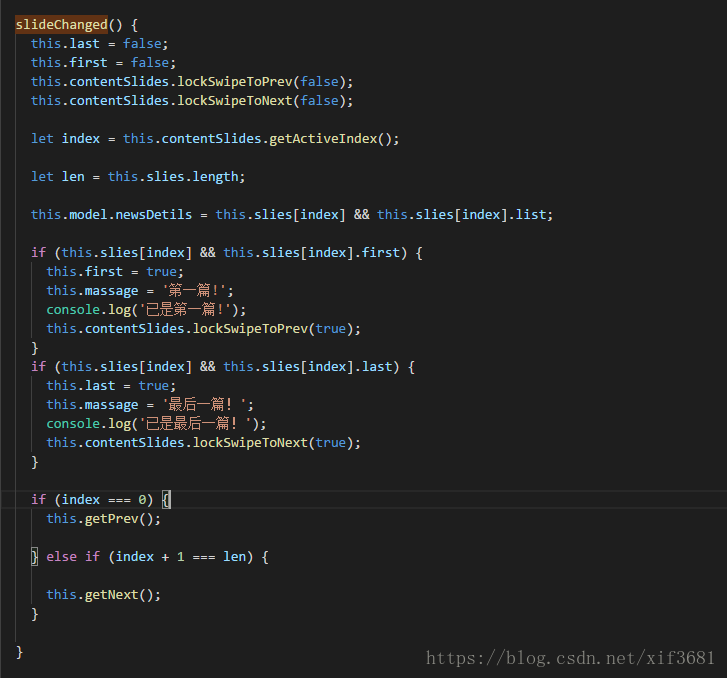
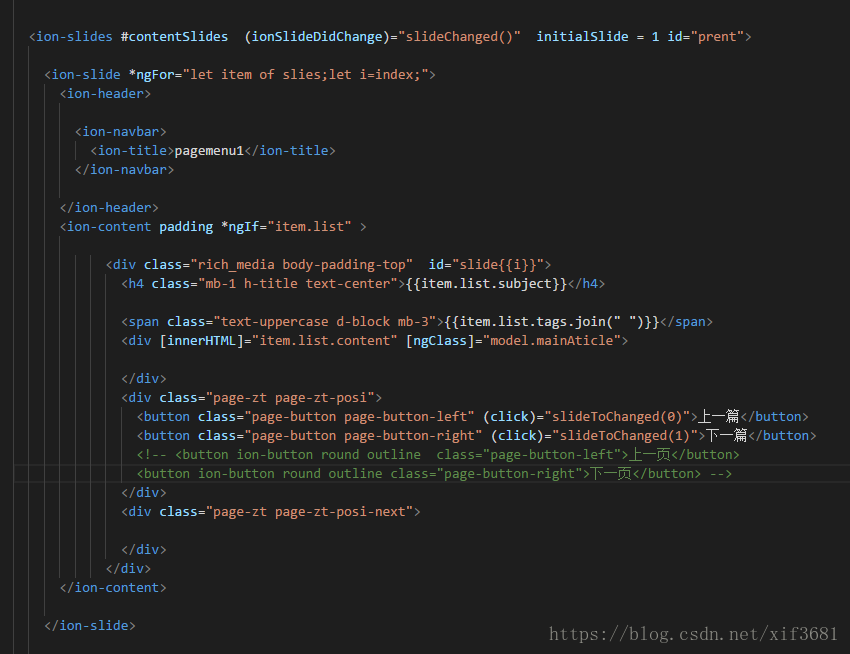
七.翻页
https://ionicframework.com/docs/components/#slides
Usage
List.ts
List.html
八. 页面间数据传递
https://ionicframework.com/docs/api/util/Events/
Usage
import { Events } from 'ionic-angular';
// first page (publish an event when a user is created)
constructor(public events: Events) {}
createUser(user) {
console.log('User created!')
this.events.publish('user:created', user, Date.now());
}
// second page (listen for the user created event after function is called)
constructor(public events: Events) {
events.subscribe('user:created', (user, time) => {
// user and time are the same arguments passed in `events.publish(user, time)`
console.log('Welcome', user, 'at', time);
});
}


 11万+
11万+

 被折叠的 条评论
为什么被折叠?
被折叠的 条评论
为什么被折叠?
 到【灌水乐园】发言


