


先来看一段代码
components/toast/index.vue
<template>
  <div v-if="isShow" class="toast">
    {{msg}}
  </div>
</template>

<script setup>
import { ref, watch } from 'vue'
const props = defineProps({
  show: {
    type: Boolean,
    default: false
  },
  msg: {
    type: String,
    default: 'message',
  },
  duration: {
    type: Number,
    default: 1500
  }
})

const isShow = ref(props.show)
const emit = defineEmits(['update:show'])

watch(() => props.show, (newVal, oldVal) => {
  isShow.value = newVal
  if (newVal) {
    clearInterval(timer)
    var timer = setTimeout(() => {
      isShow.value = false
      emit('update:show', false)
    }, props.duration)
  }
})
</script>

<style scoped>
  .toast {
    position: fixed;
    top: 200px;
    left: 50%;
    transform: translateX(-50%);
    padding: 4px 8px;
    background-color: rgba(0, 0, 0, .8);
    border-radius: 4px;
    color: #fff;
  }
</style>
这就是一个普通的Toast组件
- show:是否显示
- msg:弹窗内容
- duration:多少毫秒后自动关闭
调用组件
views/toast.view
<template>
  <Toast v-model:show="isShow" msg="hello toast" :duration="2000"></Toast>
  <button @click="isShow = true">组件调用</button>
</template>

<script setup>
  import { ref } from 'vue'
  import Toast from '@/components/toast/index.vue'
  const isShow = ref(false)
</script>
我们平时都是这么用的

但是这个组件只能在.vue组件中使用,现在我的项目中正在封装一个全局axios拦截器request.js,就没办法这么用了。
封装api
在components/toast目录下,与index.vue同级,再新建一个index.js文件,写入以下代码:
import { createApp } from 'vue'
import Toast from './index.vue'

const showToast = (msg, options = { duration: 1500 }) => {
  const { duration } = options
  const div = document.createElement('div')
  const componentInstance = createApp(Toast, {
    show: true,
    msg,
    duration
  })

  componentInstance.mount(div)
  document.body.appendChild(div)

  let timer = null
  clearTimeout(timer)
  timer = setTimeout(() => {
    componentInstance.unmount(div);
    document.body.removeChild(div);
  }, duration)
}

export default showToast
然后就可以在任意地方调用showToast方法。


在main.js调用


再来看看为什么components/toast/index.js能做到这个效果
-
从
vue中解构出createApp,看到这个是不是很熟悉?对,就是main.js中我们看到的那个createApp -
引入写好的
toast组件,传给createApp,得到一个组件实例 -
将组件实例挂载到一个动态创建的div元素上
-
将div元素追加到body元素中
再看看main.js
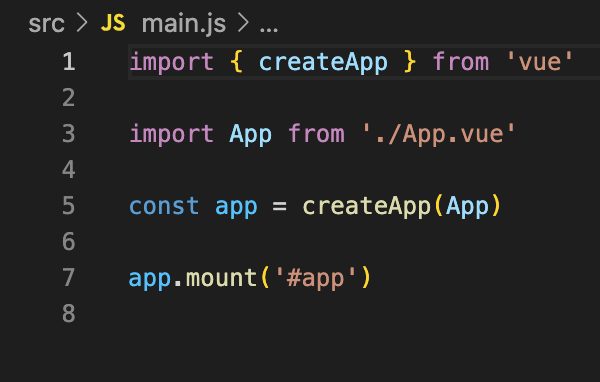
没有任何区别


 164
164


 被折叠的 条评论
为什么被折叠?
被折叠的 条评论
为什么被折叠?
 到【灌水乐园】发言


