


SVN supports several protocols for network access: SVN, SVN+SSH, HTTP, HTTPS. If you are behind a firewall, HTTP-based Subversion is advantageous since SVN traffic will go through the firewall without any additional firewall rule setting. In this tutorial, I will describe how to set up an HTTP-based Subversion server on CentOS or Fedora platform.
First, install Subversion, as well as Subversion module for Apache HTTP server as follows. This will also install Apache HTTP server as a dependency if it is installed.
Next, create a local SVN repository which will store code
$ sudo svnadmin create /svnrepos
Make the SVN repository readable and writable by the same user as the one which Apache HTTP server runs as. On CentOS or Fedora platforms, this user is "apache".
Edit Apache HTTP server configuration as follows.
LoadModule dav_svn_module     modules/mod_dav_svn.so
LoadModule authz_svn_module   modules/mod_authz_svn.so

<Location /svnrepos>
   DAV svn
   SVNPath /svnrepos
   AuthType Basic
   AuthName "Subversion repositories"
   AuthUserFile /etc/svn-auth-users
   Require valid-user
</Location>
Next, add Subversion users who are authorized to access the SVN server. Here I use basic authentication provided by Apache HTTP server. For that, usehtpasswd command which creates usernames and password for authenticated HTTP users.
The first time you run htpasswd command, use "-c" option, which will create an initial SVN password file. For subsequent runs ofhtpasswd command, do not use "-c" option.
New password:
Re-type new password:
Adding password for user user1
$ sudo htpasswd -m /etc/svn-auth-users user3
. . .
Now restart Apache HTTP server.
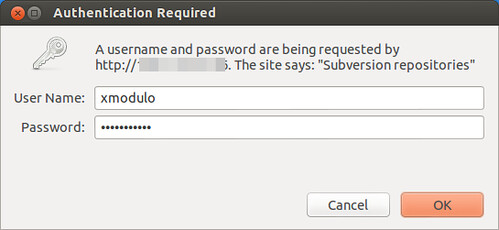
At this point, the SVN server should be accessible via HTTP. Go to: "http://<ip-address-svn-server>/svnrepos" to browse the SVN repository via web interface. As shown below, you will be prompted to enter username and password to proceed.
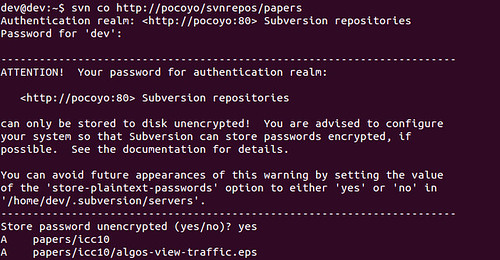
Also, when you try to access the SVN server from SVN client software, you will also be required to authenticate yourself.


 被折叠的 条评论
为什么被折叠?
被折叠的 条评论
为什么被折叠?
 到【灌水乐园】发言


