


本文分三个部分,首先是mac下搭建hadoop伪分布式集群,然后搭建eclispe下hadoop调试环境,最后配置hadoop源码,便于学习。
Mac下Hadoop伪分布式搭建
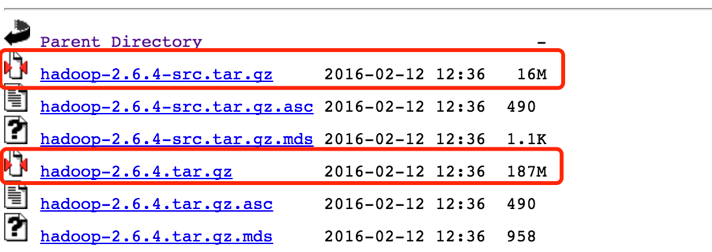
1. Hadoop下载
源码包和编译后的包都要下载。这里我用的是hadoop-2.6.4,下载地址如下:
https://archive.apache.org/dist/hadoop/common/hadoop-2.6.4/
2. Hadoop参数配置
这部分工作网上有很多文章可以借鉴,在此不做重复叙述:
参考以下网址:http://www.cnblogs.com/aijianiula/p/3842581.html
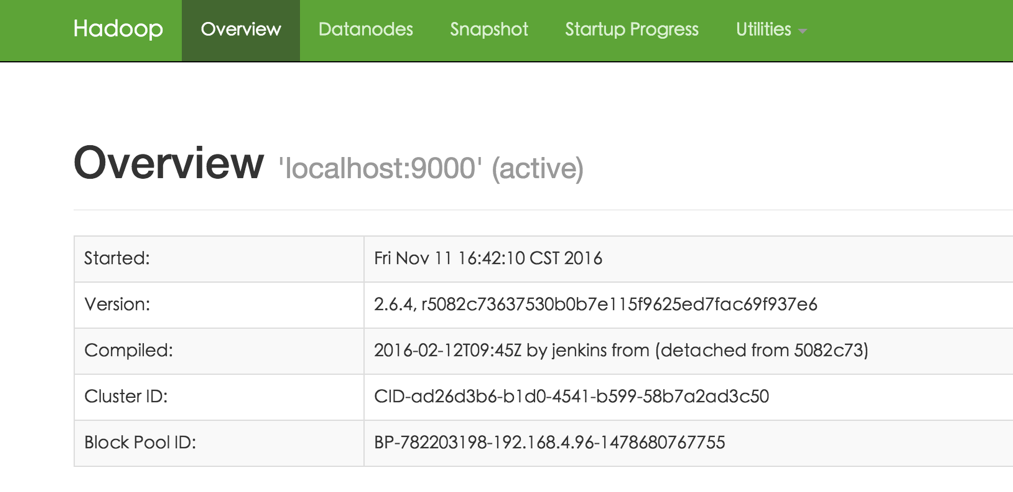
3. 开启hadoop
进入hadoop根目录下的sbin文件夹,运行如下命令:
sh start-all.sh
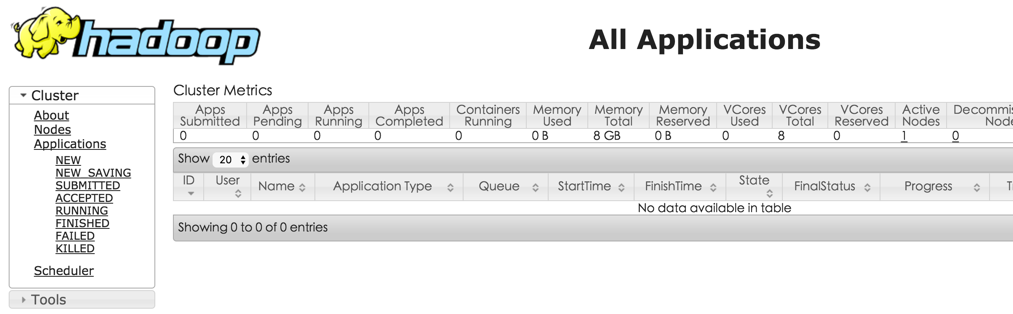
打开:http://localhost:50070
打开:http://localhost:8088/
搭建eclispe下开发环境
1. eclipse下载
本人使用eclipse版本为Mars。下载地址:
http://www.eclipse.org/downloads/packages/release/Mars/2
2. 下载hadoop插件
hadoop-eclipse-plugin-2.6.4.jar 下载地址:
http://download.csdn.net/download/tondayong1981/9437360
把插件放到eclipse/ plugins目录下 。
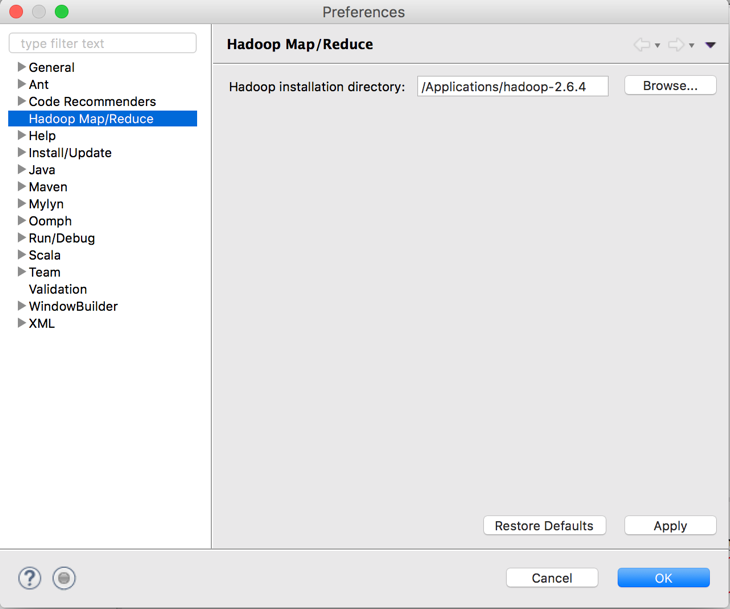
3. 重启eclipse,配置Hadoop installation directory
如果插件安装成功,打开eclipse – 偏好设置,在窗口左侧会有Hadoop Map/Reduce选项,点击此选项,在窗口右侧设置Hadoop安装路径。
4. 配置Map/Reduce Locations
打开Windows—Open Perspective—Other
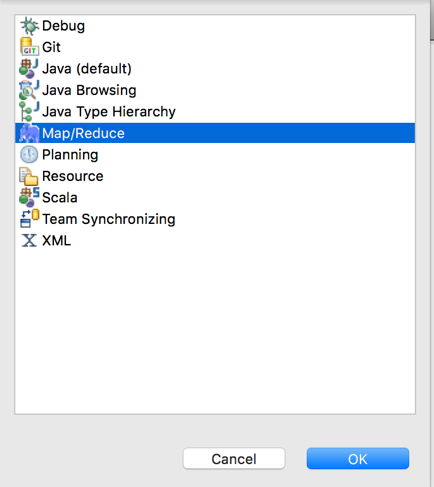
选择Map/Reduce,点击OK。在右下方看到如下图所示:

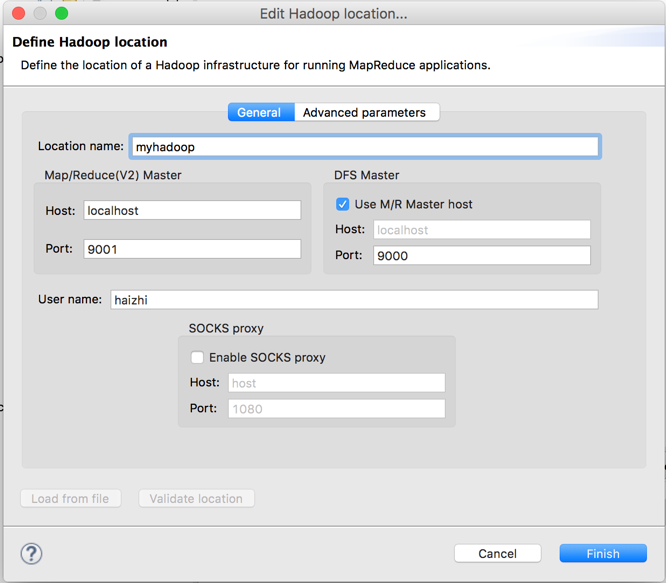
点击Map/Reduce Location选项卡,点击右边小象图标,打开Hadoop Location配置窗口:输入Location Name,任意名称即可.配置Map/Reduce Master和DFS Mastrer,Host和Port配置成与core-site.xml的设置一致即可。
点击”Finish”按钮,关闭窗口。点击左侧的DFSLocations—>myhadoop(上一步配置的location name),如能看到user,表示安装成功。
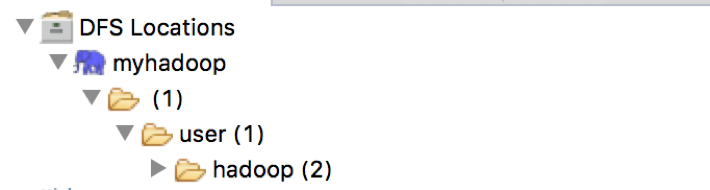
此时,已经可以和自己本地的Hadoop集群相连接。并可以从集群下载,或上传文件.
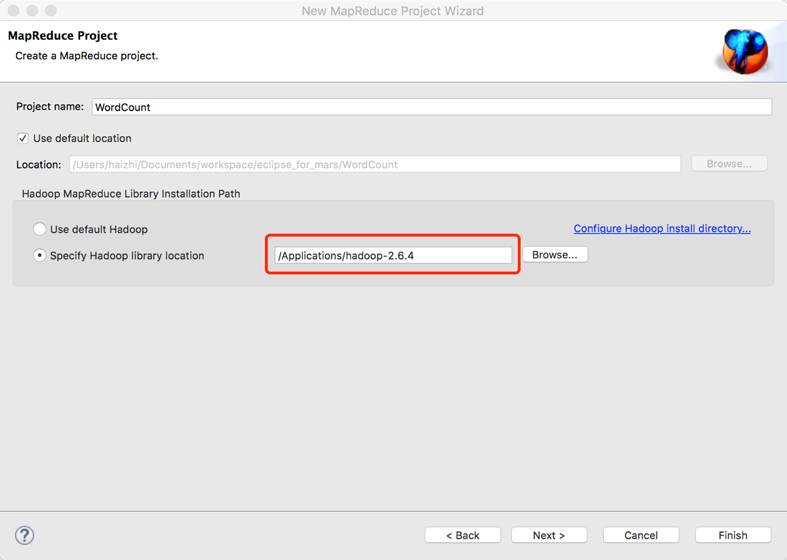
5. 新建WordCount项目
File—>Project,选择Map/Reduce Project,输入项目名称WordCount,点finish完成。
新建一个包:hz。再新建一个WordCount.java类。项目结构如下:
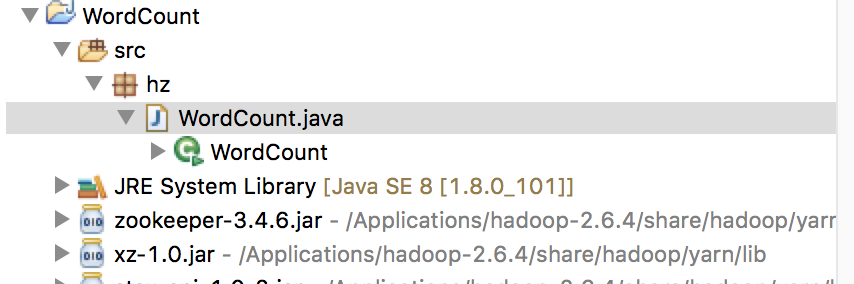
wordcount代码如下:
import java.io.IOException;
import org.apache.hadoop.conf.Configuration;
import org.apache.hadoop.fs.Path;
import org.apache.hadoop.io.IntWritable;
import org.apache.hadoop.io.Text;
import org.apache.hadoop.mapreduce.Job;
import org.apache.hadoop.mapreduce.Mapper;
import org.apache.hadoop.mapreduce.Reducer;
import org.apache.hadoop.mapreduce.lib.input.FileInputFormat;
import org.apache.hadoop.mapreduce.lib.output.FileOutputFormat;
import org.apache.hadoop.util.GenericOptionsParser;

public class WordCount {

    private static class WordCountMapper extends Mapper<Object, Text, Text, IntWritable>{
        @Override
        protected void map(Object key, Text value, Context context)
                throws IOException, InterruptedException {
            String str=value.toString();
            String []strArray=str.split(" ");
            for(String s:strArray){
                context.write(new Text(s), new IntWritable(1));
            }
        }
    }

    private static class WordCountReducer extends Reducer<Text, IntWritable, Text, IntWritable>{
        @Override
        protected void reduce(Text key, Iterable<IntWritable> values,
                Context context)
                throws IOException, InterruptedException {
            int sum=0;
            for(IntWritable count:values){
                sum+=count.get();
            }
            context.write(key, new IntWritable(sum));
        }
    }

    public static void main(String[] args) throws Exception{
        Configuration conf=new Configuration();
        String []argArray=new GenericOptionsParser(conf,args).getRemainingArgs();
        if(argArray.length!=2){
            System.out.println("需要两个参数");
            System.exit(1);
        }
        Job job=Job.getInstance(conf,"wordcount");
        job.setJarByClass(WordCount.class);

        job.setMapperClass(WordCountMapper.class);
        job.setMapOutputKeyClass(Text.class);
        job.setMapOutputValueClass(IntWritable.class);

        job.setReducerClass(WordCountReducer.class);
        job.setOutputKeyClass(Text.class);
        job.setOutputValueClass(IntWritable.class);

        FileInputFormat.addInputPath(job, new Path(argArray[0]));
        FileOutputFormat.setOutputPath(job, new Path(argArray[1]));

        System.exit(job.waitForCompletion(true)?0:1);
    }
}
6. 运行wordCount项目
- 在HDFS上创建目录input。
hadoop fs -mkdir /user/hadoop/input - 拷贝hadoop根目录下的README.txt到HDFS的input文件夹里。
hdfs dfs -put README.txt /user/hadoop/input - 点击WordCount.java右键,点击Run As ->Run Configurations,输入运行参数:
hdfs://localhost:9000/user/input hdfs://localhost:9000/user/output
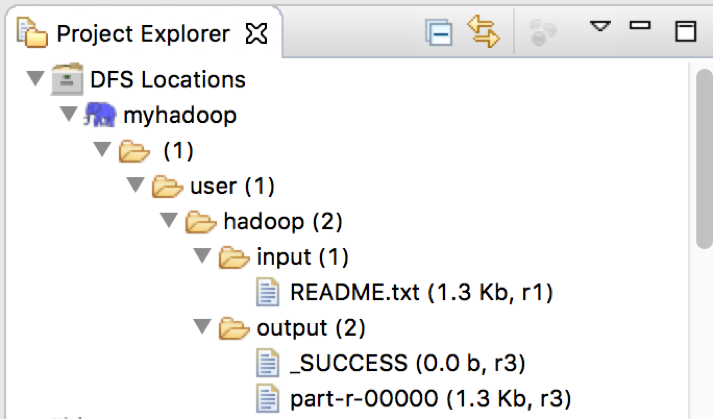
结果图如下,其中input是输入文件夹,ouput是输出文件夹。
7. 参考
http://www.bubuko.com/infodetail-1510060.html
http://www.51itong.net/eclipse-hadoop2-7-0-12448.html
Hadoop源码查看
如果想深入学习hadoop,阅读源码是非常必要的。之前已经下载了hadoop的源码包,并解压到指定路径下,我的路径为:/Users/haizhi/hadoop-2.6.4-src。接下来,只要在eclipse下的工程中,只要做简要配置即可。
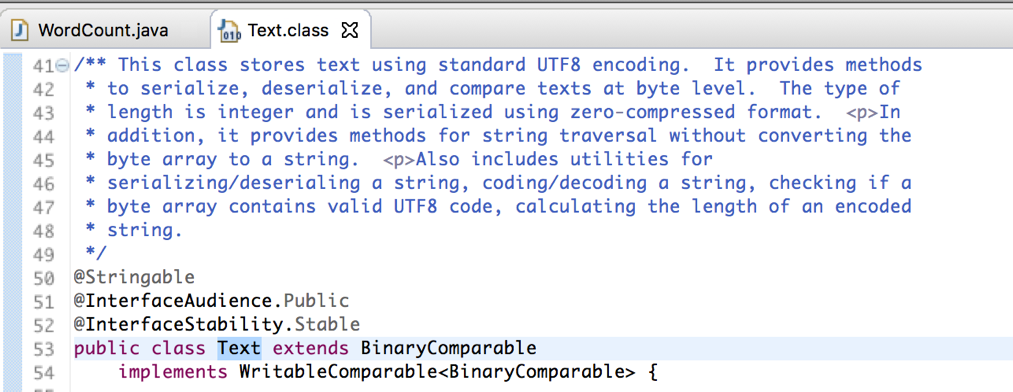
如想查看Text类的源码。只要右键如下图选择:
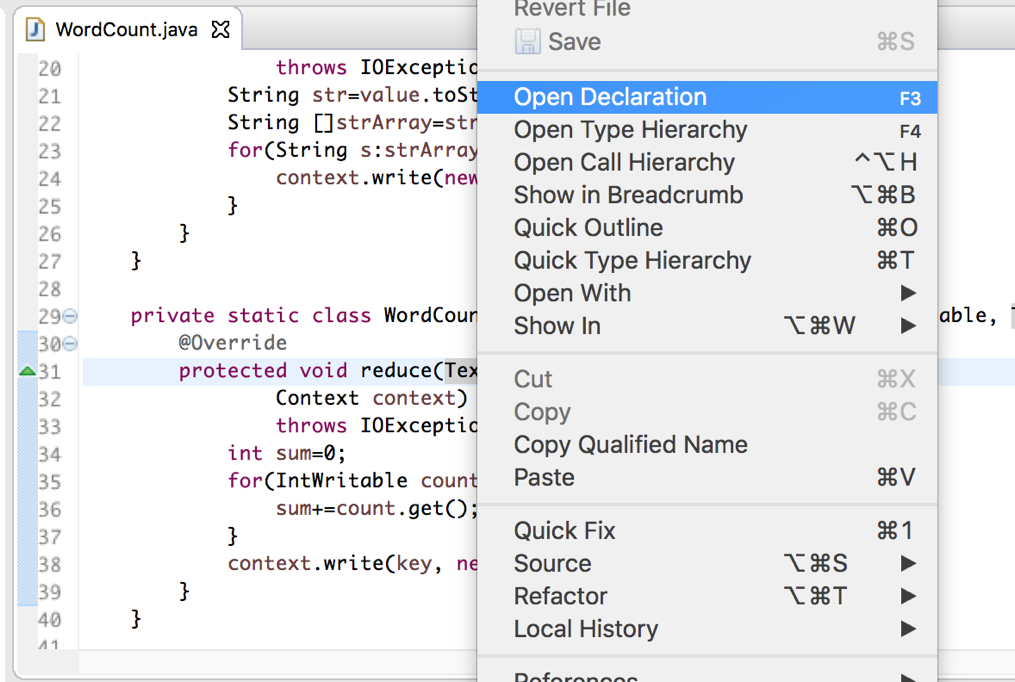
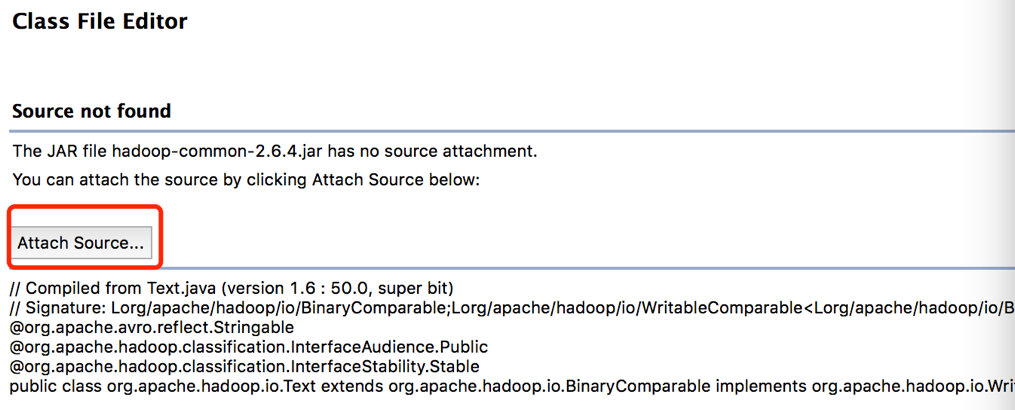
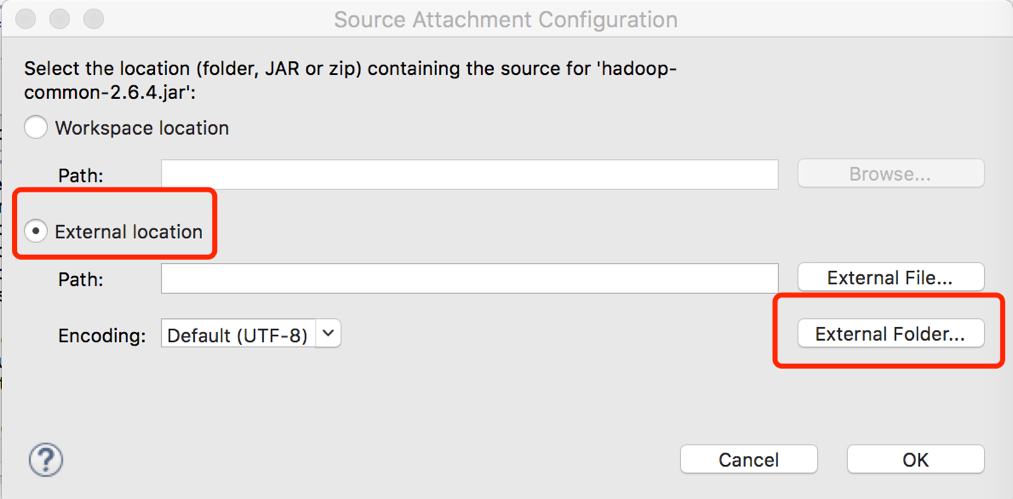
选择之前源码解压的路径即可。源码如下显示:


 2920
2920

 被折叠的 条评论
为什么被折叠?
被折叠的 条评论
为什么被折叠?
 到【灌水乐园】发言


