


官方文档:https://socialiteproviders.com/
一、apple、facebook、Google、line登录,先按照以下依赖包
composer require socialiteproviders/apple
composer require socialiteproviders/facebook
composer require socialiteproviders/google
composer require socialiteproviders/line
二、在 App\Providers\EventServiceProvider 注册事件监听,如图所示
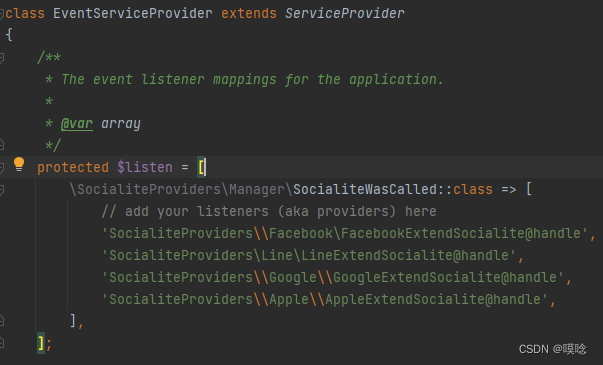
在$list数组新增以下代码
\SocialiteProviders\Manager\SocialiteWasCalled::class => [
            // add your listeners (aka providers) here
            'SocialiteProviders\\Facebook\FacebookExtendSocialite@handle',
            'SocialiteProviders\Line\LineExtendSocialite@handle',
            'SocialiteProviders\\Google\\GoogleExtendSocialite@handle',
            'SocialiteProviders\\Apple\\AppleExtendSocialite@handle',
        ],
三、在config\services.php新增配置,如图所示

四、在 App\Http\Controllers 新增SocialiteController
<?php

namespace App\Http\Controllers;
use Laravel\Socialite\Facades\Socialite;
use Illuminate\Http\Request;
use Firebase\JWT\JWT;

class SocialiteController extends Controller
{
 	/**
     * 前往授权页面
     * @return mixed
     */
    public function googleRedirect(Request $request)
    {
     	return Socialite::driver("google")->redirect();
    }
    public function lineRedirect(Request $request)
    {
     	return Socialite::driver("line")->redirect();
    }
    public function facebookRedirect(Request $request)
    {
     	return Socialite::driver("facebook")->redirect();
    }
    public function appleRedirect(Request $request)
    {
     	return Socialite::driver("apple")->redirect();
    }
    /**
     * 授权回调
     */
    public function callback($type){
    	 if ($type == 'apple') {
    	  	config()->set('services.apple.client_secret', $this->appleGenerate());
    	 }
    	 $socialiteUser = Socialite::driver($type)->user();
    	 //获取openid
    	 //socialiteUser->getId();
    	 //获取昵称
    	 //socialiteUser->getNickname();
    	 //获取用户名
    	 //socialiteUser->getName();
    	 //获取邮箱
    	 //socialiteUser->getEmail();
    	 //获取头像
    	 //socialiteUser->getAvatar();
    }
    /**
     * apple 生成 client_secret
     */
	public function appleGenerate()
    {
        $teamId = config('services.apple.team_id');
        $clientId = config('services.apple.client_id');  //对应 Bundle ID
        $privateKey = config('services.apple.private_key'); //.p8文件里面的内容,格式要保持一致
        $keyId = config('services.apple.key_id');

        $payload = [
            'iss' => $teamId,
            'iat' => time(),
            'exp' => time() + 86400,
            'aud' => 'https://appleid.apple.com',
            'sub' => $clientId,
        ];
        return JWT::encode($payload, $privateKey, 'ES256', $keyId);
    }
}
五、在routes\web.php 添加路由
 Route::any('socialite/redirect/google', [ThirdPartyController::class, 'googleRedirect']);
 Route::any('socialite/redirect/line', [ThirdPartyController::class, 'lineRedirect']);
 Route::any('socialite/redirect/facebook', [ThirdPartyController::class, 'facebookRedirect']);
 Route::any('socialite/redirect/apple', [ThirdPartyController::class, 'appleRedirect']);
 Route::any('socialite/callback/{type}', [ThirdPartyController::class, 'callback']); //配置的回调地址,需要和配置 services中的redirect以及Google、apple等配置要一致,例如:在Google可以配置成:http://xxx.com/socialite/callback/google,配置 services中的Google的redirect配置就是http://xxx.com/socialite/callback/google
六、qq、微信、GitHub等其他登录类似


 802
802

 被折叠的 条评论
为什么被折叠?
被折叠的 条评论
为什么被折叠?
 到【灌水乐园】发言


