


上一篇文章 【Spring实战】10 Security 入门 中介绍了如何集成 Spring Security 以及它拥有着哪些功能。
本文将继续介绍 Spring Security 的几个常用配置
Spring Security 是一个用于在 Java 应用程序中提供身份验证(Authentication)和授权(Authorization)功能的强大框架。它构建在 Spring 框架的基础之上,为开发者提供了一套完整的安全性解决方案,使得在应用程序中集成用户认证和授权变得更加简便和灵活。
官方网址
https://spring.io/projects/spring-security/
1. 依赖
首先,需要在项目的 pom.xml 文件中引入 Spring Security 的依赖
	<dependency>
		<groupId>org.springframework.boot</groupId>
		<artifactId>spring-boot-starter-security</artifactId>
	</dependency>
就这么一个简简单单的引入依赖,Spring Security 就配置完成啦!
2. 常用配置
1)配置请求的授权规则
例如:
我们想用浏览器去访问 user api 打印 Hello 的时候不经过登录认证
此时,我们就可以配置了一个简单的 Spring Security 策略,允许指定规则的请求( 如以 user 开头的所有请求)无身份验证访问,对其他所有请求要求用户进行身份验证。
@Configuration
@EnableWebSecurity
public class SecurityConfig {
    @Bean
    public SecurityFilterChain filterChain(HttpSecurity http) throws Exception {
        http.authorizeHttpRequests(authorize -> authorize
                .requestMatchers("/user/**").permitAll()
                .anyRequest().authenticated()
        ).httpBasic(withDefaults());
        return http.build();
    }
}
-
http.authorizeHttpRequests(authorize -> authorize ...)这是Lambda DSL的入口点,用于配置HTTP请求的授权规则
-
.requestMatchers("/user/**").permitAll()这里配置了一个规则,指定所有以 “/user/” 开头的请求不需要身份验证,即允许所有用户访问这些路径
-
.anyRequest().authenticated()这是另一个规则,表示对于除了上述 “/user/” 路径之外的所有请求,要求用户进行身份验证,即需要登录
-
return http.build();通过
http.build()方法构建并返回SecurityFilterChain对象 -
.httpBasic(withDefaults())配置允许使用基本身份验证
再次访问,则未经过登录画面,直接显示了 Hello
http://localhost:8080/user

那么,所有请求 Api 都放开了,并没有权限认证了呢?
我们再创建一个请求验证一下
@RestController
@RequestMapping("hello")
public class HelloController {
    @GetMapping
    public String hello() {
        return "Hello controller";
    }
}
然后访问
http://localhost:8080/hello

需要输入用户密码认证后才可以访问
2)自定义用户信息
每次服务启动自动生成的密码都是变化的,很麻烦。那么我们可以使用自己定义的用户信息登录么?
实际开发中,用户名密码都是从数据库保存,在学习阶段也可以使用内存编码设定的方式,下面我们将使用内存编码方式进行演示如何自定义用户信息。
首先,创建一个 BCryptPasswordEncoder 的 Bean,该 Bean 可以在整个应用程序中被注入并用于密码的加密和验证。在使用 Spring Security 进行用户认证和授权时,通常会配置一个 PasswordEncoder 来确保用户密码的安全存储。
    @Bean
    public PasswordEncoder passwordEncoder(){
        return new BCryptPasswordEncoder();
    }
然后,配置了一个 UserDetailsService 的 Bean,该 Bean 用于提供用户的详细信息,包括用户名、加密后的密码以及用户的权限。
    @Bean
    public UserDetailsService userDetailsService(PasswordEncoder encoder){
        List<UserDetails> users = new ArrayList<>();
        users.add(new User("test",encoder.encode("test"), List.of(new SimpleGrantedAuthority("ROLE_TEST"))));
        users.add(new User("admin",encoder.encode("admin"), List.of(new SimpleGrantedAuthority("ROLE_ADMIN"))));
        return new InMemoryUserDetailsManager(users);
    }
-
UserDetailsService用于加载用户的详细信息,可以根据实际需求自定义加载用户信息的逻辑
-
PasswordEncoder参数因为在创建
UserDetails对象时,需要将密码进行加密,而PasswordEncoder就负责处理密码的加密 -
用户信息的配置 此处创建了两个用户的详细信息
- 用户名 “test”,密码经过
encoder.encode("test")加密,拥有 “ROLE_TEST” 角色 - 用户名 “admin”,密码经过
encoder.encode("admin")加密,拥有 “ROLE_ADMIN” 角色
- 用户名 “test”,密码经过
-
InMemoryUserDetailsManager用于将用户详细信息存储在内存中,实际开发中应该使用数据库等持久化存储来存储用户信息
最后,启动服务使用我们自定义的用户去登录认证

发现控制台中,并没有再为我们生成一串用于登录的密码
然后访问
http://localhost:8080/hello
发现依然如上面那样需要认证,我们使用 test 用户进行登录

点击登录按钮之后,可以正常访问啦

3)使用角色控制权限
有时候,我们想使用不同用户角色来隔离一些请求。
例如,系统中有些特殊请求(查看他人工资),只有管理员用户可以访问,普通用户是不可以的
此处,使用了 .requestMatchers("/hello/**").hasRole("ADMIN") 来限定只有 ADMIN 角色的用户才可以访问 hello 开头的 API,其他角色则无权访问
    @Bean
    public SecurityFilterChain filterChain(HttpSecurity http) throws Exception {
        http.authorizeHttpRequests(authorize -> authorize
                .requestMatchers("/user/**").permitAll()
                .requestMatchers("/hello/**").hasRole("ADMIN")
                .anyRequest().authenticated()
        ).httpBasic(withDefaults());
        return http.build();
    }
特殊说明,此处的 ADMIN 是与 new User("admin",encoder.encode("admin"), List.of(new SimpleGrantedAuthority("ROLE_ADMIN") 中的 ROLE_ADMIN 相对应的,只不过是前缀 ROLE_ 不要了
访问验证
http://localhost:8080/hello
首先,使用 test 用户登录

点击登录按钮

发现出现错误 403,说明没有权限
然后,再使用 admin 用户登录

点击登录按钮

成功访问了,我们根基不用用户角色来控制权限的目的就达到了
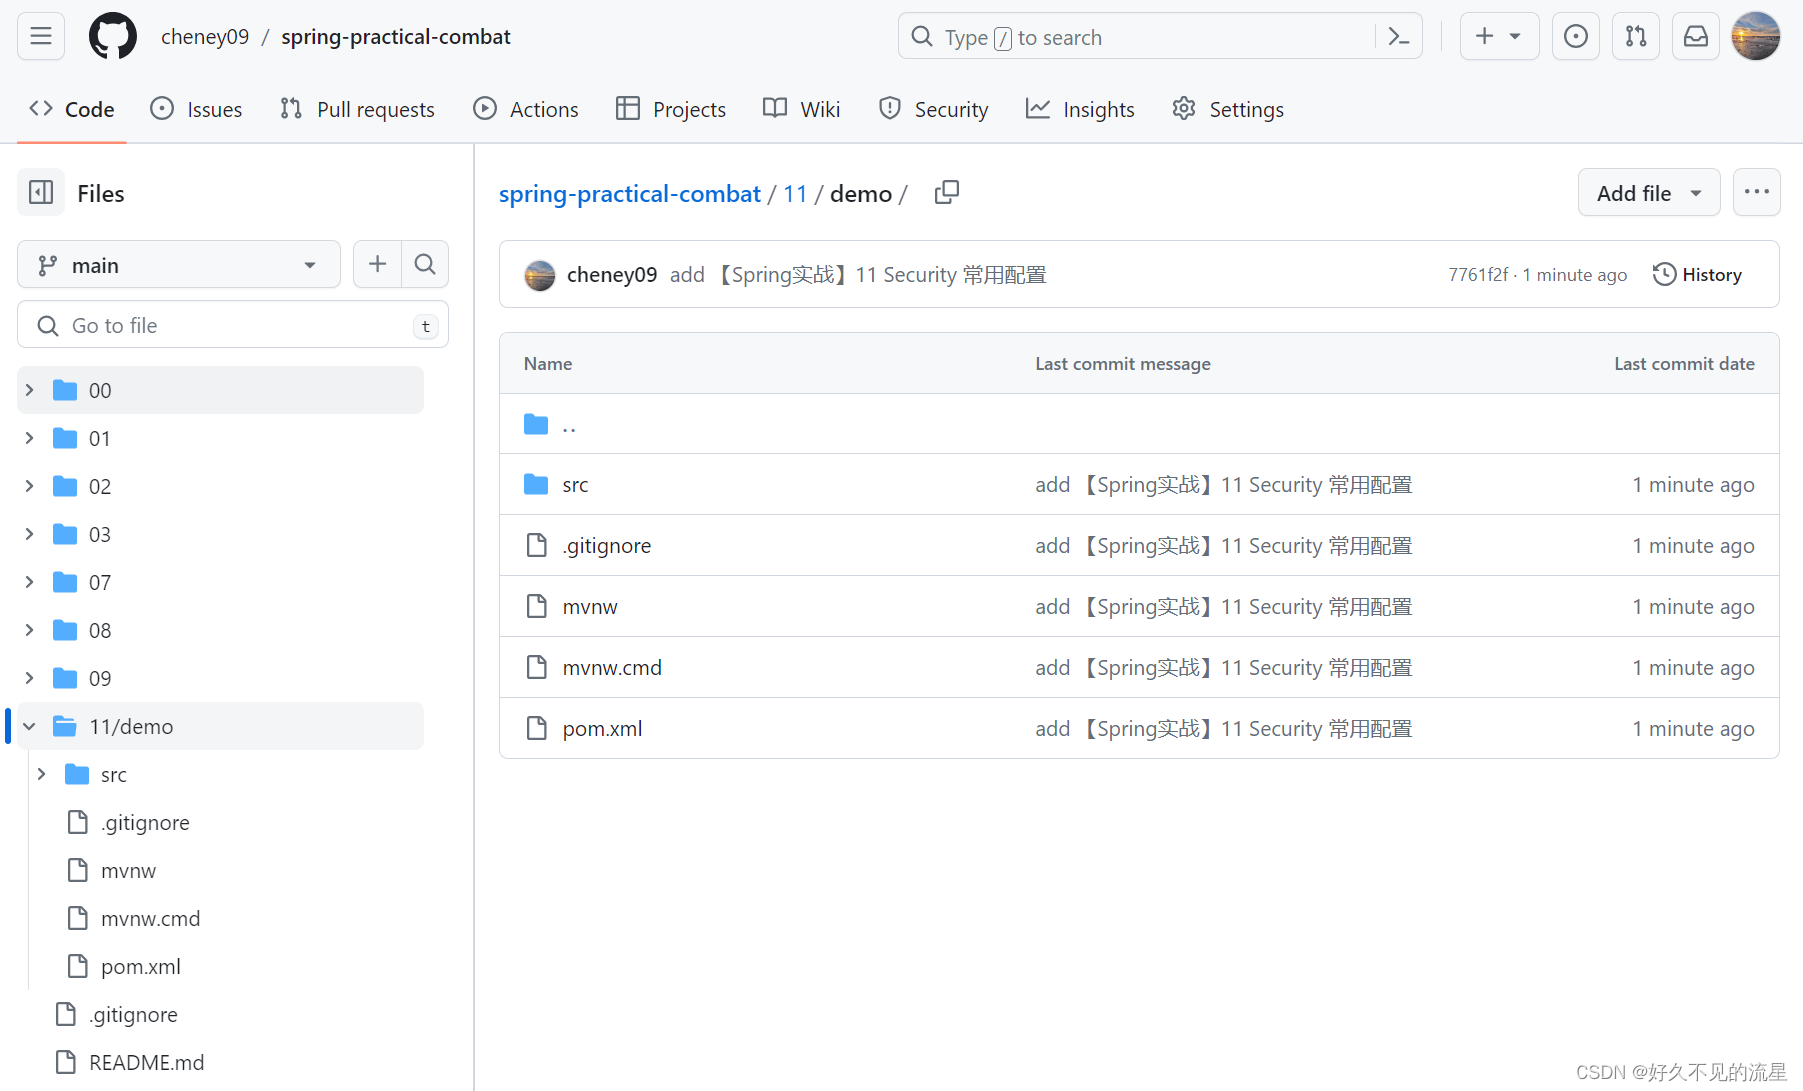
3. 代码详细
https://github.com/cheney09/spring-practical-combat/tree/main/11/demo
总结
Spring Security 是一个用于在应用程序中提供身份验证和授权功能的强大框架。本文只是简单的介绍了入门的使用,配置请求的授权规则,使用自定义用户信息去登录以及角色权限控制,这只是冰山的一角,更多的使用功能需要自行去了解,或者后续有机会我在系统的介绍 Spring Security 都有哪些更强大的功能。


 250
250


 被折叠的 条评论
为什么被折叠?
被折叠的 条评论
为什么被折叠?
 到【灌水乐园】发言


