


前言
该操作针对hexo butterfly主题,其他主题可能有所不同
正文
1、安装 hexo-tag-aplayer 插件
npm install --save hexo-tag-aplayer
2、修改根目录下的_config.yml文件配置
aplayer:
  asset_inject: false
  meting: true
3、修改主题配置文件_config.butterfly.yml
# Inject the css and script (aplayer/meting)
aplayerInject:
  enable: true # 开启音乐播放器
  per_page: true #每个页面都有Aplayer
4、添加音乐播放器,有2种方式
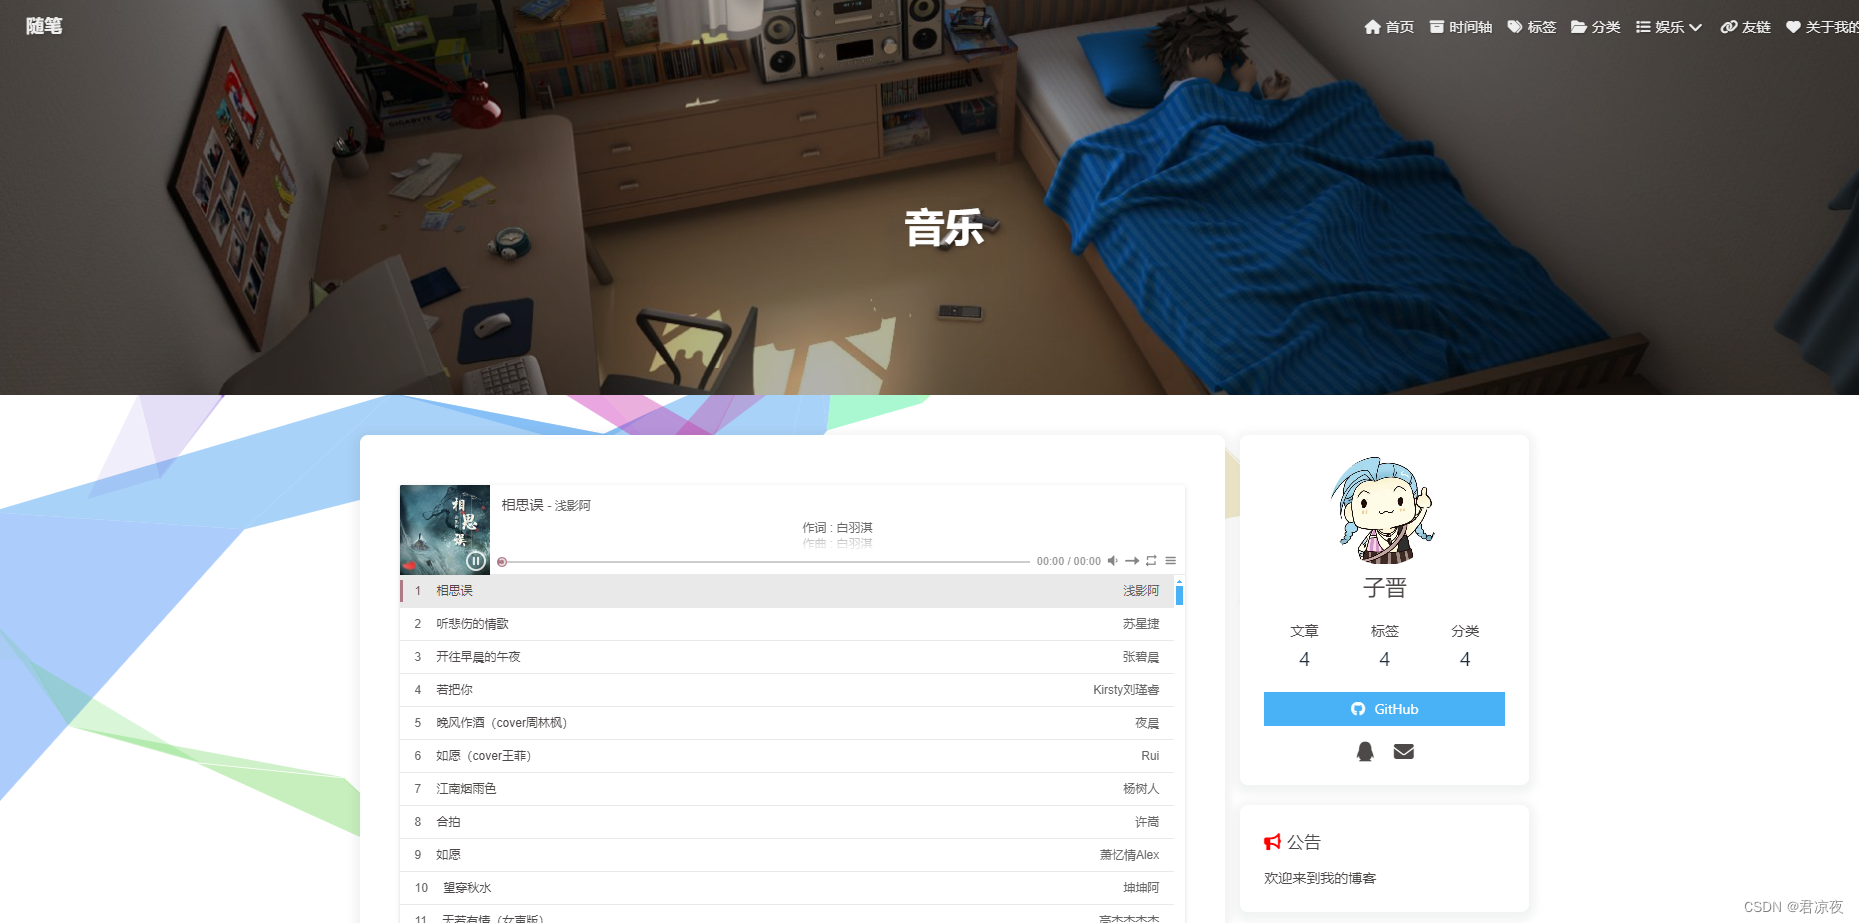
①在博客的音乐页面(\source\music\index.md文件)添加(只能在这个页面用,离开了页面自动停止)
---
title: 音乐
date: 2020-11-03 09:58:08
type: "music"
aplayer: true
---
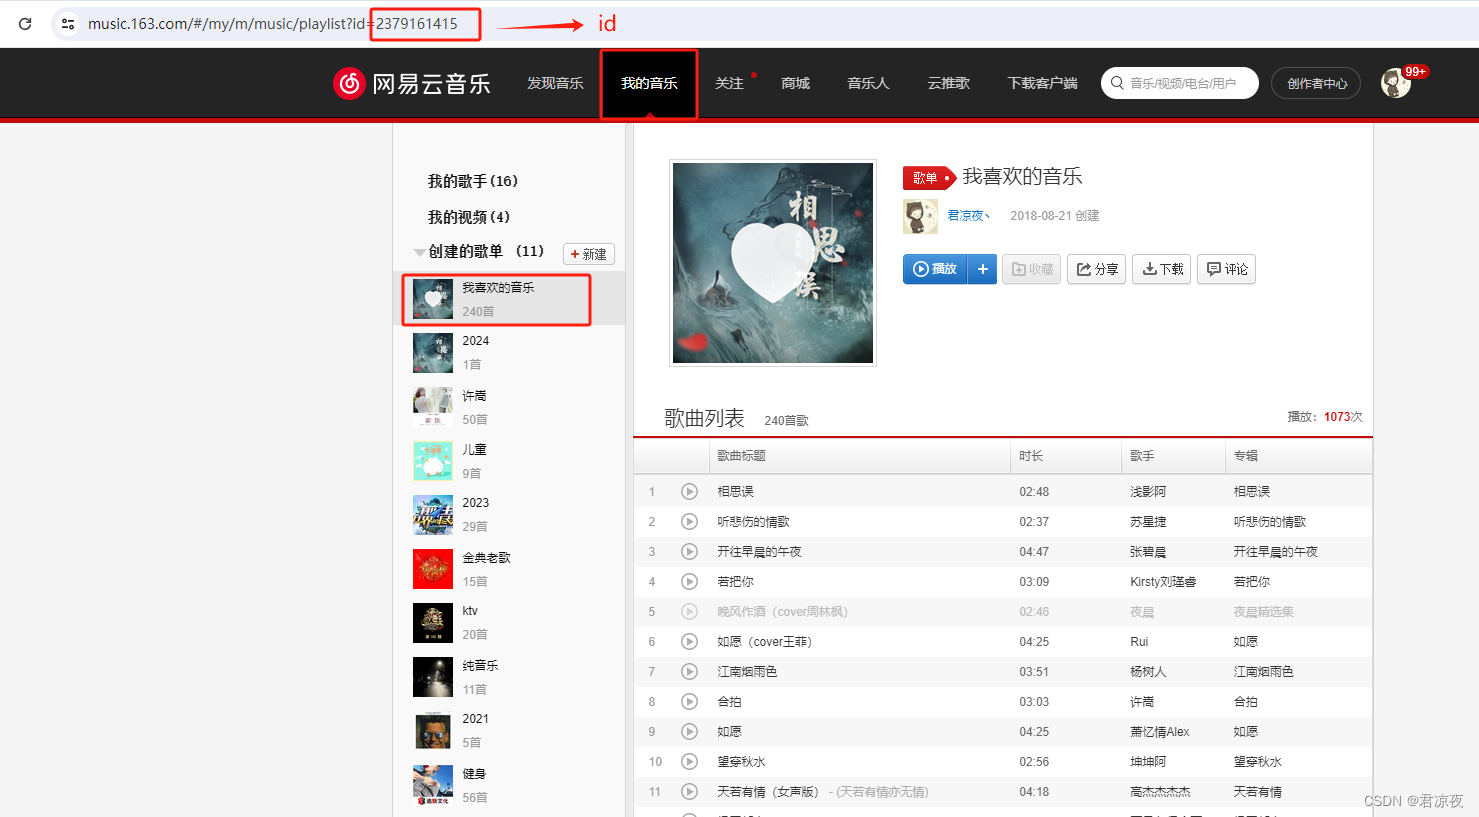
{% meting "2379161415" "netease" "playlist" "autoplay" "mutex:false" "listmaxheight:400px" "preload:none" "theme:#ad7a86"%}

server可选:netease(网易云音乐),tencent(QQ音乐),kugou(酷狗音乐),xiami(虾米音乐),baidu(百度音乐)。建议网易云
type可选:song(歌曲),playlist(歌单),album(专辑),search(搜索关键字),artist(歌手)。添加单曲选的歌曲,歌单选择playlist,可以自行尝试。
id获取示例: 打开网易云音乐,选择喜欢的歌单,在网页版打开,获取歌单list,填入即可。使用的时候将上边的ID号换为自己喜欢的歌单即可。注意歌单中不能包括VIP音乐,否则无法解析。建议单独建立一个歌单,以后有喜欢的音乐添加进去,网页也会自动同步添加。
lrcType设置为 -1默认显示歌词,放在fixed模式下比较合适。
Aplayer完整配置可选参数表
| Name | Default | Description |
|---|---|---|
| container | document.querySelector('.aplayer') | player container |
| fixed | false | enable fixed mode, see more details |
| mini | false | enable mini mode, see more details |
| autoplay | false | audio autoplay |
| theme | '#b7daff' | main color |
| loop | 'all' | player loop play, values: 'all', 'one', 'none' |
| order | 'list' | player play order, values: 'list', 'random' |
| preload | 'auto' | values: 'none', 'metadata', 'auto' |
| volume | 0.7 | default volume, notice that player will remember user setting, default volume will not work after user set volume themselves |
| audio | - | audio info, should be an object or object array |
| audio.name | - | audio name |
| audio.artist | - | audio artist |
| audio.url | - | audio url |
| audio.cover | - | audio cover |
| audio.lrc | - | see more details |
| audio.theme | - | main color when switching to this audio, it has priority over the above theme |
| audio.type | 'auto' | values: 'auto', 'hls', 'normal' or other custom type, see more details |
| customAudioType | - | see more details |
| mutex | true | prevent to play multiple player at the same time, pause other players when this player start play |
| lrcType | 0 | see more details |
| listFolded | false | indicate whether list should folded at first |
| listMaxHeight | - | list max height |
| storageName | 'aplayer-setting' | localStorage key that store player setting |
重新发布,即可看到音乐播放器效果

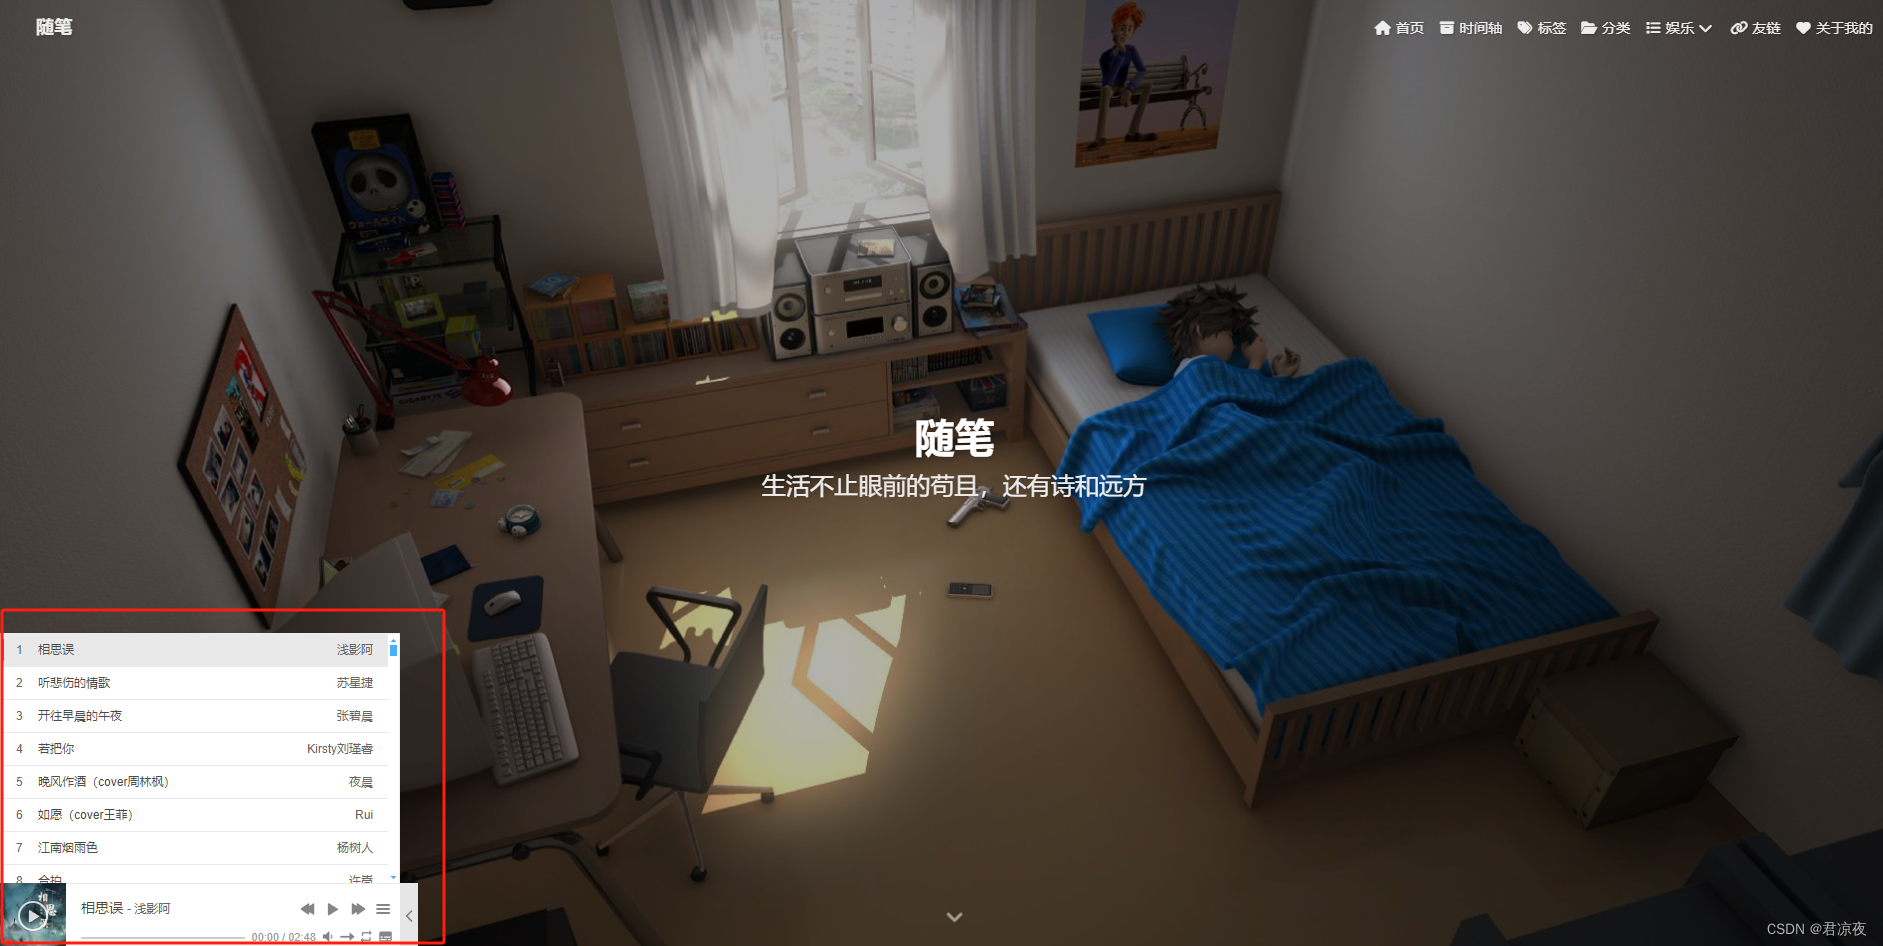
②全局吸底Aplayer模式,切换博客也不会停止
打开主题配置文件_config.butterfly.yml,播放器参数跟第一种方式一样,自行修改即可
# Inject
# Insert the code to head (before '</head>' tag) and the bottom (before '</body>' tag)
# 插入代码到头部 </head> 之前 和 底部 </body> 之前
inject:
  head:
    - '<style type="text/css">#toggle-sidebar {bottom: 80px}</style>'
  bottom:
    - <div class="aplayer no-destroy" data-id="2379161415" data-server="netease" data-type="playlist" data-fixed="true" data-autoplay="true" data-lrcType="-1"> </div>
最后,如果你想切换页面时,音乐不会中断。请把主题配置文件的 pjax 设为 true即可
# Pjax [Beta]
# It may contain bugs and unstable, give feedback when you find the bugs.
# https://github.com/MoOx/pjax
pjax:
  enable: true
  exclude:
最后
至此,添加播放器成功,尽情享受吧


 1332
1332

 被折叠的 条评论
为什么被折叠?
被折叠的 条评论
为什么被折叠?
 到【灌水乐园】发言


