Nodejs+vue+mysql企业咨询服务企业网站的设计express

设计开发的咨询服务公司网站。通过调研和分析,系统拥有管理员和用户两个角色,主要具备注册登录、个人信息修改、用户信息、成功案例、产品资讯、业务承揽、业务咨询、培训信息、培训报名、人才招聘等功能模块。将纸质管理有效实现为在线管理,极大提高工作效率。技术栈nodejs+vue+express,
语言 node.js
框架:Express/koa
前端:Vue.js+elementui
数据库:mysql 
数据库工具:Navicat
开发软件:VScode 系统的目标是为管理员和用户搭建一个网上沟通平台,保证双方的安全,并使双方的利益最大化。
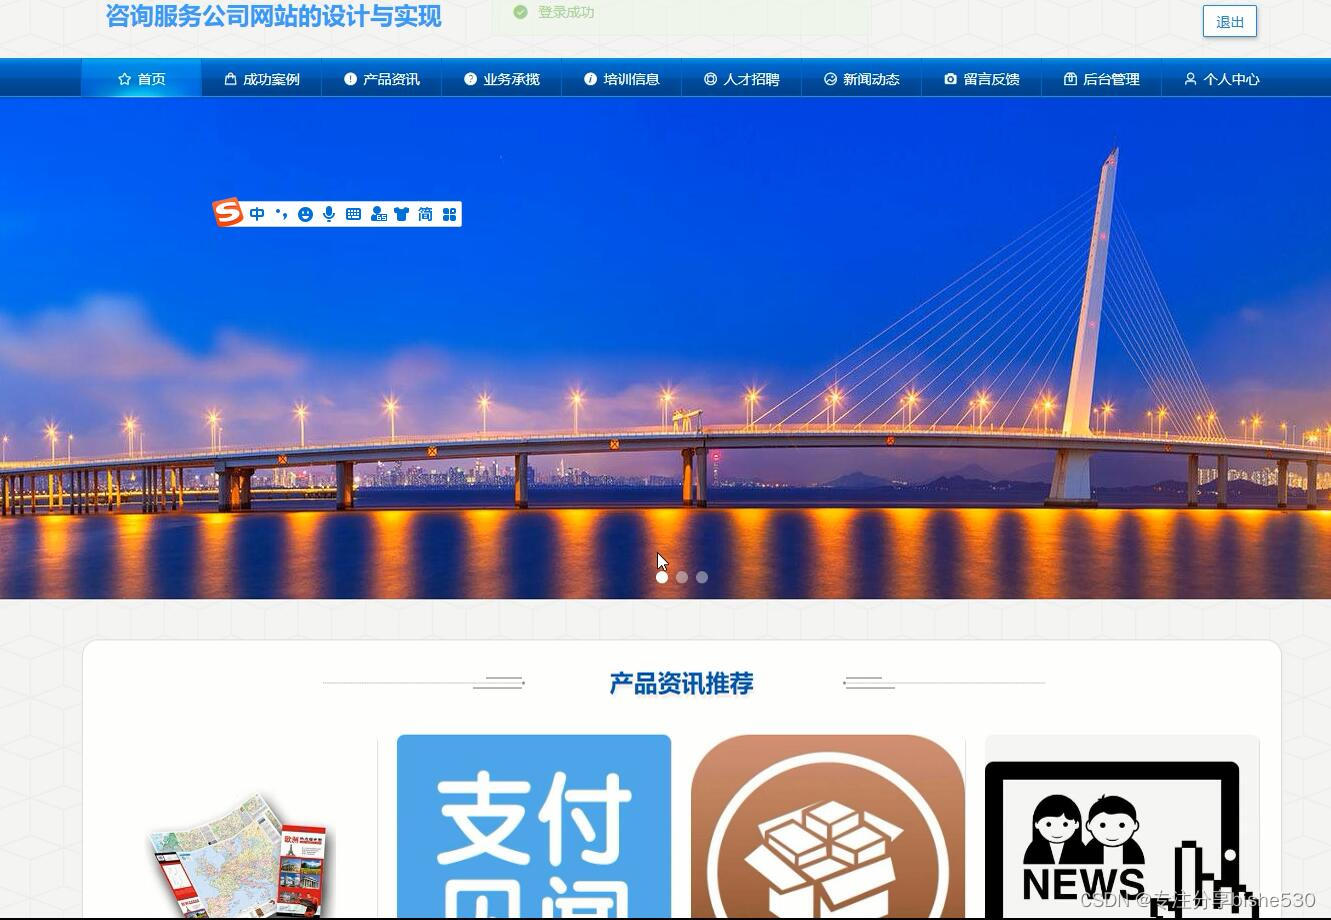
3.3.1管理员需求分析
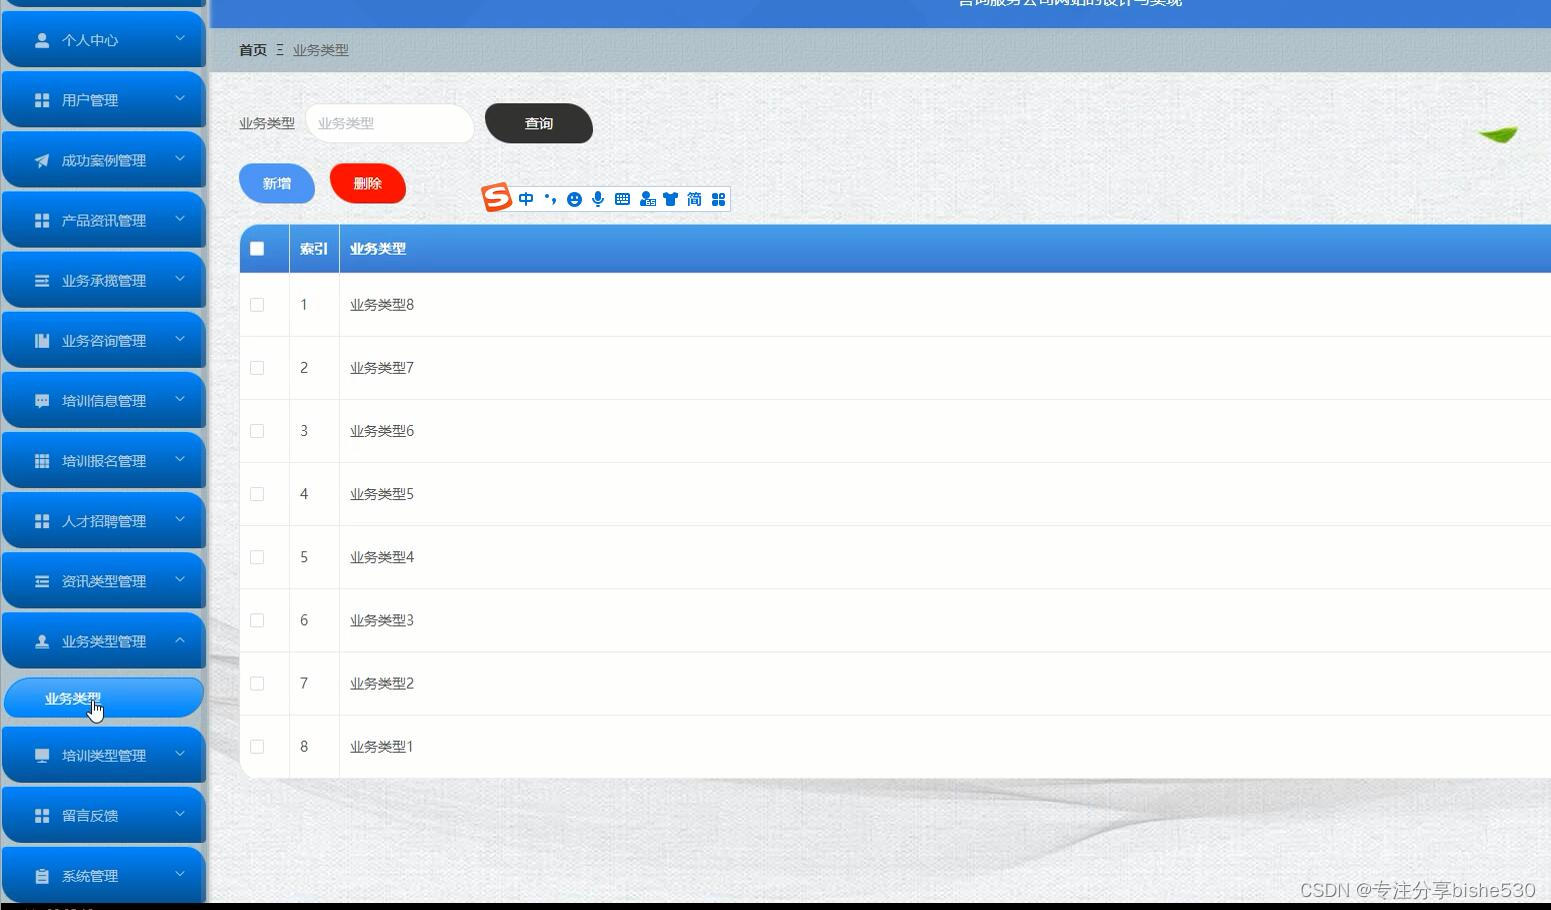
管理员的功能主要是开放给系统的管理人员使用,能够对成功案例进行管理,包括对用户管理、成功案例管理、产品资讯管理、业务承揽管理、业务咨询管理、培训信息管理、培训报名管理、人才招聘管理、资讯类型管理、业务类型管理、培训类型管理、留言反馈、系统管理进行查看,修改和删除、新增等,对系统整体运行情况进行了解。
管理员用例分析图,如图3-1所示。

Express是基于Node.js平台,快速、开放、极简的web开发框架。
通俗理解:Express的作用和Node.js内置的http模块类似,是专门用来创建web服务器的
Express的本质:就是一个npm上的第三方包,提供了快速创建Web服务器的便捷方法
Express是一个简洁、灵活的node.js Web应用开发框架, 它提供一系列强大的功能,比如:模板解析、静态文件服务、中间件、路由控制等等,并且还可以使用插件或整合其他模块来帮助你创建各种 Web前端学习和移动设备应用,是目前最流行的基于Node.js的Web开发框架,并且支持Ejs、jade等多种模板,可以快速地搭建一个具有完整功能的网站

3.3.2用户需求分析
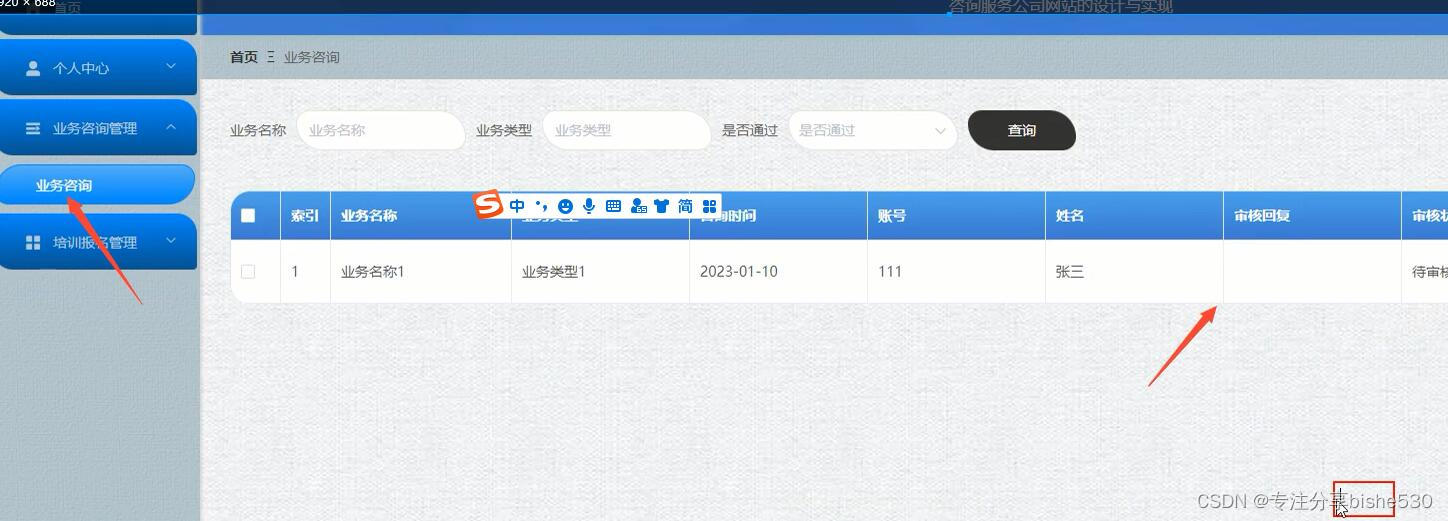
用户的功能主要是对个人账号和密码进行更新管理,对首页、个人中心、业务咨询管理、培训报名管理进行查询详情操作。
用户用例分析图,如图3-2所示。


目  录
目  录    I
第一章 概述    1
1.1研究背景    1
1.2研究目的及意义    2
1.3国内外发展现状    2
1.4 研究内容    3
1.5本文的结构    4
第二章 关键的技术介绍    4
 
2.3 MySQL简介    6
2.4 B/S架构    7
第三章 系统分析    9
3.1系统需求分析    10
3.2系统可行性分析    11
3.2.1技术可行性    12
3.2.2 经济可行性    13
3.2.3社会可行性    14
3.3功能需求分析    15
3.3.1管理员需求分析    14
3.3.2用户需求分析    14
3.4流程图设计    15
3.4.1 登录流程图    16
3.4.2 添加新用户流程图    17
第四章 系统概要设计    18
4.1系统设计原理    19
4.2功能模块设计    20
4.3 数据库设计    21
4.3.1数据库设计原则    22
4.3.2数据库E-R图设计    23
4.3.3数据库表结构设计    24
第五章 系统功能实现    25
5.1前台功能的实现    26
5.2管理员功能的实现    27
5.3用户功能的实现    27
第六章 系统测试    30
6.1系统测试的目的    31
6.2软件测试过程    32
6.3系统测试用例    33
结    论    34
致  谢    35
参考文献    36

  • 5
    点赞
  • 12
    收藏
    觉得还不错? 一键收藏
  • 打赏
    打赏
  • 0
    评论
实现一个使用Node.js+Vue+MySQL的客服系统,需要以下几个步骤: 1. 创建一个MySQL数据库,用于存储客户信息和聊天记录; 2. 创建一个Node.js后端,提供API接口,用于客户端和管理端进行数据交互; 3. 创建一个Vue前端,实现在线聊天和管理客户的操作。 下面是一个简单的示例,使用Node.js+Vue+MySQL实现客服系统的具体过程和代码: 1. 创建MySQL数据库 同样的,我们需要创建一个MySQL数据库,用于存储客户信息和聊天记录。可以使用上面的SQL语句来创建。 2. 使用Node.js连接MySQL数据库 安装mysql模块,使用以下代码连接MySQL数据库: ``` const mysql = require('mysql'); const connection = mysql.createConnection({ host: 'localhost', user: 'root', password: '', database: 'customer_service' }); connection.connect(); ``` 3. 创建API接口 在Node.js后端中创建API接口,用于客户端和管理端进行数据交互。可以使用Express框架来创建API接口。 ``` const express = require('express'); const app = express(); // 获取所有客户信息 app.get('/customers', (req, res) => { connection.query('SELECT * FROM customers', (error, results, fields) => { if (error) throw error; res.json(results); }); }); // 根据客户ID获取聊天记录 app.get('/messages/:customerId', (req, res) => { const customerId = req.params.customerId; connection.query('SELECT * FROM messages WHERE customer_id = ?', [customerId], (error, results, fields) => { if (error) throw error; res.json(results); }); }); // 发送聊天消息 app.post('/messages', (req, res) => { const { customerId, sender, message } = req.body; connection.query('INSERT INTO messages (customer_id, sender, message) VALUES (?, ?, ?)', [customerId, sender, message], (error, results, fields) => { if (error) throw error; res.json({ success: true }); }); }); app.listen(3000, () => { console.log('Server is running on port 3000'); }); ``` 4. 创建Vue前端 使用Vue框架创建前端界面,实现在线聊天和管理客户的操作。可以使用Vue CLI工具来创建Vue项目。 ``` vue create customer-service ``` 创建成功后,在src目录下创建一个components目录,用于存放Vue组件。 5. 实现客户列表组件 在components目录下创建一个Customers.vue组件,用于显示客户列表。 ``` <template> <div> <table> <thead> <tr> <th>Name</th> <th>Email</th> <th>Phone</th> </tr> </thead> <tbody> <tr v-for="customer in customers" :key="customer.id"> <td>{{ customer.name }}</td> <td>{{ customer.email }}</td> <td>{{ customer.phone }}</td> </tr> </tbody> </table> </div> </template> <script> export default { data() { return { customers: [] }; }, mounted() { fetch('/customers') .then(response => response.json()) .then(customers => { this.customers = customers; }); } }; </script> ``` 6. 实现聊天记录组件 在components目录下创建一个Messages.vue组件,用于显示聊天记录。 ``` <template> <div> <h3>{{ customer.name }}'s Messages</h3> <ul> <li v-for="message in messages" :key="message.id"> <strong>{{ message.sender }}</strong>: {{ message.message }} </li> </ul> <form @submit.prevent="sendMessage"> <input type="text" v-model="message" placeholder="Type your message here"> <button type="submit">Send</button> </form> </div> </template> <script> export default { props: ['customer'], data() { return { messages: [], message: '' }; }, mounted() { fetch(`/messages/${this.customer.id}`) .then(response => response.json()) .then(messages => { this.messages = messages; }); }, methods: { sendMessage() { fetch('/messages', { method: 'POST', body: JSON.stringify({ customerId: this.customer.id, sender: 'customer', message: this.message }), headers: { 'Content-Type': 'application/json' } }) .then(response => response.json()) .then(result => { if (result.success) { this.messages.push({ sender: 'customer', message: this.message }); this.message = ''; } }); } } }; </script> ``` 7. 实现客户详情组件 在components目录下创建一个Customer.vue组件,用于显示客户详情。 ``` <template> <div> <h3>{{ customer.name }}</h3> <p>Email: {{ customer.email }}</p> <p>Phone: {{ customer.phone }}</p> <messages :customer="customer"></messages> </div> </template> <script> import Messages from './Messages.vue'; export default { components: { Messages }, props: ['customer'] }; </script> ``` 8. 实现路由配置 在src目录下创建一个router.js文件,用于配置路由。 ``` import Vue from 'vue'; import VueRouter from 'vue-router'; import Customers from './components/Customers.vue'; import Customer from './components/Customer.vue'; Vue.use(VueRouter); const routes = [ { path: '/', component: Customers }, { path: '/customers/:id', component: Customer } ]; const router = new VueRouter({ mode: 'history', routes }); export default router; ``` 9. 启动客户系统 在根目录下创建一个server.js文件,用于启动Node.js后端。 ``` const express = require('express'); const app = express(); const cors = require('cors'); const mysql = require('mysql'); const router = require('./router'); const connection = mysql.createConnection({ host: 'localhost', user: 'root', password: '', database: 'customer_service' }); connection.connect(); app.use(cors()); app.use(express.json()); app.use(router); app.listen(3000, () => { console.log('Server is running on port 3000'); }); ``` 在根目录下创建一个vue.config.js文件,用于配置Vue前端的代理服务器。 ``` module.exports = { devServer: { proxy: { '/': { target: 'http://localhost:3000', ws: true, changeOrigin: true } } } }; ``` 最后,在命令行中分别启动Node.js后端和Vue前端: ``` node server.js npm run serve ``` 以上代码仅仅是一个简单的示例,实际的客服系统需要更多的功能和细节处理,例如用户认证、消息推送等等。
评论
添加红包

请填写红包祝福语或标题

红包个数最小为10个

红包金额最低5元

当前余额3.43前往充值 >
需支付:10.00
成就一亿技术人!
领取后你会自动成为博主和红包主的粉丝 规则
hope_wisdom
发出的红包

打赏作者

专注分享bishe530

你的鼓励将是我创作的最大动力

¥1 ¥2 ¥4 ¥6 ¥10 ¥20
扫码支付:¥1
获取中
扫码支付

您的余额不足,请更换扫码支付或充值

打赏作者

实付
使用余额支付
点击重新获取
扫码支付
钱包余额 0

抵扣说明:

1.余额是钱包充值的虚拟货币,按照1:1的比例进行支付金额的抵扣。
2.余额无法直接购买下载,可以购买VIP、付费专栏及课程。

余额充值