


mysql 官网:https://www.mysql.com/
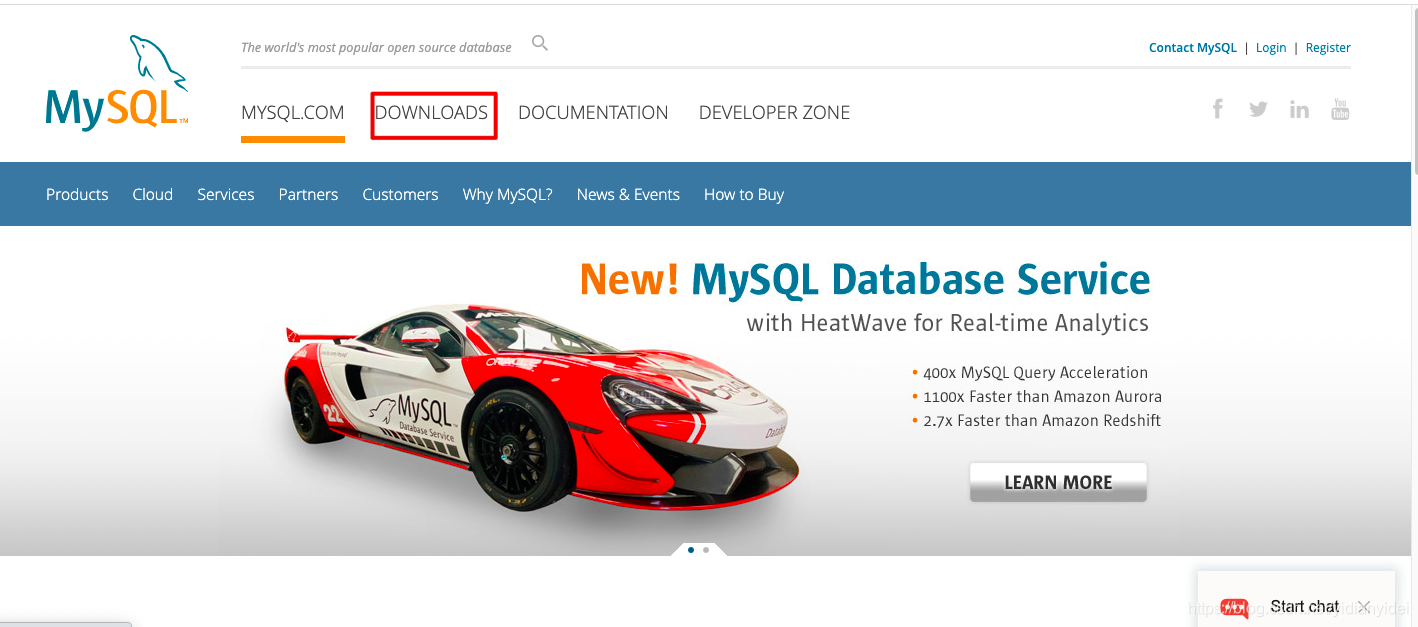
一 前期准备工作
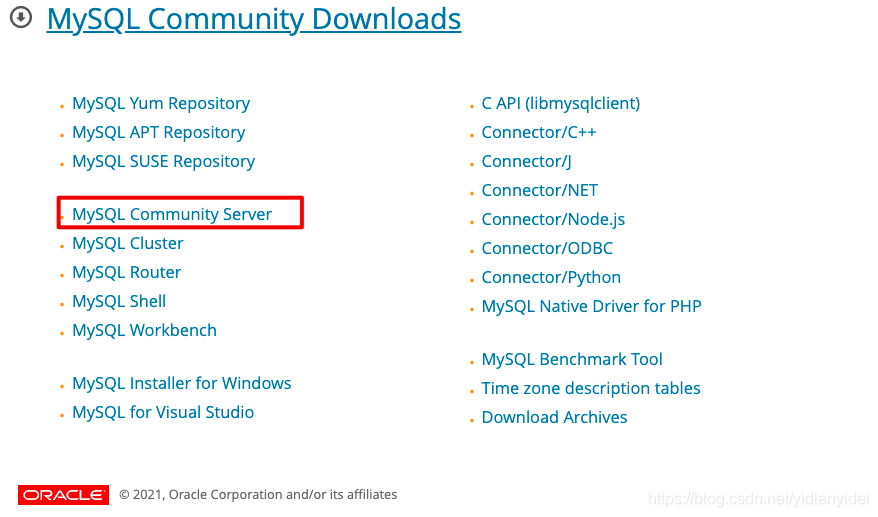
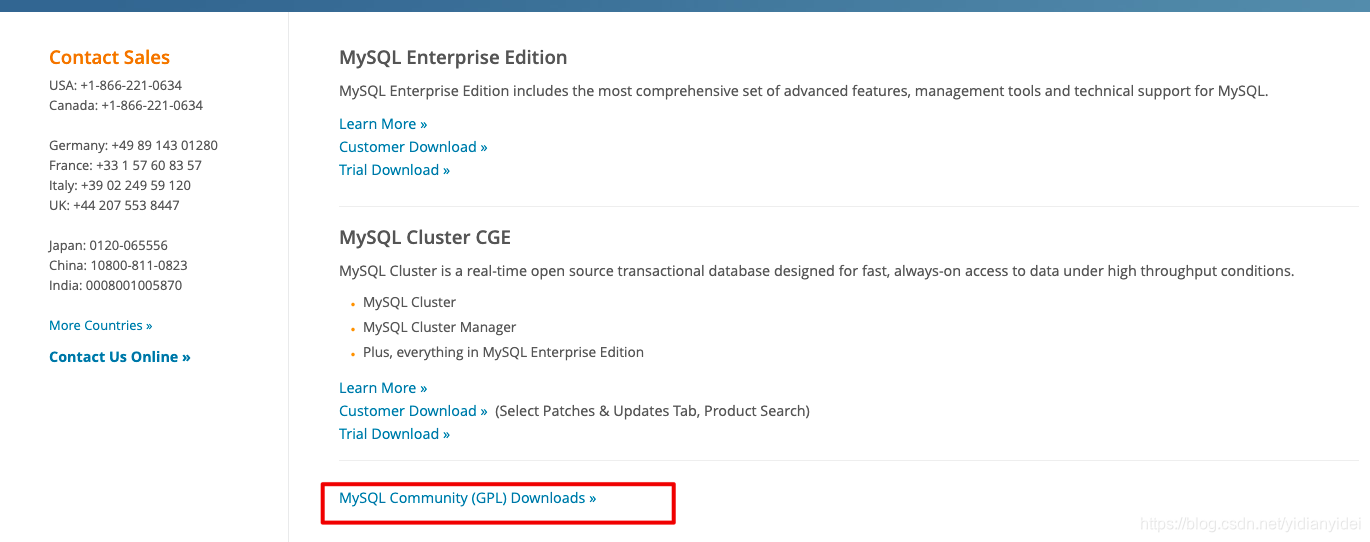
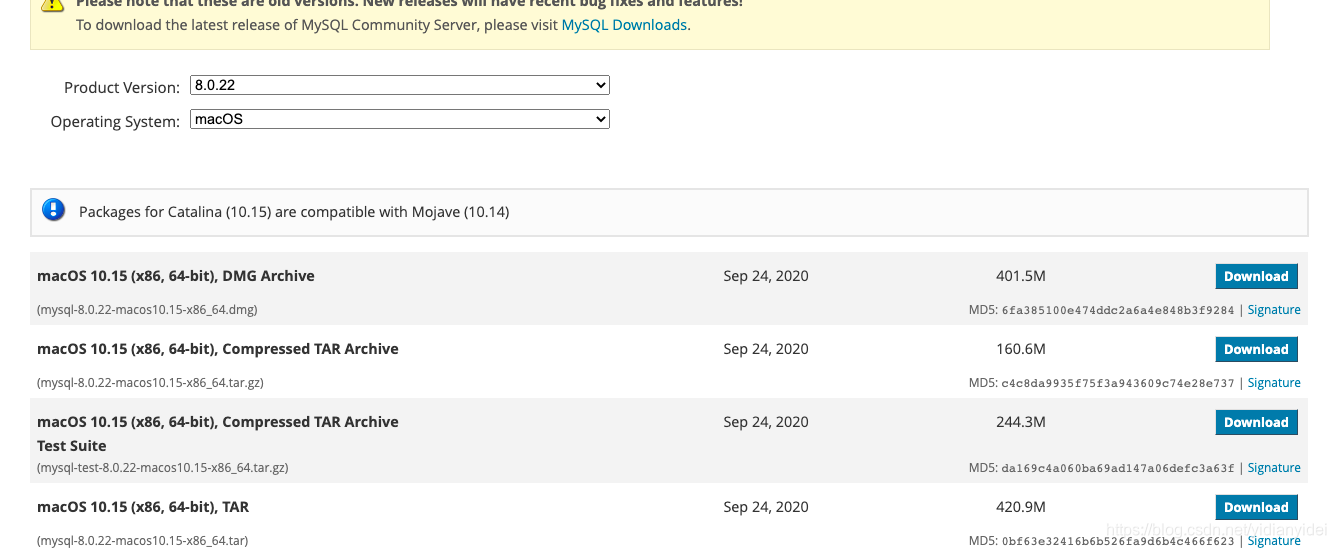
1 版本选择
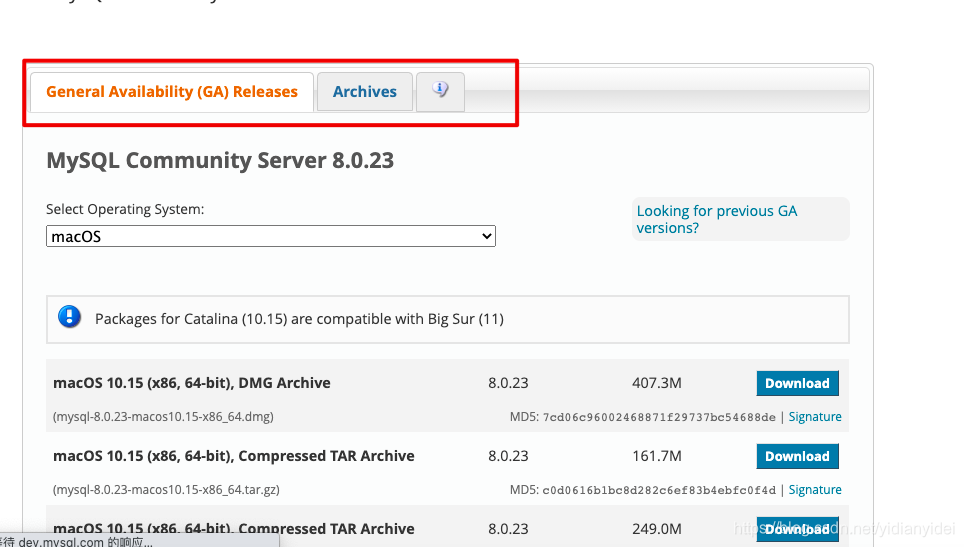
– 根据公司需求或者业务需要选择合适版本,这里说明一下通常选择版本 选择GA (表示稳定运行版本)
Archives 是可以选择自己想要版本号
2 下载 解压
1 使用以下命令查看当前安装mysql情况,查找以前是否装有mysql
rpm -qa|grep -i mysql
如果有内容显示说明之前有安装了
rpm -e –nodeps 包名
2 查找之前老版本mysql的目录、并且删除老版本mysql的文件和库
find / -name mysql
--如果有内容请清理一下老版本mysql 文件和库 配置文件
3 清除服务器可能自带mariadb
yum remove mariadb*
yum remove mariadb-serverxxx
yum remove mariadb-libs
4 解压
cd /
mkdir test
cd test
"mysql-8.0.16-linux-glibc2.12-i686.tar.xz (从官网下载mysql)"
tar -xvf mysql-8.0.16-linux-glibc2.12-i686.tar.xz
解压后名字太长 给改个名字
[root@VM-4-10-centos test]# mv  mysql-8.0.16-linux-glibc2.12-i686 mysql
cd /test/mysql/bin/
pwd  获取绝对路径 配置变量  ===/test/mysql/bin
vim /etc/profile
‘’
export PATH=test/mysql/bin:$PATH
‘’
source /etc/profile
二 配置 mysql
1 建立mysql用户和组&修改权限(如果已有可忽略)
useradd mysql
mkdir /data/mysql -p   创建mysql 数据存放目录
 chown -R mysql.mysql /test/*
 chown -R mysql.mysql /data/*
2 初始化数据(建库)
mysqld --initialize --user=mysql --basedir=/test/mysql --datadir=/data/mysql
* 会报错
mysqld: error while loading shared libraries: libaio.so.1: cannot open shared object file: No such file or directory
– 这里网上很多教程说
rpm -qa|grep libaio
看是否存在libaio 连接
yum install -y libaio-devel
如果还报错 再按照上面 安装ncurses 就成功了…
…可我依旧无法初始化成功
这时候就要关注您下载mysql 是什么版本
mysql -V
mysql Ver 8.0.16 for linux-glibc2.12 on i686 (MySQL Community Server - GPL)
上网了解一下 i686 是32位
所以对应libaio ,ncurses 也必须是32位配置 (因为我系统是64 位 所以我下载 默认是按64位更新安装)
yum install libaio.i686
yum install numactl.i686
– 重新初始化
[root@VM-4-10-centos test]# mysqld --initialize --user=mysql --basedir=/test/mysql --datadir=/data/mysql

方法二
方法二 :
初始化数据,初始化管理员的密码为空

\rm -rf  /data/mysql/*
[root@db01 ~]# mysqld --initialize-insecure  --user=mysql --basedir=/app/mysql --datadir=/data/mysql

2019-04-18T03:37:43.146018Z 0 [Warning] TIMESTAMP with implicit DEFAULT value is deprecated. Please use --explicit_defaults_for_timestamp server option (see documentation for more details).
2019-04-18T03:37:43.892132Z 0 [Warning] InnoDB: New log files created, LSN=45790
2019-04-18T03:37:43.970412Z 0 [Warning] InnoDB: Creating foreign key constraint system tables.
2019-04-18T03:37:44.029490Z 0 [Warning] No existing UUID has been found, so we assume that this is the first time that this server has been started. Generating a new UUID: 5378f3b3-618b-11e9-9164-000c294234c8.
2019-04-18T03:37:44.041469Z 0 [Warning] Gtid table is not ready to be used. Table 'mysql.gtid_executed' cannot be opened.
2019-04-18T03:37:44.042348Z 1 [Warning] root@localhost is created with an empty password ! Please consider switching off the --initialize-insecure option.
3书写默认配置文件
vim /etc/my.cnf
[mysqld]
user=mysql
basedir=/test/mysql  数据库安装目录
datadir=/data/mysql  数据库数据存放目录
server_id=6
port=3306
socket=/tmp/mysql.sock
[mysql]
socket=/tmp/mysql.sock
prompt=3306 [\\d]>
4 启动数据库
方法1
cd /test/mysql/support-files/
./mysql.server start
表示启动成功

netstat -lpn|grep 3306 也可以根据命令查看
方法2
[root@VM-4-10-centos support-files]# cp mysql.server /etc/init.d/mysqld
service mysqld restart

方法3 使用systemd管理mysql
[Centos6 不支持]
sudo vim /etc/systemd/system/mysqld.service
[Unit]
Description=MySQL Server
Documentation=man:mysqld(8)
Documentation=http://dev.mysql.com/doc/refman/en/using-systemd.html
After=network.target
After=syslog.target
[Install]
WantedBy=multi-user.target
[Service]
User=mysql
Group=mysql
ExecStart=/test/mysql/bin/mysqld --defaults-file=/etc/my.cnf
LimitNOFILE = 5000
注意:将原来模式启动mysqld先关闭,然后再用systemd管理。
systemctl start/stop/restart/status mysqld
三 操作mysql
3306[(none)]>desc mysql.user;
ERROR 1820 (HY000): You must reset your password using ALTER USER statement before executing this statement.
需要先给root 设置密码
3306[(none)]>alter user ‘root’@‘localhost’ identified by ‘123456’;
看你的baimysql现在已提du供什么存储引擎:
mysql> show engines;
看你的mysql当前默认的存储引擎:
mysql> show variables like ‘%storage_engine%’;
你要看某个表用了什么引擎(在显示结果里参数engine后面的就表示该表当前用的存储引擎):


 2万+
2万+


 被折叠的 条评论
为什么被折叠?
被折叠的 条评论
为什么被折叠?
 到【灌水乐园】发言


