


face.evoLVe和facenet相比经过测试前者要好,网上能找到的很多开源的资料都是关于facenet的,所以写一篇关于face.evoLVe的使用。想看源码的可以直接到github上看。
1. 代码下载
过程省略
把模型下载下来

2. 修改测试代码
代码和模型都准备好了需要修改一下代码进行人脸的特征提取
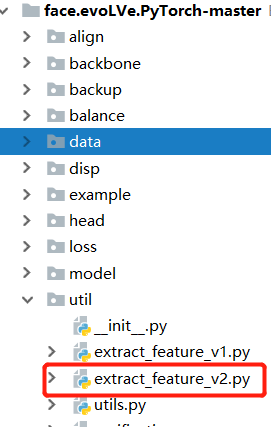
打开文件extract_feature_v2.py
修改成一下代码,添加一个main 函数进行测试
图片为人脸检测后得到的图片,人脸检测可以使用mtcnn,如果不是人脸图片情况请看3
if __name__=="__main__":
    backbone = Backbone([112, 112], 50)
    #模型路径
    model_root = "face.evoLVe.PyTorch-master/model/ms1m/backbone_ir50_ms1m_epoch120.pth"
    #图片路径
    image = "f0aee866-170b-11ea-ab95-001cbff69c70.jpg"
    image2 = "01f3ff5e-170c-11ea-975c-001cbff69c70.jpg"
    #提取特征
    emb = extract_feature(img1,backbone,model_root)
    emb2 = extract_feature(img2,backbone,model_root)
    #计算相似度
    diff = np.subtract(emb, emb2)
    dist = np.sum(np.square(diff).numpy(), 1)
    #输出结果
    print("dist", dist)
3. 人脸检测和人脸矫正

修改后的代码
def detect_face_align(image_path):
  """
  传入路径
  返回人脸
  """
   crop_size = 112
   scale = crop_size / 112.
   reference = get_reference_facial_points(default_square=True) * scale

   img = Image.open(os.path.join(image_path))
   landmarks = []
   try:
       _, landmarks = detect_faces(img)
   except Exception as e:
       print(e)
   if len(landmarks) == 0:  # If the landmarks cannot be detected, the img will be discarded
       return None
   facial5points = [[landmarks[0][j], landmarks[0][j + 5]] for j in range(5)]
   warped_face = warp_and_crop_face(np.array(img), facial5points, reference, crop_size=(crop_size, crop_size))
   img_warped = Image.fromarray(warped_face)
   # img_warped.save("test.jpg")
   # img_warped.show()
   return img_warped


 3312
3312


 被折叠的 条评论
为什么被折叠?
被折叠的 条评论
为什么被折叠?
 到【灌水乐园】发言


