


也是在网上所搜了一些创建Windows Service的文章,再结合自己的实际应用,把过程写再记录一下。
第一步,创建Windows Service项目
打开Microsoft Visula Studio,新建-->项目-->Windows Service,给Windows Service项目起好名称、选好路径,最后确定
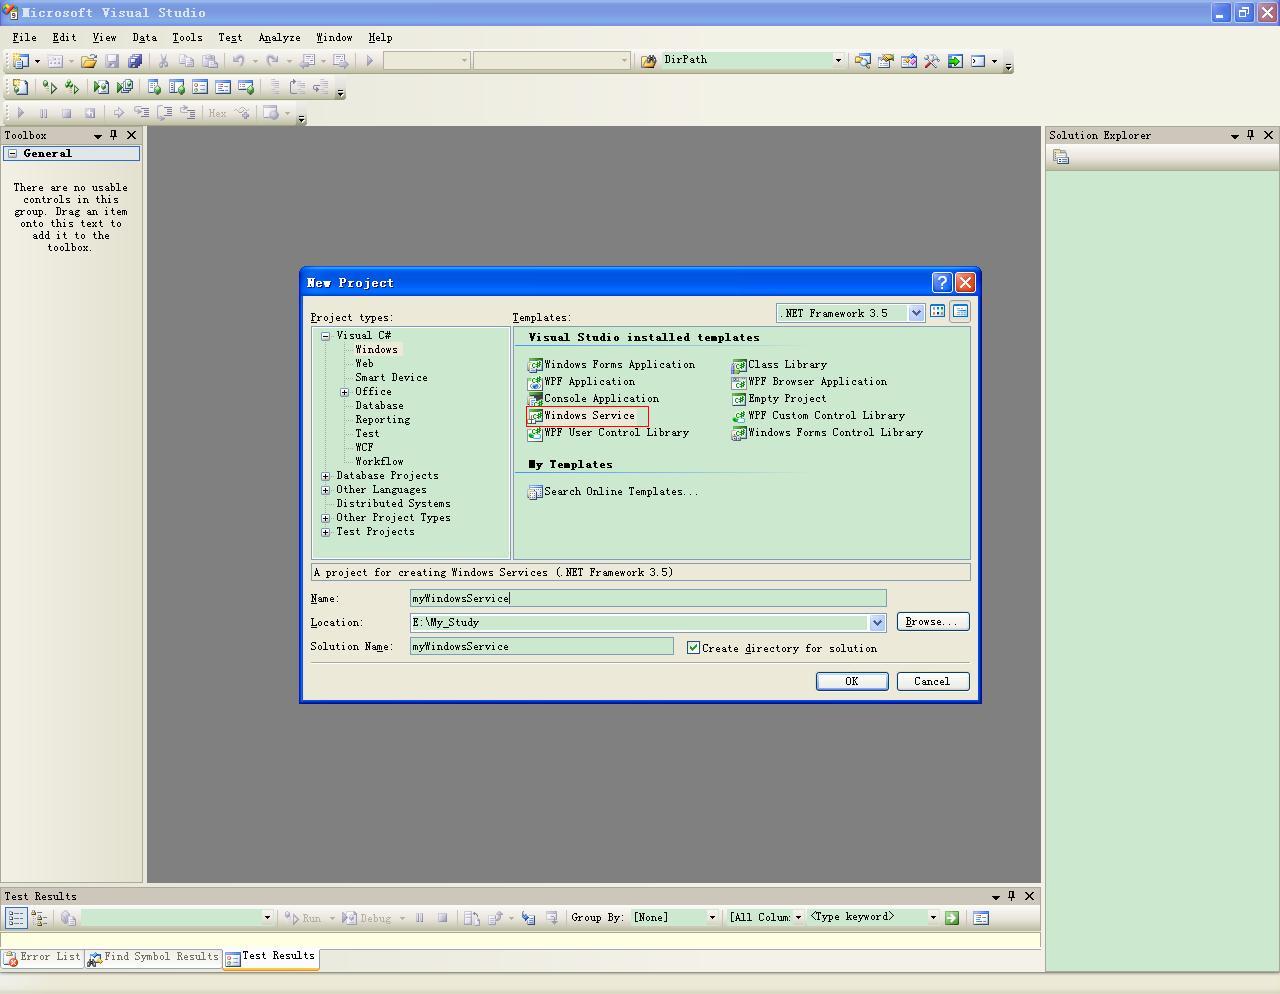
现在,可以看到刚刚创建的myWindowsService项目及Service1.cs,在Service.cs的设计[Design]试图里,看Service.cs有以下属性:
Autolog 是否自动写入系统的日志文件
CanHandlePowerEvent 服务时候接受电源事件
CanPauseAndContinue 服务是否接受暂停或继续运行的请求
CanShutdown 服务是否在运行它的计算机关闭时收到通知,以便能够调用 OnShutDown 过程
CanStop 服务是否接受停止运行的请求ServiceName 服务名
第二步,写Windows Service功能
在这里就要给我们的Windows Service编写功能了,下面的代码只是做个小试验,当Windows Service启动时,每5秒检查一次D盘下是有存在Test文件夹,如果没有则创建;当Windows Service停止时,检查D盘下是有存在Test文件夹,如果有则删除
- using System;
- using System.Collections.Generic;
- using System.ComponentModel;
- using System.Data;
- using System.Diagnostics;
- using System.Linq;
- using System.ServiceProcess;
- using System.Text;
- using System.Timers;
- using System.IO;
- namespace myWindowsService
- {
- public partial class Service1 : ServiceBase
- {
- private Timer timer1;
- public Service1()
- {
- InitializeComponent();
- }
- protected override void OnStart(string[] args)
- {
- timer1 = new Timer();
- timer1.Interval = 5 * 1000;
- timer1.Elapsed += new ElapsedEventHandler(timer1_Elapsed);
- timer1.Start();
- }
- protected override void OnStop()
- {
- if (Directory.Exists("D://Test"))
- {
- Directory.Delete("D://Test");
- }
- }
- public void timer1_Elapsed(object sender, ElapsedEventArgs e)
- {
- if (!Directory.Exists("D://Test"))
- {
- Directory.CreateDirectory("D://Test");
- }
- }
- }
- }
第三步,添加安装程序
Visual Studio.NET 随附有安装组件,可用来安装与服务应用程序相关联的资源。安装组件在正在安装到的系统上注册一项单个的服务,并使服务控制管理器知道该服务的存在。
要正确安装服务,并不需要在安装程序中进行任何特殊编码。但是,如果需要向安装进程添加特殊功能,则可能偶尔需要修改安装程序的内容。
将安装程序添加到服务应用程序的步骤是:
1:在解决方案中,访问要向其中添加安装组件的服务的Design视图。
2:在属性窗口中,右击Design视图,单击添加安装程序菜单。这时项目中就添加了一个新类 ProjectInstaller 和两个安装组件 ServiceProcessInstaller 和 ServiceInstaller,并且服务的属性值被复制到组件。3:若要确定如何启动服务,请单击 ServiceInstaller 组件并将 StartType 属性设置为适当的值。
Manual 服务安装后,必须手动启动。
Automatic 每次计算机重新启动时,服务都会自动启动。
Disabled 服务无法启动。
4:将serviceProcessInstaller类的Account属性改为 LocalSystem。这样,不论是以哪个用户登录的系统,服务总会启动。
第四步,生成Windows Service程序
选择Windows Service项目右键生成(注意 不要通过按 F5 键来运行项目——不能以这种方式运行服务项目。)
第五步,安装Windows Service
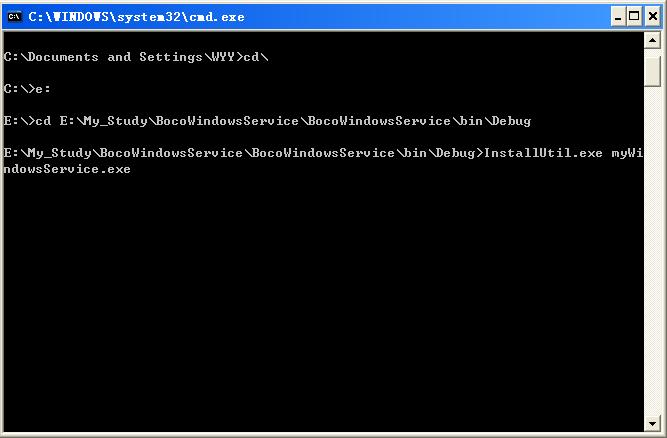
1:访问项目中的已编译可执行文件所在的目录。
2:将InstallUtil.exe拷贝到已编译可执行文件所在的目录。(InstallUtil.exe所在参考位置:C:/WINDOWS/Microsoft.NET/Framework/v2.0.50727)
3:开始-->运行-->cmd-->进入已编译可执行文件所在的目录-->敲入命令InstallUtil.exe myWindowsService.exe-->回车(要卸载服务则敲入命令InstallUtil.exe -u myWindowsService.exe)


 3259
3259

 被折叠的 条评论
为什么被折叠?
被折叠的 条评论
为什么被折叠?
 到【灌水乐园】发言


