


1 环境准备
使用c语言编写ebpf代码需要系统安装llvm和clang,使用openEuler系统自动配置的yum源即可安装。安装命令为:yum -y install llvm clang
下载openEuler 22.03LTS版本的内核源码,下载链接:https://gitee.com/openeuler/kernel/repository/archive/openEuler-22.03-LTS.zip
解压后,拷贝系统配置文件到内核源码根目录
cp /boot/config-5.10.0-60.18.0.50.oe2203.x86_64 .config
再执行
make oldconfig
make modules_prepare
make headers_install
2 编写测试代码
环境准备好后就可以开始写测试代码了,测试代码有两个,一个是hello_user.c,一个是hello_kern.c,从字面容易看出hello_user.c编译后是在用户空间运行的,hello_kern.c编译后是要被内核空间运行的。
代码位置为

代码内容分别如下:
//hello_user.c

#include"bpf_load.h"
#include <stdio.h>
#include <unistd.h>
#include <bpf/libbpf.h>
#include "trace_helpers.h"

int main(void)
{
    if(load_bpf_file("hello_kern.o"))
        return -1;

    read_trace_pipe();

    return 0;
}
//hello_kern.c

# include<uapi/linux/bpf.h>
#include <bpf/bpf_helpers.h>

SEC("kprobe/sys_write")

int bpf_prog(void *ctx)
{

    char msg[]= "hello world!\n";

	bpf_trace_printk(msg, sizeof(msg));

	return 0;
}

char _license[] SEC("license")= "GPL";
3 修改Makefile


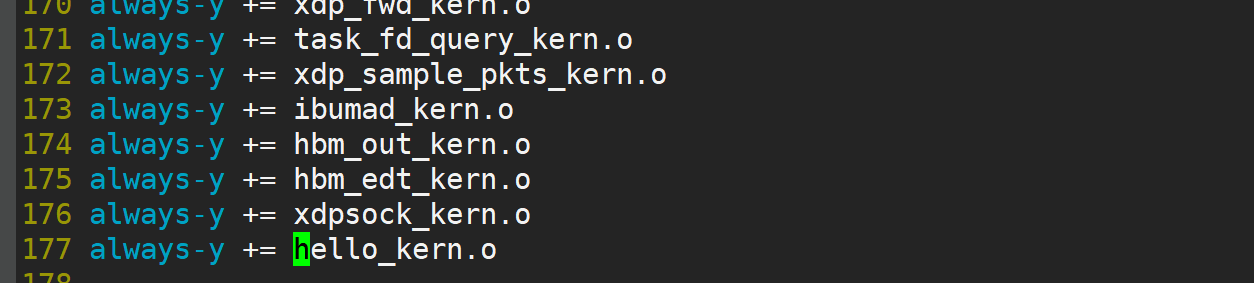
4 编译
在内核源码根路径下执行 make M=samples/bpf

编译完成后可以在samples/bpf路径下生成一个可执行的二进制文件hello
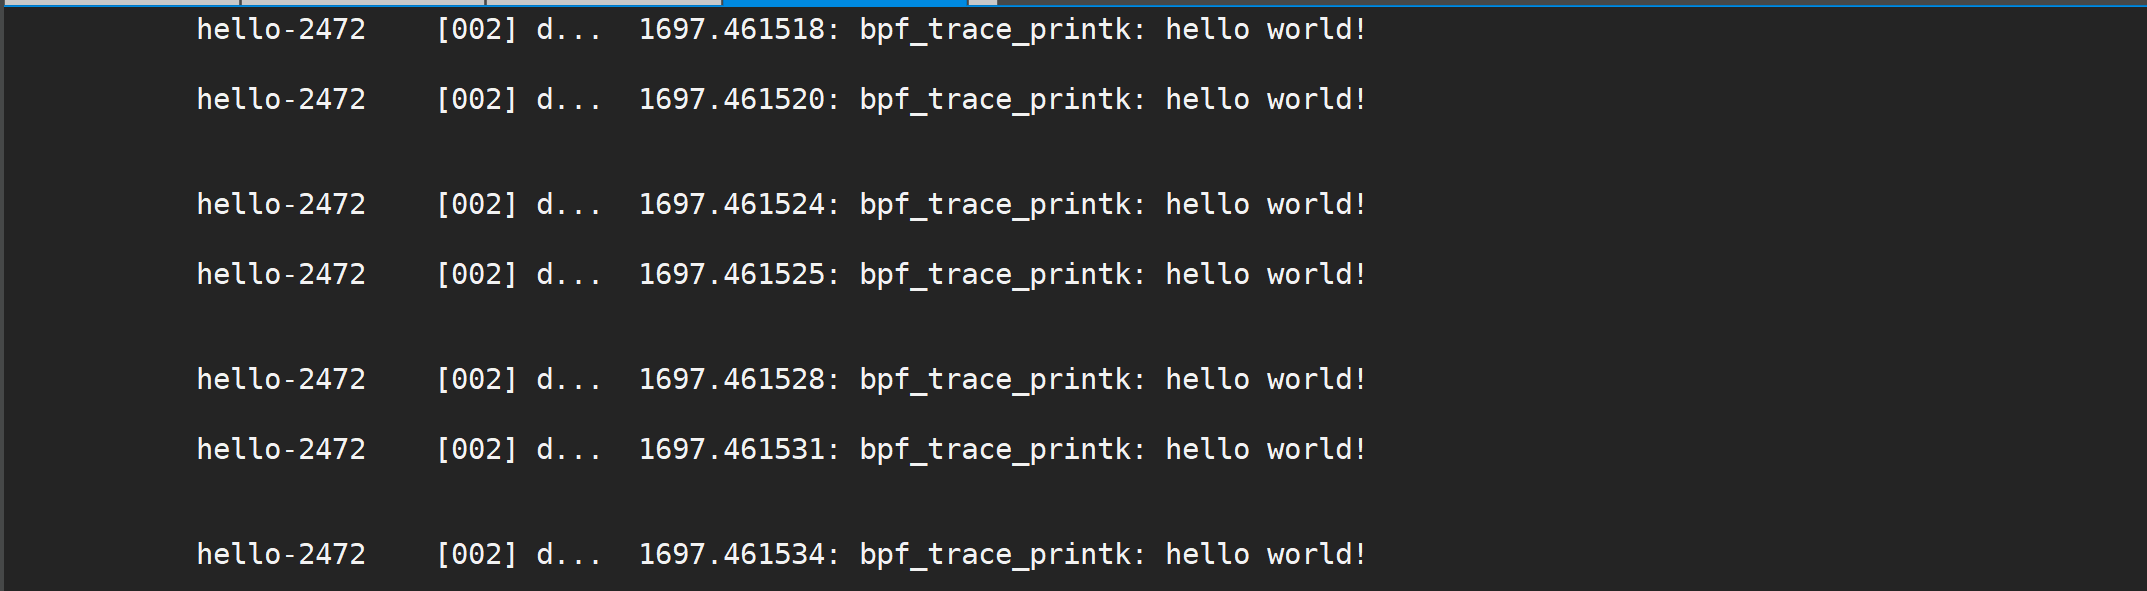
5 运行

执行结果如下图所示
参考资料:


 5655
5655


 被折叠的 条评论
为什么被折叠?
被折叠的 条评论
为什么被折叠?
 到【灌水乐园】发言


