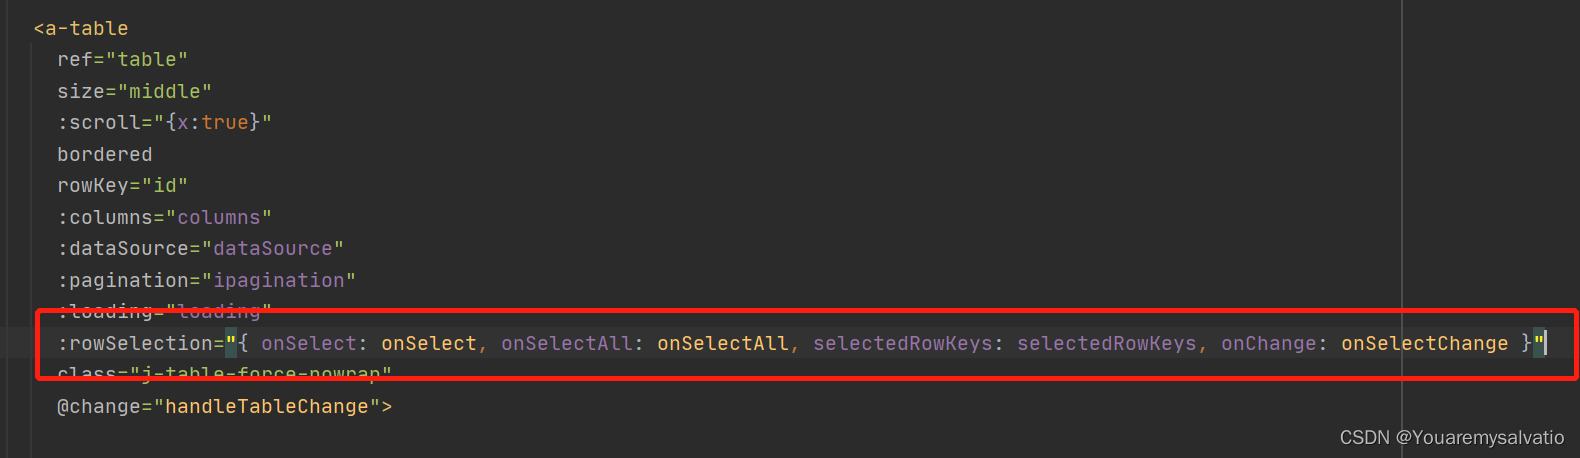
Ant Design Vue - table实现跨页选择

实现下图跨页选择效果
:rowSelection="{ onSelect: onSelect, onSelectAll: onSelectAll, selectedRowKeys: selectedRowKeys, onChange: onSelectChange }"


onSelectChange(selectedRowKeys, selectionRows) {
  console.log('select', this.selectedRowKeys, this.selectedRowKeys)
  this.selectedRowKeys = selectedRowKeys
  // this.selectionRows = selectionRows  //不用onchange操作
},
onSelect(record, selected, selectionRows, nativeEvent) {
  // console.log(record)
  // console.log(selectionRows)
  // console.log(this.selectionRows)
  if (selected) {
    this.selectionRows.push(record)
    // console.log(this.selectionRows)
  }else{
    const delIndex = this.selectionRows.findIndex((val) => {
      return val.id === record.id
    })
    this.selectionRows.splice(delIndex, 1)
  }
},
onSelectAll(selected, selectionRows, changeRows) {
  if (selected) {
    this.selectionRows = this.selectionRows.concat(changeRows)
  }
  if (!selected) {
    let selectionRows = JSON.parse(JSON.stringify(this.selectionRows))
    const delIndex = []
    selectionRows.forEach((item, index) => {
      changeRows.forEach((val, itemIndex) => {
        if (item.id === val.id) {
          delIndex.push(index)
        }
      })
    })
    delIndex.forEach((item) => {
      delete selectionRows[item]
    })
    selectionRows = selectionRows.filter((item) => {
      return item !== undefined
    })
    this.selectionRows = selectionRows
  }
},
  • 0
    点赞
  • 5
    收藏
    觉得还不错? 一键收藏
  • 0
    评论
Ant Design Vue的a-table组件默认不支持单元格合并,但是可以通过自定义渲染函数来实现单元格合并。以下是一个简单的示例代码: ```html <template> <a-table :columns="columns" :data-source="dataSource"></a-table> </template> <script> export default { data() { return { columns: [ { title: "姓名", dataIndex: "name", customRender: (text, row, index) => { const rowspan = row.age < 30 ? 2 : 1; // 根据条件设定行合并数 if (index % rowspan === 0) { return { children: text, attrs: { rowSpan: rowspan } }; } else { return { children: "", attrs: { rowSpan: 0 } }; } } }, { title: "年龄", dataIndex: "age" }, { title: "地址", dataIndex: "address" } ], dataSource: [ { name: "张三", age: 28, address: "北京市海淀区" }, { name: "李四", age: 32, address: "上海市浦东新区" }, { name: "王五", age: 25, address: "广州市天河区" }, { name: "赵六", age: 31, address: "深圳市福田区" } ] }; } }; </script> ``` 在上面的代码中,我们通过自定义渲染函数 `customRender` 来实现单元格的合并。在渲染姓名这一列时,根据条件设定行合并数,然后判断当前行是否是合并行的第一行,如果是就返回一个包含 `children` 和 `attrs` 属性的对象,其中 `children` 属性设置单元格显示的文本,`attrs` 属性设置单元格的 `rowspan` 属性。如果不是合并行的第一行,就返回一个空字符串和 `rowspan` 为 0 的 `attrs` 属性,表示该单元格不需要显示。 这样就能实现 Ant Design Vue 的 a-table 表格单元格合并了。

“相关推荐”对你有帮助么?

  • 非常没帮助
  • 没帮助
  • 一般
  • 有帮助
  • 非常有帮助
提交
评论
添加红包

请填写红包祝福语或标题

红包个数最小为10个

红包金额最低5元

当前余额3.43前往充值 >
需支付:10.00
成就一亿技术人!
领取后你会自动成为博主和红包主的粉丝 规则
hope_wisdom
发出的红包
实付
使用余额支付
点击重新获取
扫码支付
钱包余额 0

抵扣说明:

1.余额是钱包充值的虚拟货币,按照1:1的比例进行支付金额的抵扣。
2.余额无法直接购买下载,可以购买VIP、付费专栏及课程。

余额充值