


网络结构拓扑
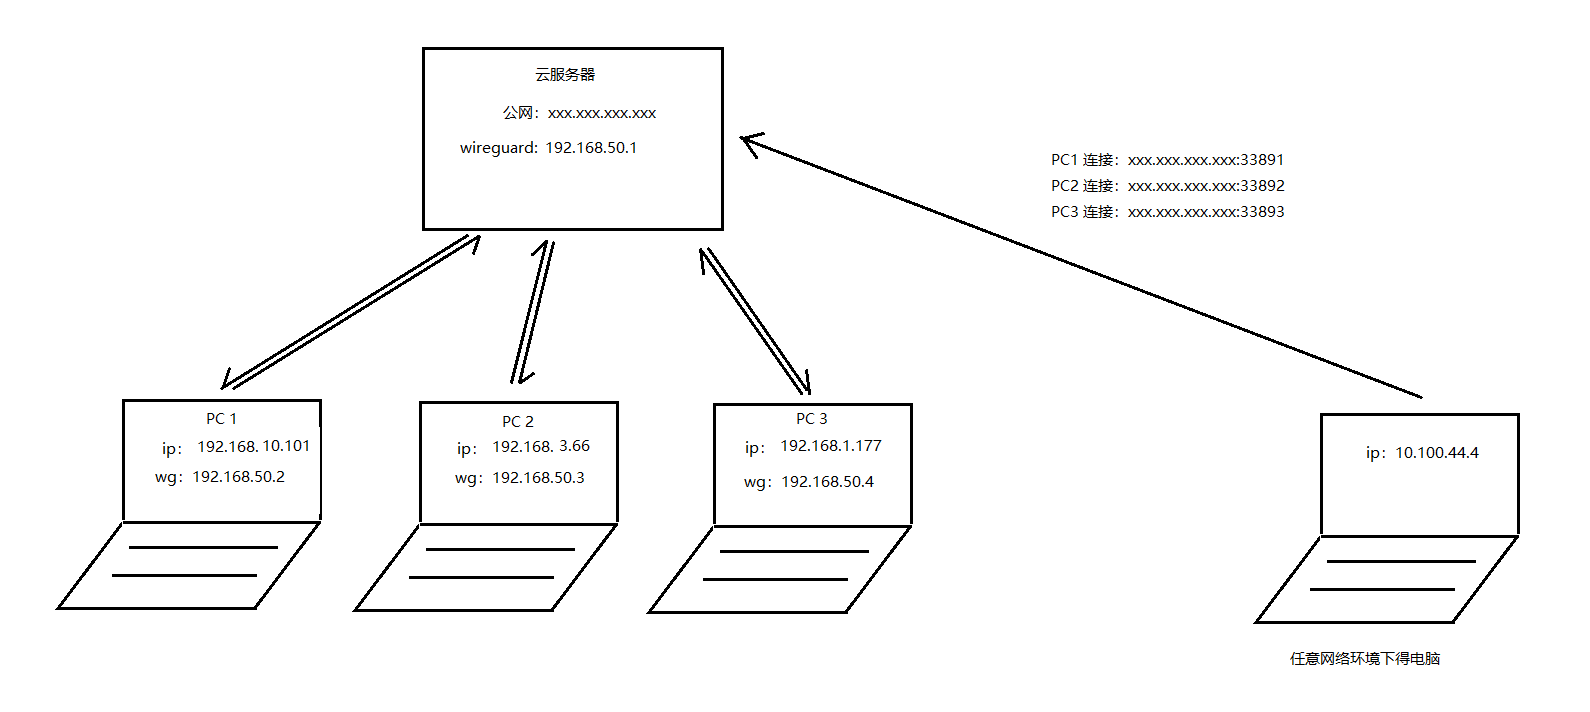
1、wireguard异地组网部分
此部分内容请自行百度
需要注意的是:云服务器需要开启IP转发,否则远程桌面无法通过wireguard连接
启用 IP 转发:
sudo sysctl -w net.ipv4.ip_forward=1配置 NAT 转发规则:
sudo firewall-cmd --zone=public --add-masquerade --permanent重新加载防火墙
sudo firewall-cmd --reload
2、服务端配置
防火墙类型:使用 iptables
-
确保 iptables 服务正常运行:
-
sudo systemctl status iptables
-
-
如果服务未启用或未运行,启用并启动服务
-
sudo systemctl enable iptables
sudo systemctl start iptables
-
-
添加
DNAT和MASQUERADE规则并保存-
sudo iptables -t nat -A PREROUTING -p tcp --dport 33891 -j DNAT --to-destination 192.168.10.101:3389
sudo iptables -t nat -A PREROUTING -p tcp --dport 33892 -j DNAT --to-destination 192.168.3.66:3389
sudo iptables -t nat -A PREROUTING -p tcp --dport 33893 -j DNAT --to-destination 192.168.1.177:3389

sudo iptables -t nat -A POSTROUTING -o eth0 -j MASQUERADE

# 针对 WireGuard 内网网段伪装流量
sudo iptables -t nat -A POSTROUTING -s 192.168.10.0/24 -o eth0 -j MASQUERADE
sudo iptables -t nat -A POSTROUTING -s 192.168.3.0/24 -o eth0 -j MASQUERADE
sudo iptables -t nat -A POSTROUTING -s 192.168.1.0/24 -o eth0 -j MASQUERADE

sudo iptables-save | sudo tee /etc/sysconfig/iptables > /dev/null
-
-
禁用 Firewalld(如果启用)
-
如果系统使用了
firewalld,它会覆盖iptables规则。可以禁用firewalld并改用iptablessudo systemctl stop firewalld sudo systemctl disable firewalld sudo systemctl mask firewalld sudo systemctl enable iptables sudo systemctl start iptables
-
-
重启后检查规则是否生效
# 重启命令 sudo reboot # 等待30s后,重连服务端,运行查看规则配置是否生效 sudo iptables -t nat -L -n -v -
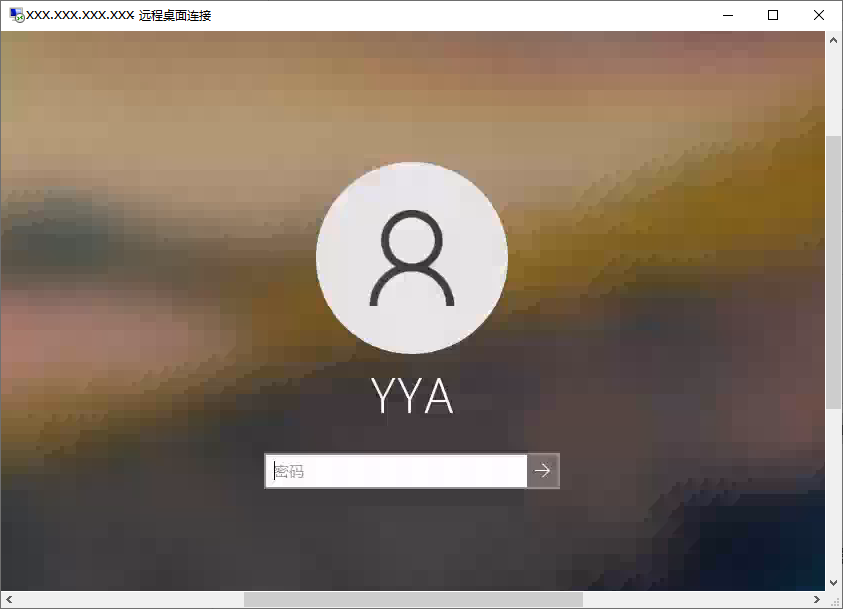
直接在任意环境下得电脑打开CMD,输入:mstsc 回车,打开远程桌面连接:
公网IP+33891连接PC1
防火墙类型:使用 firewalld
-
启用
firewalld并禁用iptables-
启动并启用 firewalld
sudo systemctl start firewalld
sudo systemctl enable firewalld
如果在上述两个命令执行时出现:
sudo systemctl start firewalld
Failed to start firewalld.service: Unit is masked.那是因为屏蔽了:
firewalld服务# 解除屏蔽 firewalld 服务 sudo systemctl unmask firewalld -
禁用 iptables
sudo systemctl stop iptables
sudo systemctl disable iptables
-
-
配置端口转发(NAT规则)
前面讲到的
iptables中添加的端口转发规则,可以通过firewalld的rich rules来实现。-
添加端口转发规则
-
# 将 33891 端口转发到 192.168.10.101:3389
# 需要同时指定 toaddr(目标 IP 地址)和 toport(目标端口)

sudo firewall-cmd --zone=public --add-forward-port=port=33891:proto=tcp:toaddr=192.168.10.101:toport=3389 --permanent

sudo firewall-cmd --zone=public --add-forward-port=port=33892:proto=tcp:toaddr=192.168.3.66:toport=3389 --permanent

sudo firewall-cmd --zone=public --add-forward-port=port=33893:proto=tcp:toaddr=192.168.1.177:toport=3389 --permanent
-
-
重启防火墙
sudo firewall-cmd --reload -
验证配置
使用以下命令检查配置是否生效
sudo firewall-cmd --zone=public --list-all你应该看到类似以下的转发规则:
forward-ports: port=33891:proto=tcp:toaddr=192.168.10.101:toport=3389 port=33892:proto=tcp:toaddr=192.168.3.66:toport=3389 port=33893:proto=tcp:toaddr=192.168.1.177:toport=3389 -
这将确保从端口
33891和33892和33892到目标地址和端口(192.168.10.101:3389和192.168.3.66:3389和192.168.1.177:3389)的端口转发正确设置。
至此,应该就能使用任意电脑远程到服务器IP+对应端口连接到局域网得PC了
散会!
实现效果:


 6552
6552

 被折叠的 条评论
为什么被折叠?
被折叠的 条评论
为什么被折叠?
 到【灌水乐园】发言


