


目录
一、根据SPRING系列教材 (一)- 教程,完成spring的环境安装,初步体验Spring
一、根据SPRING系列教材 (一)- 教程,完成spring的环境安装,初步体验Spring
(一)了解IOC/DI
1、IOC 反转控制 是Spring的基础,简单说就是创建对象由以前的程序员自己new 构造方法来调用,变成了交由Spring创建对象。
2、DI 依赖注入 Dependency Inject. 简单地说就是拿到的对象的属性,已经被注入好相关值了,直接使用即可。
3、原理图
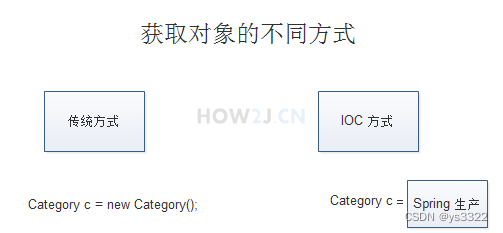
以获取对象的方式来进行比较
①传统的方式:通过new 关键字主动创建一个对象
②IOC方式:对象的生命周期由Spring来管理,直接从Spring那里去获取一个对象。 IOC是反转控制 (Inversion Of Control)的缩写,就像控制权从本来在自己手里,交给了Spring。
(二)练习Spring IOC/DI
1、准备pojo Category,用来演示IOC和DI
package com.how2java.pojo;

public class Category {

    public int getId() {
        return id;
    }
    public void setId(int id) {
        this.id = id;
    }
    public String getName() {
        return name;
    }
    public void setName(String name) {
        this.name = name;
    }
    private int id;
    private String name;
}2、配置applicationContext.xml
思路:applicationContext.xml是Spring的核心配置文件,通过关键字c即可获取Category对象,该对象获取的时候,即被注入了字符串"category 1“到name属性中
<?xml version="1.0" encoding="UTF-8"?>
<beans xmlns="http://www.springframework.org/schema/beans"
    xmlns:xsi="http://www.w3.org/2001/XMLSchema-instance"
    xmlns:aop="http://www.springframework.org/schema/aop"
    xmlns:tx="http://www.springframework.org/schema/tx"
    xmlns:context="http://www.springframework.org/schema/context"
    xsi:schemaLocation="
   http://www.springframework.org/schema/beans
   http://www.springframework.org/schema/beans/spring-beans-3.0.xsd
   http://www.springframework.org/schema/aop
   http://www.springframework.org/schema/aop/spring-aop-3.0.xsd
   http://www.springframework.org/schema/tx
   http://www.springframework.org/schema/tx/spring-tx-3.0.xsd
   http://www.springframework.org/schema/context
   http://www.springframework.org/schema/context/spring-context-3.0.xsd">

    <bean name="c" class="com.how2java.pojo.Category">
        <property name="name" value="category 1" />
    </bean>
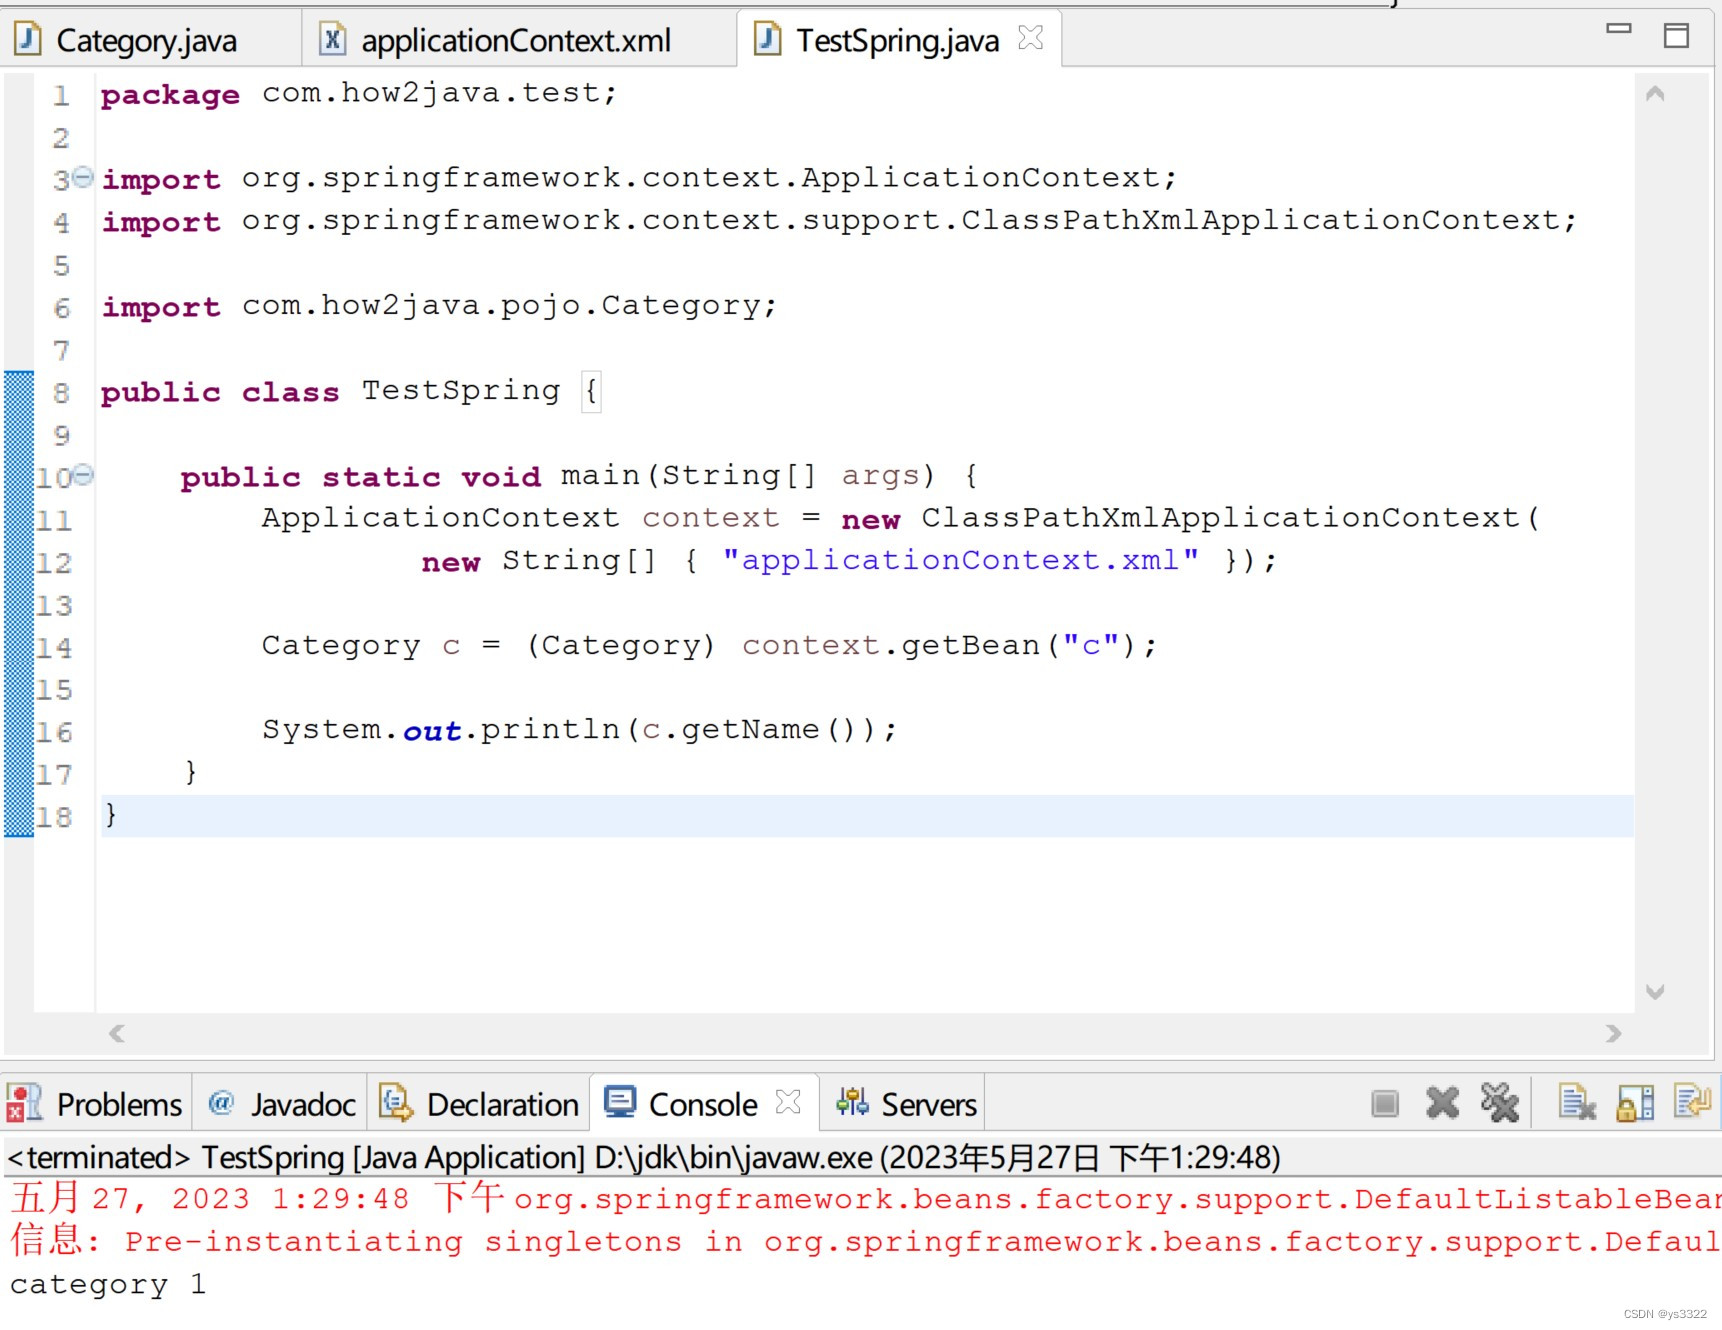
</beans>3、TestSpring.java
通过spring获取Category对象,以及该对象被注入的name属性。
package com.how2java.test;

import org.springframework.context.ApplicationContext;
import org.springframework.context.support.ClassPathXmlApplicationContext;

import com.how2java.pojo.Category;

public class TestSpring {

    public static void main(String[] args) {
        ApplicationContext context = new ClassPathXmlApplicationContext(
                new String[] { "applicationContext.xml" });

        Category c = (Category) context.getBean("c");

        System.out.println(c.getName());
    }
}如图所示,可以打印出通过Spring拿到的Category对象的name属性。
(三)练习Spring注入对象
1、Product.java
Product类中有对Category对象的setter getter。
package com.how2java.pojo;

public class Product {

    private int id;
    private String name;
    private Category category;
    public int getId() {
        return id;
    }
    public void setId(int id) {
        this.id = id;
    }
    public String getName() {
        return name;
    }
    public void setName(String name) {
        this.name = name;
    }
    public Category getCategory() {
        return category;
    }
    public void setCategory(Category category) {
        this.category = category;
    }
}2、applicationContext.xml
在创建Product的时候注入一个Category对象
注意:这里要使用ref来注入另一个对象。<property name="category" ref="c" />
<?xml version="1.0" encoding="UTF-8"?>
<beans xmlns="http://www.springframework.org/schema/beans"
xmlns:xsi="http://www.w3.org/2001/XMLSchema-instance" xmlns:aop="http://www.springframework.org/schema/aop"
xmlns:tx="http://www.springframework.org/schema/tx" xmlns:context="http://www.springframework.org/schema/context"
xsi:schemaLocation="
http://www.springframework.org/schema/beans
http://www.springframework.org/schema/beans/spring-beans-3.0.xsd
http://www.springframework.org/schema/aop
http://www.springframework.org/schema/aop/spring-aop-3.0.xsd
http://www.springframework.org/schema/tx
http://www.springframework.org/schema/tx/spring-tx-3.0.xsd
http://www.springframework.org/schema/context
http://www.springframework.org/schema/context/spring-context-3.0.xsd">
<bean name="c" class="com.how2java.pojo.Category">
<property name="name" value="category 1" />
</bean>
<bean name="p" class="com.how2java.pojo.Product">
<property name="name" value="product1" />
<property name="category" ref="c" />
</bean>
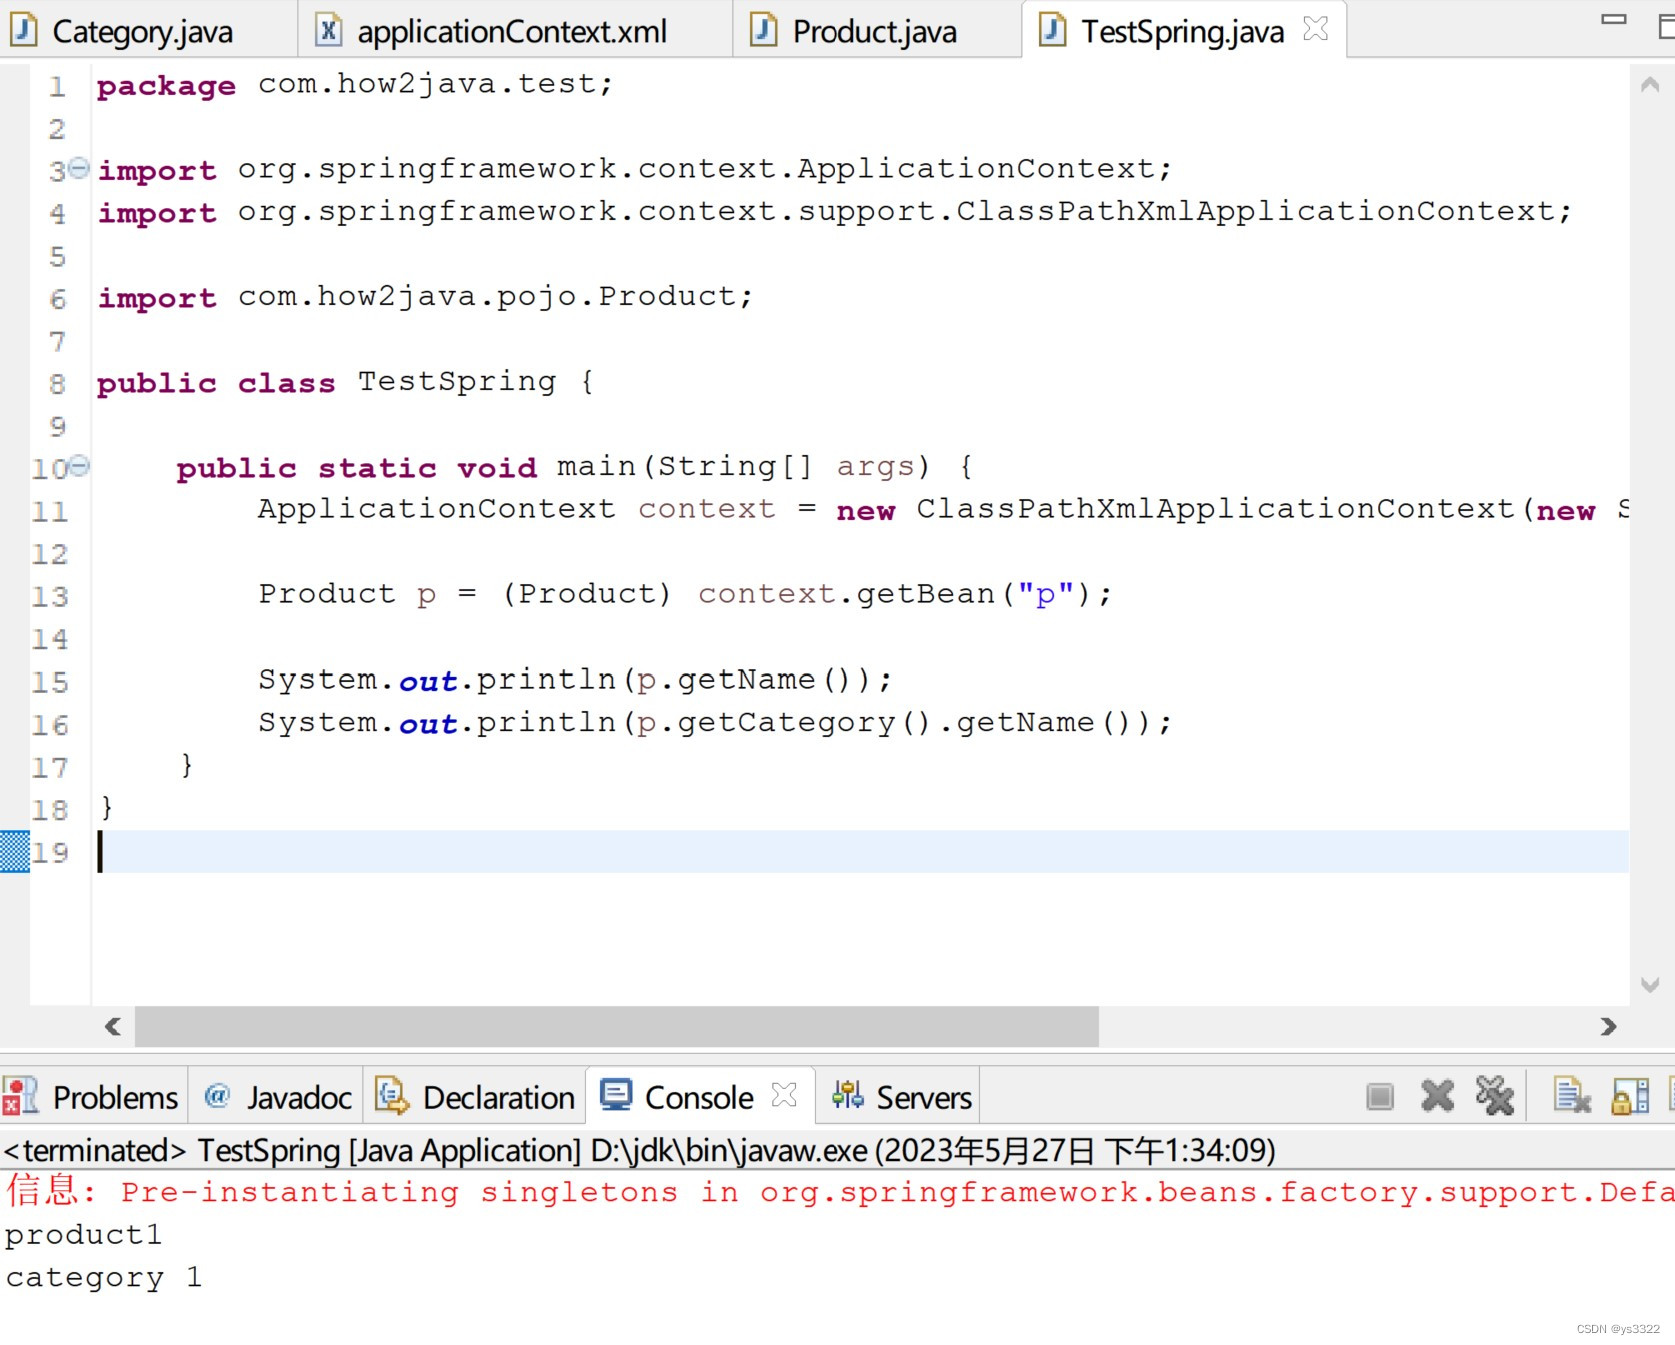
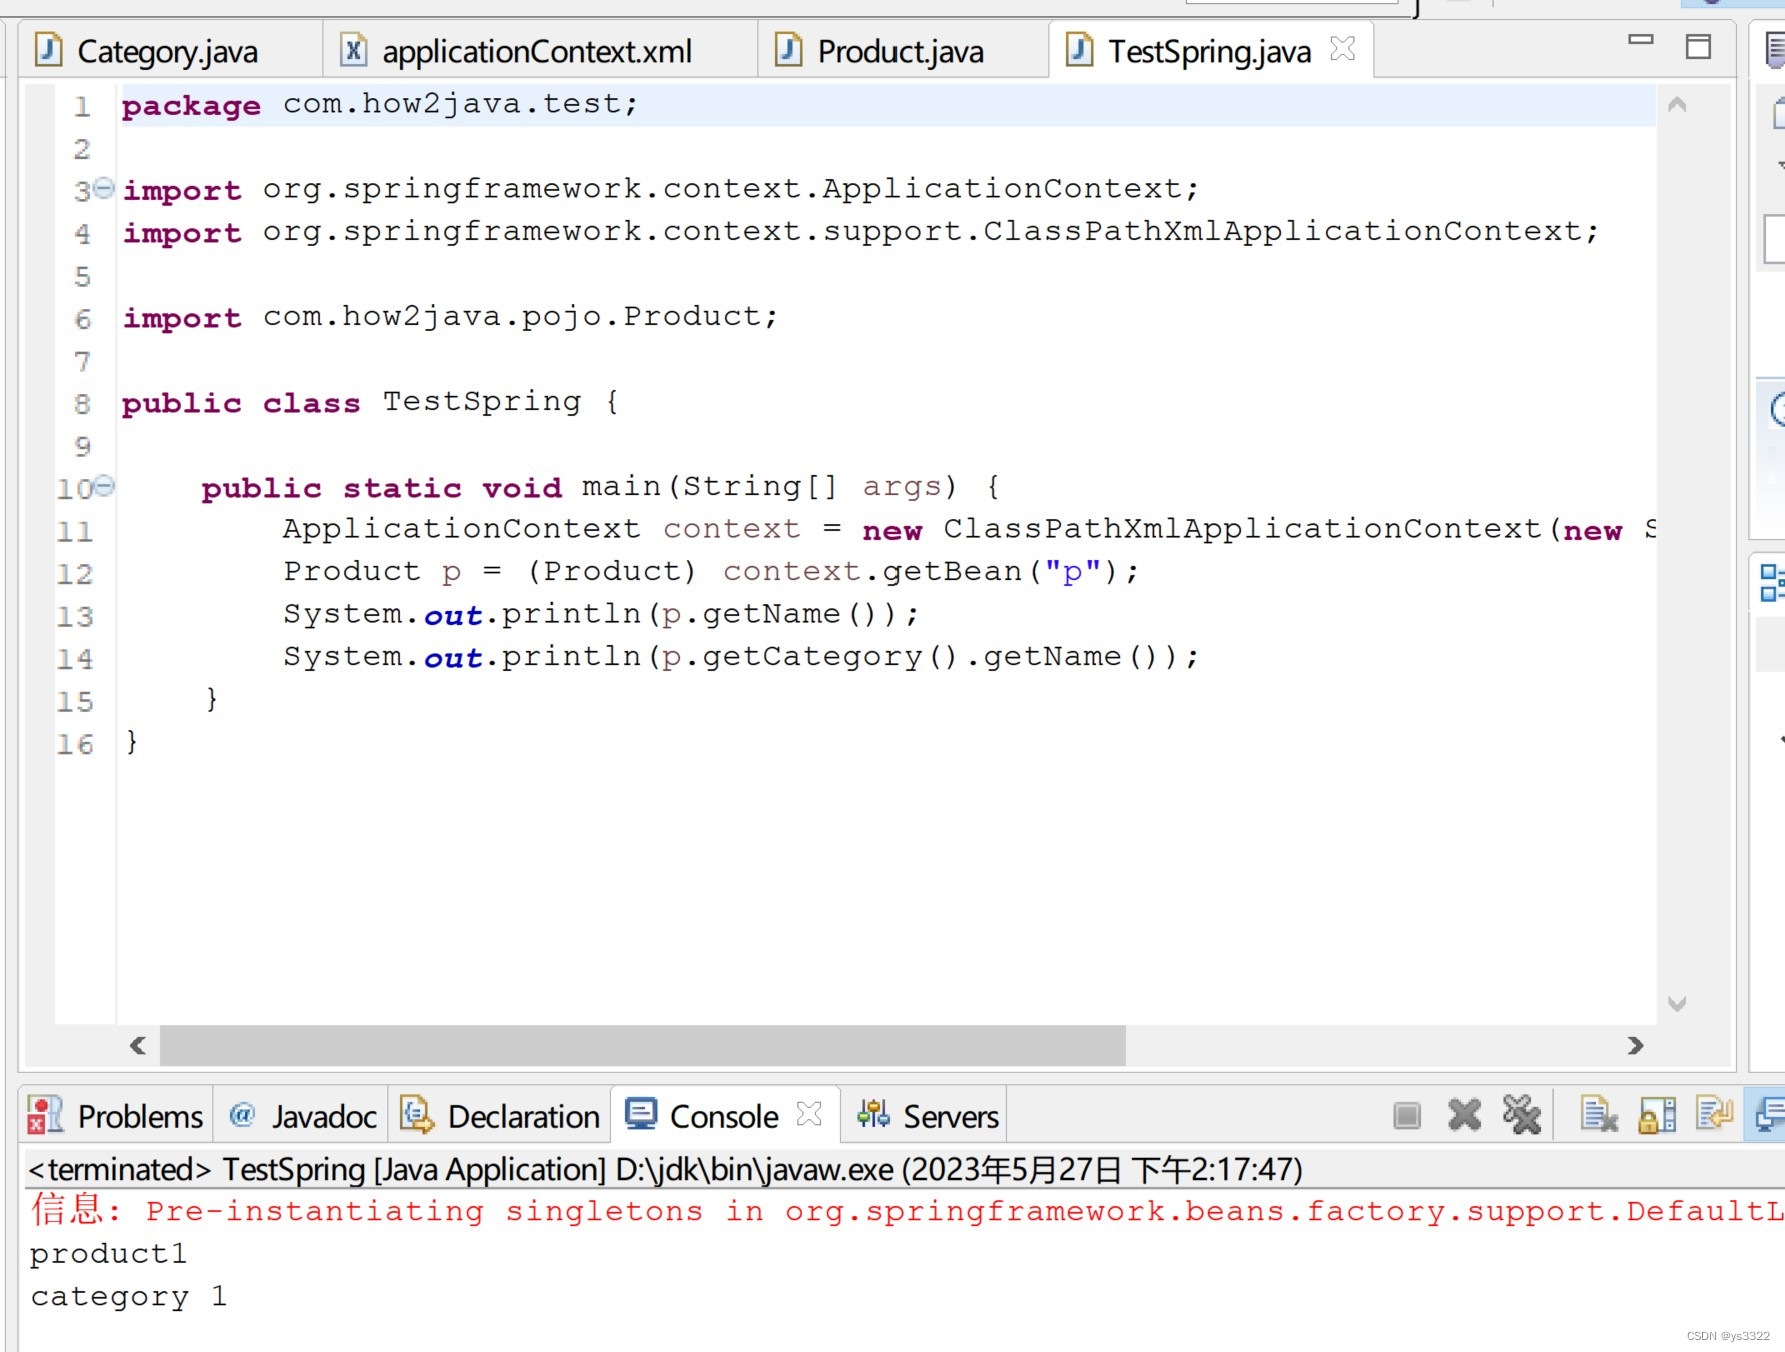
</beans>3、TestSpring.java
通过Spring拿到的Product对象已经被注入了Category对象了。
package com.how2java.test;

import org.springframework.context.ApplicationContext;
import org.springframework.context.support.ClassPathXmlApplicationContext;

import com.how2java.pojo.Product;

public class TestSpring {

    public static void main(String[] args) {
        ApplicationContext context = new ClassPathXmlApplicationContext(new String[] { "applicationContext.xml" });

        Product p = (Product) context.getBean("p");

        System.out.println(p.getName());
        System.out.println(p.getCategory().getName());
    }
}运行结果如下图所示:
(四)练习Spring注解方式 IOC/DI
1、修改applicationContext.xml
①添加<context:annotation-config/>
表示告诉Spring要用注解的方式进行配置。
②注释掉注入对象
<!-- <property name="category" ref="c" /> -->,这个行为在后面将使用注解来完成
<?xml version="1.0" encoding="UTF-8"?>
<beans xmlns="http://www.springframework.org/schema/beans"
    xmlns:xsi="http://www.w3.org/2001/XMLSchema-instance" xmlns:aop="http://www.springframework.org/schema/aop"
    xmlns:tx="http://www.springframework.org/schema/tx" xmlns:context="http://www.springframework.org/schema/context"
    xsi:schemaLocation="
   http://www.springframework.org/schema/beans
   http://www.springframework.org/schema/beans/spring-beans-3.0.xsd
   http://www.springframework.org/schema/aop
   http://www.springframework.org/schema/aop/spring-aop-3.0.xsd
   http://www.springframework.org/schema/tx
   http://www.springframework.org/schema/tx/spring-tx-3.0.xsd
   http://www.springframework.org/schema/context
   http://www.springframework.org/schema/context/spring-context-3.0.xsd">

    <context:annotation-config/>
    <bean name="c" class="com.how2java.pojo.Category">
        <property name="name" value="category 1" />
    </bean>
    <bean name="p" class="com.how2java.pojo.Product">
        <property name="name" value="product1" />
<!--         <property name="category" ref="c" /> -->
    </bean>

</beans>2、@Autowired
在Product.java的category属性前加上@Autowired注解
package com.how2java.pojo;

import org.springframework.beans.factory.annotation.Autowired;

public class Product {

    private int id;
    private String name;
    @Autowired
    private Category category;

    public int getId() {
        return id;
    }

    public void setId(int id) {
        this.id = id;
    }

    public String getName() {
        return name;
    }

    public void setName(String name) {
        this.name = name;
    }

    public Category getCategory() {
        return category;
    }

    public void setCategory(Category category) {
        this.category = category;
    }
}3、TestSpring.java
package com.how2java.test;

import org.springframework.context.ApplicationContext;
import org.springframework.context.support.ClassPathXmlApplicationContext;

import com.how2java.pojo.Product;

public class TestSpring {

    public static void main(String[] args) {
        ApplicationContext context = new ClassPathXmlApplicationContext(new String[] { "applicationContext.xml" });
        Product p = (Product) context.getBean("p");
        System.out.println(p.getName());
        System.out.println(p.getCategory().getName());
    }
}
4、方法二:@Autowired的位置
除了前面的在属性前面加上@Autowired这种方式外,也可以在setCategory方法前加上@Autowired,这样来达到相同的效果。
package com.how2java.pojo;

import org.springframework.beans.factory.annotation.Autowired;

public class Product {

    private int id;
    private String name;

    private Category category;

    public int getId() {
        return id;
    }

    public void setId(int id) {
        this.id = id;
    }

    public String getName() {
        return name;
    }

    public void setName(String name) {
        this.name = name;
    }

    public Category getCategory() {
        return category;
    }
    @Autowired
    public void setCategory(Category category) {
        this.category = category;
    }
}
5、方法三:@Resource
package com.how2java.pojo;

import javax.annotation.Resource;

public class Product {

    private int id;
    private String name;
    @Resource(name="c")
    private Category category;

    public int getId() {
        return id;
    }

    public void setId(int id) {
        this.id = id;
    }

    public String getName() {
        return name;
    }

    public void setName(String name) {
        this.name = name;
    }

    public Category getCategory() {
        return category;
    }

    public void setCategory(Category category) {
        this.category = category;
    }
}
6、对Bean的注解
①applicationContext.xml
新增:<context:component-scan base-package="com.how2java.pojo"/>
其作用是告诉Spring,bean都放在com.how2java.pojo这个包下。
<?xml version="1.0" encoding="UTF-8"?>
<beans xmlns="http://www.springframework.org/schema/beans"
    xmlns:xsi="http://www.w3.org/2001/XMLSchema-instance" xmlns:aop="http://www.springframework.org/schema/aop"
    xmlns:tx="http://www.springframework.org/schema/tx" xmlns:context="http://www.springframework.org/schema/context"
    xsi:schemaLocation="
   http://www.springframework.org/schema/beans
   http://www.springframework.org/schema/beans/spring-beans-3.0.xsd
   http://www.springframework.org/schema/aop
   http://www.springframework.org/schema/aop/spring-aop-3.0.xsd
   http://www.springframework.org/schema/tx
   http://www.springframework.org/schema/tx/spring-tx-3.0.xsd
   http://www.springframework.org/schema/context
   http://www.springframework.org/schema/context/spring-context-3.0.xsd">

    <context:component-scan base-package="com.how2java.pojo"/>

</beans>②@Component
为Product类加上@Component注解,即表明此类是bean
@Component("p")
public class Product {
为Category 类加上@Component注解,即表明此类是bean
@Component("c")
public class Category {
另外,因为配置从applicationContext.xml中移出来了,所以属性初始化放在属性声明上进行了。
private String name="product 1";
private String name="category 1";
Product.java
package com.how2java.pojo;

import javax.annotation.Resource;

import org.springframework.beans.factory.annotation.Autowired;
import org.springframework.stereotype.Component;

@Component("p")
public class Product {

    private int id;
    private String name="product 1";

    @Autowired
    private Category category;

    public int getId() {
        return id;
    }

    public void setId(int id) {
        this.id = id;
    }

    public String getName() {
        return name;
    }

    public void setName(String name) {
        this.name = name;
    }

    public Category getCategory() {
        return category;
    }

    public void setCategory(Category category) {
        this.category = category;
    }
}
Category.java
package com.how2java.pojo;

import org.springframework.stereotype.Component;

@Component("c")
public class Category {

    public int getId() {
        return id;
    }
    public void setId(int id) {
        this.id = id;
    }
    public String getName() {
        return name;
    }
    public void setName(String name) {
        this.name = name;
    }
    private int id;
    private String name="category 1";
}③TestSpring.java
package com.how2java.test;

import org.springframework.context.ApplicationContext;
import org.springframework.context.support.ClassPathXmlApplicationContext;

import com.how2java.pojo.Product;

public class TestSpring {

    public static void main(String[] args) {
        ApplicationContext context = new ClassPathXmlApplicationContext(new String[] { "applicationContext.xml" });
        Product p = (Product) context.getBean("p");
        System.out.println(p.getName());
        System.out.println(p.getCategory().getName());
    }
}
7、运行结果如下,依然不变:
二、setter注入和构造器注入
(一)setter注入
理解:通过实体类(JavaBean)的setter方法,根据<bean>标签的配置,实例化这个实体类。
在上一个how2j网站案例练习中,用到的便是setter注入:在类中写成员变量与其相对应的Setter和Getter方法;在Spring的配置文件中配置该类,并在<value>标签中对属性赋值,Spring会把这个标签提供的属性值注入指定的类中;最后再在测试类中调用类的getter方法将对应值显示出来。
(二)构造器注入
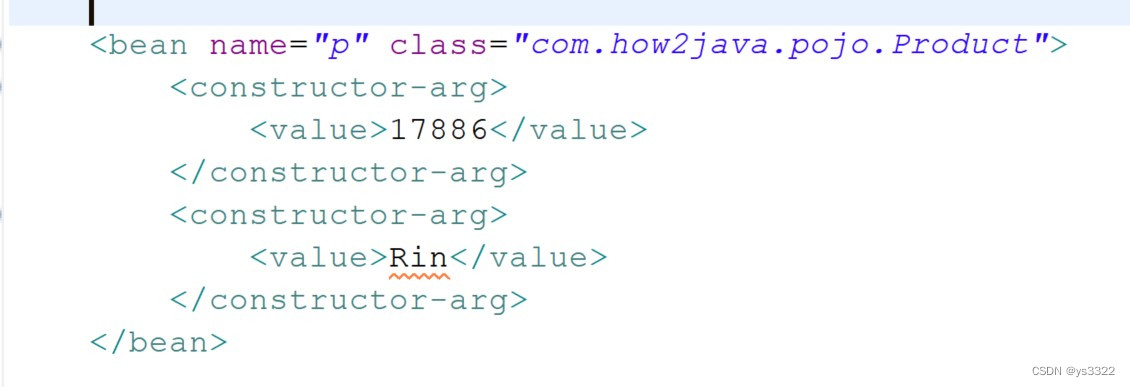
理解:构造器注入是一种依赖注入的方式,它通过调用类的构造方法来实现对依赖对象的注入。在 Spring 中,我们可以通过配置 XML文件来实现构造器注入,该注入方式只能注入一次。
基本思路:在类中编写构造方法,为成员变量进行初始化设置。在配置文件中利用<constructor-arg> <value>hyy</value> </constructor-arg>为属性赋值,其中容器通过多个<constructor-arg>标签为构造方法赋值,如果标签的赋值顺序与构造方法中参数的顺序或类型不同,可以用<constructor-arg>元素的index和type属性解决,最后在测试类中调用方法即可显示。
Product.java
package com.how2java.pojo;
import org.springframework.beans.factory.annotation.Autowired;
public class Product {
private int id;
private String name;
public Product(int id,String name){
this.id=id;
this.name=name;
}
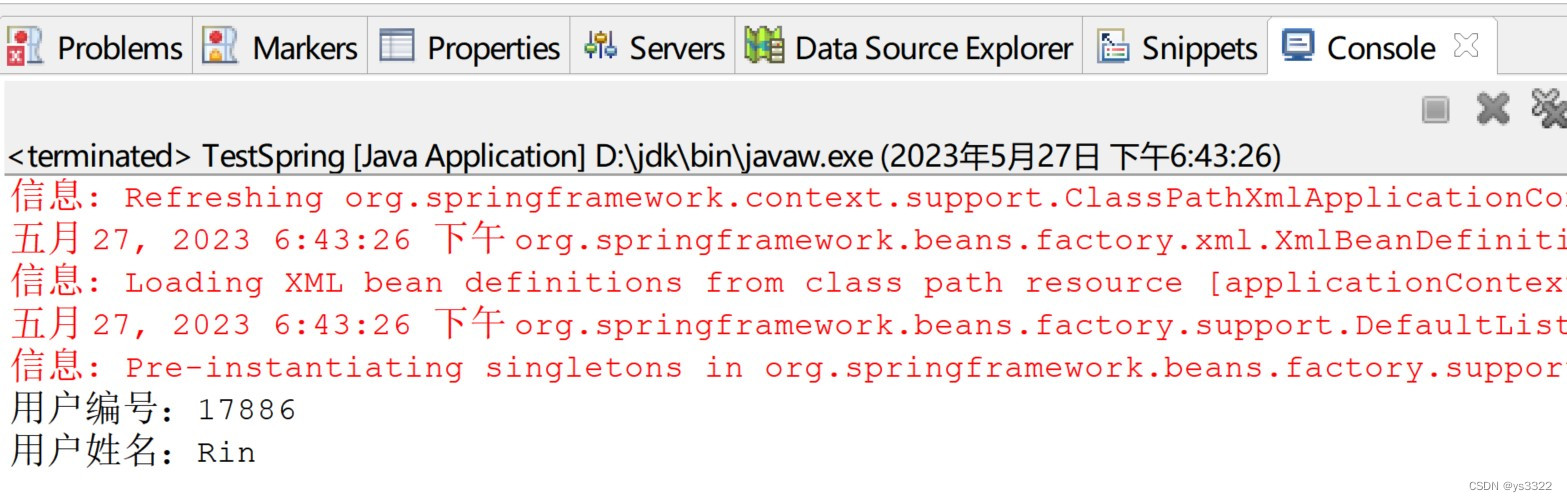
public void printInfo(){
System.out.println("用户编号:"+id);
System.out.println("用户姓名:"+name);
}
}applicationContext.xml
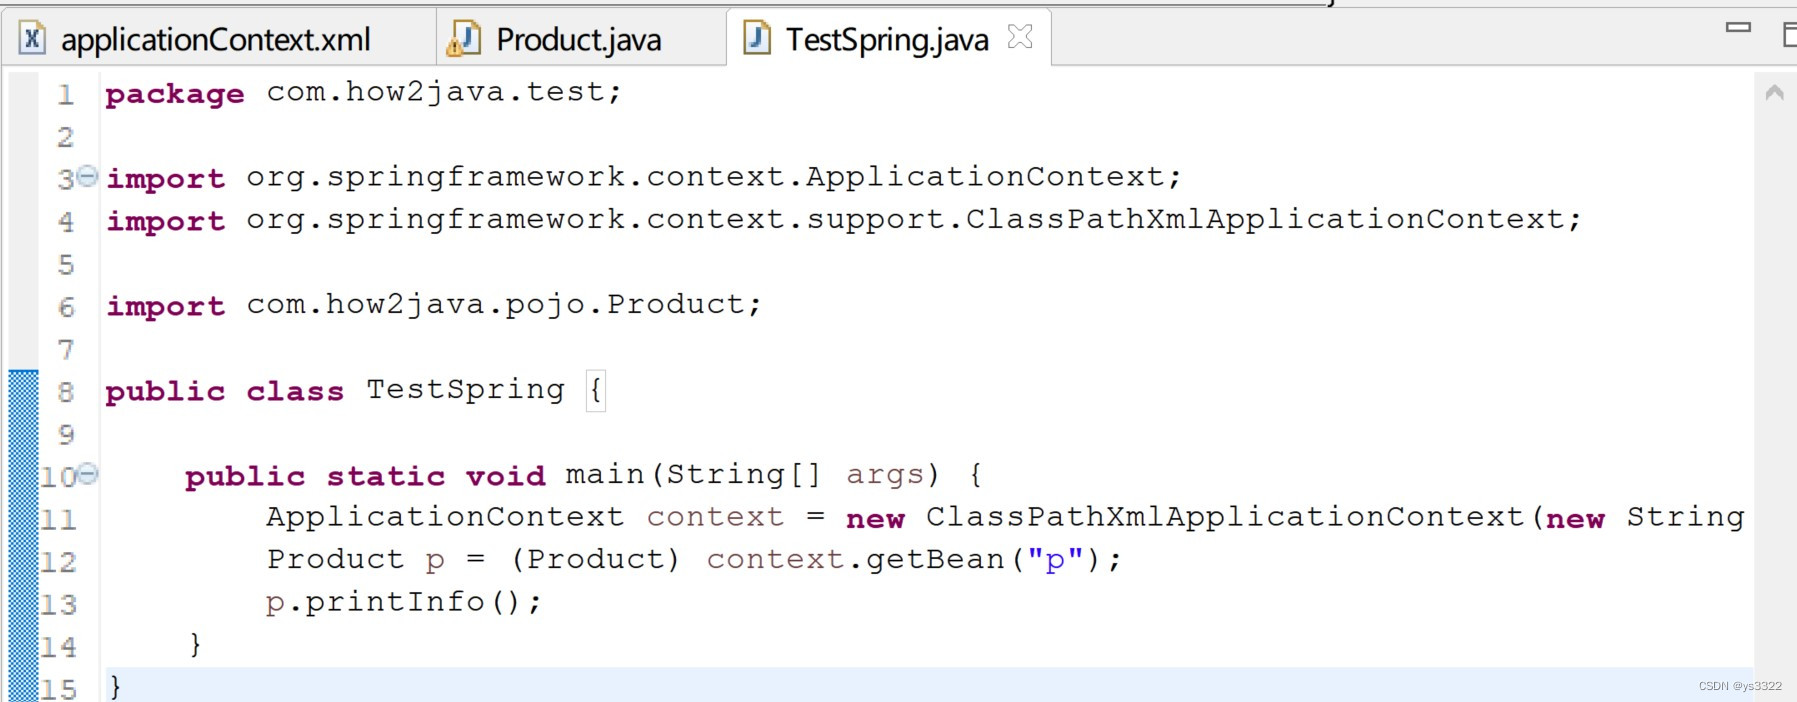
TestSpring.java
运行结果如下:
三、练习DAO模式
(一)理解
DAO的主要作用是将持久性相关的问题与一般的业务规则和工作流隔离开来,它为定义业务
明 层可以访问的持久性操作引入了一个接口,并且隐藏了实现的具体细节。该接口的功能将依
赖于采用的持久性技术而改变,但是DAO接口可以基本上保持不变。
(二)练习
User.java
package com.mr.user;

public class User {

    private Integer id;
    private String name;
    private Integer age;
    private String xingbie;

    public Integer getId() {
        return id;
    }
    public void setId(Integer id) {
        this.id = id;
    }
    public String getName() {
        return name;
    }
    public void setName(String name) {
        this.name = name;
    }
    public Integer getAge() {
        return age;
    }
    public void setAge(Integer age) {
        this.age = age;
    }
    public String getXingbie() {
        return xingbie;
    }
    public void setXingbie(String xingbie) {
        this.xingbie= xingbie;
    }
}
UserDAO.java
package com.mr.dao;

import java.sql.Connection;
import java.sql.SQLException;
import java.sql.Statement;

import javax.sql.DataSource;

import com.mr.user.User;

public class UserDAO implements UserDAOImpl {
    private DataSource dataSource;
    public DataSource getDataSource() {
        return dataSource;
    }
    public void setDataSource(DataSource dataSource) {
        this.dataSource = dataSource;
    }

    public void inserUser(User user) {
        String name = user.getName();
        Integer age = user.getAge();
        String sex = user.getXingbie();
        Connection conn = null;
        Statement stmt = null;
         try {
             conn = dataSource.getConnection();
             stmt = conn.createStatement();
             stmt.execute("INSERT INTO huiyuan (name,age,sex) "
                  + "VALUES('"+name+"','" + age + "','" + sex + "')");
         } catch (SQLException e) {
             e.printStackTrace();
         }
         finally {
             if(stmt != null) {
                 try {
                     stmt.close();
                 }
                 catch(SQLException e) {
                     e.printStackTrace();
                 }
             }
             if(conn != null) {
                 try {
                     conn.close();
                 }
                 catch(SQLException e) {
                     e.printStackTrace();
                 }
             }
         }
    }
}
UserDAOImpl.java
package com.mr.dao;

import com.mr.user.User;

public interface UserDAOImpl {
    public void inserUser(User user);
}
Manager.java
package com.mr.main;
import org.springframework.context.ApplicationContext;
import org.springframework.context.support.ClassPathXmlApplicationContext;
import com.mr.dao.UserDAO;
import com.mr.user.User;
public class Manager {
public static void main(String[] args) {
ApplicationContext factory = new ClassPathXmlApplicationContext("applicationContext.xml");
User user = new User();
user.setName("Rin");
user.setAge(new Integer(15));
user.setXingbie("女");
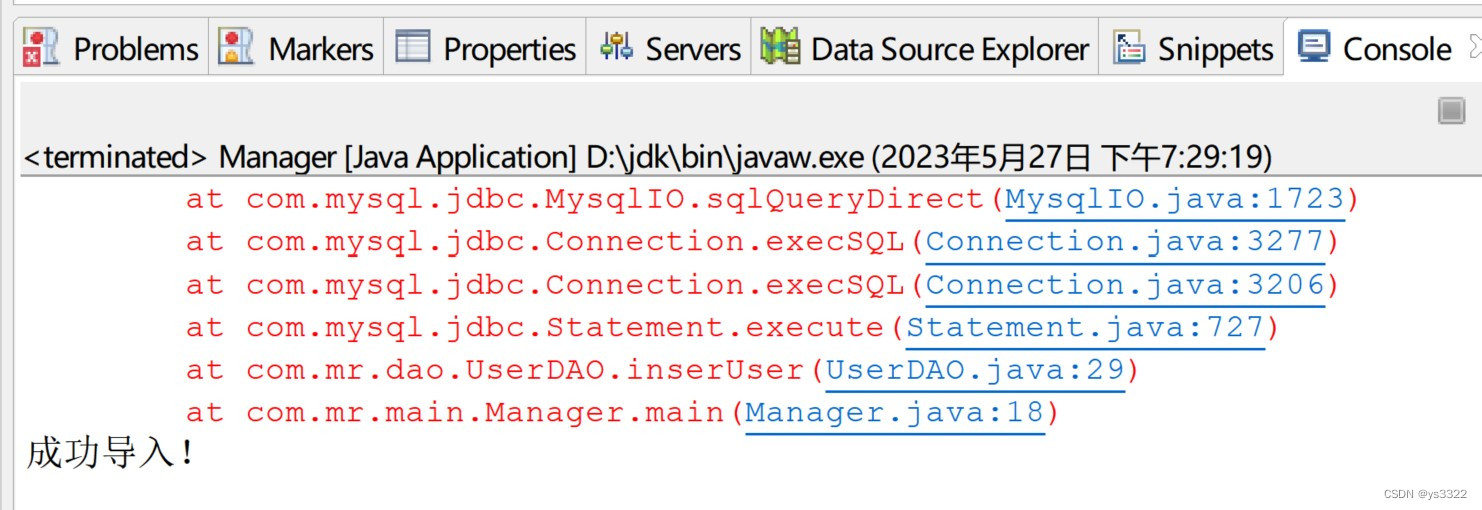
UserDAO userDAO = (UserDAO) factory.getBean("userDAO");
userDAO.inserUser(user);
System.out.println("成功导入!");
}
}applicationContext.xml
<beans xmlns="http://www.springframework.org/schema/beans" xmlns:xsi="http://www.w3.org/2001/XMLSchema-instance" xsi:schemaLocation="http://www.springframework.org/schema/beans http://www.springframework.org/schema/beans/spring-beans-2.5.xsd">

<bean id="dataSource" class="org.springframework.jdbc.datasource.DriverManagerDataSource">
<property name="driverClassName">
<value>com.mysql.jdbc.Driver</value>
</property>
<property name="url">
<value>jdbc:mysql://localhost:3306/test </value>
</property>
<property name="username">
<value>root</value>
</property>
<property name="password">
<value>wal6775374wal</value>
</property>
</bean>

<bean id="userDAO" class="com.mr.dao.UserDAO">
<property name="dataSource">
<ref local="dataSource"/>
</property>
</bean>
</beans>
运行结果如下:
数据表中显示:

四、练习JdbcTemple操作数据库
在上个练习基础之上,更改applicationContext.xml
<beans xmlns="http://www.springframework.org/schema/beans" xmlns:xsi="http://www.w3.org/2001/XMLSchema-instance" xsi:schemaLocation="http://www.springframework.org/schema/beans http://www.springframework.org/schema/beans/spring-beans-2.5.xsd">

<bean id="dataSource" class="org.springframework.jdbc.datasource.DriverManagerDataSource">
<property name="driverClassName">
<value>com.mysql.jdbc.Driver</value>
</property>
<property name="url">
<value>jdbc:mysql://localhost:3306/test </value>
</property>
<property name="username">
<value>root</value>
</property>
<property name="password">
<value>wal6775374wal</value>
</property>
</bean>

<bean id="jdbcTemplate" class="org.springframework.jdbc.core.JdbcTemplate">
<property name="dataSource">
<ref local="dataSource"/>
</property>
</bean>
</beans>
AddUser.java
package com.mr.main;

import org.springframework.context.ApplicationContext;
import org.springframework.context.support.ClassPathXmlApplicationContext;
import org.springframework.jdbc.core.JdbcTemplate;

public class AddUser {

    public static void main(String[] args) {
        JdbcTemplate jtl = null;
        ApplicationContext factory = new ClassPathXmlApplicationContext("applicationContext.xml");
        jtl =(JdbcTemplate)factory.getBean("jdbcTemplate");
        String sql = "insert into tb_user(name,age,xingbie) values ('Hanaya','16','女')";
        jtl.update(sql);
        System.out.println("成功导入!");
    }
}
运行结果如下: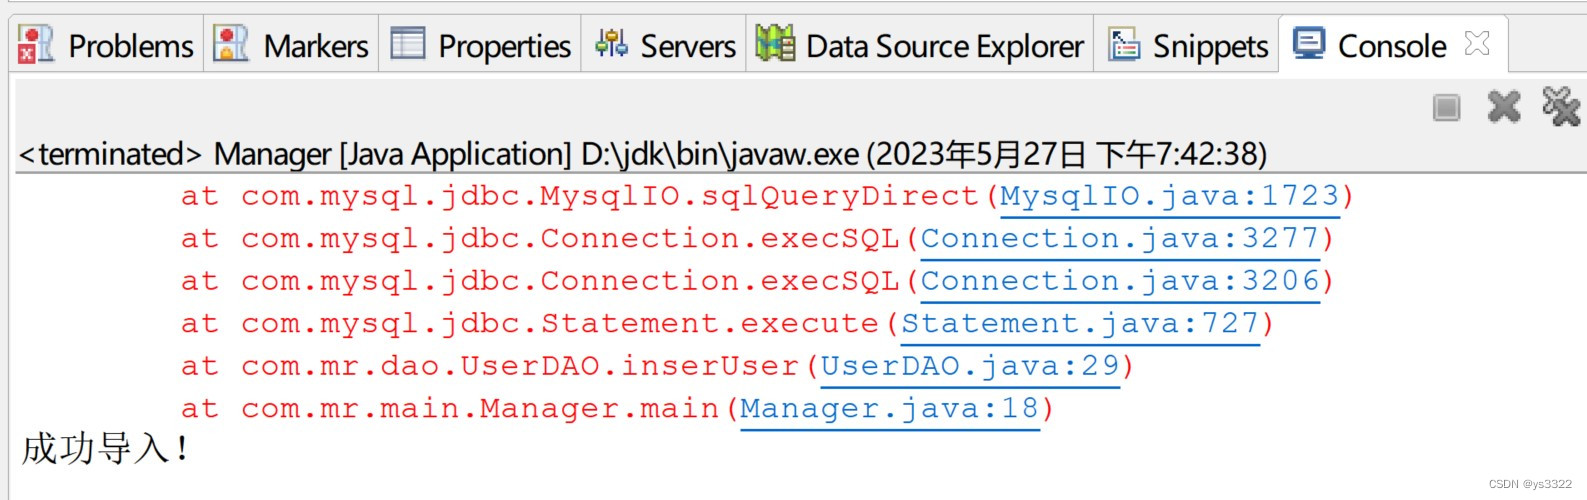
数据库中显示:


 1895
1895


 被折叠的 条评论
为什么被折叠?
被折叠的 条评论
为什么被折叠?
 到【灌水乐园】发言


