


一、创建一个spring项目
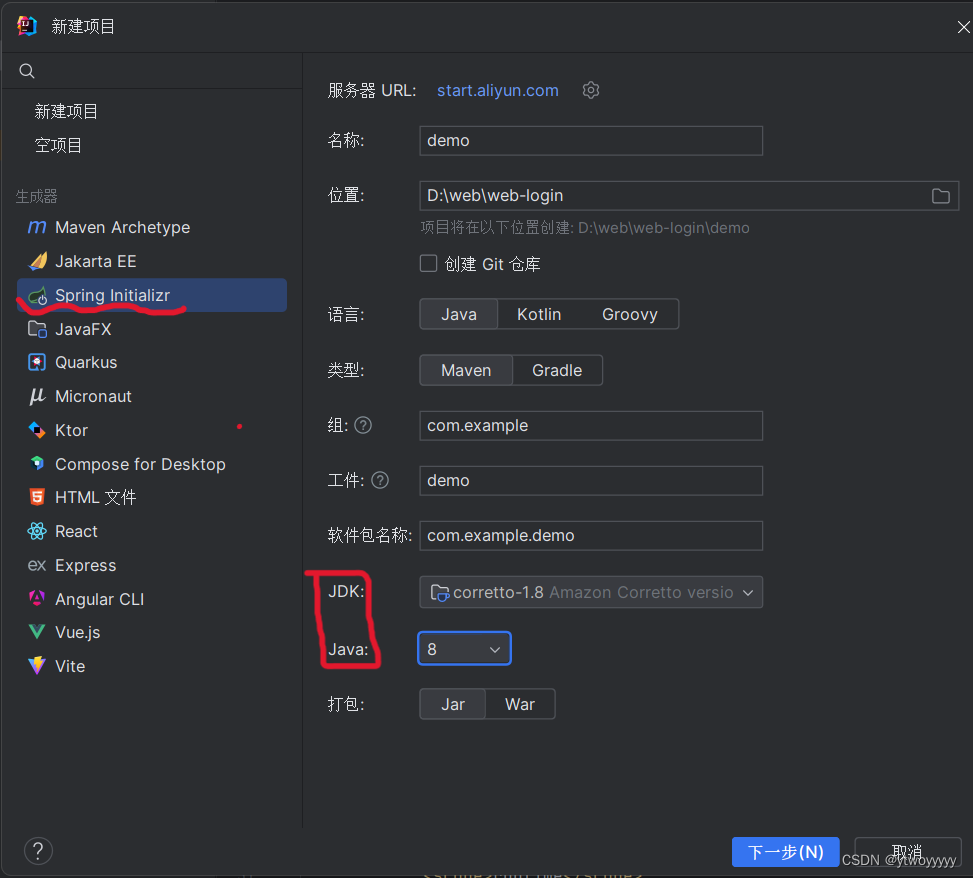
创建项目,选择spring initializr。注意选择相应的jdk和java版本,若没有相应的Java版本,可以更换服务器url
IntelliJ IDEA 2023创建Spring Boot项目时无法选择Java
选择好spring boot的版本,和项目需要的相关依赖
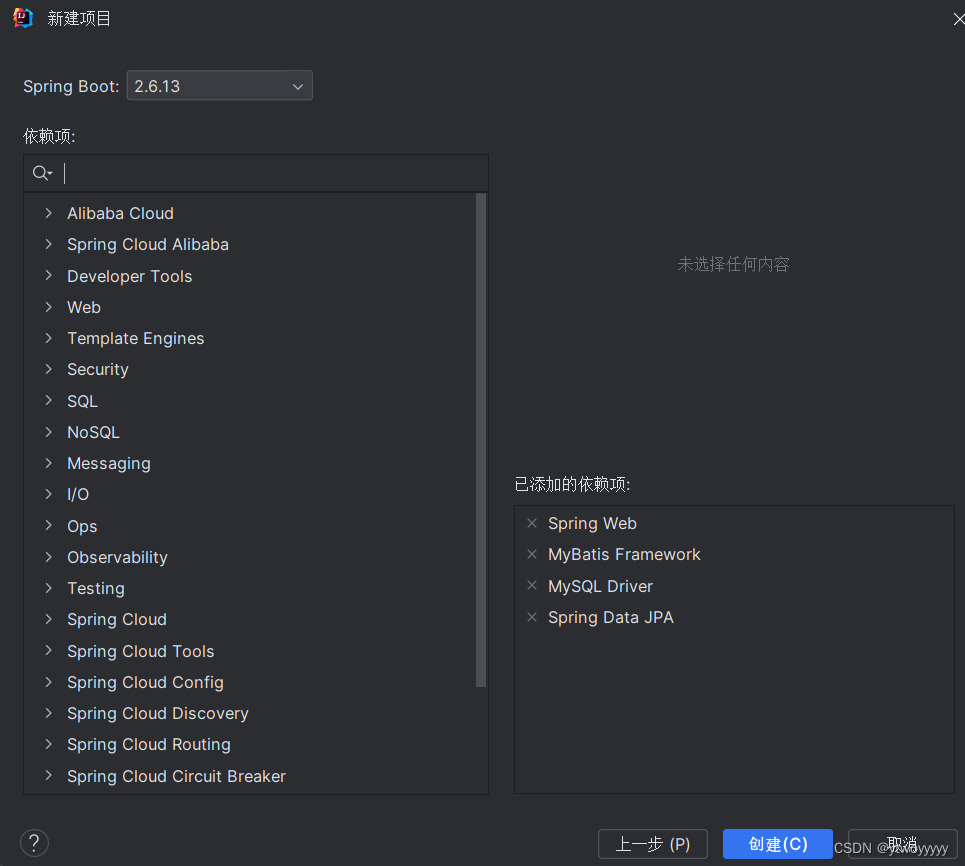
idea便自动导入相关依赖包,并做好项目基础目录
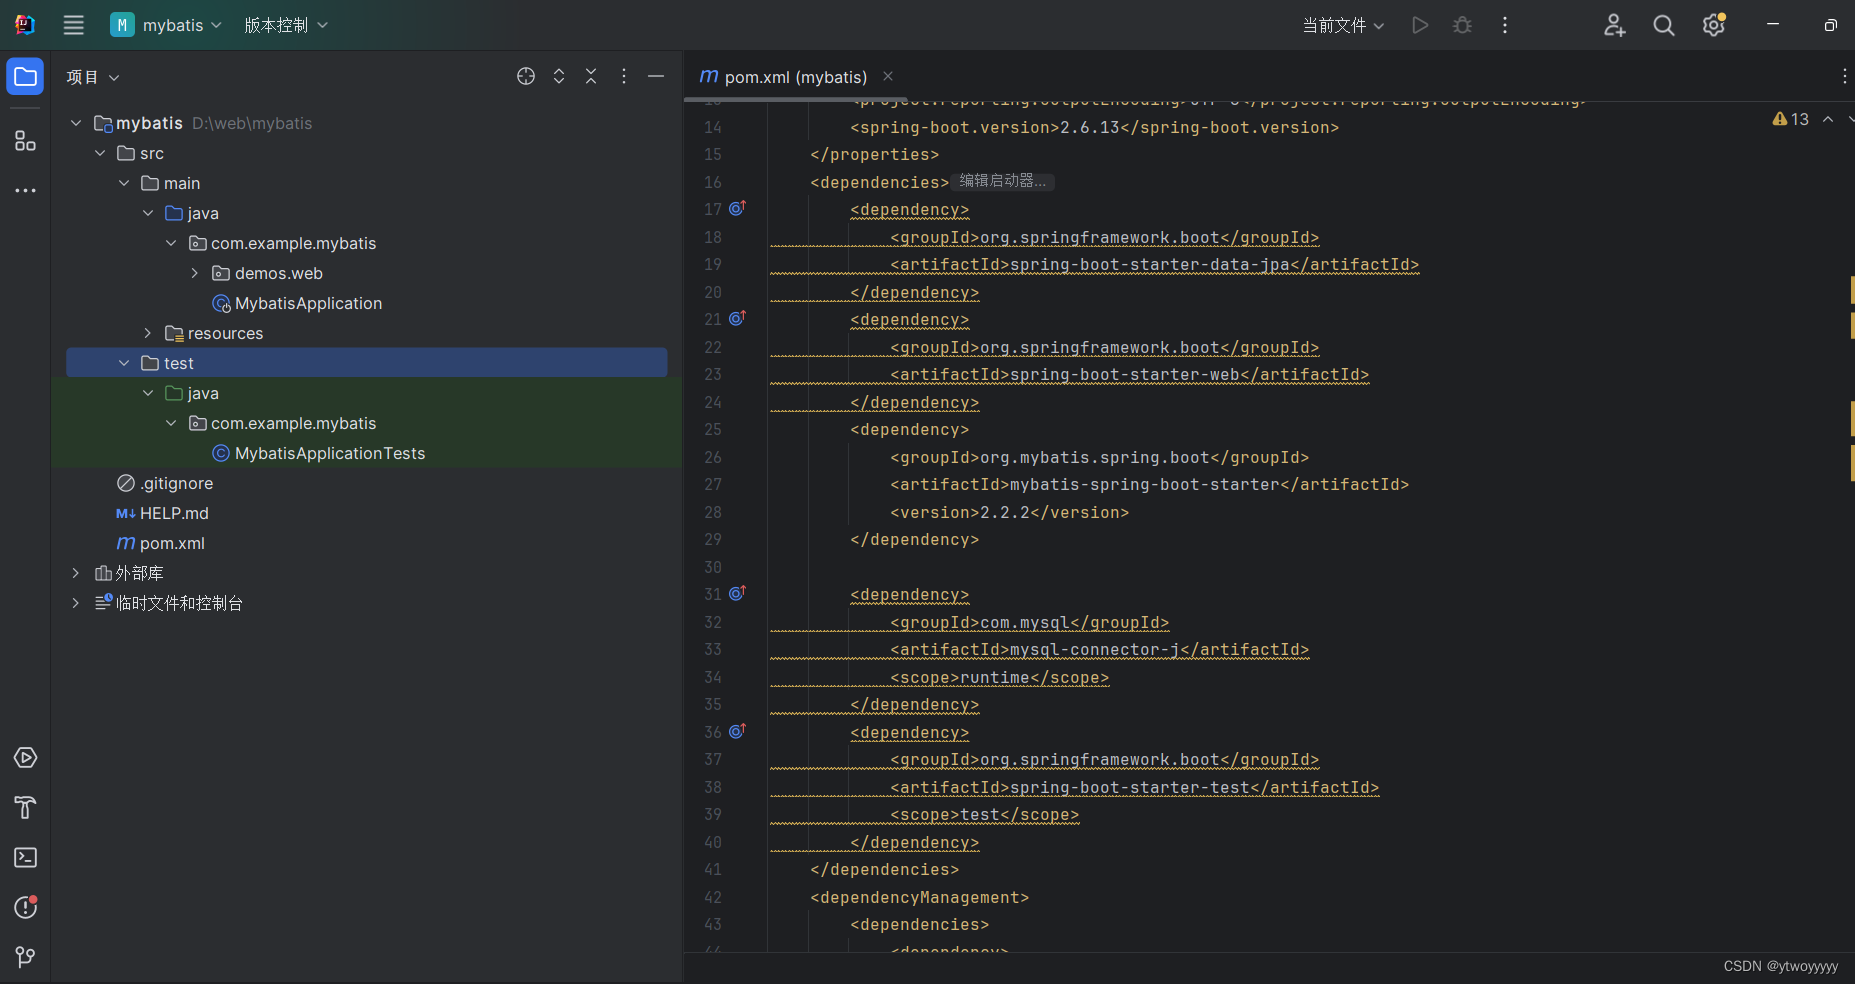
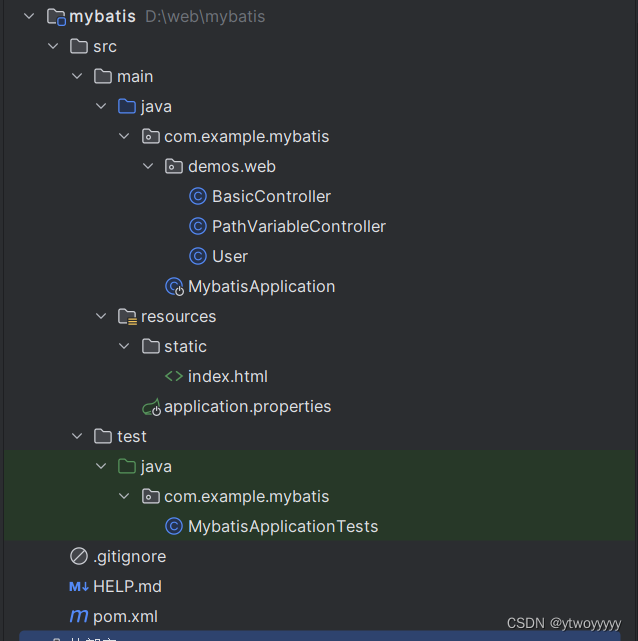
初始目录结构
二、环境配置
2.1创建数据库
创建项目时导入了数据库相关的依赖,但是项目却还没有进行数据库相关配置
所以接下来需要进行数据库的配置
创建user数据库
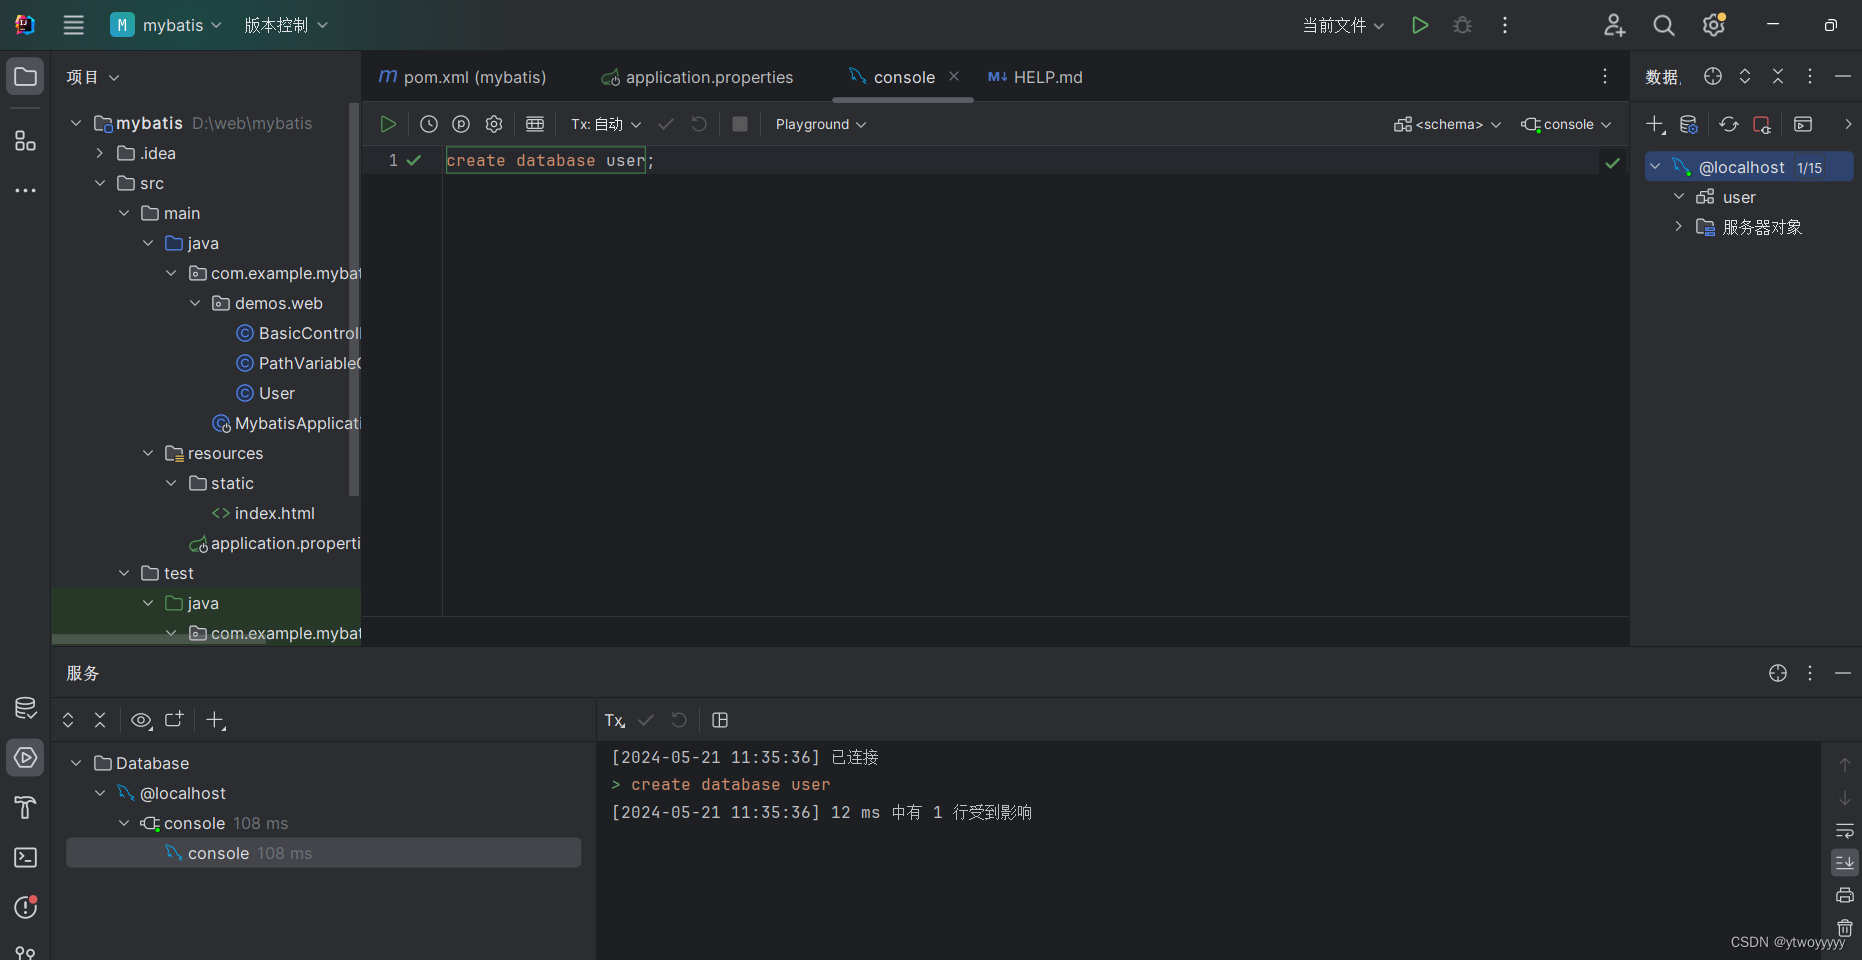
在库中创建表,user
CREATE TABLE user
(
id varchar(30) primary key NOT NULL ,
name varchar(30) NOT NULL,
password varchar(70) NOT NULL,
UNIQUE (uname)
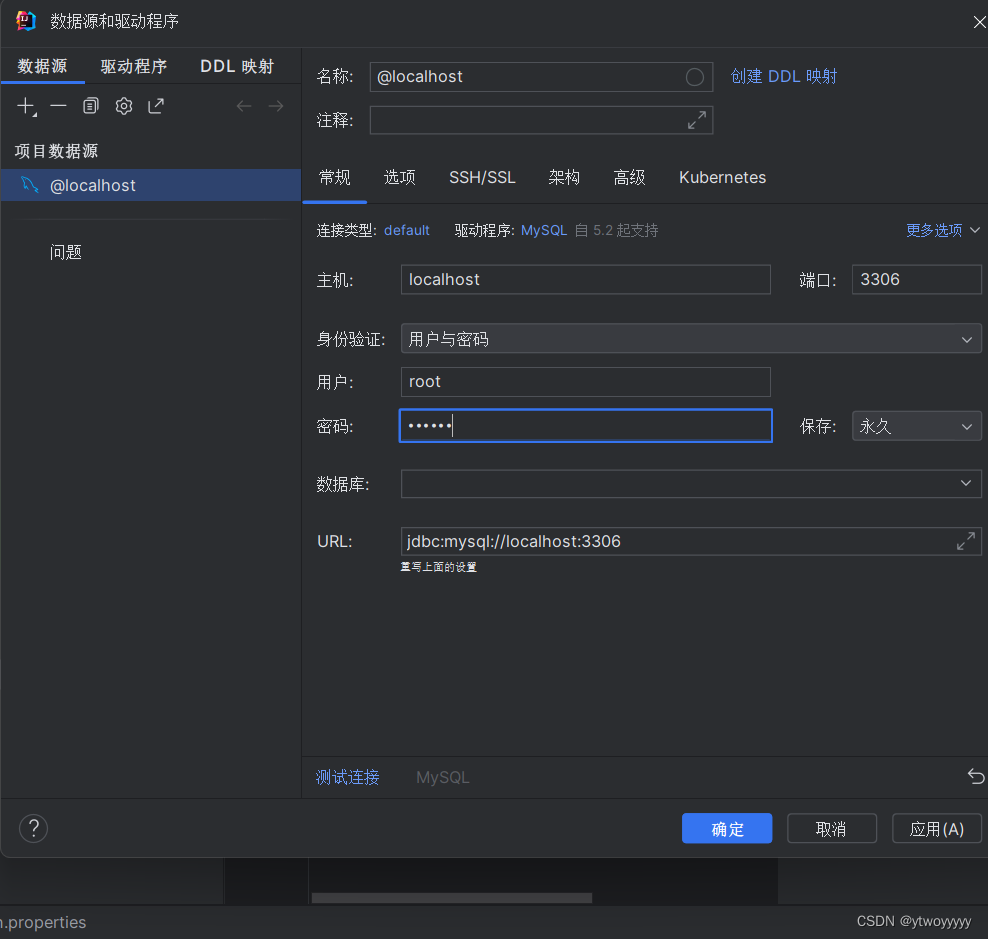
);2.2配置数据库
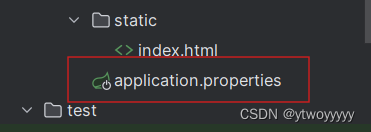
首先在目录找到配置文件application.properties
输入数据库相关配置信息
server.port=8081

# 配置数据库
# 配置驱动
spring.datasource.driver-class-name=com.mysql.cj.jdbc.Driver
# @localhost为你的数据库名称
spring.datasource.url=jdbc:mysql://localhost:3306/@localhost?serverTimezone=UTC
# Mysql用户
spring.datasource.username=root
# Mysql对应用户密码
spring.datasource.password=123456
2.3mybatis配置文件
在resource目录创建mybatis-config.xml

<?xml version="1.0" encoding="UTF-8"?>
<!DOCTYPE configuration
        PUBLIC "-//mybatis.org//DTD Config 3.0//EN"
        "http://mybatis.org/dtd/mybatis-3-config.dtd">
<configuration>
    <settings>
        <!-- Globally enables or disables any caches configured in any mapper under this configuration -->
        <setting name="cacheEnabled" value="true"/>
        <!-- Sets the number of seconds the driver will wait for a response from the database -->
        <setting name="defaultStatementTimeout" value="3000"/>
        <!-- Enables automatic mapping from classic database column names A_COLUMN to camel case classic Java property names aColumn -->
        <setting name="mapUnderscoreToCamelCase" value="true"/>
        <!-- Allows JDBC support for generated keys. A compatible driver is required.
        This setting forces generated keys to be used if set to true,
         as some drivers deny compatibility but still work -->
        <setting name="useGeneratedKeys" value="true"/>
    </settings>
    <!-- Continue going here -->
</configuration>
同时在配置文件application.properties中引入mybatis-config.xml
mybatis:
  config-location: classpath:mybatis-config.xml
三、创建映射器
3.1创建bean
注意要对应之前创建的user表中字段的属性
(对应user表中字段的属性,属性varchar对应String)
public class Userbean {

    private String id;

    private String name;

    private String password;

    public String getId() {
        return id;
    }

    public void setId(String id) {
        this.id = id;
    }
    public String getName() {
        return name;
    }
    public void setName(String name) {
        this.name = name;
    }
    public String getPassword() {
        return password;
    }
    public void setPassword(String password) {
        this.password = password;
    }
    @Override
    public String toString() {
        return "UserBean{" +
                "id='" + id + '\'' +
                ", name='" + name + '\'' +
                ", password='" + password + '\'' +
                '}';
    }
}
3.2 定义Dao接口
@Mapper
public interface Userdao {

    @Select("select id,name,password from t_user where id = #{id}")
    Userbean getUserById(String id);
    }
3.3 Controller
@Controller
@RequestMapping(value = "/user")
class Usercontroller {

    @Autowired
    private Userdao userdao;

    @RequestMapping(value = "/getData")
    @ResponseBody
    public String getUser(){
        Userbean userBean = userdao.getUserById("admin");
        return userBean.toString();
    }
}
3.4在templates目录创建1.html
<!DOCTYPE html>
<html lang="en">
<head>
    <meta charset="UTF-8">
    <title>Title</title>
</head>
<body>
    hallo!
</body>
</html>
创建HelloController项目,用于后面访问时跳转1页面
@Controller
public class HelloController {

    @RequestMapping(value = "/hello",method = RequestMethod.GET)
    public String Index(){
        return "/index.html";
    }
}
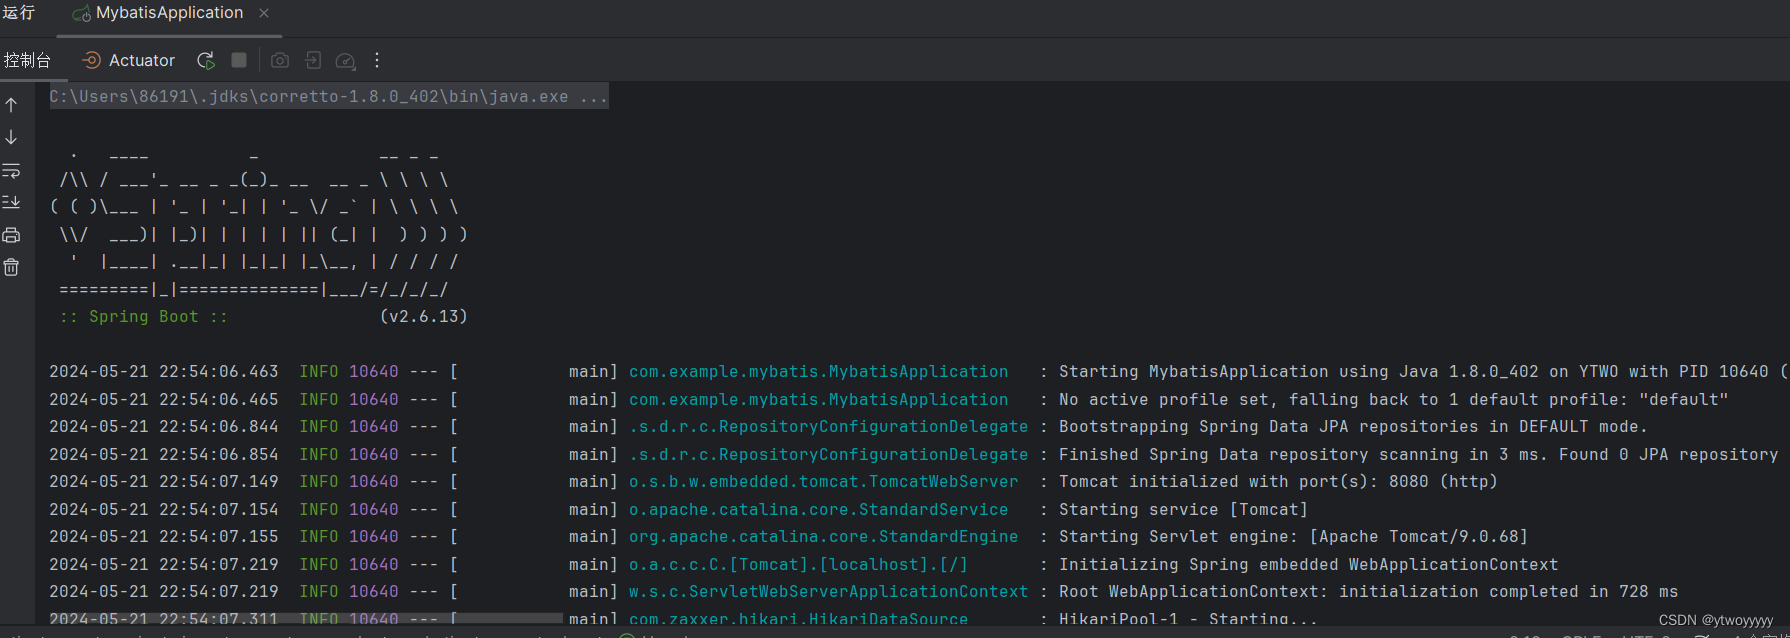
四、启动项目


 2565
2565


 被折叠的 条评论
为什么被折叠?
被折叠的 条评论
为什么被折叠?
 到【灌水乐园】发言


