


在使用 RadioButton 时,有时我们会想要达到选中时文字颜色和背景颜色同时改变的效果,这里还需要多进行几步操作。
首先,在布局文件中新建一组 RadioButton :
- <RadioGroup
- android:layout_width=“match_parent”
- android:layout_height=“wrap_content”
- android:gravity=“center”
- android:orientation=“horizontal”>
- <RadioButton
- android:id=“@+id/btn1”
- android:layout_width=“0dp”
- android:layout_height=“35dp”
- android:layout_weight=“1”
- android:background=“@drawable/radiobutton_background”
- android:button=“@null”
- android:gravity=“center”
- android:text=“P0501”
- android:textColor=“@color/radiobutton_textcolor”
- android:textSize=“14sp” />
- <RadioButton
- android:id=“@+id/btn2”
- android:layout_width=“0dp”
- android:layout_height=“35dp”
- android:layout_marginStart=“10dp”
- android:layout_weight=“1”
- android:background=“@drawable/radiobutton_background”
- android:button=“@null”
- android:gravity=“center”
- android:text=“P0502”
- android:textColor=“@color/radiobutton_textcolor”
- android:textSize=“14sp” />
- <RadioButton
- android:id=“@+id/btn3”
- android:layout_width=“0dp”
- android:layout_height=“35dp”
- android:layout_marginStart=“10dp”
- android:layout_weight=“1”
- android:background=“@drawable/radiobutton_background”
- android:button=“@null”
- android:gravity=“center”
- android:text=“P0503”
- android:textColor=“@color/radiobutton_textcolor”
- android:textSize=“14sp” />
- </RadioGroup>

            <RadioGroup
                android:layout_width="match_parent"
                android:layout_height="wrap_content"
                android:gravity="center"
                android:orientation="horizontal">

                <RadioButton
                    android:id="@+id/btn1"
                    android:layout_width="0dp"
                    android:layout_height="35dp"
                    android:layout_weight="1"
                    android:background="@drawable/radiobutton_background"
                    android:button="@null"
                    android:gravity="center"
                    android:text="P0501"
                    android:textColor="@color/radiobutton_textcolor"
                    android:textSize="14sp" />

                <RadioButton
                    android:id="@+id/btn2"
                    android:layout_width="0dp"
                    android:layout_height="35dp"
                    android:layout_marginStart="10dp"
                    android:layout_weight="1"
                    android:background="@drawable/radiobutton_background"
                    android:button="@null"
                    android:gravity="center"
                    android:text="P0502"
                    android:textColor="@color/radiobutton_textcolor"
                    android:textSize="14sp" />

                <RadioButton
                    android:id="@+id/btn3"
                    android:layout_width="0dp"
                    android:layout_height="35dp"
                    android:layout_marginStart="10dp"
                    android:layout_weight="1"
                    android:background="@drawable/radiobutton_background"
                    android:button="@null"
                    android:gravity="center"
                    android:text="P0503"
                    android:textColor="@color/radiobutton_textcolor"
                    android:textSize="14sp" />

</RadioGroup>1、Android:button=”@null” 这样设置可以不显示我们通常所见的 RadioButton 中的圆形选中按钮.
2、android:background=”@drawable/radiobutton_background” 这里设置了背景选择器,代码如下:
- <selector xmlns:android=“http://schemas.android.com/apk/res/android”>
- <item android:drawable=“@drawable/radiobutton_background_unchecked”
- android:state_checked=“false” />
- <item android:drawable=“@drawable/radiobutton_background_checked”
- android:state_checked=“true” />
- </selector>
<selector xmlns:android="http://schemas.android.com/apk/res/android">
    <item android:drawable="@drawable/radiobutton_background_unchecked"
        android:state_checked="false" />
    <item android:drawable="@drawable/radiobutton_background_checked"
        android:state_checked="true" />
</selector>- <shape xmlns:android=“http://schemas.android.com/apk/res/android”
- android:shape=“rectangle”>
- <!– 填充 –>
- <solid android:color=“@color/color14” />
- <!– 圆角 –>
- <corners android:radius=“5dp” />
- </shape>
<shape xmlns:android="http://schemas.android.com/apk/res/android"
    android:shape="rectangle">
    <!-- 填充 -->
    <solid android:color="@color/color14" />
    <!-- 圆角 -->
    <corners android:radius="5dp" />
</shape>
以上这些资源文件都放在 res/drawable/ 目录下。
3、android:textColor=”@color/radiobutton_textcolor” 这里设置了字体颜色选择器,需要稍作说明的是:需要在 res 目录下新建一个
文件夹取名为 color ,将字体颜色选择器 radiobutton_textcolor.xml 文件存放在 res/color/ 目录下面。代码如下:
- <selector xmlns:android=“http://schemas.android.com/apk/res/android”>
- <item android:color=“@color/color2”
- android:state_checked=“false” />
- <item android:color=“@color/color1”
- android:state_checked=“true” />
- </selector>
<selector xmlns:android="http://schemas.android.com/apk/res/android">
    <item android:color="@color/color2"
        android:state_checked="false" />
    <item android:color="@color/color1"
        android:state_checked="true" />
</selector>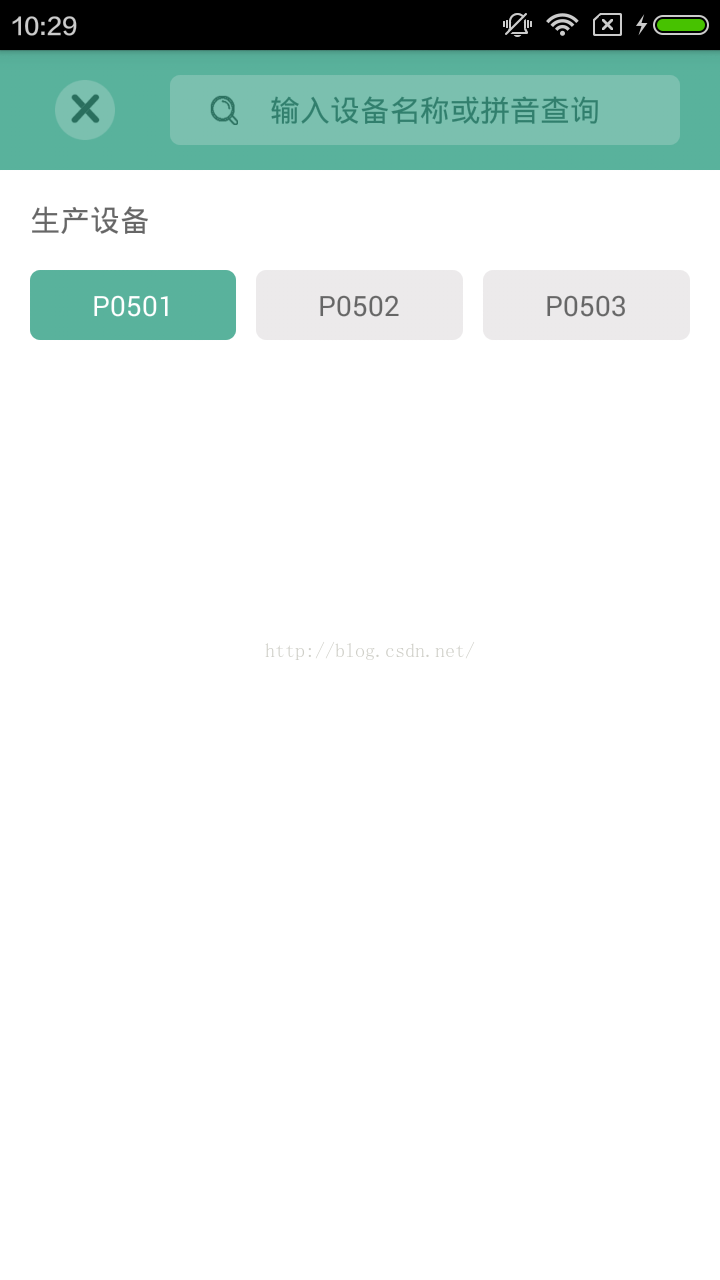

最后提一下怎么通过 RadioGroup 获取 RadioButton :
- RadioGroup radioGroup = (RadioGroup) findViewById(R.id.radioGroup);
- radioGroup.setOnCheckedChangeListener(new RadioGroup.OnCheckedChangeListener() {
- @Override
- public void onCheckedChanged(RadioGroup group, int checkedId) {
- RadioButton radioButton = (RadioButton) group.findViewById(checkedId);
- String result = radioButton.getText().toString();
- }
- });
        RadioGroup radioGroup = (RadioGroup) findViewById(R.id.radioGroup);
        radioGroup.setOnCheckedChangeListener(new RadioGroup.OnCheckedChangeListener() {
            @Override
            public void onCheckedChanged(RadioGroup group, int checkedId) {
                RadioButton radioButton = (RadioButton) group.findViewById(checkedId);
                String result = radioButton.getText().toString();
            }
        });


 365
365

 被折叠的 条评论
为什么被折叠?
被折叠的 条评论
为什么被折叠?
 到【灌水乐园】发言


