JetBrain学信网注册(Clion)

文章详细介绍了学生如何通过人工验证获得JetBrains的学生认证,然后下载并安装ClionIDE,包括选择安装路径,激活过程,以及如何汉化软件和配置开发环境。特别提到了使用Dev-C++的MinGW64进行集成。

摘要生成于 C知道 ,由 DeepSeek-R1 满血版支持, 前往体验 >

一、打开网站

首先打开JetBrains关于学生认证的网站:https://www.jetbrains.com/shop/eform/students,可以看见以下页面:

二、人工验证

人工验证适合于所有学生,特别是在没有学生邮箱、各种会员的情况下,我也是通过这个方法获得了学生认证。

人工认证的页面如下:

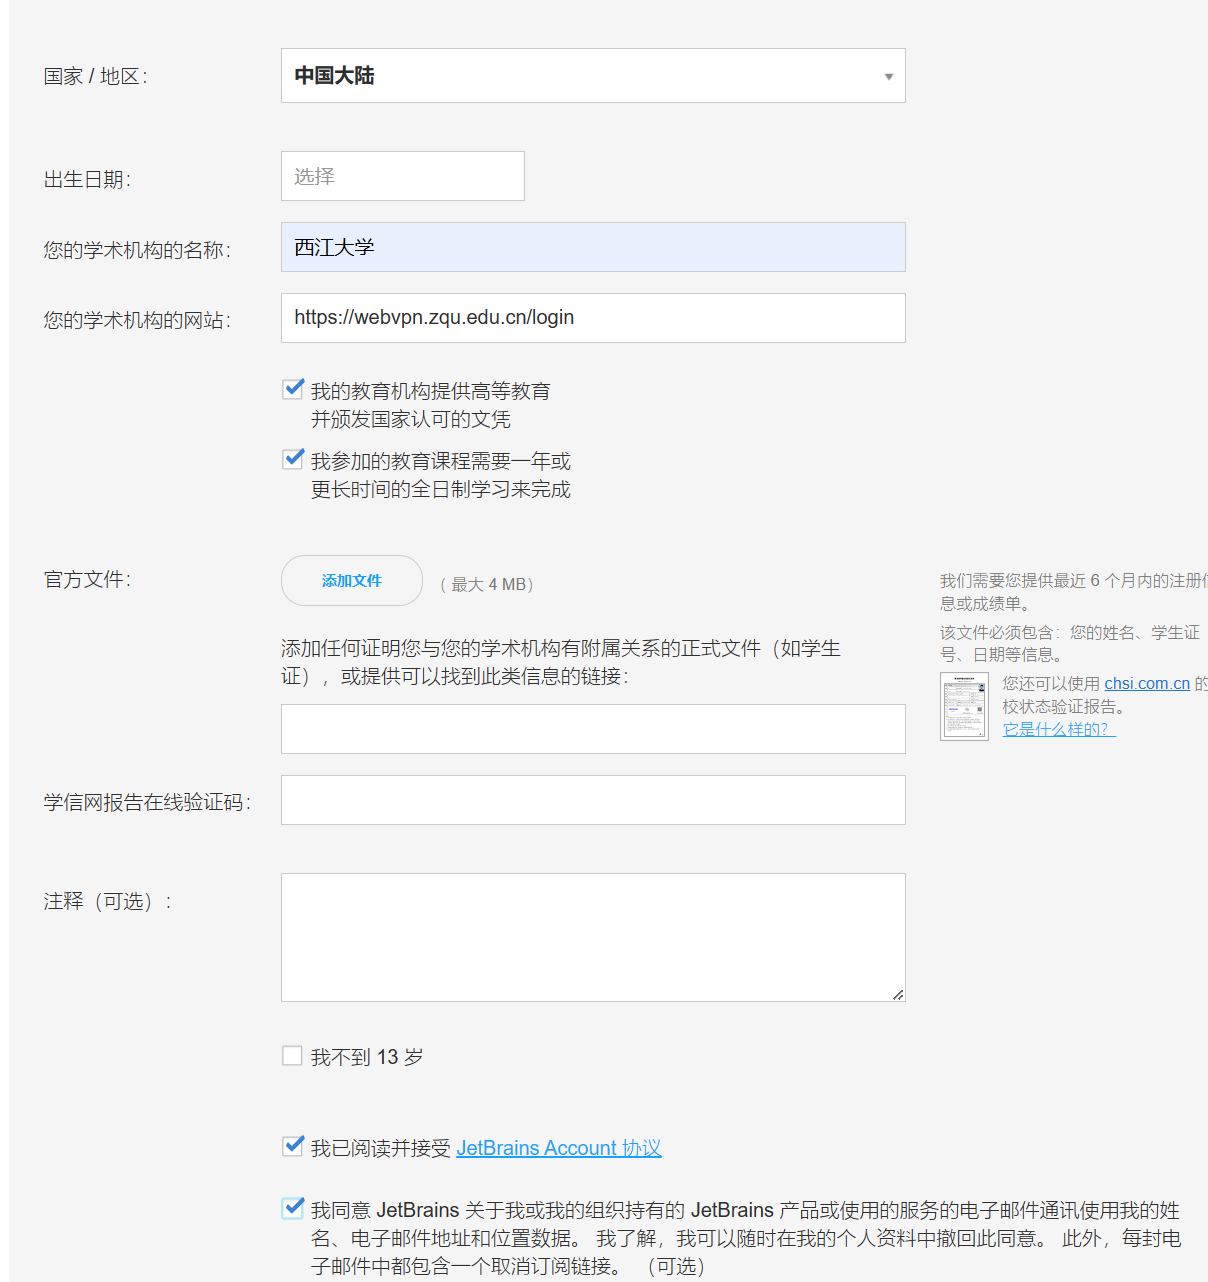
填写的电子邮箱也将是以后JetBrains的账号,那么中间的官方文件和学信网验证码怎么添加呢,
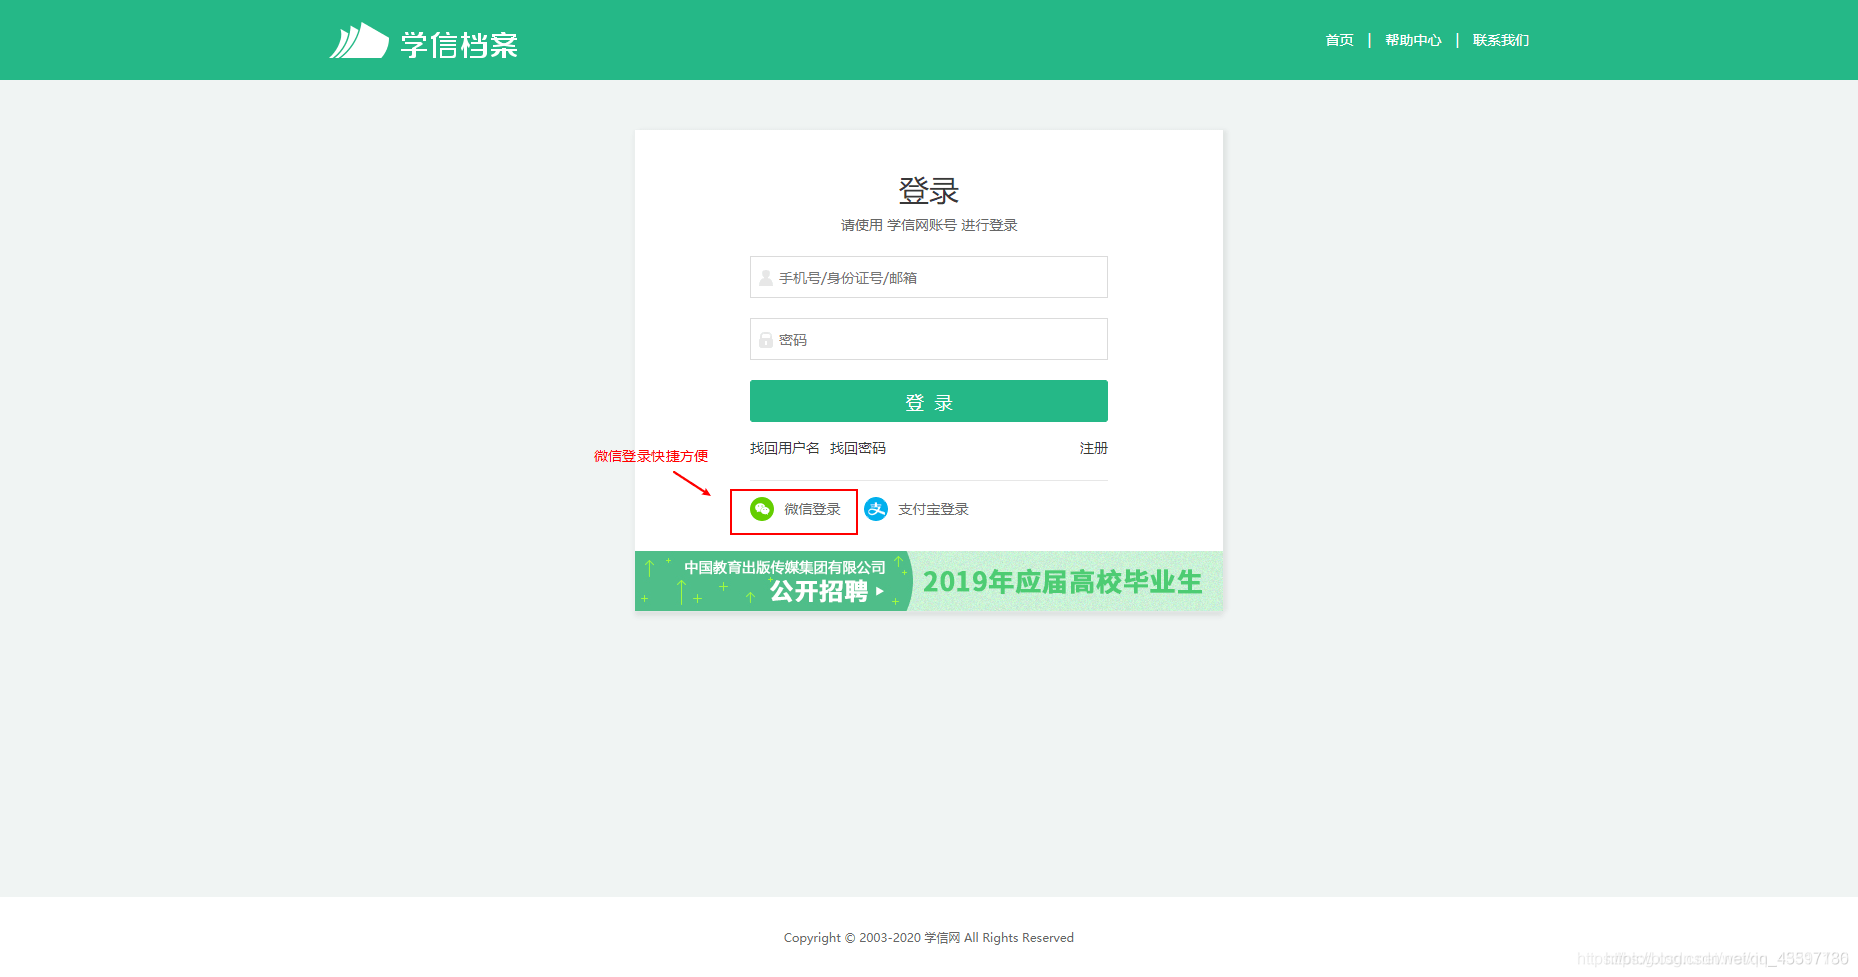
1.第一步,进入学信网并登录 入口

在这里插入图片描述

在这里插入图片描述

在这里插入图片描述在这里插入图片描述在这里插入图片描述

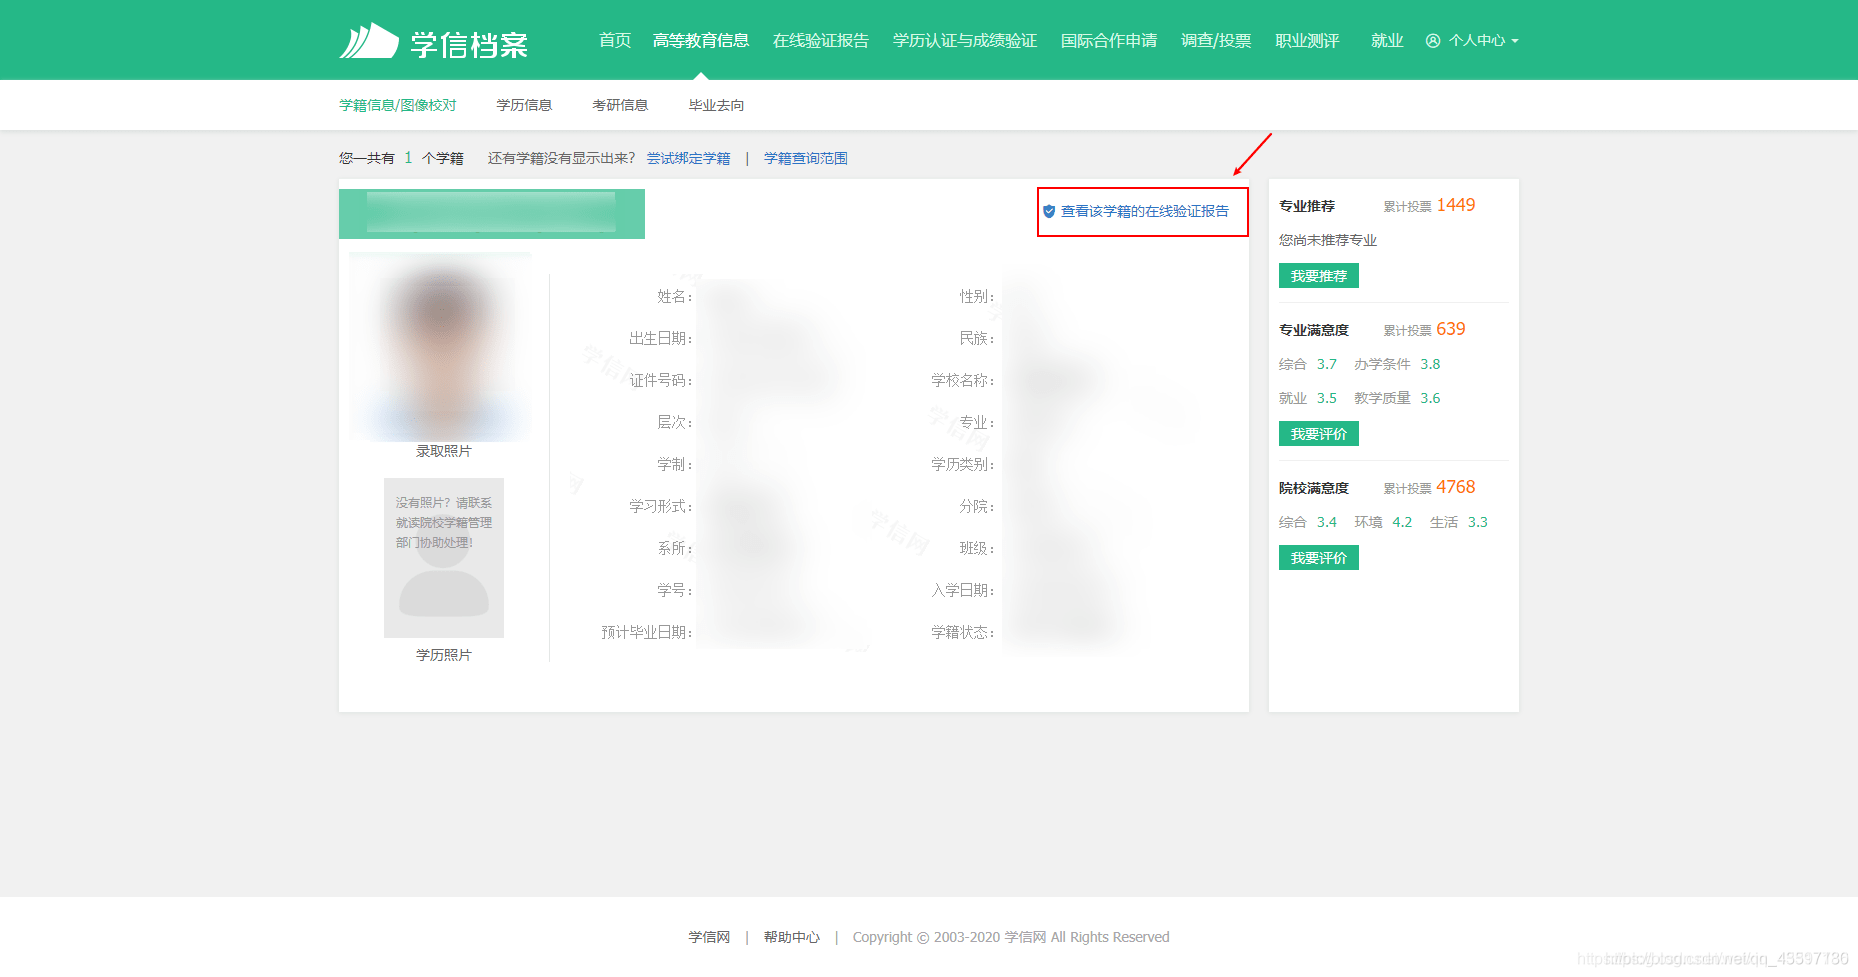
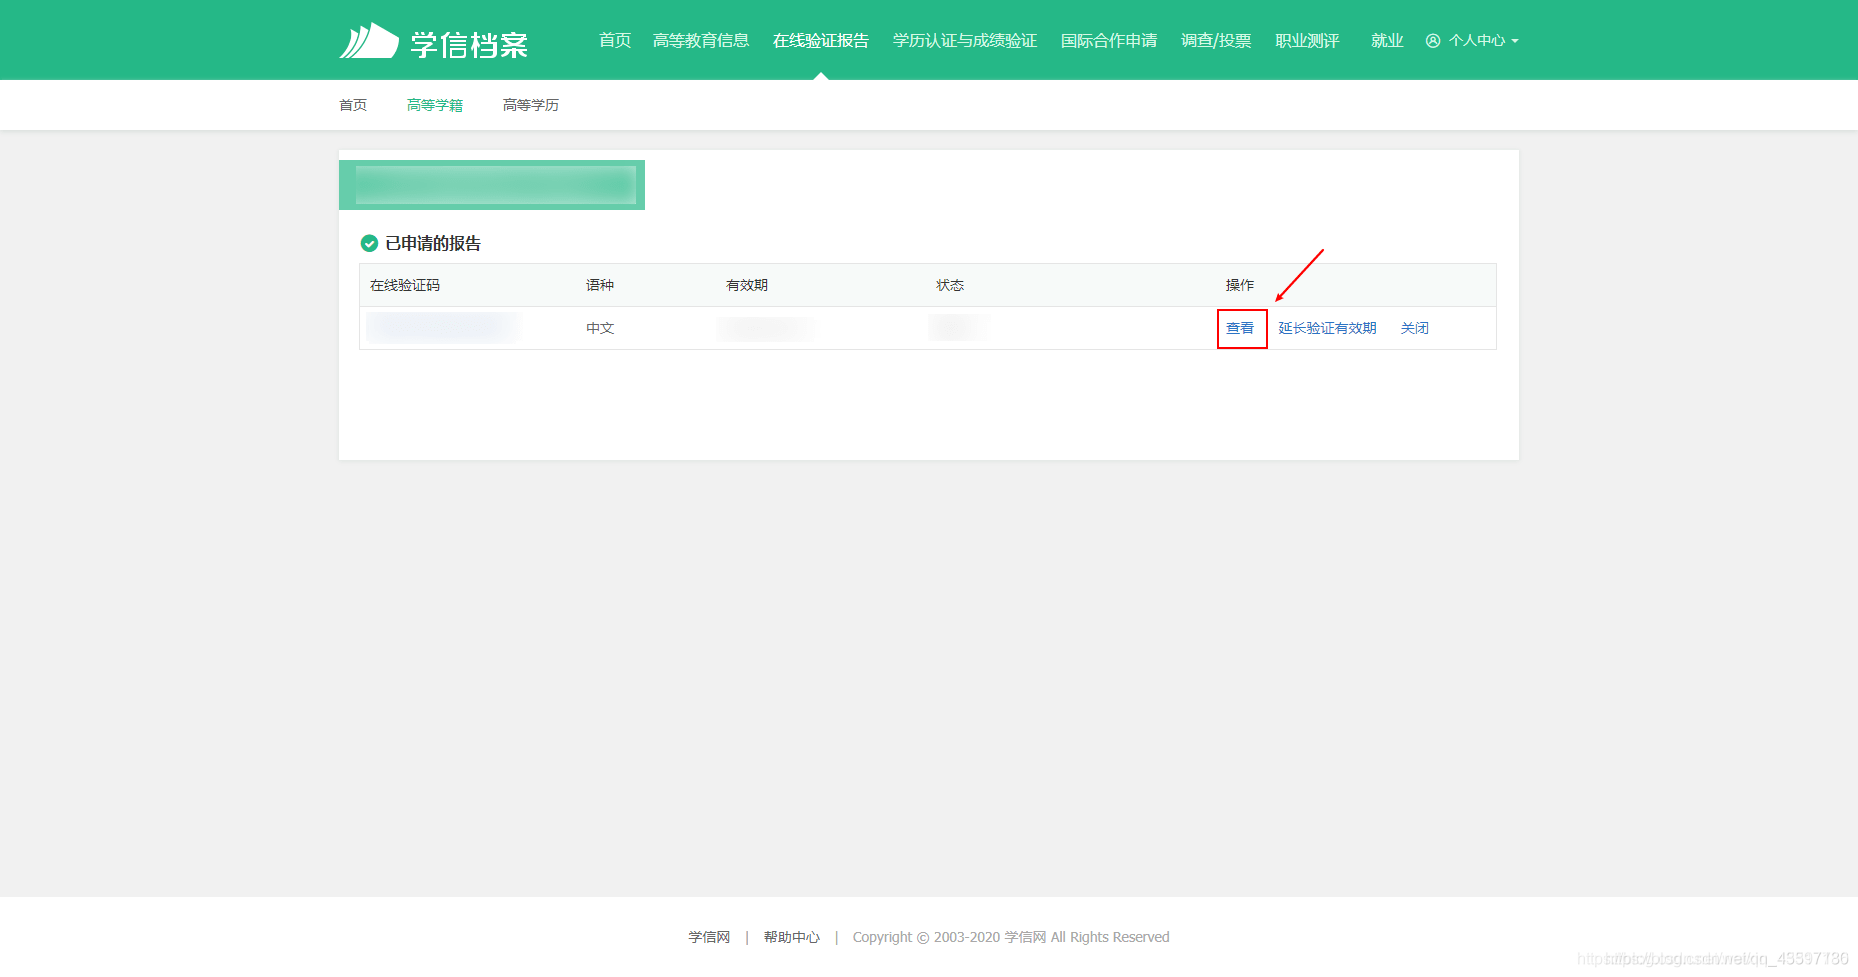
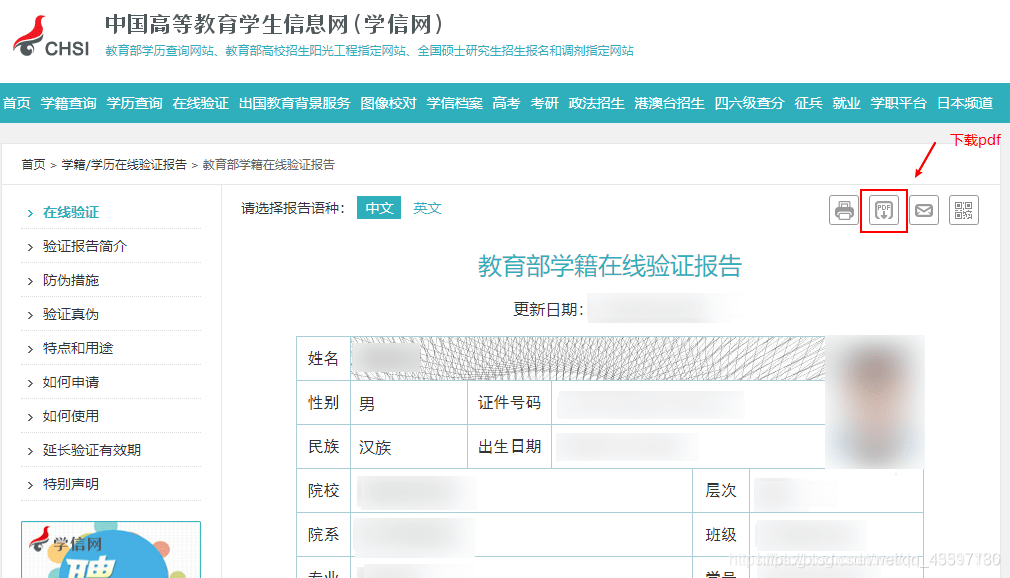
打开下好的PDF后将在线验证码复制粘贴至上面的学信验证码中,将pdf文件放入官方文件中即可。大概等2-3天,官方会给你的邮箱发一个注册成功邮件,然后就可以开始我们的下一步啦。

三、下载Clion

CLion:JetBrains 出品的 C 和 C++ 跨平台 IDE
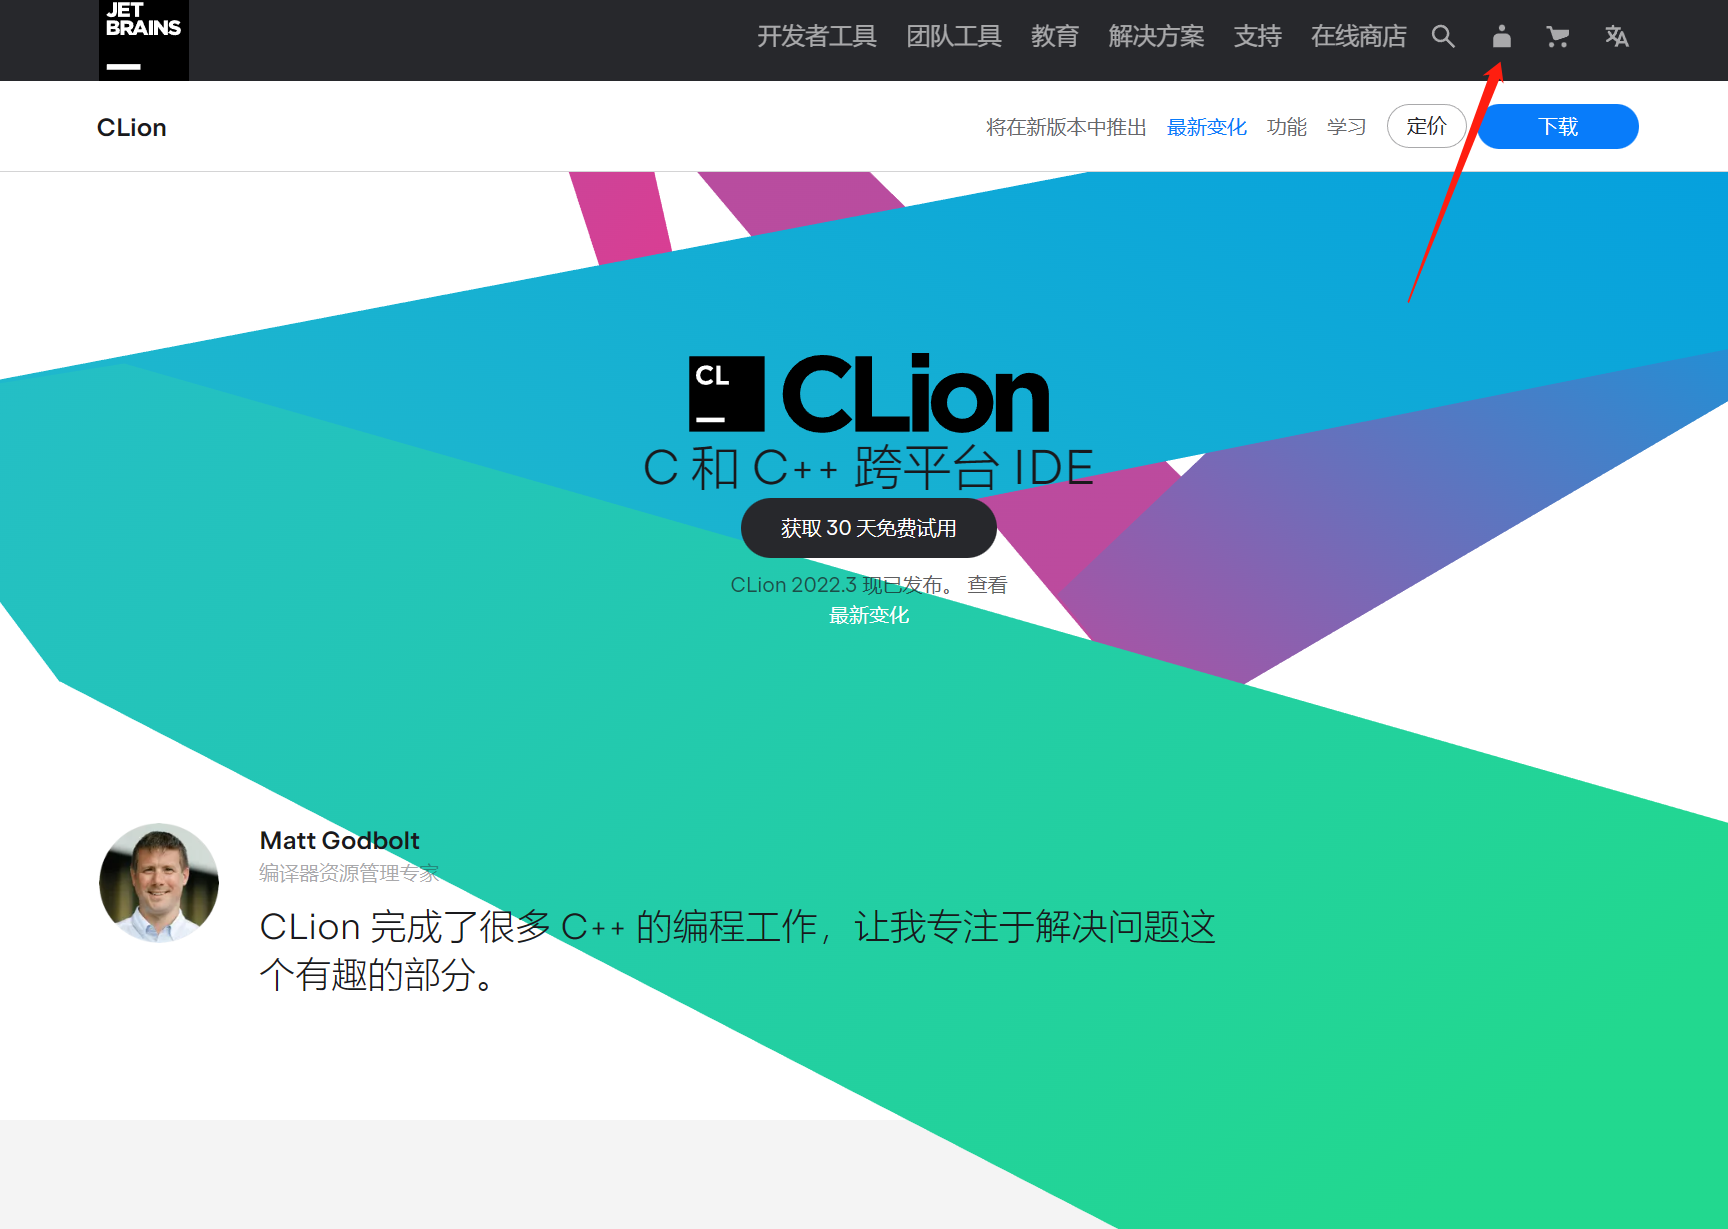
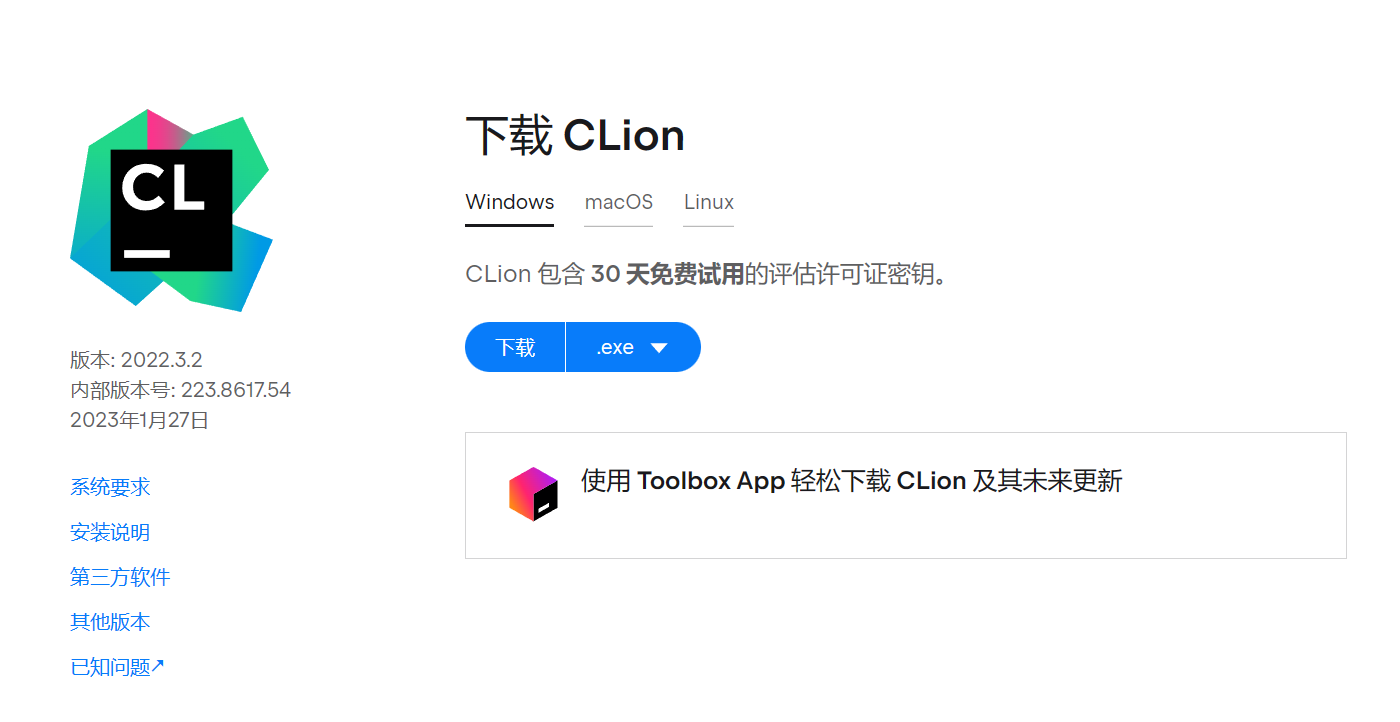
点击下载即可

四、安装与激活

双击下载完成后的可执行文件,会出现如下界面

在这里插入图片描述

解包完成后进入欢迎界面

在这里插入图片描述

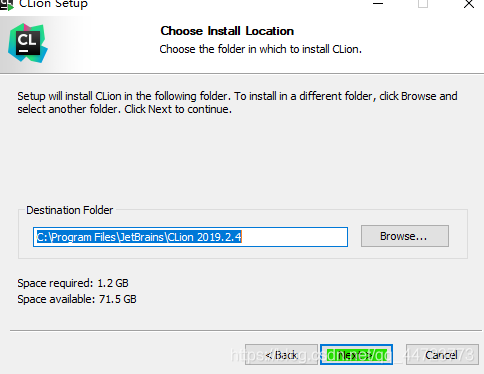
选择安装路径(最好是全英文否则容易出现bug),点击Next(PS:尽量不要选择安装在C盘文件下)

在这里插入图片描述

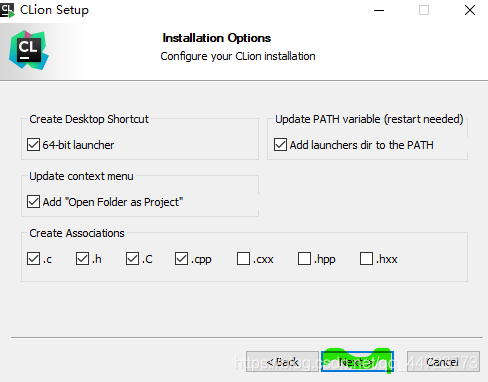
此时选择上面的三个,下面一长条请选择你需要的条目。选完后点Next。

在这里插入图片描述

接下来只需要等待就可以了

等待提示安装完成后,点击Finsh,出现如下界面

在这里插入图片描述

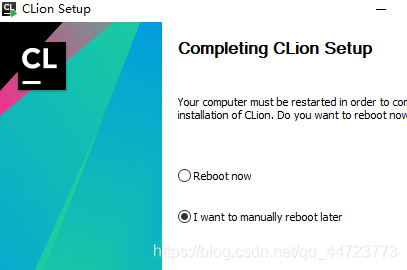
安装完成后桌面会出现Clion的快捷方式,点击即可进入。

五、激活和使用

打开CLion,在出现的激活窗口输入Jetbrains账号(刚刚注册用的)密码(自己刚刚设的),点击“Activate”按钮即可。

image12

下一步就是把软件汉化中文啦(当然,英语好的或者能看懂英文的可以不用)

点击Plugins插件——>输入中文,搜索到Chinese(simplified),点击install安装

img

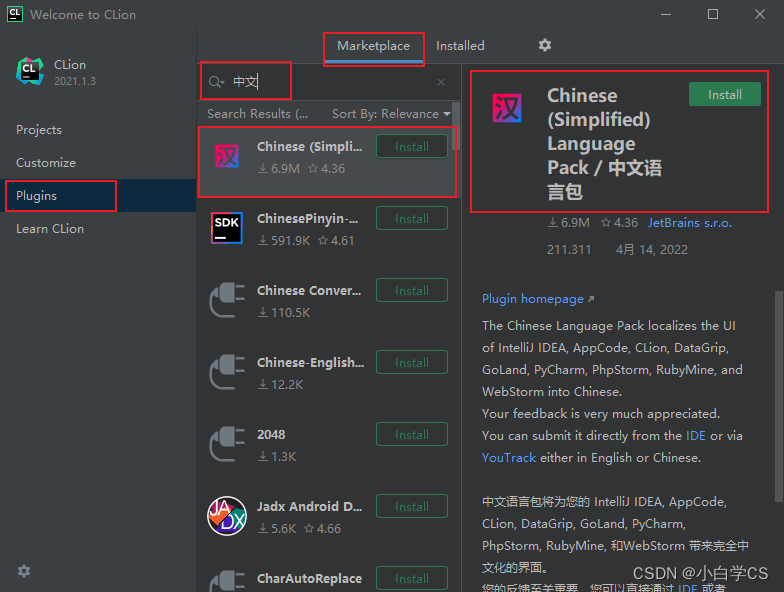
安装完中文翻译插件后,立即重启就可以看到已经翻译的汉化界面了。

然后我们再来配置CLion的一些设置

img

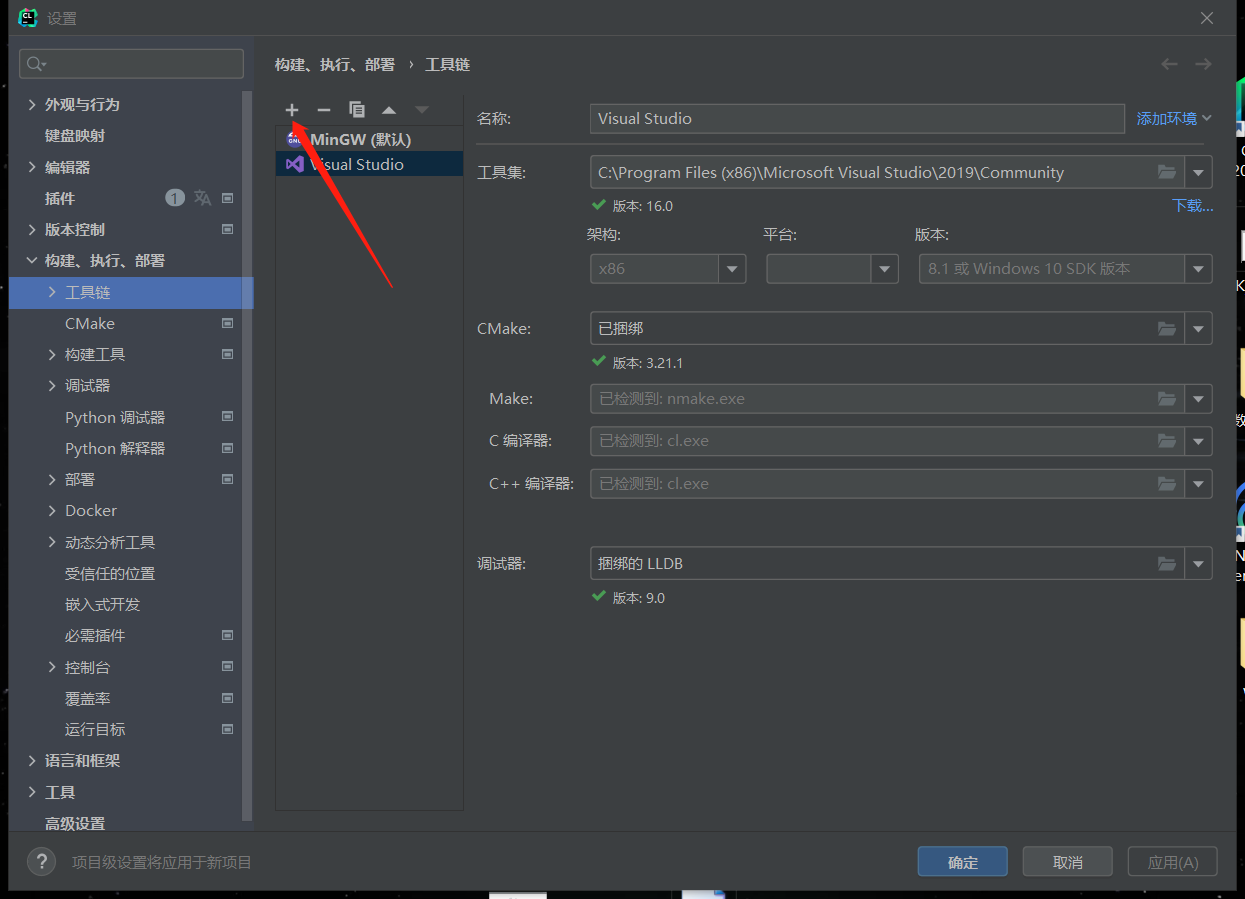
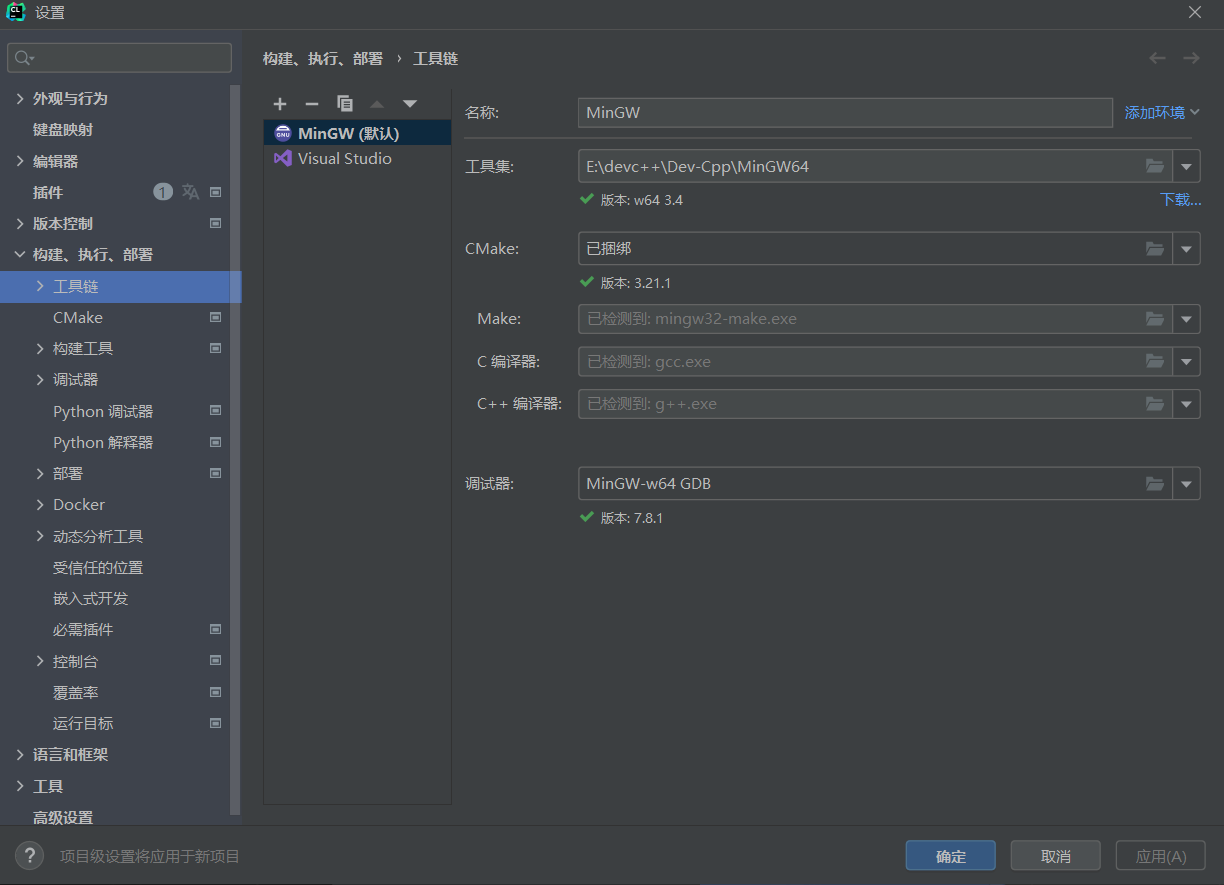
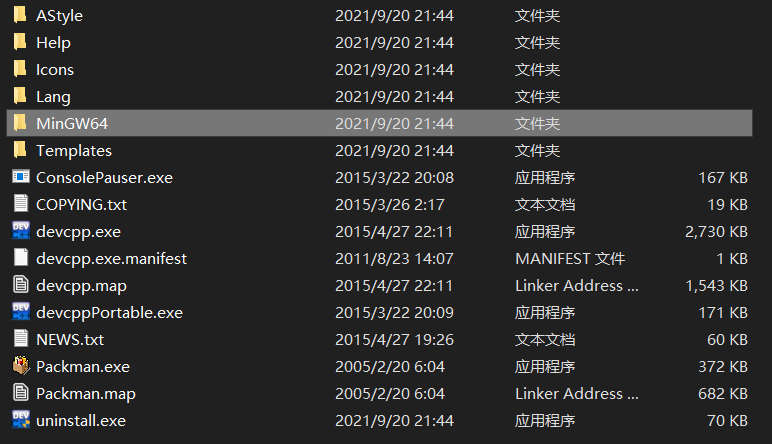
讲道理Clion会自动检测好所有的东西,如果没有的话,点击第二行工具集右边的文件夹图标,找到已经下好的Dev-c++的目录,选择MinGW64的文件夹导入即可

至此,我们Clion就下载配置好了。

### JetBrains MPS Introduction and Usage Guide #### Overview of JetBrains MPS JetBrains MPS (Meta Programming System) is a unique tool designed to build domain-specific languages (DSLs). It allows developers not only to define the structure, behavior, and appearance of new programming languages but also provides an environment where these languages can be used directly without requiring traditional compilation into lower-level code [^1]. #### Key Features - **Language Workbenches**: Supports creation and modification of custom languages. - **Projectional Editor**: Instead of text-based editing, uses a projectional editor that manipulates abstract syntax trees directly. - **Modular Language Design**: Facilitates reusing language constructs across multiple projects. #### Getting Started with Shapes Example A common introductory example provided by JetBrains involves creating a simple graphical shapes DSL named `Shapes`. This tutorial walks through several stages: ##### Creating Concepts The first step includes defining concepts which represent elements within your language. For instance, when building a shape modeling system, one might start by specifying basic geometric entities like circles or squares [^2]. ##### Defining Editors Once concepts are established, editors need definition next. An editor describes how users interact visually with instances of those concepts during development time. In case of our running Shapes example, this means laying out properties such as position coordinates alongside visual representations for each type of figure [^3]. ```xml <editor> <children> <!-- Define layout components here --> <component name="ShapeColor"/> </children> </editor> ``` This XML snippet demonstrates part of what goes inside an `.msd` file – specifically configuring child nodes under root `<editor>` tag along with adding predefined color selection component from parent concept. #### Advanced Topics After mastering basics on crafting simple models using prebuilt blocks, more advanced topics could involve extending core functionalities via plugins, integrating external libraries, automating tasks with scripts, etc., all tailored towards enhancing productivity while working closely aligned with specific business requirements.
评论
添加红包

请填写红包祝福语或标题

红包个数最小为10个

红包金额最低5元

当前余额3.43前往充值 >
需支付:10.00
成就一亿技术人!
领取后你会自动成为博主和红包主的粉丝 规则
hope_wisdom
发出的红包
实付
使用余额支付
点击重新获取
扫码支付
钱包余额 0

抵扣说明:

1.余额是钱包充值的虚拟货币,按照1:1的比例进行支付金额的抵扣。
2.余额无法直接购买下载,可以购买VIP、付费专栏及课程。

余额充值