


本文演示了使用本地文件的配置中心服务,步骤如下:
1.新建项目
注意引用:
        <dependency>
			<groupId>org.springframework.boot</groupId>
			<artifactId>spring-boot-starter-web</artifactId>
		</dependency>
		<dependency>
			<groupId>org.springframework.cloud</groupId>
			<artifactId>spring-cloud-config-server</artifactId>
		</dependency>
    <dependencyManagement>
		<dependencies>
			<dependency>
				<groupId>org.springframework.cloud</groupId>
				<artifactId>spring-cloud-dependencies</artifactId>
				<version>${spring-cloud.version}</version>
				<type>pom</type>
				<scope>import</scope>
			</dependency>
		</dependencies>
	</dependencyManagement>
目录结构

2. 配置
配置bootstrap.yml (由application.yml改名而来,bootstrap启动更早)

config2 中文件格式 /{name}-{profiles}.yml 。 name可以是不同的服务,profiles代表环境
启用@EnableConfigServer
@SpringBootApplication
@EnableConfigServer
public class ConfigApplication {

	public static void main(String[] args) {
		SpringApplication.run(ConfigApplication.class, args);
	}

}
3. 使用
注意:config2文件夹中,如果存在application.yml, 会和其他文件合并,这个可根据实际需要,抽取公共部分
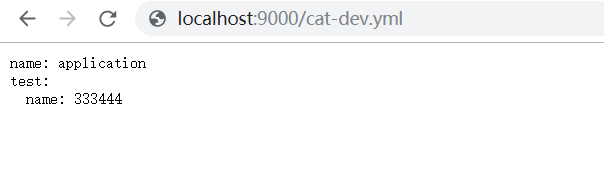
本地 启动后访问
http://localhost:9000/cat-dev.yml ,如下图显示内容
下面的链接可以查看使用了哪些文件。其中master 对应label,指的的git的分支,在使用git配置config server时会起作用

4. config client 使用
        <!--config client依赖-->
        <dependency>
            <groupId>org.springframework.cloud</groupId>
            <artifactId>spring-cloud-starter-config</artifactId>
        </dependency>
server:
port: 8008
spring:
application:
name: cat
cloud:
config:
#name: cat#对应config server Url中的{application}
profile: dev #配置环境,对应config server Url中的{profile}
#label: trunk #配置分支(不配置则默认:git则是master,svn则是trunk),
uri: http://localhost:8866 #配置中心地址如需源码资料,可以留言


 307
307


 被折叠的 条评论
为什么被折叠?
被折叠的 条评论
为什么被折叠?
 到【灌水乐园】发言


