很多人对CSS的布局有困惑,实际的应用场景中由于布局种类多难以选择。今天我花些时间总结下自己对CSS布局的理解,分析下了解各种布局的优劣,同时希望能分享给初入前端的朋友们一些在布局上的经验,如果有那些地方总结的不好,欢迎大家指正。言归正传,现在就来揭开各种布局的面纱。
单列布局
<div class="parent">
    <div class="child"></div>
</div>
水平居中
水平居中的布局方式是最常见的一种,常常用于头部、内容区、页脚,它主要的作用是控制盒子在整个页面以水平居中的方式呈现。
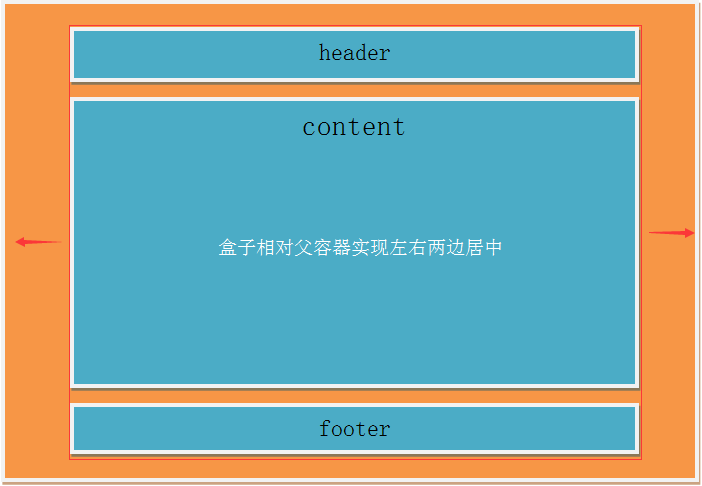
使用margin:0 auto来实现
.child{width:800px; margin: 0 auto;}
优势:兼容性好
劣势:需要指定盒子 宽度
1.使用table来实现
.child{display: table; margin: 0 auto;}
优势:不需要父容器parent,只需要对自身进行设置
劣势:IE6、7需要调整结构
2.使用inline-block和text-align来实现
.parent{text-align: center;}
.child{display: inline-block;}
优势:兼容性好
劣势:需要同时设置子元素和父元素
3.使用绝对定位absolute来实现
使用绝对定位来实现水平居中布局有两种情况,一种子容器无宽度,另一种子容器有宽度。无宽度可以用一下代码,如果是有宽度,则可以设置margin-left负值为容器宽度的一半。
.parent{position: relative;}
.child{position: absolute; left: 50%; transform: translateX(-50%);}
优势:无需设置容器宽度,在移动端可以使用
劣势:兼容性差,需要IE9及以上浏览器的支持
4.使用flex布局来实现
flex有两种方法来实现水平居中,父容器设置display:flex, 一种直接在父容器中设置justify-content属性值center。第二种在子容器中使用margin: 0 auto
.parent{display: flex; justify-content: center;}
.parent{display: flex;}
.child{margin: 0 auto;}
优势:实现起来简单,尤其是使用在响应式布局中
劣势:兼容性差,如果大面积的使用该布局可能会影响效率
垂直居中
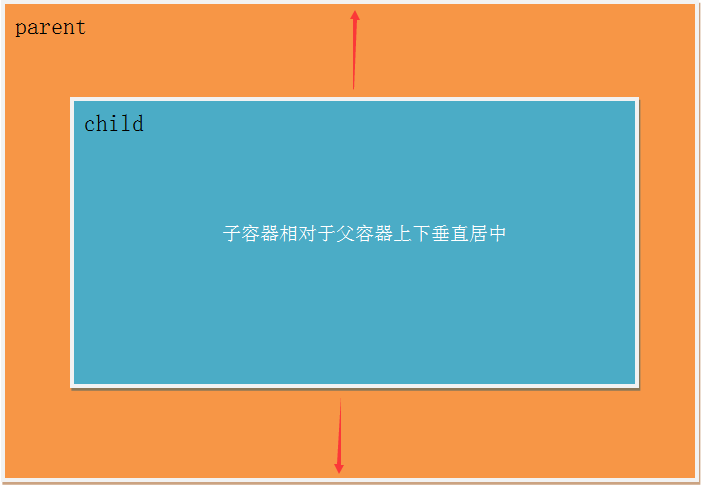
这边说的垂直居中是子容器无高的垂直居中,并非单行文本垂直居中line-height
1.使用绝对定位absolute来实现(同水平居中的使用方法,优劣一样)
.parent{position: relative;}
.child{position: absolute; top: 50%; transform: translateY(-50%);}
2.使用flex来实现
.parent{display: flex; align-items: center;}
3.使用display:table-cell来实现
.parent{display: table-cell;vertical-align: middle;height: 400px;}
总结:将水平居中和垂直居中两种布局方法相互的结合起来就可以实现水平居中布局。这边只举一个用绝对定位来实现水平垂直居中布局的方法,别的方法大家可以尝试自己练习。(以下介绍各种布局时都是基于上面水平和垂直居中的方法,所有对于它们的优劣就不再分析。)
.parent{position: relative;}
.child{position: absolute; top: 50%; left: 50%; transform: translate(-50%,-50%);}
多列布局
多列布局也是非常常见的,适用于一侧定宽,另一侧自适应的布局。
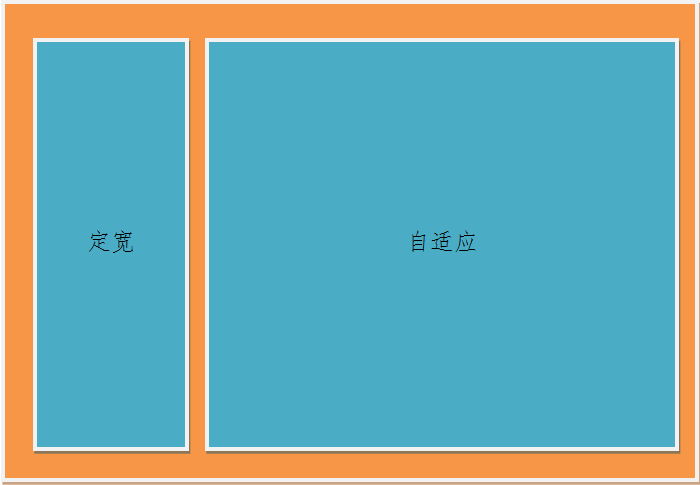
浮动布局
前段时间我总结过关于两列浮动布局方法,这里我就不再从新总结了,如果有兴趣的朋友可以参考前端时间关于浮动布局的方法(总结)这篇博客。
多列等分布局
多列等分布局常常出现在内容中,多数为同功能、同阶级内容的并排显示。
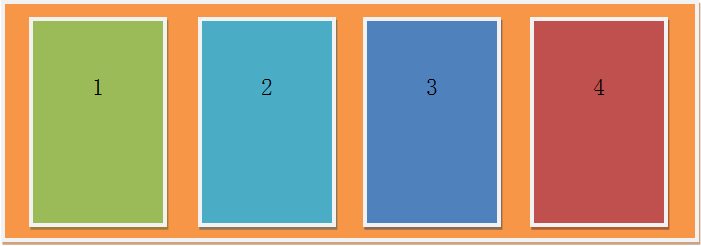
HTML代码
<div class="parent">
    <div class="column">1</div>
    <div class="column">2</div>
    <div class="column">3</div>
    <div class="column">4</div>
</div>
1.使用flex来实现多列布局
.parent{display: flex;}
.column{flex: 1;}
.column+ .column{margin-left: 20px;}
2.使用table来实现多列布局
.parent{display: table; table-layout: fixed; width: 100%;}
.column{display: table-cell; padding-left: 20px;}
3.使用float来实现多列布局
.column{float: left; width: 25%; padding-left: 20px; box-sizing: border-box;}
提示:使用table和float实现多列布局的时候需要注意,如果要设置背景颜色则必须将.column盒子作为父容器在其里面添加一个子容器,在设置背景颜色,如果直接在.column容器中设置背景颜色会由于padding而无法产生盒子之间的间距。
九宫格布局
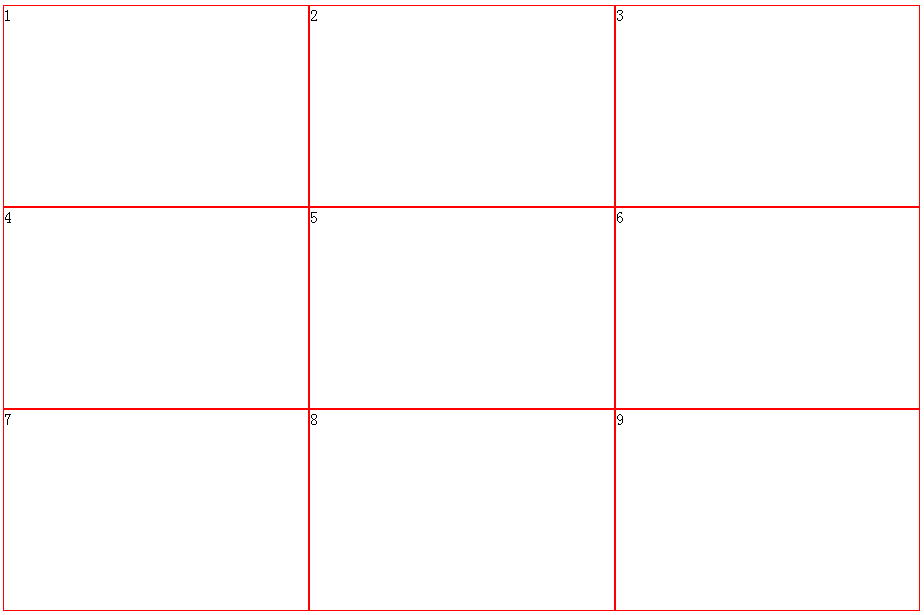
HTML代码
<div class="parent">
    <div class="row">
        <div class="item"></div>
        <div class="item"></div>
        <div class="item"></div>
    </div>
    <div class="row">
        <div class="item"></div>
        <div class="item"></div>
        <div class="item"></div>
    </div>
    <div class="row">
        <div class="item"></div>
        <div class="item"></div>
        <div class="item"></div>
    </div>
</div>
- 1
- 2
- 3
- 4
- 5
- 6
- 7
- 8
- 9
- 10
- 11
- 12
- 13
- 14
- 15
- 16
- 17
- 1
- 2
- 3
- 4
- 5
- 6
- 7
- 8
- 9
- 10
- 11
- 12
- 13
- 14
- 15
- 16
- 17
1.使用flex来实现九宫格布局
.parent{display: flex; flex-direction: column;width: 300px;}
.row{height: 100px; display: flex;border: 1px solid red;}
.item{width: 100px; background-color: #ccc;border: 1px solid red;}
2.使用table来实现九宫格布局
.parent{display: table; table-layout: fixed; width: 100%;}
.row{display: table-row;}
.item{display: table-cell; width: 33.3%; height: 200px; border: 1px solid red;}
全屏布局
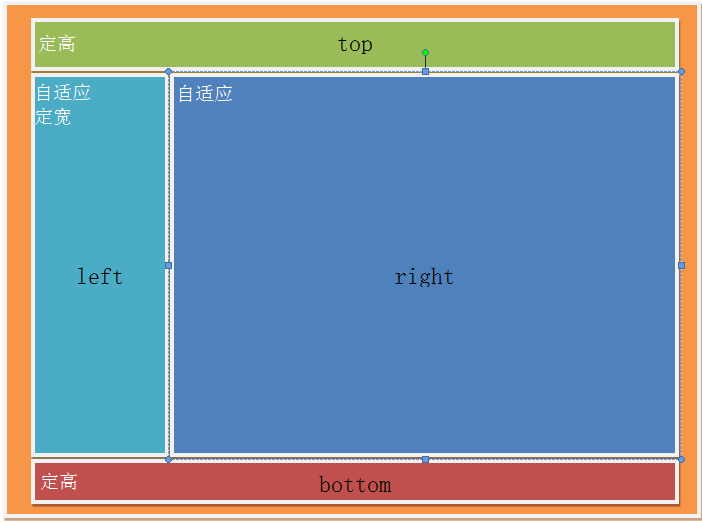
HTML代码
<div class="parent">
    <div class="top"></div>
    <div class="left"></div>
    <div class="right"></div>
    <div class="bottom"></div>
</div>
使用绝对定位实现全屏布局
html,body,.parent{height: 100%; overflow: hidden;}
        .top{position: absolute; top: 0; left: 0; right: 0; height: 0; background-color: black; height: 100px;}
        .left{position: absolute; top: 100px; left: 0;bottom: 50px; width: 200px; background-color: orange;}
        .right{position: absolute; top: 100px; left: 200px; right: 0; bottom: 50px; background-color: grey; overflow: hidden;}
        .bottom{position: absolute; left: 0; right: 0; bottom: 0; height: 50px; background-color: pink;}
响应式布局
meta标签的使用
<meta name="viewport" content="width=device-width, initial-scale=1"/>
使用媒体查询
@media screen and (max-width: 480px){
}
总结:这些布局方法有些经常用到,有些由于兼容性的问题在具体项目相中使用的情况相对较少,不过对于移动端来说,以上总结的布局都是实用。今天特意花些时间来整理这些布局,一是为了巩固知识,二是希望这些方法能够分享给前端的初学者,让他们对布局有更深入的了解,当然这些并非是CSS中的所有布局方法,以后发现有什么布局没有总结到的,我会继续更新、分享,如果哪位同行对布局方法有所补充,或者发现博客中存在问题,欢迎相互交流。


 被折叠的 条评论
为什么被折叠?


