


::before 和 ::after 是什么
- 它们是 css 中的 伪元素,作用就是在一个页面中添加一个元素,但是这个元素不会出现在DOM树中。
::before和::after向被选中元素内的首部(尾部)添加元素。添加的内容是根据其特有的属性content来确认的。插入的内容默认是行内元素。- 因为添加的内容不会出现在DOM树,不会改变文档内容,只在css渲染时加入,所以不要给伪元素添加具有实际意义的内容。
content属性
使用 ::before 和 ::after 时 content属性 必须有值,至少是空。还可以是字符串,attr()、url()、uri()、counter() 等 css函数。
常用方式
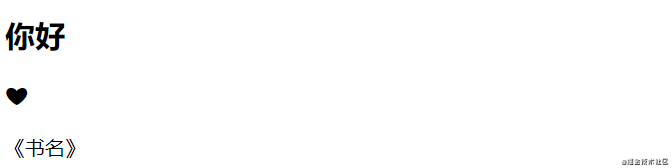
插入字符串
普通插入
<!DOCTYPE html>
<html lang="en">
<head>
    <meta charset="UTF-8">
    <meta http-equiv="X-UA-Compatible" content="IE=edge">
    <meta name="viewport" content="width=device-width, initial-scale=1.0">
    <title>Document</title>
    <style type="text/css">
        h2::before {
            content:'你好';
        }
        /* 特殊字符 */
        h3::before {
            content:'\2764';
        }
        span::before {
            content:'《';
        }
        span::after {
            content:'》';
        }
    </style>
</head>
<body>
    <h2></h2>
    <h3></h3>
    <span>书名</span>
</body>
</html>
指定元素插入,根据css选择器来确认插入位置
<!DOCTYPE html>
<html lang="en">
<head>
    <meta charset="UTF-8">
    <meta http-equiv="X-UA-Compatible" content="IE=edge">
    <meta name="viewport" content="width=device-width, initial-scale=1.0">
    <title>Document</title>
    <style type="text/css">
        h2.geth::before {
            content:'你好';
        }
    </style>
</head>
<body>
    <h2>h2</h2>
    <h2 class="geth">geth</h2>
</body>
</html>

使用attr()函数插入。 attr() 获取当前元素某个属性的值
<!DOCTYPE html>
<html lang="en">
<head>
    <meta charset="UTF-8">
    <meta http-equiv="X-UA-Compatible" content="IE=edge">
    <meta name="viewport" content="width=device-width, initial-scale=1.0">
    <title>Document</title>
    <style type="text/css">
        h2::before {
            content:'你好';
        }
        span::before {
            content:attr(data-value);
        }
    </style>
</head>
<body>
    <h2></h2>
    <span data-value="测试你好"></span>
</body>
</html>

插入图片
这里使用 url() 函数获取图片
<!DOCTYPE html>
<html lang="en">
<head>
    <meta charset="UTF-8">
    <meta http-equiv="X-UA-Compatible" content="IE=edge">
    <meta name="viewport" content="width=device-width, initial-scale=1.0">
    <title>Document</title>
    <style type="text/css">
        span::before {
            content: url("https://gimg2.baidu.com/image_search/src=http%3A%2F%2Fa1.att.hudong.com%2F24%2F78%2F20300000291746133783784887147.jpg&refer=http%3A%2F%2Fa1.att.hudong.com&app=2002&size=f9999,10000&q=a80&n=0&g=0n&fmt=jpeg?sec=1616578124&t=87ad4899203412d0bccfd0d6d79c5cab");
        }
        span::after {
            content: attr(data-value);
            display: block;
            width: 400px;
            text-align: center;
            margin-top: 5px;
        }
    </style>
</head>
<body>
    <span data-value="地球" ></span>
</body>
</html>

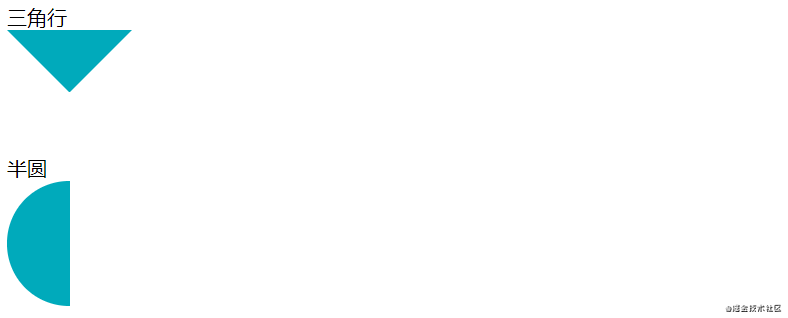
插入各种图形效果
通过 display: block 设置为块级元素,来绘制图形
<!DOCTYPE html>
<html lang="en">
<head>
    <meta charset="UTF-8">
    <meta http-equiv="X-UA-Compatible" content="IE=edge">
    <meta name="viewport" content="width=device-width, initial-scale=1.0">
    <title>Document</title>
    <style type="text/css">
        span.a::after {
            content: '';
            display: block;
            width: 0;
            height: 0;
            border: 50px solid #00aabb;
            /* 通过改变边框颜色,可以改变三角形的方向 */
            border-color: #00aabb transparent transparent transparent;

        }
        span.b::after {
            content: '';
            display: block;
            width: 50px;
            height: 100px;
            /*  "/"前四个值表示圆角的水平半径,后四个值表示圆角的垂直半径*/
            border-radius: 200% 0 0 200% / 100% 0 0 100%;
            /* border-radius: 50px 0 0 50px; */
            background: #00aabb;

        }
    </style>
</head>
<body>
    <span class="a">三角行</span>
    <span class="b">半圆</span>
</body>
</html>
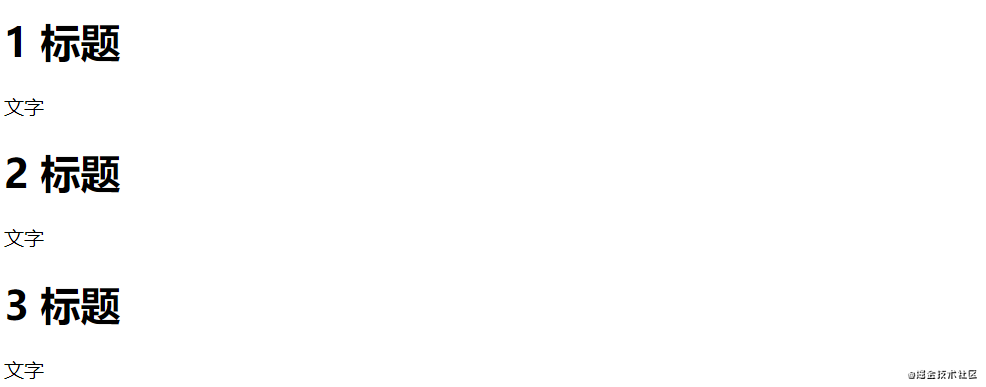
使用 content 属性来插入项目编号
counter() 是 content 属性的值,设定计数器内容。一般配合 counter-increment 和 counter-reset属性使用。
counter-reset 属性 创建或重置一个或多个计数器。
counter-increment 属性 递增一个或多个计数器值。
<!DOCTYPE html>
<html lang="en">
<head>
    <meta charset="UTF-8">
    <meta http-equiv="X-UA-Compatible" content="IE=edge">
    <meta name="viewport" content="width=device-width, initial-scale=1.0">
    <title>Document</title>
    <style type="text/css">
        h1::before{
            content: counter(mcounter);
        }
        h1{
            counter-increment: mcounter;
        }
    </style>
</head>
<body>
    <h1> 标题</h1>
    <p>文字</p>
    <h1> 标题</h1>
    <p>文字</p>
    <h1> 标题</h1>
    <p>文字</p>
</body>
</html>
添加多层级标题
<!DOCTYPE html>
<html lang="en">
<head>
    <meta charset="UTF-8">
    <meta http-equiv="X-UA-Compatible" content="IE=edge">
    <meta name="viewport" content="width=device-width, initial-scale=1.0">
    <title>Document</title>
    <style type="text/css">
        body{
            counter-reset: mcounter;
        }
        h1::before{
            counter-increment: mcounter;
            content: counter(mcounter);
        }

        /* 设置重置 遇到h1 就重新开始计算 */
        h1{
            counter-reset: ncounter;
        }
        h2:before {
            counter-increment:ncounter;
            content:counter(mcounter) "-" counter(ncounter) " ";
            margin-left: 20px;
        }

    </style>
</head>
<body>
    <h1>一级标题</h1>
    <h2>二级标题</h2>
    <h2>二级标题</h2>
    <h2>二级标题</h2>

    <h1>一级标题</h1>
    <h2>二级标题</h2>
    <h2>二级标题</h2>

    <h1>一级标题</h1>
    <h2>二级标题</h2>
</body>
</html>
[外链图片转存失败,源站可能有防盗链机制,建议将图片保存下来直接上传(img-qecrjAIV-1622600914903)(https://p6-juejin.byteimg.com/tos-cn-i-k3u1fbpfcp/63b472945c2d4475a06202b07b4dc52f~tplv-k3u1fbpfcp-watermark.image)]
特殊使用方式
清除浮动
 <style>
    .clearDiv::after{
        content: "";
        display: block;
        clear: both;
    }
</style>
配合 :hover 实现特殊效果
<!DOCTYPE html>
<html lang="en">
  <head>
    <meta charset="UTF-8" />
    <meta http-equiv="X-UA-Compatible" content="IE=edge" />
    <meta name="viewport" content="width=device-width, initial-scale=1.0" />
    <title>Document</title>
    <style type="text/css">
      span {
        position: relative;
        display: inline-block;
        outline: none;
        text-decoration: none;
        font-size: 32px;
        padding-left: 30px;
        padding-right: 30px;
      }

      span:hover::before,
      span:hover::after {
        position: absolute;
      }
      span:hover::before {
        content: "";
        top: 0;
        left: -20px;
        display: block;
        width: 0;
        height: 0;
        border: 20px solid #00aabb;
        /* 通过改变边框颜色,可以改变三角形的方向 */
        border-color: transparent #00aabb transparent transparent;
      }
      span:hover::after {
        content: "";
        top: 0;
        right: -20px;
        display: block;
        width: 0;
        height: 0;
        border: 20px solid #00aabb;
        /* 通过改变边框颜色,可以改变三角形的方向 */
        border-color: transparent transparent transparent #00aabb;
      }
    </style>
  </head>
  <body>
    <span>哈哈</span>
  </body>
</html>


 4252
4252


 被折叠的 条评论
为什么被折叠?
被折叠的 条评论
为什么被折叠?
 到【灌水乐园】发言


