简介
- 为了更好的使用
canvas,实现文字粒子效果。 - 主要是通过在缓存中创建一个
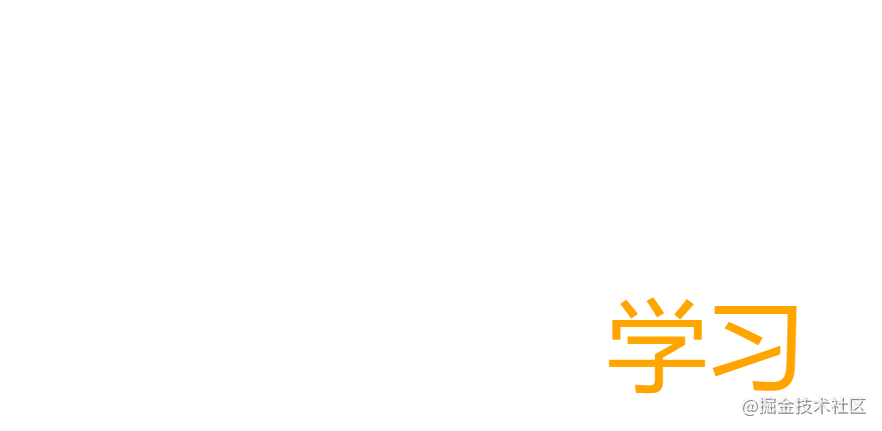
canvas元素节点,把文本绘制在这个canvas节点上。然后使用getImageData()函数,获取canvas上的所有像数对应颜色的值。根据像数颜色值,判断在什么位置生成粒子。
文本绘制
<!DOCTYPE html>
<html lang="en">
<head>
<meta charset="UTF-8" />
<meta http-equiv="X-UA-Compatible" content="IE=edge" />
<meta name="viewport" content="width=device-width, initial-scale=1.0" />
<title>Document</title>
</head>
<style type="text/css"></style>
<body>
<canvas height="400" width="600" id="canvas"></canvas>
</body>
<script>
var canvas = document.getElementById('canvas')
var ctx = canvas.getContext('2d')
ctx.clearRect(0, 0, canvas.width, canvas.height)
function loadCanvas(value) {
var fontSize = 100
var width = calWordWidth(value, fontSize)
var canvasTxt = document.createElement('canvas')
canvasTxt.width = width
canvasTxt.height = fontSize
var ctxTxt = canvasTxt.getContext('2d')
ctxTxt.font = fontSize + 'px Microsoft YaHei'
ctxTxt.fillStyle = 'orange'
ctxTxt.fillText(value, 0, fontSize - 16)
document.body.appendChild(canvasTxt)
}
loadCanvas('学习')
function calWordWidth(value, fontSize) {
var arr = value.split('')
var reg = /\w/
var width = 0
arr.forEach(function (item, index) {
if (reg.test(item)) {
width += fontSize
} else {
width += fontSize + 10
}
})
return width
}
</script>
</html>

- 这里主要是通过
document.createElement('canvas')创建了一个节点,然后把文本信息绘制在画布上。
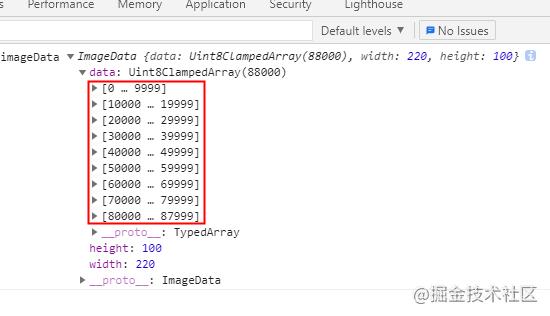
使用getImageData获取像数
getImageData() 方法返回 ImageData 对象,该对象拷贝了画布指定矩形的像素数据。- 该对象是个一维数组。因为每个像素的
RGBA 值是由4个值组成的。所以一个像数对应数组的4个值,并且数组位置是固定的。
function getImage(canvas, ctx) {
var imageData = ctx.getImageData(0, 0, canvas.width, canvas.height)
console.log('🚀 ~ file: index.html ~ line 39 ~ getImage ~ imageData', imageData)
}

添加粒子类
var particles = []
function Particle(option) {
this.radius = option.radius || 6
this.color = option.color || '#000'
this.x = option.x || 0
this.y = option.y || 0
this.dynamicRadius = option.radius || 6
}
Particle.prototype.draw = function (ctx) {
var x, y
x = this.x * 3 + 50
y = this.y * 3 + 50
ctx.beginPath()
ctx.arc(x, y, this.dynamicRadius, 0, 2 * Math.PI, false)
ctx.fillStyle = this.color
ctx.fill()
}
Particle.prototype.update = function () {
this.dynamicRadius = 5 + 2 * Math.sin(((new Date() / 1000) % 1000) * this.radius)
}
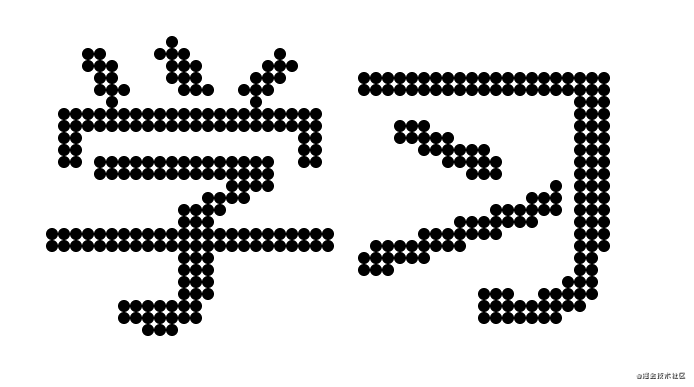
在画布上绘制粒子
function loadCanvas(value) {
...
getImage(canvasTxt, ctxTxt)
}
function getImage(canvas, ctx) {
var imageData = ctx.getImageData(0, 0, canvas.width, canvas.height)
var diff = 4
var newCanvas = document.getElementById('canvas')
var newCtx = newCanvas.getContext('2d')
for (var j = 0; j < canvas.height; j += diff) {
for (var i = 0; i < canvas.width; i += diff) {
var opacityIndex = (i + j * canvas.width) * 4 + 3
if (imageData.data[opacityIndex] > 0) {
var par = new Particle({ radius: 0, color: '#000', x: i, y: j })
particles.push(par)
}
}
}
}
requestAnimationFrame(function loop() {
ctx.clearRect(0, 0, canvas.width, canvas.height)
for (const particle of particles) {
particle.draw(ctx)
}
})
loadCanvas('学习')
...

- 遍历
imageData对象中的data,当颜色存在时透明度默认是255,所以这判断的是第4的个值是否不为 0 来判断该像素是否在文本中。 - 得到的粒子对象放入数组中,后期修改粒子就不用重新计算位置。
加入简单动画
    requestAnimationFrame(function loop() {
      requestAnimationFrame(loop)
      ctx.clearRect(0, 0, canvas.width, canvas.height)
      for (const particle of particles) {
        particle.update()
        particle.draw(ctx)
      }
    })
- 因为粒子对象已保存在数组中。我们只需要在
update()函数中添加动画逻辑,然后重新绘制就能实现动画。


 328
328

 被折叠的 条评论
为什么被折叠?


