


PS-想玩的朋友关注群:462067739 大家一起玩
跟着和尚一步一步搭建springmvc+springdatajpa+mybatis+shiro+bootstrap项目(一)
讲到了如何去创建一个项目,并配置了web.xml文件,相信小伙伴们都已经会了吧,咱们继续第二步的拓展吧
配置数据源 SpringContext-datasource.xml
<?xml version="1.0" encoding="UTF-8"?>
<!-- 项目数据源配置类别 -->
<beans xmlns="http://www.springframework.org/schema/beans" xmlns:xsi="http://www.w3.org/2001/XMLSchema-instance"
       xmlns:mvc="http://www.springframework.org/schema/mvc" xmlns:context="http://www.springframework.org/schema/context"
       xmlns:p="http://www.springframework.org/schema/p" xmlns:util="http://www.springframework.org/schema/util"
       xmlns:tx="http://www.springframework.org/schema/tx" xmlns:aop="http://www.springframework.org/schema/aop"
       xmlns:cache="http://www.springframework.org/schema/cache" xmlns:jpa="http://www.springframework.org/schema/data/jpa"
       xsi:schemaLocation="http://www.springframework.org/schema/beans http://www.springframework.org/schema/beans/spring-beans-4.1.xsd
        http://www.springframework.org/schema/mvc http://www.springframework.org/schema/mvc/spring-mvc-4.1.xsd
        http://www.springframework.org/schema/aop http://www.springframework.org/schema/aop/spring-aop-4.1.xsd
        http://www.springframework.org/schema/context http://www.springframework.org/schema/context/spring-context-4.1.xsd
        http://www.springframework.org/schema/util http://www.springframework.org/schema/util/spring-util-4.1.xsd
        http://www.springframework.org/schema/tx http://www.springframework.org/schema/tx/spring-tx-4.1.xsd
        http://www.springframework.org/schema/cache http://www.springframework.org/schema/cache/spring-cache-4.1.xsd
        http://www.springframework.org/schema/data/jpa http://www.springframework.org/schema/data/jpa/spring-jpa.xsd">

    <!-- 加载数据库连接配置 -->
    <bean id="propertyConfigurer" class="org.springframework.beans.factory.config.PropertyPlaceholderConfigurer">
        <property name="locations">
            <list>
                <value>classpath:monk.properties</value>
            </list>
        </property>
    </bean>

    <!-- 数据源 -->
    <bean id="dataSource" class="com.alibaba.druid.pool.DruidDataSource"
        init-method="init" destroy-method="close">
        <property name="driverClassName" value="${jdbc.driverClassName}" />
        <property name="url" value="${jdbc.url}" />
        <property name="username" value="${jdbc.username}" />
        <property name="password" value="${jdbc.password}" />
        <!-- 配置初始化大小、最小、最大 -->
        <property name="initialSize" value="1" />
        <property name="minIdle" value="1" />
        <property name="maxActive" value="20" />

        <!-- 配置获取连接等待超时的时间 -->
        <property name="maxWait" value="60000" />

        <!-- 配置间隔多久才进行一次检测,检测需要关闭的空闲连接,单位是毫秒 -->
        <property name="timeBetweenEvictionRunsMillis" value="60000" />

        <!-- 配置一个连接在池中最小生存的时间,单位是毫秒 -->
        <property name="minEvictableIdleTimeMillis" value="300000" />

        <property name="validationQuery" value="SELECT 'x'" />
        <property name="testWhileIdle" value="true" />
        <property name="testOnBorrow" value="false" />
        <property name="testOnReturn" value="false" />

        <!-- 打开PSCache,并且指定每个连接上PSCache的大小 -->
        <property name="poolPreparedStatements" value="true" />
        <property name="maxPoolPreparedStatementPerConnectionSize"
            value="20" />

        <!-- 配置监控统计拦截的filters,去掉后监控界面sql无法统计 -->
        <property name="filters" value="stat" />
    </bean>
    <!-- end -->
</beans>
配置缓存SpringContext-cache.xml
<?xml version="1.0" encoding="UTF-8"?>
<ehcache updateCheck="false" xmlns:xsi="http://www.w3.org/2001/XMLSchema-instance" xsi:noNamespaceSchemaLocation="http://ehcache.org/ehcache.xsd">
    <!--
    name:Cache的唯一标识
    maxElementsInMemory:内存中最大缓存对象数
    maxElementsOnDisk:磁盘中最大缓存对象数,若是0表示无穷大
    eternal:Element是否永久有效,一但设置了,timeout将不起作用
    overflowToDisk:配置此属性,当内存中Element数量达到maxElementsInMemory时,Ehcache将会Element写到磁盘中
    timeToIdleSeconds:设置Element在失效前的允许闲置时间。仅当element不是永久有效时使用,可选属性,默认值是0,也就是可闲置时间无穷大
    timeToLiveSeconds:设置Element在失效前允许存活时间。最大时间介于创建时间和失效时间之间。仅当element不是永久有效时使用,默认是0.,也就是element存活时间无穷大
    diskPersistent:是否缓存虚拟机重启期数据
    diskExpiryThreadIntervalSeconds:磁盘失效线程运行时间间隔,默认是120秒
    diskSpoolBufferSizeMB:这个参数设置DiskStore(磁盘缓存)的缓存区大小。默认是30MB。每个Cache都应该有自己的一个缓冲区
    memoryStoreEvictionPolicy:当达到maxElementsInMemory限制时,Ehcache将会根据指定的策略去清理内存。默认策略是LRU(最近最少使用)。你可以设置为FIFO(先进先出)或是LFU(较少使用)
    -->
    <diskStore path="java.io.tmpdir/cache"/>
    <defaultCache maxElementsInMemory="10000" eternal="false" timeToIdleSeconds="120" timeToLiveSeconds="120"
                  overflowToDisk="true" diskSpoolBufferSizeMB="30" maxElementsOnDisk="10000000" diskPersistent="false"
                  diskExpiryThreadIntervalSeconds="120" memoryStoreEvictionPolicy="LRU"/>
    <cache name="jfteamAuthorization" maxElementsInMemory="100" timeToLiveSeconds="3600" eternal="false" overflowToDisk="false"/>
</ehcache>
配置启动加载项 SpringContext-core.xml
<?xml version="1.0" encoding="UTF-8"?>
<!-- 项目基础配置类别 -->
<beans xmlns="http://www.springframework.org/schema/beans" xmlns:xsi="http://www.w3.org/2001/XMLSchema-instance"
       xmlns:mvc="http://www.springframework.org/schema/mvc" xmlns:context="http://www.springframework.org/schema/context"
       xmlns:p="http://www.springframework.org/schema/p" xmlns:util="http://www.springframework.org/schema/util"
       xmlns:tx="http://www.springframework.org/schema/tx" xmlns:aop="http://www.springframework.org/schema/aop"
       xmlns:cache="http://www.springframework.org/schema/cache" xmlns:jpa="http://www.springframework.org/schema/data/jpa"
       xsi:schemaLocation="http://www.springframework.org/schema/beans http://www.springframework.org/schema/beans/spring-beans-4.1.xsd
        http://www.springframework.org/schema/mvc http://www.springframework.org/schema/mvc/spring-mvc-4.1.xsd
        http://www.springframework.org/schema/aop http://www.springframework.org/schema/aop/spring-aop-4.1.xsd
        http://www.springframework.org/schema/context http://www.springframework.org/schema/context/spring-context-4.1.xsd
        http://www.springframework.org/schema/util http://www.springframework.org/schema/util/spring-util-4.1.xsd
        http://www.springframework.org/schema/tx http://www.springframework.org/schema/tx/spring-tx-4.1.xsd
        http://www.springframework.org/schema/cache http://www.springframework.org/schema/cache/spring-cache-4.1.xsd
        http://www.springframework.org/schema/data/jpa http://www.springframework.org/schema/data/jpa/spring-jpa.xsd">
    <!-- 扫描注解Repository -->
    <!-- use-default-filters="false" 只扫描指定的注解 -->
    <context:component-scan base-package="com.monk">
        <context:exclude-filter type="annotation" expression="org.springframework.stereotype.Controller"/>
    </context:component-scan>
    <!--加载servlet配置  分配不同该模块的配置,方便后期单独提取或转变项目格式
    <import resource="springContext-configureSpring.xml"/>-->
    <!-- 导入数据源配置 -->
    <import resource="springContext-datasource.xml"/>
    <!-- 导入mybatis配置 -->
    <import resource="springContexxt-mybatis.xml"/>
    <!-- 导入jpa配置 -->
    <import resource="springContext-jpa.xml"/>

    <!-- 启动对@AspectJ(面向切面)注解的支持 -->
    <aop:aspectj-autoproxy />
</beans>
配置SrpingContext-mvc.xml
<?xml version="1.0" encoding="UTF-8"?>
<beans xmlns="http://www.springframework.org/schema/beans" xmlns:xsi="http://www.w3.org/2001/XMLSchema-instance"
       xmlns:mvc="http://www.springframework.org/schema/mvc"
       xmlns:context="http://www.springframework.org/schema/context" xmlns:p="http://www.springframework.org/schema/p"
       xmlns:util="http://www.springframework.org/schema/util" xmlns:tx="http://www.springframework.org/schema/tx"
       xmlns:aop="http://www.springframework.org/schema/aop" xmlns:cache="http://www.springframework.org/schema/cache"
       xsi:schemaLocation="
        http://www.springframework.org/schema/beans http://www.springframework.org/schema/beans/spring-beans-4.1.xsd
        http://www.springframework.org/schema/mvc http://www.springframework.org/schema/mvc/spring-mvc-4.1.xsd
        http://www.springframework.org/schema/aop http://www.springframework.org/schema/aop/spring-aop-4.1.xsd
        http://www.springframework.org/schema/context http://www.springframework.org/schema/context/spring-context-4.1.xsd
        http://www.springframework.org/schema/util http://www.springframework.org/schema/util/spring-util-4.1.xsd
        http://www.springframework.org/schema/tx http://www.springframework.org/schema/tx/spring-tx-4.1.xsd
        http://www.springframework.org/schema/cache http://www.springframework.org/schema/cache/spring-cache-4.1.xsd">
      <!-- 启用注解 -->
    <mvc:annotation-driven />

    <context:component-scan base-package="com.monk" use-default-filters="false">
        <context:include-filter type="annotation" expression="org.springframework.stereotype.Controller"/>
    </context:component-scan>
    <!-- 加载spring配置  分配不同该模块的配置,方便后期单独提取或转变项目格式
    <import resource="springContext-configureServlet.xml"/>-->
    <!-- 映射静态文件 -->
    <mvc:view-controller path="/" view-name="forward:/home/index"/>
    <!-- 静态资源文件 -->
    <mvc:resources mapping="/static/**" location="/WEB-INF/static/" />
    <mvc:resources mapping="/upload/**" location="/WEB-INF/upload/" />
    <mvc:resources mapping="/js/**" location="/WEB-INF/js/" />
    <mvc:resources mapping="/css/**" location="/WEB-INF/css/" />
    <mvc:resources mapping="/fonts/**" location="/WEB-INF/fonts/" />
    <mvc:resources mapping="/plugins/**" location="/WEB-INF/plugins/" />
    <mvc:resources mapping="images/**" location="/WEB-INF/images/" />
    <!-- 当上面要访问的静态资源不包括在上面的配置中时,则根据此配置来访问 -->
    <mvc:default-servlet-handler />


    <!-- bean name view resolver -->
    <bean class="org.springframework.web.servlet.view.BeanNameViewResolver" p:order="0" />
    <!-- 根据客户端的不同的请求决定不同的 view进行响应, 如 /blog/1.json /blog/1.xml -->
    <bean class="org.springframework.web.servlet.view.ContentNegotiatingViewResolver" p:order="1">
        <!-- 设置为true以忽略对Accept Header的支持 -->
        <!-- 扩展名至mimeType的映射,即 /user.json => application/json -->
        <property name="favorPathExtension" value="false" />
        <!-- 用于开启 /userinfo/123?format=json 的支持 -->
        <property name="favorParameter" value="false" />
        <property name="mediaTypes">  <!--favorPathExtension, favorParameter是true时才起作用 -->
            <map>
                <entry key="html" value="*" />
            </map>
        </property>
        <property name="viewResolvers">
            <list>
                <bean class="org.springframework.web.servlet.view.InternalResourceViewResolver">
                    <property name="viewClass" value="org.springframework.web.servlet.view.JstlView" />
                    <property name="contentType" value="text/html" />
                    <property name="prefix" value="/WEB-INF/views/" />
                    <property name="suffix" value=".jsp" />
                </bean>
            </list>
        </property>
    </bean>
    <!-- 默认的视图解析器 在上边的解析错误时使用 (默认使用html)- -->
    <bean id="defaultViewResolver"
        class="org.springframework.web.servlet.view.InternalResourceViewResolver"
        p:order="2">
        <property name="viewClass"
            value="org.springframework.web.servlet.view.JstlView" />
        <property name="contentType" value="text/html" />
        <property name="prefix" value="/WEB-INF/views/" />
        <property name="suffix" value=".jsp" />
    </bean>

    <!--上传文件设置 -->
    <bean id="multipartResolver" class="org.springframework.web.multipart.commons.CommonsMultipartResolver">
        <property name="maxUploadSize" value="102400000" />
        <property name="defaultEncoding" value="UTF-8" />
    </bean>
</beans>
这个时候我们的配置就算基本完成,只需要在配置mybatis,jpa,shiro就可以了,不过呢虽然我们没有配置mybatis,jpa但是现在我们的项目是可以启动并查看的,启动项目
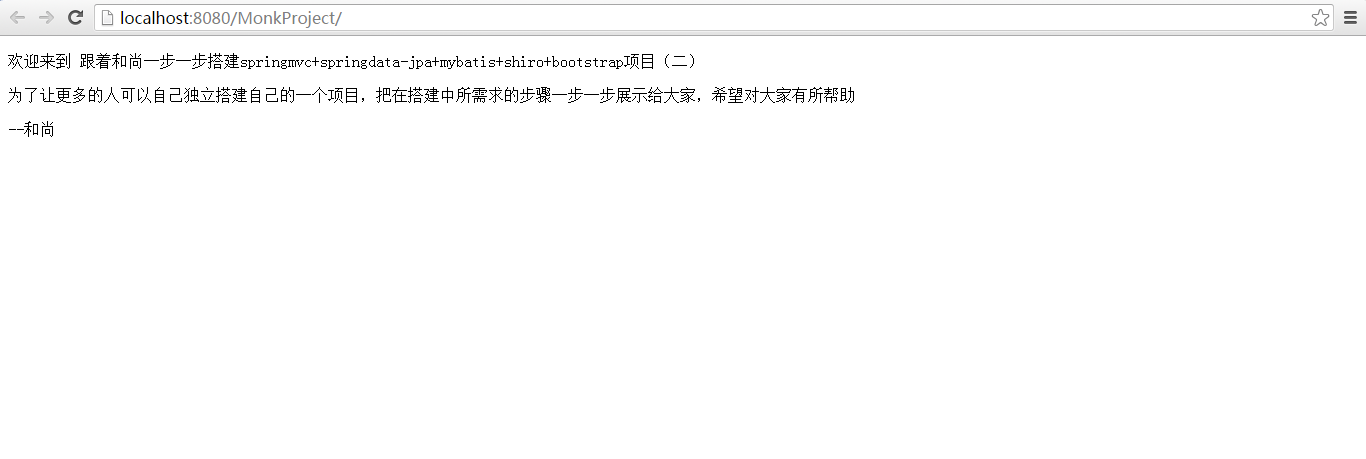
下次我们将配置mybaits,和jpa的依赖


 5237
5237

 被折叠的 条评论
为什么被折叠?
被折叠的 条评论
为什么被折叠?
 到【灌水乐园】发言


